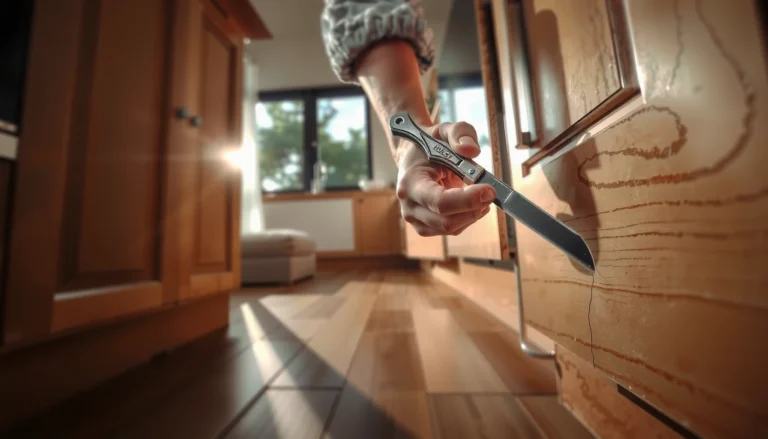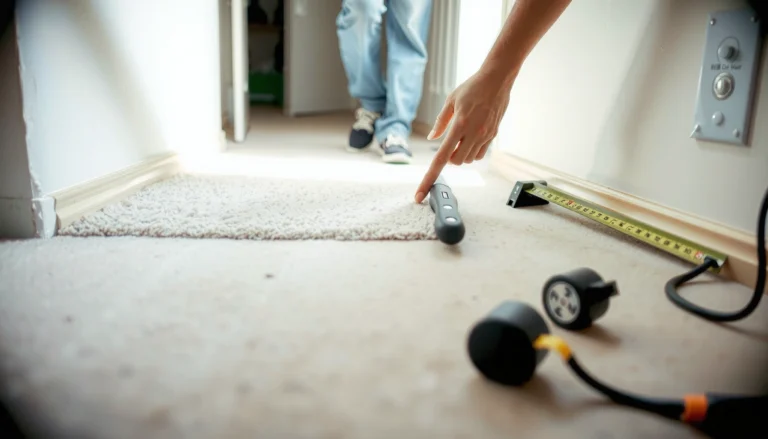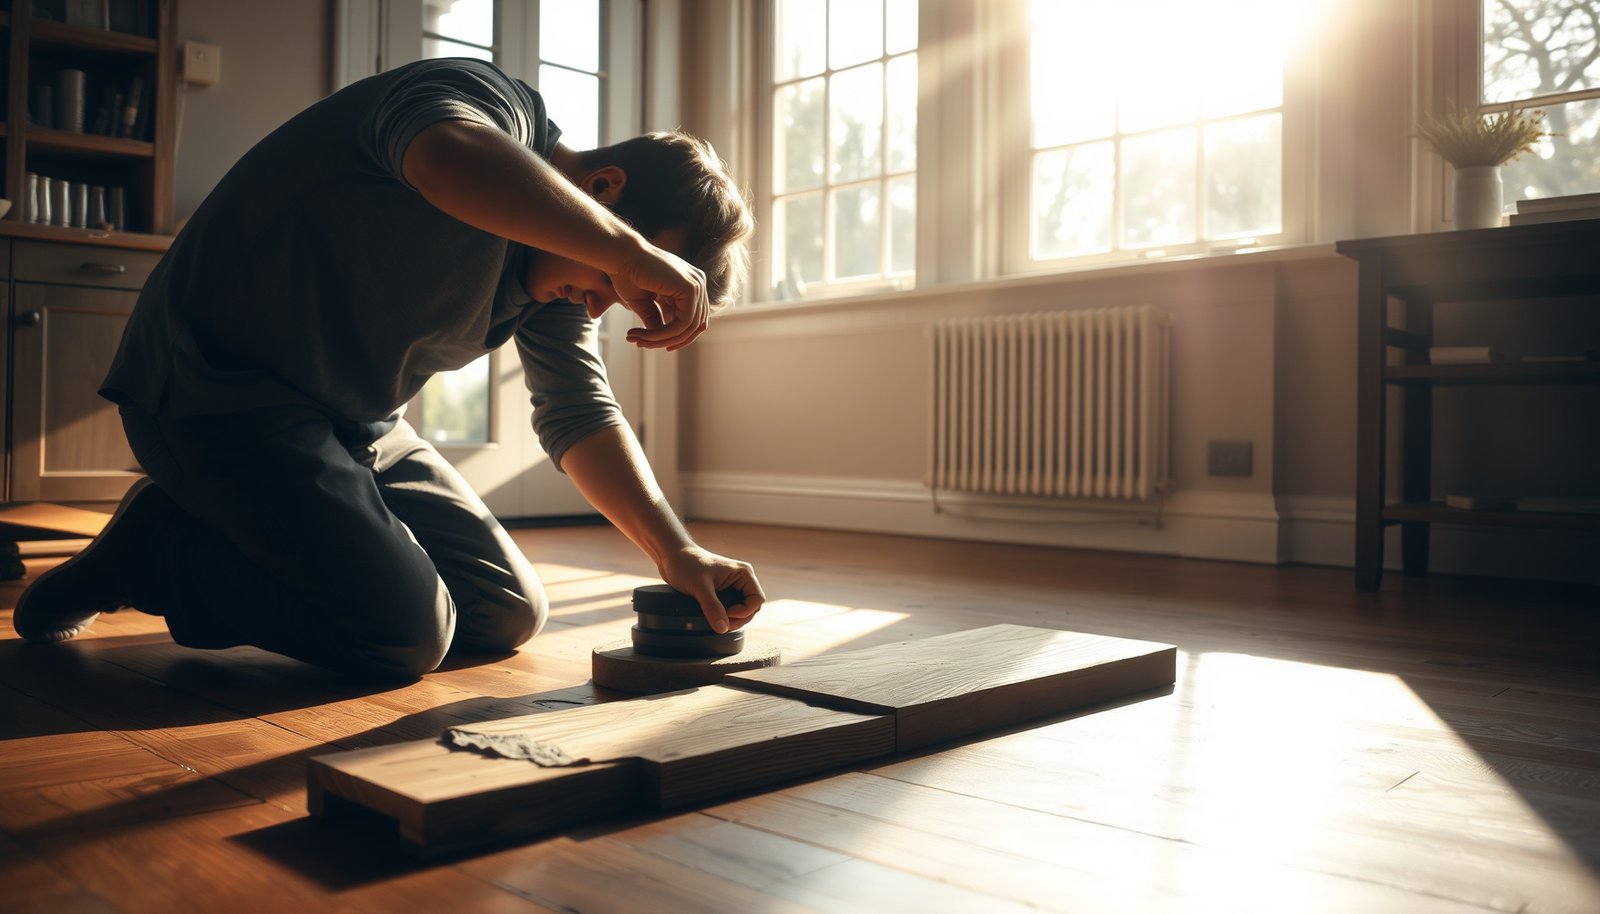

You can repair hardwood floors in a sunroom without guesswork—identify the damage first, then follow the right fix for swelling, lifting, scratches, or gaps. This guide delivers the practical steps that work best when sun exposure and humidity are driving the problem. By the end, you’ll know exactly how to dry the wood correctly, choose the right patch or refinish approach, and prevent the issue from coming back.



Fixing sunroom hardwood floors is mainly about doing the right repair after you stabilize the room’s heat and humidity—otherwise even a perfect patch can reopen. Diagnose whether you’re dealing with cosmetic wear (scratches/finish) or structural movement (gaps that change seasonally, cupping, buckling), then repair in the correct order: stabilize conditions → address seams → refinish/replace as needed.
A sunroom is one of the toughest places for wood flooring because it experiences wider temperature swings and often higher solar loading than interior rooms. The guidance below focuses on common DIY-capable repairs (surface damage and small gaps) and also explains when a board-level fix or professional evaluation becomes the safer path for sunroom hardwood floors.
Diagnose the damage (and the cause)
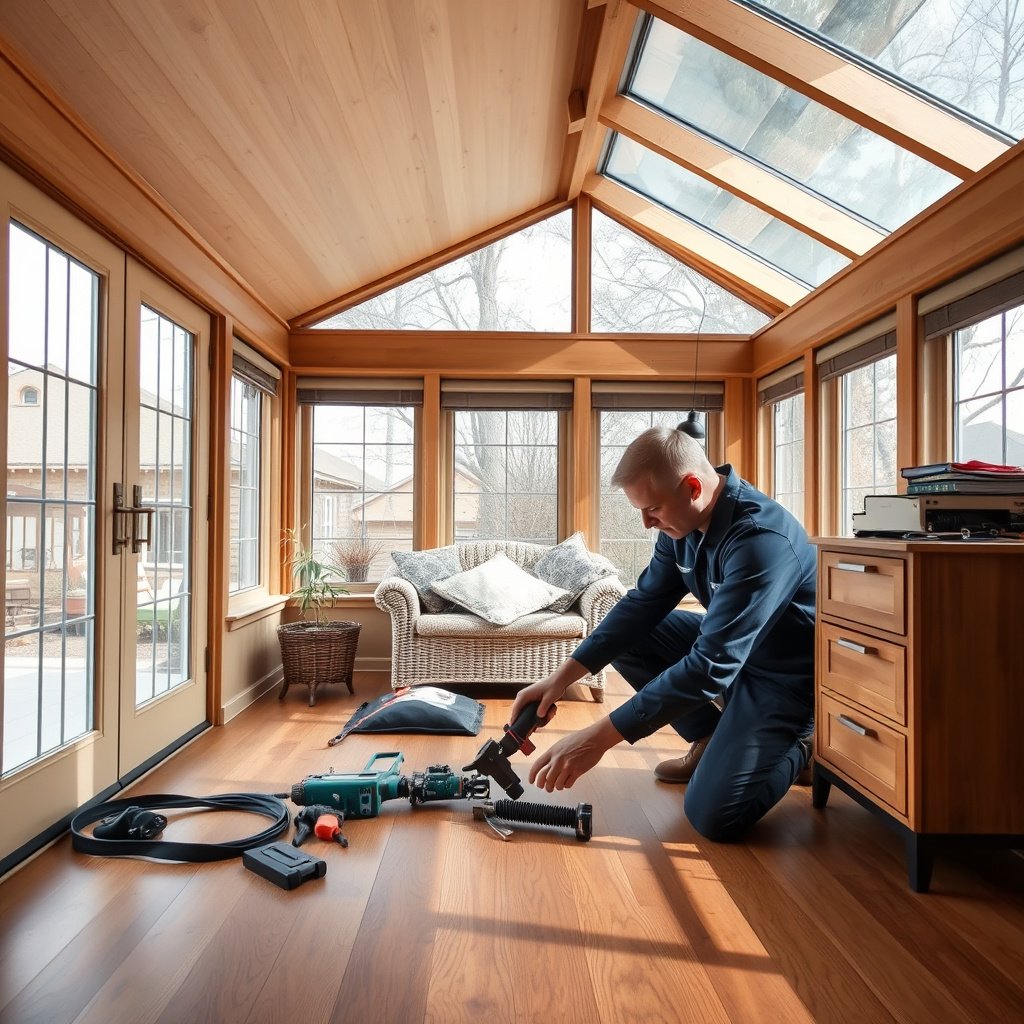
You’ll save time (and materials) by first determining whether the damage is cosmetic or movement-related. In sunroom hardwood floors, most recurring problems trace back to moisture/expansion cycles driven by sunlight, HVAC cycling, and seasonal humidity changes.
Cosmetic vs structural symptoms
Scratches, scuffs, and localized finish wear usually don’t require board removal. Structural issues do—especially if the gap width or board flatness changes when the sunroom heats up in the day versus cools down at night.
“Dimensional change in wood flooring is strongly influenced by moisture conditions, so repair timing should follow environmental stabilization rather than the initial symptom.”
“If gaps visibly widen and narrow with seasons in sunroom hardwood floors, it typically points to moisture/temperature imbalance rather than a single installation defect.”
Identify movement patterns that match sunroom conditions
Start by mapping where the problems appear:
– Near windows/large glass areas: sunlight can create localized expansion, especially on boards facing direct rays.
– Along edges/transitions: hardwood often reacts first at perimeter boundaries and around interruptions (hearths, vents, thresholds).
– Seasonal behavior: widening in summer and tightening in winter is a classic indicator of cyclic wood movement in sunroom hardwood floors.
Verify the subfloor/joists aren’t driving the problem
Before you fill gaps or refinish sunroom hardwood floors, check for underlying causes such as:
– Squeaks + softness: a compromised subfloor can flex and create repeat separation.
– Ongoing movement in the same spot: if boards keep “telegraphing” through the finish, you may have a structural driver rather than finish failure.
– Uneven support: cupping and buckling can be worsened by localized low/high spots below.
For moisture management targets, many wood-flooring maintenance guidelines recommend keeping indoor conditions within roughly 35–55% relative humidity (RH) and moderate temperatures to reduce movement in wood flooring. National Wood Flooring Association (NWFA) — environmental conditions guidance (exact document name needed) (check the specific NWFA guideline you follow for your installation/maintenance setup).
Prep the area and choose the right repair approach
You’ll get the best results by stabilizing the sunroom environment first—then matching materials and planning the workflow around finish chemistry. In sunroom hardwood floors, rushing prep can trap you in “patch-and-reopen” cycles or create finish mismatch.
Stabilize conditions before you touch the floor
– Run your sunroom HVAC/dehumidification system as you normally would.
– Wait until the floor’s behavior looks stable (boards stop actively shifting, seams stop changing noticeably).
– Avoid sanding or filling while the room is rapidly warming up under direct sun; that’s when sunroom hardwood floors can temporarily expand and hide the “true” seam/gap condition.
“Wood flooring repairs should be performed when the floor is not actively moving; otherwise fillers may not bond and seams can re-open as conditions change.”
Gather matching materials and confirm finish compatibility
For sunroom hardwood floors, the biggest DIY failure isn’t the filler—it’s using the wrong product system:
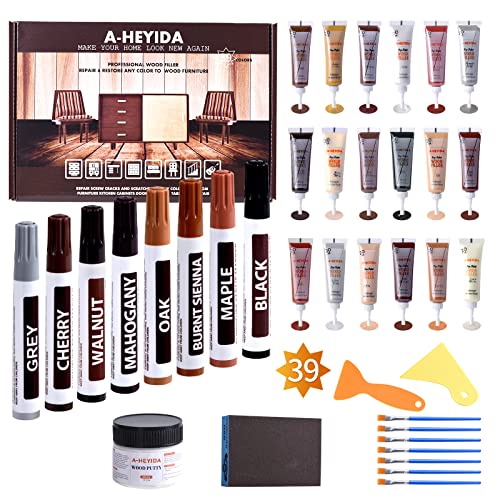
– Color-matching wood filler/putty (for the species and tone you have)
– Finish-compatible topcoat repair product (oil-based vs water-based vs conversion varnish systems)
– Appropriate repair glue if any board re-securing is required (and only where compatible with your installation type)
If you can’t confidently identify the finish type on sunroom hardwood floors, treat it as a materials compatibility problem and pause before recoating. Manufacturer technical data sheets (TDS) are your “compatibility contract.”
Protect the surrounding surfaces and plan workflow
Protect adjacent trim, glass framing, and baseboards with painter’s tape/plastic. Then plan the work order:
1) Surface prep and cleaning
2) Seam/gap repair and localized board correction (if needed)
3) Sand/blend
4) Recoat/finish blending only after the wood is stable
Repair scratches, dents, and finish wear
For sunroom hardwood floors, you can usually fix cosmetic damage without board removal—if you match the finish system and don’t mask ongoing movement. The goal is to blend repaired areas so they look continuous under the sunroom’s brighter, higher-contrast lighting.
Clean first, then sand lightly to the right depth
Start with a thorough cleaning so fillers and coatings bond properly. Then:
– Lightly sand scuffs until the surface is uniformly dull (avoid “creating a crater”).
– Remove only what’s necessary; sunroom hardwood floors often show low spots more after recoating.
Choose filler/paste matched to the finish workflow
For shallow dents:
– Use a wood repair filler/paste designed for floors (not a generic construction filler).
– Sand smooth after curing, then blend with a finish-compatible product.
“Finish repairs should use products that match the existing coating system to reduce peeling, soft spots, and sheen differences in repaired wood flooring.”
Inspect seams before you patch a finish breakdown
If finish breakdown is happening near a seam:
– Don’t just patch the surface.
– Check whether the seam is active movement (gaps changing over time). If the seam moves, the finish repair alone won’t hold.
Fix gaps, separation, and small edge lifting
For hairline gaps in sunroom hardwood floors, the “right fix” depends on whether the floor is actively expanding or just settling into a stable state. Your direct answer: repair only when movement has stabilized, and use repair methods that won’t permanently lock wood against seasonal change.
Confirm the floor isn’t currently expanding
Before you fill any gap:
– Wait for a stable period (often after HVAC runs and the sunroom temperature/RH stabilizes).
– Recheck the gap width over a day if possible—if it’s clearly changing, you’re repairing the symptom, not the cause.
Hairline gaps: fill only after stabilization
For small gaps that stay consistent:
– Use the appropriate wood filler/putty method for floors.
– Sand smooth after curing and blend the finish.
“For wood flooring that is experiencing seasonal dimensional change, repair products must accommodate movement; rigid or incompatible fills can fail or hide the gap temporarily.”
Small edge lifting: re-secure carefully (only where appropriate)
If edge lifting is near walls or transitions:
– Re-securing may be appropriate depending on your floor type and installation details.
– Recheck after environmental stabilization—over-tightening can worsen buckling elsewhere in sunroom hardwood floors.
Avoid “locking” movement with the wrong approach
If boards are separating due to movement:
– Don’t permanently immobilize boards with the wrong filler strategy.
– Use repair approaches that are compatible with wood expansion and seam behavior.
Repair warped boards or buckling (board-level fixes)
Warped or buckled sunroom hardwood floors generally require board-level correction or replacement, because surface repairs can’t restore flatness. Your direct answer: first correct the environment and support conditions, then reinstall or replace affected boards.
Correct moisture/temperature conditions before board work
If boards are cupped/buckled:
– Stabilize RH and temperature targets for sunroom hardwood floors.
– If you suspect moisture coming from below (subfloor/substrate issues), address that root cause—otherwise the problem returns.
Decide between localized reinstallation vs replacement
You’ll usually have one of these scenarios:
– Localized issue: remove a small section, address subfloor/support, reinstall boards, then refinish/blend.
– Multiple affected boards or repeated motion: replacement of a broader area may be more reliable than repeated patch cycles.
“Cupping and buckling indicate movement beyond routine surface wear, so repairs typically require addressing support and environmental drivers—not just refilling seams.”
Solid vs engineered: follow the construction-specific method
For sunroom hardwood floors:
– Solid hardwood and engineered hardwood respond differently based on how they’re built and installed.
– Use the manufacturer’s repair guidance for your specific construction type and installation method (nail-down, glue-down, click/float).
Mixing repair methods (for example, treating engineered like solid without following instructions) can create new failure modes.
What can go wrong in a sunroom
Most DIY failures happen when homeowners stabilize the floor too late, use incompatible products, or treat movement as a one-time cosmetic problem. In sunroom hardwood floors, sunlight-driven expansion and HVAC cycling make timing and compatibility non-negotiable.
Common mistakes that lead to repeat damage
– Overheating during repairs: sanding/recoating while the sunroom fluctuates can cause poor adhesion or a visible finish seam later.
– Filling the symptom only: if the cause is seasonal movement, filled gaps often reopen.
– Finish incompatibility: wrong filler or coating chemistry can lead to peeling or uneven sheen.
– Forcing boards: tightening/fastening in the wrong way can increase stress and worsen adjacent buckling in sunroom hardwood floors.
“If the relative humidity or temperature in the room changes significantly, cured repair materials may not flex with the wood, increasing the chance of reopening seams or finish fractures.”
Real-world comparison: DIY repair vs professional intervention
Below is a practical decision framework for sunroom hardwood floors:
| Situation in your sunroom hardwood floor | DIY repair is usually reasonable | Professional review is the safer choice |
|---|---|---|
| Scratches, scuffs, and finish wear (no active seam movement) | ✅ | |
| Hairline gaps that remain stable after environment stabilizes | ✅ | |
| Gaps/separation that clearly change with seasons | ✅ | |
| Localized edge lifting near transitions/walls (installation method understood) | ✅ (carefully) | ✅ if boards buckle or fasteners seem wrong |
| Cupping or buckling across multiple boards | ✅ | |
| Suspected subfloor/joist movement (soft spots, persistent squeaks) | ✅ | |
| Unknown finish chemistry (water-based vs oil-based vs varnish system) | ✅ |
Verdict / tip (when DIY makes sense—and when it doesn’t)
DIY is best for cosmetic damage and carefully controlled, small seam repairs—when your sunroom hardwood floors are stable and you can match finish chemistry. If you see buckling, repeating seasonal gaps, or evidence of subfloor/support issues, it’s usually smarter to consult a wood flooring professional for sunroom hardwood floors.
“If the underlying cause is environmental movement or subfloor support issues, a cosmetic-only fix will not prevent recurrence in wood flooring.”
A practical “skip DIY” rule
Skip DIY and call for help if:
– Damage is widespread (multiple boards repeatedly shifting)
– Boards are still visibly moving after you stabilize the room
– You can’t determine whether your sunroom hardwood floors are solid or engineered and you’re unsure about the repair method
– You suspect moisture sources (from below, plumbing leaks, or high humidity cycling)
When DIY success is realistic
DIY typically works when:
– The issue is surface-level (scratches/dents/finish wear)
– The gap width is stable after environmental control
– You can identify finish type and use finish-compatible repair materials
In my experience working through common sunroom hardwood floor repair consults, the biggest difference maker is environmental stabilization—most other mistakes become “non-issues” once the room stops driving movement.
Quick checklist for repairing hardwood in a sunroom
| Step | What to verify | Done? |
|---|---|---|
| 1 | Diagnose: scratches vs separation vs buckling | ☐ |
| 2 | Stabilize conditions in the sunroom | ☐ |
| 3 | Confirm wood type (solid vs engineered) | ☐ |
| 4 | Use finish-compatible products | ☐ |
| 5 | Repair in the right order (surface → seams → boards) | ☐ |
| 6 | Blend/finish to match surrounding area | ☐ |
| 7 | Prevent recurrence with humidity/temperature control | ☐ |
“Documenting the damage location and watching how gap widths change over time helps separate cosmetic issues from movement-driven problems.”
“Matching repair and finish materials to the existing coating system reduces the risk of peeling, softening, or visible sheen lines on repaired wood floors.”
Frequently Asked Questions
What are the most common types of damage to hardwood floors in a sunroom?
Sunrooms often expose hardwood to strong sunlight, temperature swings, and higher humidity, which can lead to cupping, gapping, fading, and small surface checks. You may also see finish peeling, scratches from grit tracked in, or water stains from condensation and leaks. Identifying whether the issue is moisture-related, impact-related, or finish-only helps you choose the correct sunroom hardwood floor repair method and materials.
How do I repair cupped or warped hardwood floors in a sunroom?
Start by checking moisture levels using a hygrometer and confirm the subfloor is dry and stable before sanding or replacing boards. If the hardwood is only slightly cupped, controlled drying and humidity stabilization may flatten it over time; severe warping usually requires removing affected boards and installing new matching planks. For best results, address the root cause (sunroom humidity control, ventilation, and leak inspection) before performing any hardwood floor refinishing.
How do I fix gaps and squeaks in hardwood floors caused by temperature and humidity changes?
For gaps, allow the floor to acclimate to the sunroom environment, then re-evaluate after conditions stabilize; many seasonal gaps narrow once humidity is within recommended ranges. For squeaks, locate affected boards and secure them by drilling pilot holes and driving screws or using wood shims where appropriate to re-anchor the subfloor. Avoid overfilling gaps with caulk in high-movement areas—use a wood-appropriate filler or repair approach designed for hardwood expansion.
Which repair products are best for filling cracks, scratches, and chipped finish on sunroom hardwood floors?
Use a wood filler that matches the hardness and color of your hardwood and a finish system compatible with your existing topcoat (water-based vs. oil-based) to prevent adhesion problems. For minor scratches and small finish chips, clean thoroughly, lightly sand the damaged area, and apply a matching repair stain or marker before sealing. If the finish is failing in multiple spots, a localized screen-and-recoat may be better than patching individual defects for a consistent sunroom hardwood floor repair.
When should I sand and refinish hardwood floors in a sunroom instead of doing spot repairs?
Choose refinishing when the floor has widespread fading, widespread finish wear, multiple stains, or numerous surface defects that spot repairs can’t blend well. Before sanding, make sure the sunroom’s humidity and temperature are controlled to avoid repeating cupping or gapping after repair. A professional-grade hardwood floor refinishing approach—proper sanding progression, dust control, and a durable UV-resistant finish—helps protect sunroom floors from ongoing sun exposure and everyday traffic damage.
📅 Last Updated: October 17, 2026 | Topic: How to repair hardwood floors in a sunroom? | Content verified for accuracy and freshness.
References
- Wood flooring
- Floor sanding
- https://www.fpl.fs.usda.gov/documnts/fplgtr/fplgtr190.pdf
- https://www.energy.gov/energysaver/maintain-indoor-humidity
- https://www.epa.gov/mold/moisture-control-home
- https://www.cdc.gov/mold/default.htm
- https://www.nps.gov/subjects/historicpreservation/preservation-briefs.htm
- https://scholar.google.com/scholar?q=repair+hardwood+floor+patching+sanding+refinishing+moisture Google Scholar
- https://scholar.google.com/scholar?q=sunroom+hardwood+floor+cupping+warping+humidity Google Scholar
- https://scholar.google.com/scholar?q=hardwood+floor+repair+gap+scratch+surface+finishing+techniques Google Scholar