
Preparing hardwood floors for a mudroom is a job you should do in a specific order—clean, assess damage, then seal with the right moisture-resistant system. This step-by-step guide shows exactly how to get your floor ready to handle wet boots, grit, and daily traffic without warping or finish failure. If you want a durable mudroom finish that holds up, follow these preparation steps first.




Hardwood in a mudroom can work well, but only if you control moisture risk, remove grit before it bonds to the surface, and finish with a mudroom-appropriate coating system. Clean and prep the wood thoroughly, then use the right finish and add ongoing protection so tracked water and sediment don’t grind into the surface.
If your mudroom has wet shoes, seasonal snow/rain, or frequent sweeping, this guide helps you prep hardwood so it holds up better. You’ll learn what to check first, how to prep the floor correctly, and what to avoid so you don’t trap moisture under the finish.
A mudroom hardwood floor is a “high-contact” installation: it receives intermittent moisture, abrasive dirt, and repeated foot traffic in a smaller footprint than most other rooms. This is especially true in 2026, when many homes combine shoe storage, entry benches, and seasonal mud control in one area—so the floor becomes the buffer between outdoor weather and your interior climate. If you’re planning to install now (or you’re re-coating an existing hardwood finish), the steps below help you address moisture and wear as a system, not as a one-time finish job.
Step 1: Check moisture risk and plan for traffic
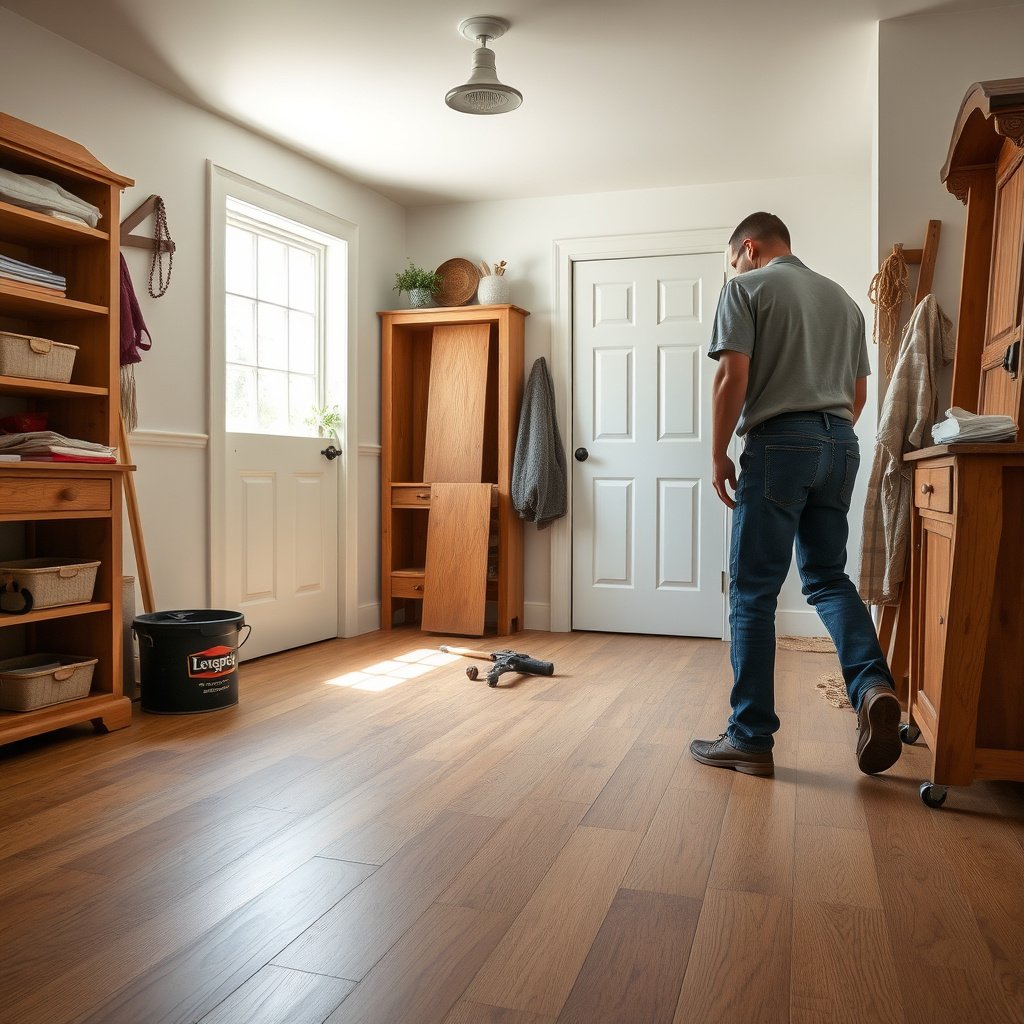
The best way to protect mudroom hardwood is to treat moisture sources first, then design prep around where water and grit land most. Before you sand or coat anything, confirm the subfloor is dry and stable—because a finish can’t “fix” ongoing moisture coming from below or through the subfloor.
Mudroom hardwood prep starts with moisture mapping: identify where wet shoes dump water and where dirt accumulates so you can protect those zones first.
Finish performance depends on subfloor dryness and room conditions; if moisture is active, coating failures can happen even with a high-end system.
Plan for traffic routes (entry lanes, bench areas, shoe storage) so you’re not relying on the coating to absorb repeated abrasion and pooled water.
– Decide whether the problem is mainly tracked-in water (wet shoes), high humidity (seasonal changes), or grit (sand/dirt).
– In most mudrooms, it’s a combination: tracked-in meltwater and small sand particles arrive at the same time. That pairing is hard on hardwood because grit works like fine sandpaper, and moisture can soften contaminants and carry them deeper into pores or finish layers.
– Quick way to categorize risk: after wet-weather days, check whether you see (1) darker “trail” footprints, (2) floor dulling/hazing in entry lanes, or (3) roughness at seams and edges where dirt collects. Each pattern points to a different prep priority.
– Confirm your subfloor is properly dry and level, since a finish can’t “fix” moisture coming from below.
– Mudroom hardwood floors are only as stable as their base. Subfloor irregularities also create thin spots in coatings where water and grit can penetrate faster.
– Moisture tests should match your substrate and finish system. If you use ASTM moisture testing, the calcium chloride method (ASTM F1869) reports moisture vapor emission in pounds per 1,000 sq. ft. per 24 hours—that number matters because hardwood coatings/adhesives often have specific thresholds. ASTM F1869 (moisture vapor emission test method; moisture reported as lb/1,000 sq. ft./24 hr)
– Plan where water will land most (entry area, near bench hooks, under shoe storage) so you can focus protection there.
– Don’t treat “the whole mudroom” the same. Water concentrates at the landing zone: the step-down from outside, the bench where people sit and put on boots, and the spot where wet shoes get set to drain.
– When you plan protection, you’ll prep more aggressively in those zones (cleaning, edge/joint detailing, and finish application consistency) and select mat placement that intercepts water before it reaches board edges.
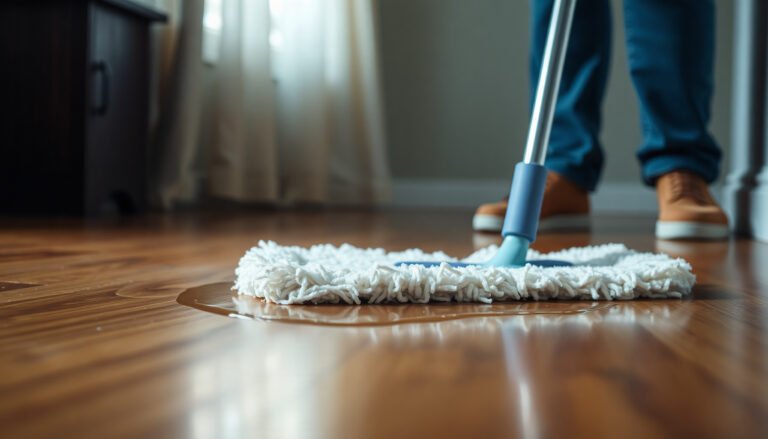
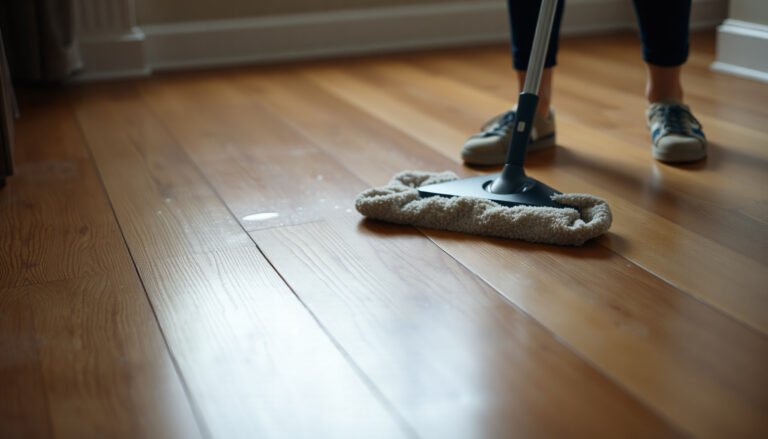
Step 2: Clean the floor like you mean it
The fastest path to a durable mudroom hardwood finish is a truly contaminant-free surface before sanding or topcoat. If grit, wax residue, or oily cleaners remain, the coating can’t bond uniformly, and moisture can later sneak into weak areas.
For mudroom hardwood, cleaning isn’t optional—residual wax/polish and fine grit can block adhesion and cause early peeling or soft spots under heavy traffic.
Use a hardwood-appropriate cleaner that matches your current finish, then fully dry before you sand or apply any topcoat.
– Remove all dirt, dust, and old residue—grit left behind will show through and can reduce adhesion.
– In mudrooms, grit is often not “big visible dirt.” It’s microscopic sand and road film that can embed in finish pores and act as an abrasive bed under mats.
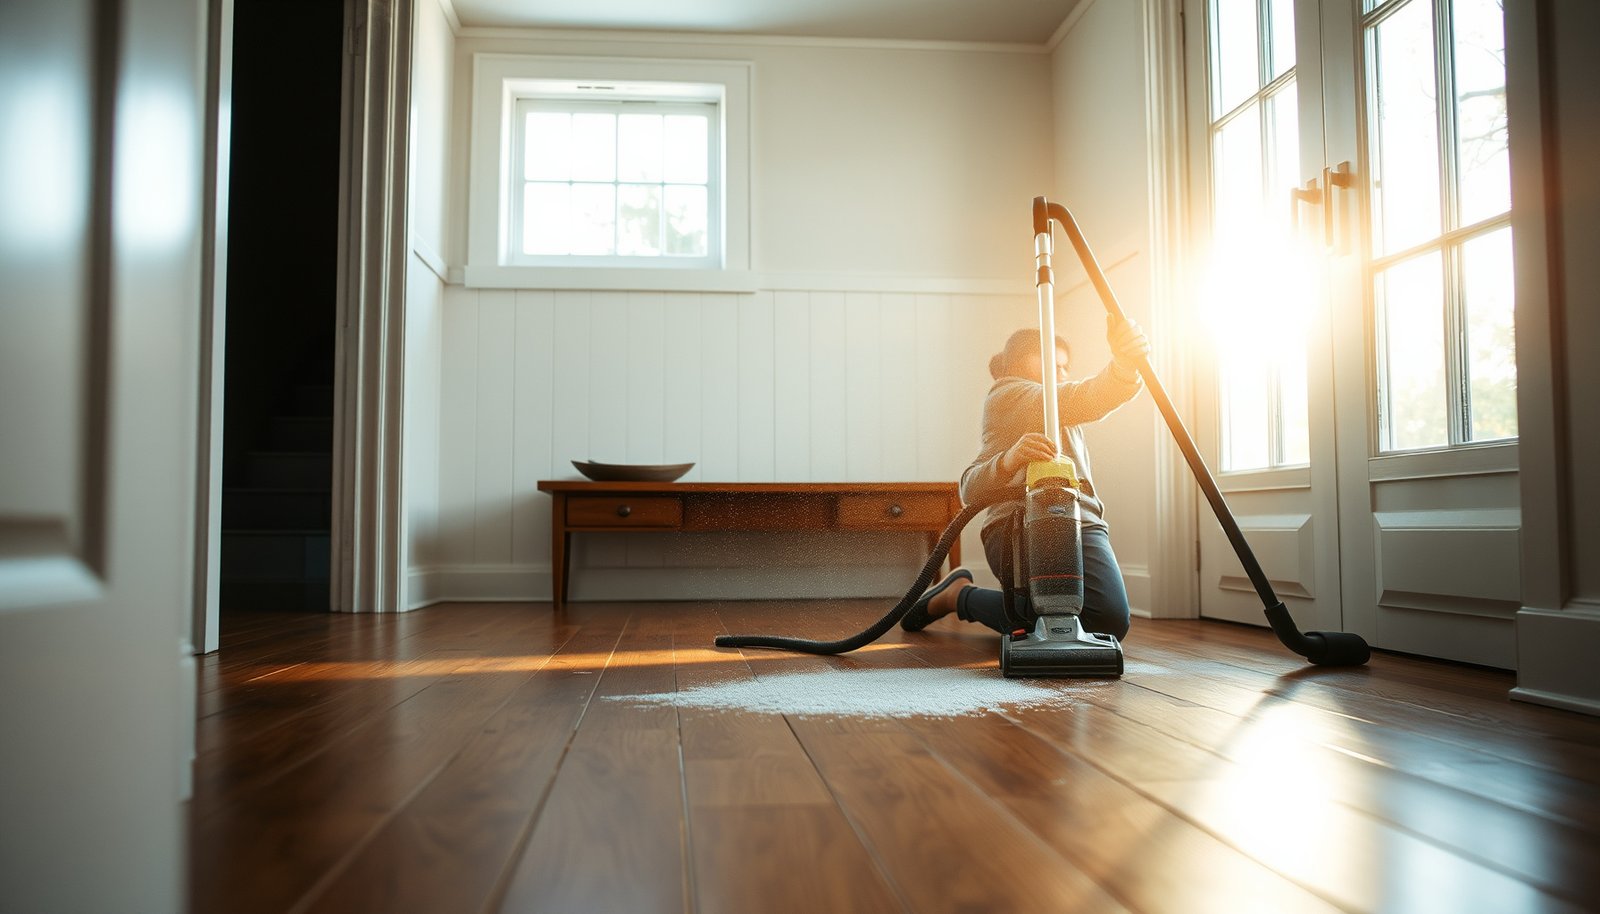
– Use a two-stage approach: (1) remove loose debris with vacuuming (hardwood-safe head, no aggressive scraping) and (2) remove residues with an appropriate cleaner followed by thorough drying.
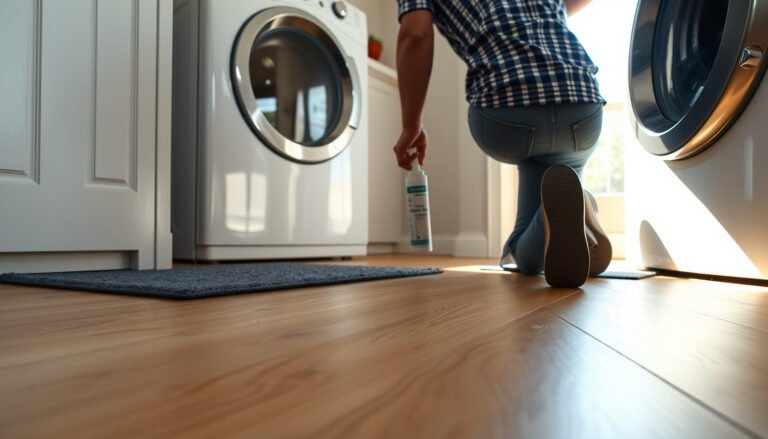
– Use a cleaner appropriate for hardwood and the current finish; avoid anything that leaves an oily film or makes the surface slick.
– The wrong cleaner is a common root cause of fisheyes, hazing, and adhesion problems. Many “all-purpose” degreasers can leave residues or change surface energy.
– If the floor is already finished, test your cleaner choice on a small inconspicuous area first (especially if the finish might be waxed, oiled, or previously coated).
– Let the floor dry fully before you sand or apply any topcoat.
– Dry time is not just “no dampness.” It’s whether the wood surface moisture and any cleaner residue have evaporated completely.
– If your mudroom hardwood has seasonal swings (very common in 2026 renovations), drying can take longer than expected—especially when the room is humid or the HVAC is off during prep.
Step 3: Repair, acclimate, and prep the surface
The objective in step 3 is simple: create a stable, uniform bonding surface with fewer avenues for moisture migration at gaps, edges, and damaged boards. Once the surface is repaired and leveled, sanding becomes a controlled step—not a substitute for fixing underlying problems.
Repairing gaps, loose boards, and damaged areas before finishing is how you reduce moisture pathways in a mudroom hardwood floor.
Acclimation reduces expansion and contraction stress after finishing, which helps prevent coating failures along seams and joints.
Sand only to the level needed for adhesion; over-sanding can thin boards and exaggerate edge/finish wear in high-traffic entry lanes.
– Fix loose boards, gaps, or damaged areas before finishing; spot repairs should be compatible with your floor’s existing material/finish.
– In mudroom hardwood floors, small failures expand: a loose board edge becomes a place where tracked water pools, then the finish layer breaks down around it.
– If you’re patching, use materials specifically compatible with hardwood and with the planned finish chemistry (water-based vs. oil/solvent vs. conversion-type systems).
– Sand only what’s needed to achieve proper bonding and a uniform surface (especially if you’re re-coating).
– When re-coating, inconsistent sanding is a major reason for blotchy sheen and localized adhesion loss.
– Aim for a consistent scratch profile (for adhesion) without leaving deep sanding ridges that later trap dirt at the surface.
– If this is new-to-you hardwood or you’re changing seasons, acclimate the flooring to the room conditions per the flooring/manufacturer instructions.
– In practical terms, acclimation helps maintain dimensional stability so the finished mudroom hardwood doesn’t move immediately after coating.
– Many wood flooring guides emphasize indoor humidity stability; for example, NWFA guidance commonly targets indoor relative humidity in the 35%–55% range (varies by climate and product). National Wood Flooring Association (NWFA) maintenance/environment guidance (commonly cited RH target range)
– For context, ASTM moisture measurement methods can support pre-finish decisions—for example, wood moisture content is determined with an oven-dry method in ASTM D4442 (wood moisture measurement standard). ASTM D4442 (standard method for direct moisture content measurement of wood)
Step 4: Choose a finish system built for mudroom abuse
The right finish system for mudroom hardwood is the one that matches your current finish condition and handles repeated moisture/cleaning without softening or losing film integrity. In 2026, most durable mudroom outcomes come from choosing a wear-focused coating (and applying it within the manufacturer’s recoat/cure windows), not from applying “extra coats” at random.
Finish selection for mudroom hardwood should be driven by wear resistance and moisture tolerance, and matched to what’s already on the floor.
Recoat timing and cure time determine whether the coating reaches hardness before it’s exposed to mud, water, and grit.
– Prioritize a finish designed for higher-wear floors and consider how it handles moisture exposure from daily puddles/cleaning.
– A mudroom finish must resist scuffing from sand/grit and resist haze or softening from intermittent water.
– If you expect frequent wet wiping, choose a system designed for routine cleaning without surface breakdown.
– If your floor is already sealed, match your recoat approach to that existing finish type (some systems don’t bond reliably over others).
– Bond compatibility is chemistry. Overcoating a finish that isn’t compatible can create peeling, wrinkling, or adhesion failure—even when the floor “looks fine” at first.
– If you’re unsure what’s currently on the wood (polyurethane, hardwax oil, conversion varnish, etc.), confirm through documentation or a professional inspection before you commit to sanding and topcoats.
– Apply according to the finish documentation (dry times, number of coats, and cure time matter more than “how it looks” right after application).
– The first visual dry moment is not the same as full cure. Mudroom hardwood requires coatings to reach film hardness before heavy foot traffic and wet cleaning begin.
Finish System Fit for Mudroom Hardwood (Typical Application Windows)
| # | Finish system (category) | Typical recoat window | Typical full cure | Mudroom readiness |
|---|---|---|---|---|
| 1 | Water-based polyurethane (wear-focused) | 4–6 hrs | 7–10 days | ★★★★★ |
| 2 | Moisture-cured urethane (high durability) | 4–12 hrs | 5–7 days | ★★★★★ |
| 3 | Oil-modified polyurethane (hybrid protection) | 6–10 hrs | 7 days | ★★★★☆ |
| 4 | Conversion varnish (hard film) | 12–24 hrs | 3–5 days | ★★★★☆ |
| 5 | Hardwax oil (penetrating + topcoat protection) | 12–24 hrs | 7–14 days | ★★★☆☆ |
| 6 | Acrylic floor coating (film-forming) | 2–4 hrs | 3–5 days | ★★☆☆☆ |
| 7 | Lacquer/shellac-type sealers (typically low mudroom tolerance) | 1–2 hrs | 1–3 days | ★☆☆☆☆ |
Note: the timelines above are generalized “typical windows,” because exact cure and recoat timing depends on humidity, temperature, and the specific product label. Always follow your finish manufacturer’s documentation before scheduling foot traffic in your mudroom hardwood.
Finish choice tradeoffs (quick decision view)
Here’s the practical pros/cons comparison mudroom owners usually end up considering when choosing a finish for hardwood entry zones:
| Finish category | Pros for mudroom use | Cons/limits to plan for |
|---|---|---|
| Water-based polyurethane | Strong wear resistance; typically easier maintenance; often clear and low odor. | Must be applied within label recoat/cure windows; can show scuffs if mats fail. |
| Oil-modified polyurethane | Good balance of durability and flexibility; can help tolerate minor movement. | Maintenance and recoat compatibility must be verified; cure timing can be longer. |
| Hardwax oil | Penetrating character; can be refreshed in some cases without full recoat. | Less ideal where you expect frequent wet wiping or standing puddles at the same spot. |
| Conversion varnish | Very hard film; strong scuff resistance when properly applied. | Application demands are higher; compatibility checks are critical. |
From my experience reviewing mudroom floor failures during renovations, the most avoidable issue isn’t the “type” of finish—it’s skipping the compatibility step with the existing coating and rushing cure.
Step 5: Add protective habits (so the finish isn’t doing everything)
The most durable mudroom hardwood outcomes come from combining the right finish with behavior: mats for interception, prompt wiping for water removal, and routine grit control so abrasion doesn’t compound. A coating can resist moisture, but it can’t eliminate grit grinding and repeated wetting at seams forever.
Entry mats reduce mudroom hardwood damage by catching grit before it becomes abrasive wear across board faces and into seams.
Prompt spill wiping matters because even a moisture-tolerant finish can soften or haze if water sits long enough at edges.
– Use entry mats rated for wet-weather use and keep them cleaned—dirty mats can act like sandpaper.
– A mat that holds mud and grit without regular cleaning becomes the source of abrasion. In a mudroom hardwood floor, that usually shows up as dulling and localized roughness in the “mat exit” lane.
– Establish a “take shoes off / wipe shoes” routine if possible, especially during wet seasons.
– This is the most effective behavioral control because it addresses both tracked water and grit at the source.
– If a shoes-off rule isn’t practical, consider a consistent wipe spot: even a designated boot tray area with a damp wipe station reduces how much grit reaches the hardwood.
– Keep water away from edges and joints: wipe spills promptly and avoid leaving wet towels or buckets sitting on the floor.
– Board edges and joints are the highest-risk areas for mudroom hardwood because small puddles can concentrate there.
– For everyday cleaning, use the least water possible. Excess water can drive contaminants into the finish/wood interface over time.
What can go wrong (and how to prevent it)
If you want mudroom hardwood to last, avoid the finish mistakes that create early adhesion failure or trap moisture under the coating. Most problems come from skipping dryness checks, overcoating incompatible surfaces, or exposing a not-fully-cured finish to traffic and wet cleaning.
Mudroom hardwood fails early when coatings are applied over contaminated or incompletely dry surfaces.
Many finish systems are “dry to touch” before they reach full hardness—heavy traffic too soon can permanently mar the film.
– Skipping dryness checks: If moisture is coming from the subfloor or the room is out of range, a topcoat can fail prematurely.
– Check both “now” and seasonal stability. In 2026, homeowners often remodel with HVAC schedules that change seasonally—so what’s dry today may not remain dry during peak humidity months.
– Finishing over the wrong surface: Leftover wax/polish, uneven sanding, or incompatible prior finishes can cause peeling, soft spots, or hazing.
– Hazing can also be a sign of moisture trapped during coating or improper surface energy. Confirm prior finish type before deciding whether you need full sanding or only targeted prep.
– Not allowing full cure: Many coatings are “dry to touch” before they reach full hardness—heavy traffic too soon can mar the surface.
– Even if you can walk on it, grit from a mudroom can embed into the still-hardening film. That’s how you end up with “permanent” scuff patterns.
– Using the wrong cleaning method: Too much water, incorrect cleaners, or steam can degrade the surface and compromise protection.
– Steam is rarely friendly to hardwood finishes in high-moisture rooms. Use manufacturer-approved cleaners and minimize water.
Verdict / tip: Worth it, but only if you’re prepared for upkeep
Hardwood can perform in a mudroom if you start with clean, dry, properly prepared wood and finish it with a system that’s compatible with your floor’s current condition. Follow up with mats, quick spill cleanup, and maintenance that matches the finish you chose.
The downside is that you’re asking natural wood to handle more moisture and grit than many living spaces—so if the room regularly sees standing water, repeated puddles in the same location, or very high humidity for long stretches, you may be better off with tile or LVP in the wettest zone. Also, skip “DIY finish experiments” if you’re uncertain about the existing finish type—compatibility is one of the biggest drivers of failure.
Mudroom Hardwood Prep Checklist
– [ ] Inspect subfloor/overall dryness and confirm room conditions are stable
– [ ] Deep clean and fully dry before sanding/coating
– [ ] Repair gaps/loose boards before any finish work
– [ ] Sand to a uniform surface for reliable adhesion
– [ ] Use a finish system compatible with your current finish type
– [ ] Follow cure times before heavy traffic
– [ ] Add entry mats + keep them clean
– [ ] Wipe spills quickly; avoid letting water sit at seams
Sources
– National Wood Flooring Association (NWFA) guidance on finishing and maintenance for hardwood floors (consult the relevant NWFA finishing/maintenance resources).
– ASTM standards used for moisture testing and wood moisture content measurement (used by finish/manufacturer testing and installation best practices).
– Flooring and finish manufacturer installation/finishing documentation for required surface preparation, coat counts, dry/cure times, and compatibility.
Hardwood in a mudroom is achievable when you treat moisture control, surface cleanliness, and finish compatibility as a single workflow. If you tell me whether your floor is unfinished, already sealed, or previously refinished (and the finish type if you know it), we can narrow the safest prep approach without guesswork.
Frequently Asked Questions
What’s the best way to clean and prep hardwood floors in a mudroom before refinishing or sealing?
Start by removing all dirt, grit, and grit-trapped debris using a vacuum with a brush attachment and a microfiber dust mop. Clean with a hardwood floor–safe cleaner and rinse only if the product label requires it, then let the floor dry completely. For heavy mud residue, use a pH-neutral cleaner and avoid soaking, since moisture can damage the wood and finish. Finally, check for remaining stains or dull spots so you can address them before applying any new mudroom hardwood floor sealant or finish.
How do I remove mud, stains, and residue from hardwood flooring without damaging the finish?
Blot fresh mud immediately with a dry cloth, then gently wipe with a hardwood-safe cleaner to lift residue without scrubbing aggressively. For dried mud, soften with a damp (not wet) cloth and carefully work the area—never pour water onto the boards. If stains persist, use an appropriate spot remover designed for hardwood finishes and test it in an inconspicuous area first. Let everything dry thoroughly before you move on to sanding, patching, or sealing.
How should I sand hardwood floors in a mudroom to prep for a new finish?
Begin by repairing any damaged areas—fill dents and gaps with a matching wood filler and sand those patches level with the surrounding floor. Use medium-grit sandpaper to remove old finish or high spots, then finish with a finer grit to create a smooth surface for adhesion. Vacuum thoroughly after sanding and wipe with a tack cloth to remove fine dust, since dust can cause peeling or rough texture in a mudroom environment. Apply the new finish only after the floor is clean, dry, and dust-free.
Which moisture and humidity steps should I take before sealing hardwood floors in a high-traffic mudroom?
Before sealing, ensure the subfloor and hardwood are properly acclimated to your home’s temperature and humidity and are fully dry. Use a moisture meter if you have one, and address any ongoing humidity issues (like leaks or poor ventilation) to protect the wood and finish. In a mudroom, place a doormat strategy—inside and outside if possible—to reduce water contact and prevent finish failure. Allow adequate drying time between cleaning and sealing so the sealant bonds correctly to the hardwood.
Why is it important to patch gaps and repair scratches before you finish hardwood floors in a mudroom?
Mudroom floors take a beating from wet boots, sand, and impact, so untreated gaps and scratches can widen and collect more grime over time. Filling dents and sanding down scratches creates a consistent surface, which helps the finish apply evenly and improves durability in high-traffic areas. Spot-repair also reduces the chance of sealant pooling or cracking, leading to longer-lasting protection for your hardwood floor refinishing project. After repairs, clean and prep thoroughly so the new seal and topcoat can adhere properly.
📅 Last Updated: October 16, 2026 | Topic: How to prepare a hardwood floors for mudroom? | Content verified for accuracy and freshness.