
Learn exactly how to measure for reclaimed wood floors with a step-by-step method that prevents costly mistakes and delivers a precise material estimate. This guide tells you what to measure, where to measure it, and how to calculate square footage around irregular rooms and transitions. By the end, you’ll know how to size your order confidently—so the reclaimed planks fit right the first time.




Measure reclaimed wood flooring by calculating square footage in accurate sections, subtracting what you won’t cover, and then converting square feet into box/board quantity using the exact coverage and waste guidance for your specific product. Break irregular rooms into rectangles, map transitions (doorways/hearths/borders), and only then translate area into how many boards/boxes you need—so your reclaimed planks land where they should.
This is for homeowners or DIY installers measuring before ordering reclaimed wood flooring—especially when the room has doorways, offsets, or an irregular footprint. It’s also useful when reclaimed boards vary slightly in length/width, so your plan needs a little extra accuracy.
Tools & prep for accurate reclaimed wood floor measurements

Start by gathering consistent measuring tools and defining the exact install footprint. With reclaimed wood floors, the most expensive mistakes come from measuring different surfaces (or forgetting to exclude closets/built-ins) before you ever do the math.
Square footage is the foundation of reclaimed wood floor estimating, because box/bundle quantities are almost always published as “coverage per box” in square feet.
Using one consistent starting point (for example, the same finished wall plane at each doorway) prevents subtle mismatches when you later subtract obstructions and map transitions.
Before you order, confirm whether closets, built-ins, hearths, and stair landings are included in the reclaimed wood floor scope—because “included vs excluded” changes the total coverage area.
– Gather a tape measure, pencil, notepad/graph paper (or a phone measuring app), and a way to record measurements (sketch/photo from each corner helps).
– Measure from finished/walkable surfaces consistently (use the same “starting point” for every dimension, especially at doorways and cabinets).
– Confirm what areas will be floored vs. left out (closets, hearths, built-ins). Decide this before you calculate square footage.
Prep details that make reclaimed wood floor measuring easier
1. Pick a “measurement baseline.” For reclaimed wood floors, I recommend you choose a single consistent reference line—often from the inside finished face of baseboards or from a marked wall plane—so your lengths match when you re-check them later.
2. Sketch first, calculate second. A quick plan with labeled corners and dimensions (even if it’s rough) reduces the chances you transpose a length and width in one section.
3. Record opening details while you’re there. Doorways and transitions rarely line up neatly with room corners. Measure the opening width and where the new flooring ends/starts so you can apply subtraction and seam direction correctly.
Anchor facts (helpful when converting or double-checking)
According to NIST, 1 inch equals 25.4 mm exactly (). Also, a square foot is the area of a 1 ft × 1 ft square, equal to 144 square inches (). Those unit conversions don’t replace your square-foot math, but they help when you review product specs that list dimensions in inches or metric.
Measure the room like a rectangle (then break into sections)
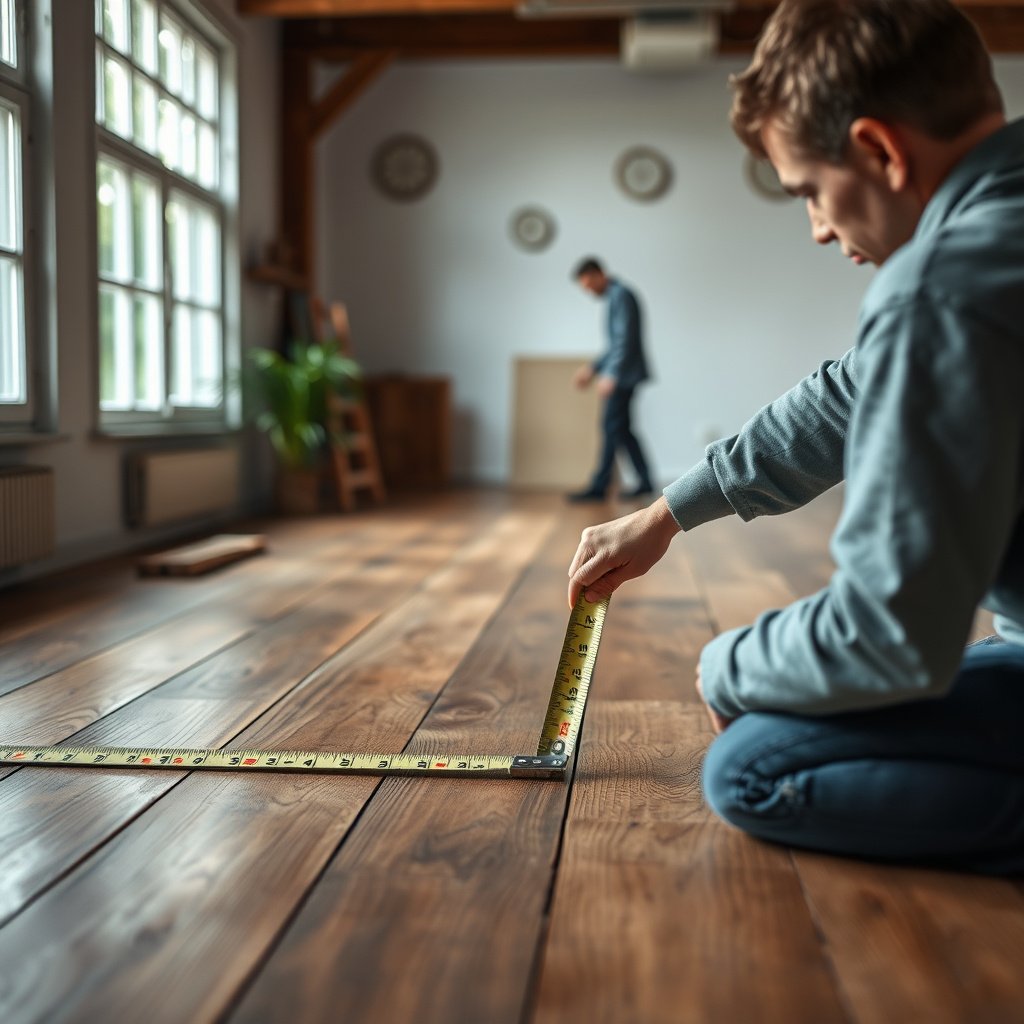
When the room is a simple rectangle, measure length × width and add up the results. When it’s not, break the room into measurable rectangles or right-angle sections—then total the square footage for the reclaimed wood floor.
For each measurable section, reclaimed wood floor square footage follows the same rule: length × width.
If your corners aren’t 90°, forcing one rectangle can create a square-foot error big enough to cause shortages after subtracting doorways, closets, and built-ins.
– Measure the longest wall lengths and the perpendicular widths; if corners aren’t 90°, don’t force a rectangle—divide the room into sections you can measure cleanly.
– For each section: length × width = square feet, then add the sections together.
– Record your measurements with a simple sketch labeled with each dimension so you can catch mismatches before ordering.
How to decide where to “cut” the room into sections
Use the reclaimed wood floor footprint that your installer will actually cover. Good places to split into sections include:
– L-shaped kitchens/dining areas: split at the inside elbow where one wall steps back.
– Bay windows or angled nooks: either split into two rectangles that approximate the bay footprint or measure an additional “side rectangle” beyond the main area.
– Offsets around a peninsula: break at the offset edge that interrupts the main flow.
A quick rule for your sketch (to prevent math drift)
Re-measure every “shared edge” between two sections. For example, if Section A’s width equals Section B’s width along the same wall line, they should match. If they don’t, the issue will usually show up before you place an order for reclaimed wood flooring.
Subtract obstructions and map transitions
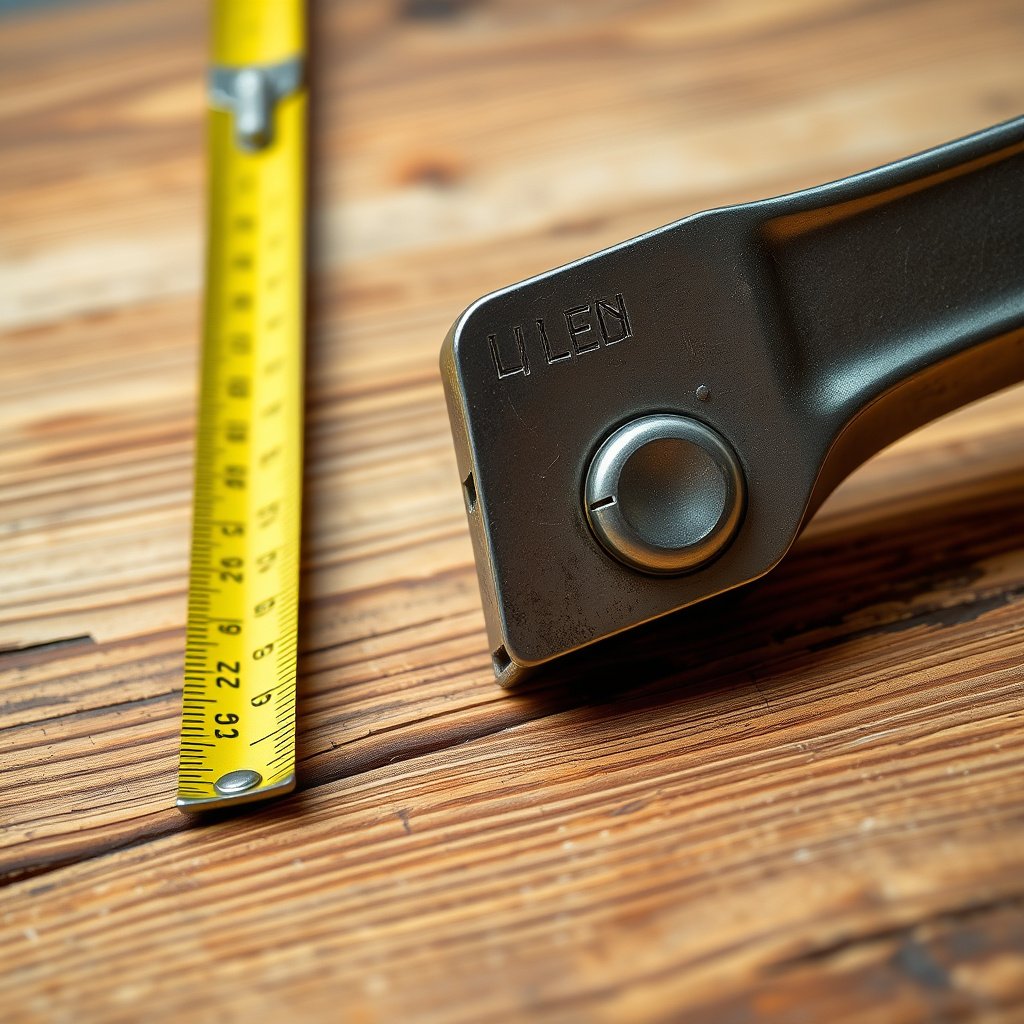
Reclaimed wood floor measuring is incomplete until you subtract excluded areas and map every transition line. Doorways, built-ins, and hearths don’t just affect trim—they affect the square feet you’re actually ordering.
Subtract areas you won’t cover (closets, built-ins, hearth cutouts) before you convert reclaimed wood floor square footage into box quantity.
Measure transition thresholds precisely because flooring direction and seam placement determine how your reclaimed planks meet adjacent surfaces.
– Subtract areas you won’t cover (e.g., door swings only matter if you’re doing full coverage under them, but built-in cabinets usually require subtracting; confirm your install plan).
– Measure openings/thresholds you’ll transition at (entryways, sliding doors, floor-to-floor changes). Note how the flooring direction will meet the transition line.
– If you’re adding a border or working around a fireplace opening, measure that feature precisely so your estimate matches your layout strategy.
What to subtract (common reclaimed wood floor scope items)
In most residential installations, you typically subtract:
– Built-in cabinetry (including islands that are permanently fixed)
– Closets that won’t receive flooring
– Hearths or fireplaces where flooring is stopped or cut around openings
– Stair landings (unless you’re actively flooring that landing as part of the same order plan)
– Large post supports or fixed structures that prevent plank installation
If you’re unsure whether something is included in your reclaimed wood floor plan, decide now—before you calculate board totals—because subtraction errors persist even after you apply waste factors.
Map transitions while you still have your tape measure out
Write down:
– The threshold width and where it lands relative to your section lines.
– Whether you’re using T-molding, reducers, or butt seams at transitions.
– Flooring direction for the reclaimed planks (e.g., parallel to the longest wall), especially if you plan a border.
From my experience helping homeowners plan reclaimed wood floor layouts, the most frustrating rework happens when the “included area” is correct on paper but the seam direction at a doorway doesn’t match the install plan.
Pros/cons: measure-first vs layout-first
| Approach | Pros | Cons |
|---|---|---|
| Measure-first (square footage first) | Fast to estimate area; easier to reconcile subtraction items. | Can miss how seam direction affects waste and board selection. |
| Layout-first (direction/border first) | Helps you avoid narrow slivers near walls and improves seam aesthetics. | Takes longer upfront; you can still mis-estimate area without careful section math. |
Calculate how many boards you need

After you have “final flooring square feet,” convert that area into order quantity using the reclaimed flooring unit you’re buying—then apply a waste allowance based on the specific product and install method.
Use the manufacturer’s published coverage (square feet per box/bundle) for reclaimed wood floors—never convert from dimensions alone.
Waste is not one-size-fits-all for reclaimed wood flooring; cut complexity, plank layout, and trim strategy change how much extra material you’ll need.
– Convert your final “flooring square feet” into order quantity using the reclaimed flooring unit you’re buying (usually square feet per box or coverage per bundle). Use the manufacturer’s published coverage for accuracy.
– Account for reclaimed variability and cuts by adding a waste factor recommended for your specific product/installation method (use the guidance provided with the flooring or by your installer—don’t guess blindly).
– Decide whether you’ll install in the direction that best hides seam variation (many reclaimed floors look better when seam layout is planned rather than purely “random everywhere”).
How to do the math (the repeatable workflow)
1. Start with final flooring area (sq ft).
This is your room-section total minus excluded spaces (closets/built-ins/hearths).
2. Adjust for waste (percent).
Example format:
Adjusted area = Final area × (1 + waste%)
3. Convert adjusted area to boxes/bundles.
Boxes = Adjusted area ÷ coverage per box (from the exact reclaimed product listing/spec sheet).
4. Round up conservatively.
If your result sits between whole boxes, rounding up reduces the risk of stopping mid-install due to reclaimed wood variability.
Example: box math for a hypothetical coverage scenario
The table below illustrates the calculation structure (it uses sample coverage and sample waste only, so you can see the steps clearly). Always replace the assumed values with the coverage and waste guidance for your specific reclaimed wood flooring.
Sample Reclaimed Wood Floor Ordering Math (Coverage = 20 sq ft/Box, Waste = 12%)
| # | Final Floor Area (sq ft) | Waste-Adjusted Area (sq ft) | Coverage (sq ft/Box) | Estimated Boxes (Ceil) | Planning Clarity |
|---|---|---|---|---|---|
| 1 | 80 | 89.6 | 20 | 5 | ★★★★★ |
| 2 | 100 | 112.0 | 20 | 6 | ★★★★★ |
| 3 | 125 | 140.0 | 20 | 7 | ★★★★☆ |
| 4 | 150 | 168.0 | 20 | 9 | ★★★★☆ |
| 5 | 175 | 196.0 | 20 | 10 | ★★★☆☆ |
| 6 | 200 | 224.0 | 20 | 12 | ★★★☆☆ |
| 7 | 250 | 280.0 | 20 | 14 | ★★☆☆☆ |
Note: This table is for demonstrating the reclaimed wood floor estimation process, not for replacing your product’s real “coverage per box/bundle” and manufacturer waste guidance.
Plan for boards that vary (why reclaimed wood changes your layout)
Reclaimed boards aren’t manufactured to perfect uniformity, so the “math-only” board count can still produce narrow slivers or awkward end cuts. Plan the layout direction, shuffle lengths/widths, and anticipate that reclaimed wood flooring can require extra trimming at edges.
Reclaimed wood flooring often comes in mixed lengths and widths, so your final fit depends on how you sequence planks—not just on total square footage.
A planned layout (and seam strategy) can reduce visible pattern repetition and minimize waste created by avoiding damaged boards.
– Reclaimed boards can vary in width and length, so the “perfect” count from square footage may still leave gaps at some areas—plan to shuffle/rotate boards during layout.
– If your reclaimed product comes in mixed widths, measure the space and your layout so you can avoid narrow slivers near walls (or plan for them where they’re least visible).
– Before ordering, double-check whether your product has a stated grading/expected variation and whether that affects installation guidance you should follow.
How variability changes your measurement decisions
1. Wall edges stop being “math-perfect.” If boards vary by a few eighths of an inch, the last row may not land where you expect—especially near borders, hearths, and door transitions.
2. Shuffle affects coverage usage. When you swap a wider plank into a row, you may free up space for a damaged section elsewhere, which changes trim waste in a non-obvious way.
3. Damage and character aren’t defects, but they change planning. Reclaimed lumber may include checks, nail holes, or voids that some installers avoid placing near sight lines.
Comparison snapshot: measuring method support
| Feature | Tape Measure + Sketch | Measuring App + Photos |
|---|---|---|
| Best for irregular footprints | High (you can label each section) | Medium (depends on camera alignment) |
| Checks shared edges between sections | Easy (explicit dimensions on sketch) | Harder (app rounding can obscure mismatch) |
| Records transition widths | Strong (you can write exact openings) | Good (photos help, but numbers may drift) |
| Risk of rounding creep | Lower (you choose precision) | Higher (app may round aggressively) |
| Supports subtraction documentation | Very good (mark excluded zones) | Good (photos help, but you must transcribe) |
| Seam direction planning | Easy to annotate arrows | Moderate (annotations may be less clear) |
| Learning curve | Low | Low to moderate |
| Time to capture a quick estimate | Fast for most rooms | Can be fast, but recalibration may be needed |
| Best practice for double-checking | Re-measure shared edges | Validate with manual tape spot-checks |
| Data portability to a flooring pro | Very good (scan or photo sketch) | Good (export app visuals) |
| Best For | DIY reclaimed wood floor installs with doorways/offsets | Fast pre-checks when a pro will verify measurements |
What can go wrong when you measure
Reclaimed wood floor estimates fail most often when people treat the room like a simple rectangle or skip the coverage/waste math. Avoid those traps and your chances of ordering the right amount improve substantially—especially in 2026-era installations where reclaimed products vary more frequently.
The most common measurement failure is assuming a perfect rectangle when offsets, bay sections, or angled corners exist.
A square-feet-only order can still fail if you don’t map transitions and subtract excluded zones before converting to box quantity.
Using the wrong coverage basis (dimensions vs published coverage) turns a correct square-foot calculation into an incorrect order quantity.
– Assuming the room is a perfect rectangle—offset walls, angled corners, or bay windows can throw off your square footage and cause shortages or excess.
– Ordering based only on “total square feet” without considering transitions and skipped areas (closets, built-ins, stair landings, or hearths).
– Using the wrong coverage basis (e.g., confusing “board thickness/size” with “square feet per box/bundle”). Always use the coverage figure shown by the seller/manufacturer for that specific item.
– Underestimating the need for cut/trim planning—especially around doorways and irregular edges—leading to insufficient material.
Measure-by-math vs measure-by-install (quick comparison)
| Criteria | Order by total square feet only | Order by coverage + waste + transitions |
|---|---|---|
| Handles offsets/irregular footprints | Low | High |
| Subtracts built-ins/hearths/closets correctly | Often missed | Built into the calculation |
| Uses published coverage per box | No (common mistake) | Yes (required) |
| Applies product-specific waste guidance | Usually guessed | Based on documentation |
| Accounts for border/cut strategy | Inconsistent | Designed upfront |
| Reduces risk near doorways/transitions | Higher risk | Lower risk |
| Seam/board sequencing visibility control | Not planned | Planned |
| Mismatch debugging after arrival | Harder (less data) | Easier (measured sections + notes) |
| Total chance of mid-project shortages | Higher | Lower |
| Best documentation for a flooring pro | Limited | Complete |
| Verdict | Only works reliably for simple rectangles with no skipped zones | Works for reclaimed wood floors in real homes with offsets and transitions |
Verdict: measure twice, then confirm with a waste factor checklist
If you measure by section, subtract what won’t be covered, and calculate board quantity using the product’s published coverage and waste guidance, you’ll get much closer to a correct order. The downside: reclaimed wood variability means you can still end up with more trimming than expected, so you may want a buffer beyond the absolute minimum—only as recommended for your specific flooring and install method. Skip this approach (or get help) if your room layout is very complex, you’re unsure what areas are included, or you can’t follow the flooring maker’s installation/coverage instructions.
Quick scan checklist (save this)
| Step | What to record | “Good” sign |
|---|---|---|
| Section measurements | Length × width for each room section | Sketch matches on-site reality |
| Subtractions | What’s excluded (built-ins, fixtures, etc.) | No “double counting” areas |
| Transition mapping | Threshold lines and doorways | Layout direction is decided |
| Product coverage | Square feet per box/bundle from the flooring listing | You used the exact item you’ll order |
| Waste allowance | Use the waste guidance from the manufacturer/installer | Estimate matches your tolerance for trim |
Frequently Asked Questions
How do I measure my room for reclaimed wood floor installation?
Start by measuring the room’s length and width, then multiply to estimate square footage. Add extra material by accounting for waste—typically 10% for standard installs and up to 15% for complex layouts or lots of cuts. Measure any alcoves, closets, or irregular areas separately so you can calculate total reclaimed wood floor area accurately. Finally, check that your measurements are level and consistent across the room to avoid surprises during fitting.
What is the best way to measure for reclaimed wood planks if the boards vary in width?
Because reclaimed wood flooring often has slight width and thickness differences, measure in “rows” rather than assuming every plank matches perfectly. Measure the room width at multiple points and note the narrowest width to plan your plank layout. Dry-lay or mock up a few rows to see how the reclaimed wood planks fit together and how much you’ll need to trim from the first and last rows. This reduces gaps and helps you maintain an even look across the floor.
How do I measure for reclaimed wood floor boards around doorways, closets, and transitions?
Measure from wall to wall for the main run, then measure each doorway opening and transition area separately. Plan the flooring height and expansion requirements at thresholds, especially for reclaimed hardwood installation over subfloors. If you’re using a reducer, T-molding, or transition strip, measure both sides of the transition so the lines align neatly. Recording these dimensions prevents shortfalls and ensures your reclaimed wood floor transitions look intentional.
Which tools should I use to measure for reclaimed wood floors accurately?
Use a tape measure for length and width, a chalk line or laser level to mark key reference lines, and a measuring wheel if the space is large. For irregular walls, use a straightedge and note offsets at several points so reclaimed wood flooring can be laid square. A square helps verify corners, and a notebook or diagram prevents missed dimensions when calculating square footage and waste. Accurate tools make layout planning easier—especially when working with reclaimed wood boards that may not be perfectly uniform.
Why do I need to measure for reclaimed wood floor thickness and subfloor conditions before ordering?
Reclaimed wood floors can vary slightly in thickness, and your measurement needs to account for the finished height at door clearances. Measure your subfloor flatness and thickness, since uneven surfaces can affect how the boards lock, nail, or glue down. If you’re adding underlayment or an underlayment pad, measure for that height too so transitions don’t become uneven. Planning thickness and subfloor conditions upfront helps you order the right reclaimed wood flooring quantity and avoid installation problems.
📅 Last Updated: October 15, 2026 | Topic: How to measure for reclaimed wood floors? | Content verified for accuracy and freshness.
References
- Wood flooring
- Flooring
- Floor area
- Square foot
- https://en.wikipedia.org/wiki/Construction_quantity_surveying
- https://scholar.google.com/scholar?q=reclaimed+wood+flooring+installation+estimating+materials+square+footage Google Scholar
- https://scholar.google.com/scholar?q=hardwood+flooring+estimating+how+much+wood+to+buy+waste+factor Google Scholar
- https://scholar.google.com/scholar?q=floor+measurement+for+hardwood+floor+installation+layout+room+drawing Google Scholar
- https://scholar.google.com/scholar?q=estimating+floor+covering+materials+for+irregular+board+width+reclaimed+wood Google Scholar
- https://scholar.google.com/scholar?q=wood+floor+installation+layout+measurement+rules+of+thumb+expansion+gap Google Scholar