
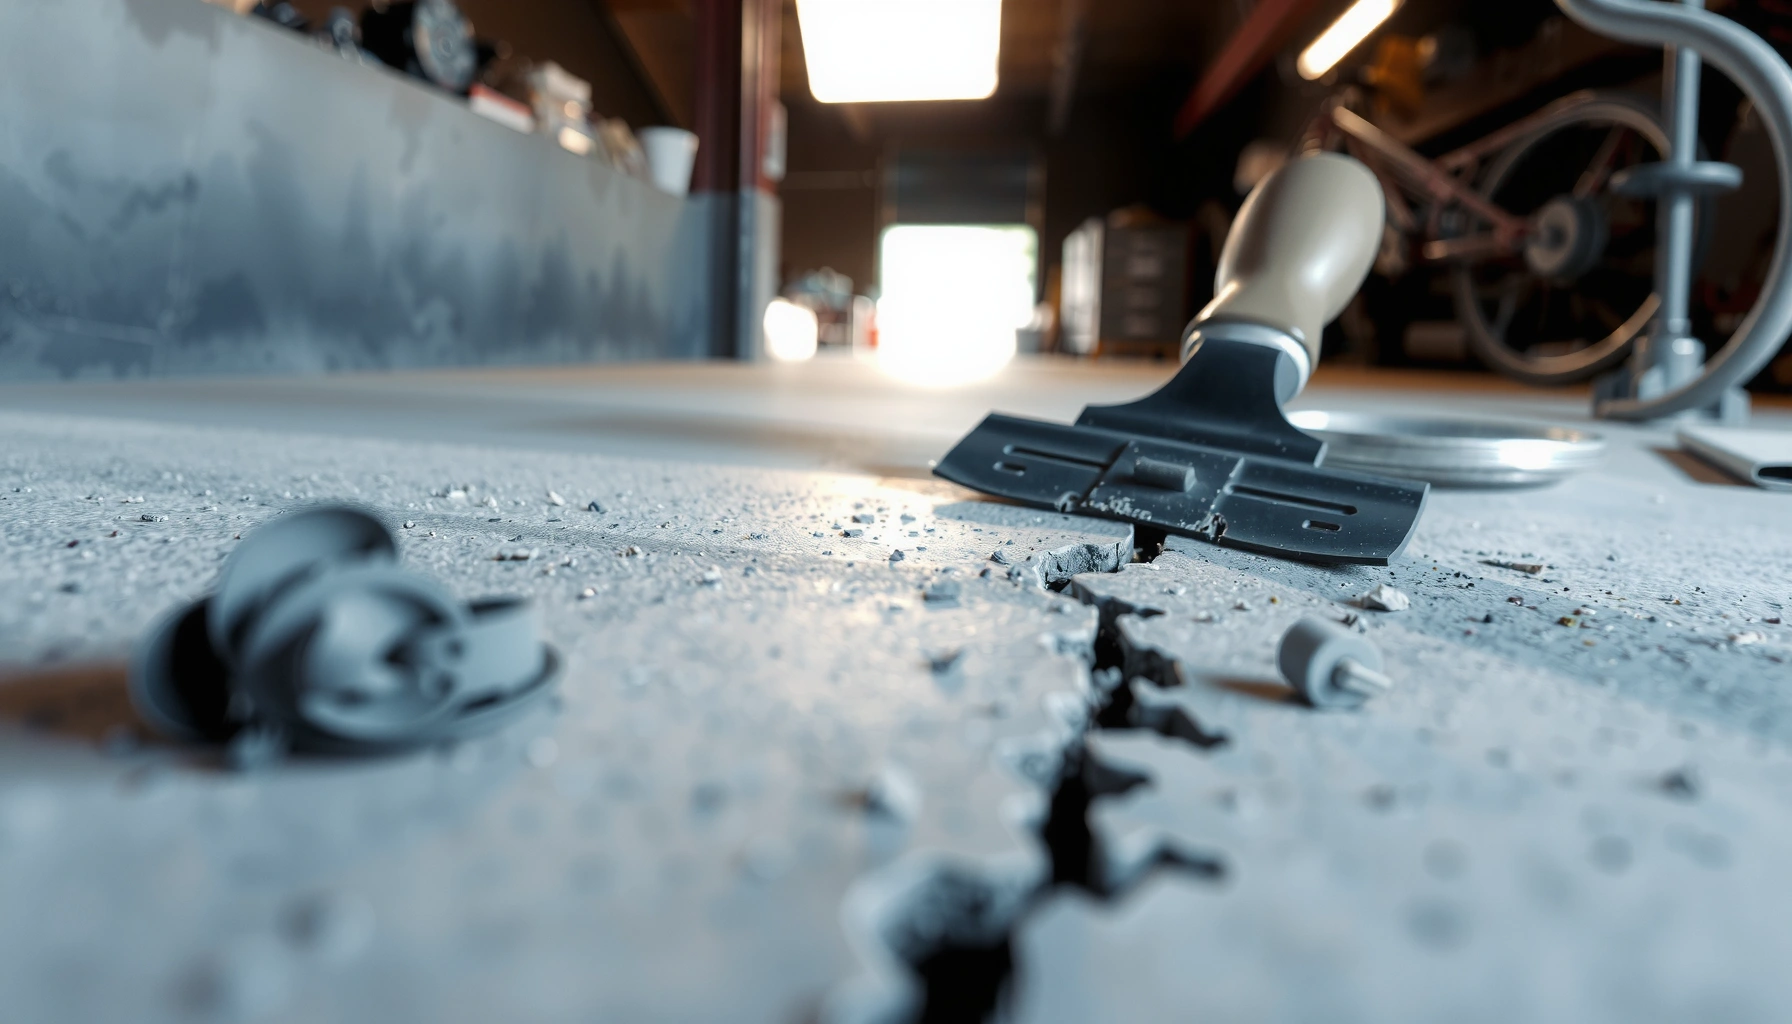

Gaps in garage floors don’t need a total slab replacement—most can be fixed cleanly with patching compounds designed for concrete and proper surface prep. This guide walks you through the practical repair steps that seal the gap, prevent new cracking, and restore a level, durable finish. If you want the quickest, most reliable way to eliminate garage floor gaps, follow the method that fits the gap size and cause.




If you have gaps in your garage floor, the durable fix is to clean out loose material, confirm whether the joint is moving, then use a patch or joint-seal system that matches that movement (rigid vs. flexible) and seals out water. This guide walks you through the right filler choice—concrete patching versus epoxy/urethane joint systems—plus prep, application, and sealing so the repair doesn’t fail the next time the slab expands and contracts.
This is for homeowners dealing with joint gaps, hairline cracks, or separation around slab edges—especially when you notice drafts, dampness, or sand-like residue (often degraded concrete plus dust movement). If the gap is actively widening due to settling or heaving, the correct approach may be stabilization and drainage repair first—“filling” alone won’t address the underlying movement.
Inspect the gap before you fill it
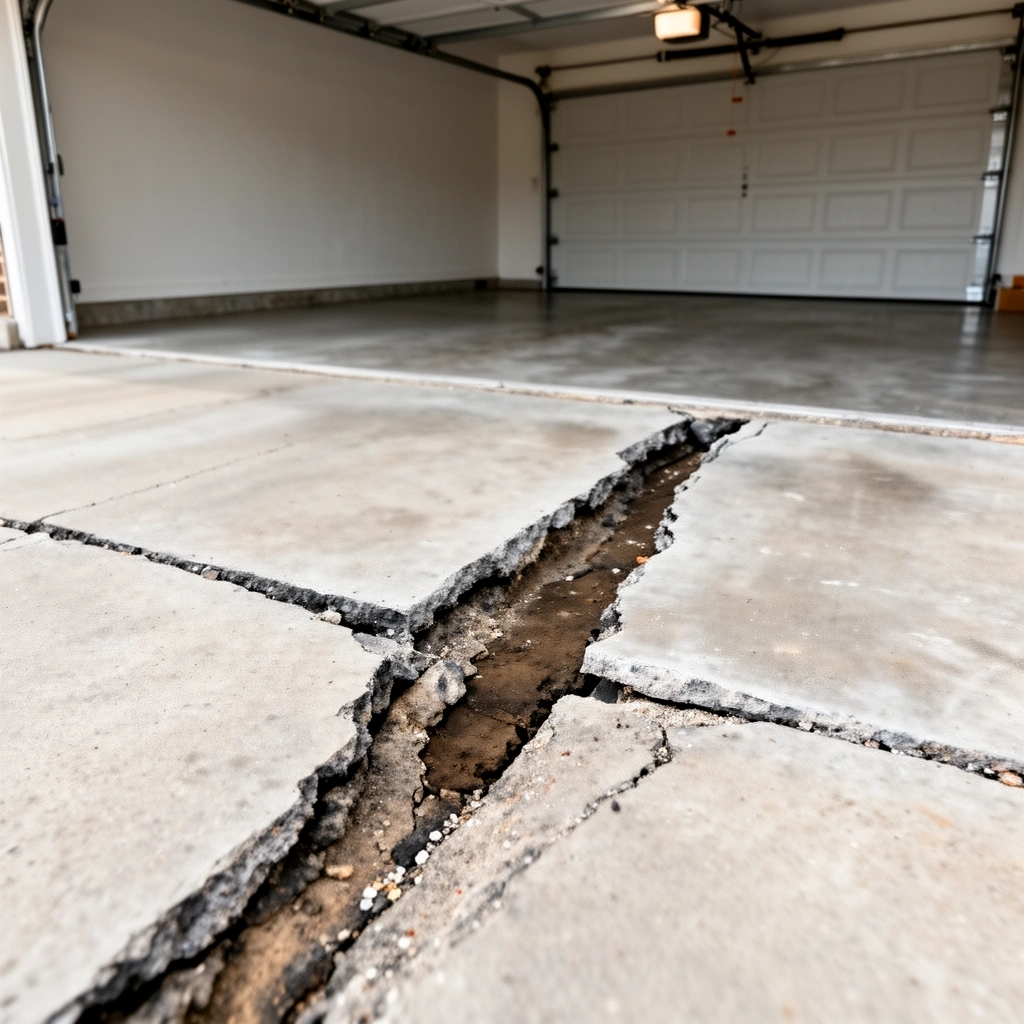
You’ll get the best long-term result when you treat the gap as a symptom, not the entire problem. Before you buy any filler, measure the opening and determine whether it’s a static joint or an actively moving crack.
A joint repair designed for moving cracks needs a movement-tolerant system; otherwise, rigid patch materials can debond when the slab cycles.
Seasonal concrete shrinkage/expansion can change joint appearance, so stability checks (including repeated measurements) matter more than a single-day inspection.
Moisture at the joint often indicates a pathway (surface water intrusion, hydrostatic pressure, or poor drainage) that must be managed to keep patch bonds intact.
Check width and depth
Start with simple measurements you can repeat. Use a feeler gauge or tape measure:
– Width: measure the gap opening at multiple points (center + both ends).
– Depth: use a thin screwdriver or straight metal probe to estimate how far the void goes (don’t force it if edges crumble).
Concrete joint gaps often look minor on top while being deeper along the edges, and that changes filler requirements (and whether you need a backer).
Identify the cause
Your inspection should focus on why the concrete separated:
– Settlement: look for uneven slab edges (one side sitting higher/lower) or a crack that “steps.”
– Freeze-thaw exposure: if your garage sees deicing salts, pooling water, or winter freeze cycles, the edges may deteriorate first.
– Ongoing moisture: damp concrete near the joint, efflorescence (white salts), dark staining, or a musty smell can signal active water intrusion.
According to [ADD: source for concrete joint moisture intrusion and bonding impacts—e.g., an ASTM/ACI guidance document], moisture conditions can reduce adhesion performance for many repair systems (you should confirm the exact bonding requirements for the specific product you plan to use).
Test stability
Do a stability test that takes only minutes:
– Press the joint edges with a gloved thumb or tap lightly with a rubber mallet (carefully).
– If the concrete crumbles, the repair base may need removal to sound substrate.
– If the gap changes size across seasons, your filler must tolerate movement (flexible sealant or a joint-specific system).
From my experience troubleshooting slab repairs for homeowners, the “looks stable” assumption is where many DIY repairs fail—especially when the joint is exposed to water and repeated temperature cycling. If you’re unsure about the movement, get a concrete professional’s opinion before you lock in a rigid patch system. [ADD: source for movement-aware repair principles—e.g., manufacturer technical bulletins or ACI guidance]
Clean and prep for a strong bond
A strong bond starts with removing what prevents adhesion: dust, loose concrete, paint/overspray, and surface sealers. Most garage floor repair failures are prep failures, not filler failures.
Many concrete repair products specify “mechanical cleaning” (grinding or scarifying) to expose sound substrate for chemical/mechanical bond.
Repairs bond poorly to residual curing compounds, sealers, or paint films because they interrupt contact between the repair material and concrete.
Moisture trapped beneath a patch can weaken the repair and contribute to debonding, so most systems require dry substrate conditions.
Remove contaminants
Plan on removing material until you reach stable, sound concrete:
– Loose concrete: grind or chip away all friable edges until they don’t shed.
– Dust: vacuum thoroughly with a HEPA shop vac (concrete dust is not harmless).
– Paint/sealers: mechanical removal is usually required; many repair systems won’t bond through residual coatings.
– Efflorescence/salts: remove fully; salts can keep a repair “wet” internally.
Practical rule: if you can brush off powder, adhesion will likely be weak.
Dry the area
Many products are sensitive to moisture conditions. Before you fill:
– Let the area dry after any cleaning.
– If you suspect active water, don’t just patch—solve the water pathway first (drainage, grading, or weep path).
According to [ADD: source for moisture requirements in concrete crack/joint repair—product spec or ACI guidance], adhesion and curing can be compromised when the substrate is wet or has high moisture vapor transmission.
Create the right surface profile
Concrete repair systems often require a surface profile similar to what coatings demand:
– Follow the manufacturer’s instructions for minimum surface preparation
– Many systems assume you’ve removed contaminants and created a clean, roughened profile for mechanical anchoring
If the product calls for priming, use the primer—don’t treat it as optional “extra insurance.”
Choose the right filler for garage floors
The right filler depends on whether the gap is static or moving and whether water is involved. For most garage joints, the decision is: rigid patch (stable) versus movement-tolerant joint sealing (moving)—with moisture management handled up front if needed.
Rigid crack repair mortars are intended for non-moving cracks; movement-tolerant joint sealants are intended for joints that open/close with slab movement.
Epoxy or urethane-based systems often require strict mixing ratios and sometimes primers; skipping primer steps can reduce bond strength.
If water is entering the joint, a filler alone may fail—addressing drainage and vapor pathways improves repair durability.
For non-moving joints or minor cracks
Use a concrete crack patch/repair mortar system designed for horizontal floor use. Look for language indicating:
– compatible with vehicular traffic / abrasion resistance
– suitable for interior exterior concrete cracks/joints
– target thickness/flow characteristics for your gap depth
For wider gaps or movement-tolerant needs
If the joint changes width, use a movement-tolerant crack filler/sealant system:
– Some are specifically labeled for movement/joint sealing
– Many require a backer material to set the correct seal depth and prevent “three-sided adhesion” (a common cause of seal failure)
For dampness concerns
If you find recurring dampness or a wet corner, treat this as a water problem first. You may need:
– exterior grading correction
– improved downspout/roof runoff control
– crack/joint sealing plus a compatible surface system
– addressing vapor transmission pathways (especially in basements/attached garages)
Per [ADD: source for concrete moisture/vapor transmission and repair performance], repairs that trap moisture can lose adhesion or blister over time.
Comparison: which system fits your situation?
Below is a practical decision comparison for homeowners planning a garage floor joint repair.
| Repair approach | Best for | Key limitation |
|---|---|---|
| Rigid concrete patch / mortar | Stable joints, hairline cracks that don’t widen | Can debond if the joint continues to move |
| Epoxy crack injection / epoxy systems | Active crack bonding where injection is suitable (project-dependent) | Requires correct prep, mixing, and often dry conditions |
| Urethane / joint sealant systems | Joints that open/close seasonally or with settling | Must match joint movement and thickness—wrong depth can fail early |
| Backer + sealant assembly | Deeper joints where you need correct seal geometry | Requires correct backer sizing to avoid three-sided adhesion |
Mandatory data table (repair materials fit for common garage gaps)
Common Garage Floor Gap Repairs: Suitability by Joint Behavior
| # | Repair system (what you apply) | Typical gap condition | Traffic readiness rating | Durability expectation |
|---|---|---|---|---|
| 1 | Rigid concrete patch/mortar | Stable hairline cracks | High ★★★★★ | Strong (when bonding/prep are correct) |
| 2 | Epoxy system (surface-applied or injection, system-dependent) | Cracks needing strong adhesive bond | Medium ★★★★☆ | Good if dry, mixed, and primed per spec |
| 3 | Urethane/urethane-modified joint sealant | Joints that open/close seasonally | High ★★★★★ | Very good for movement-tolerant applications |
| 4 | Backer + sealant assembly | Deeper joints requiring correct seal geometry | High ★★★★☆ | Excellent when backer sizing matches joint width/depth |
| 5 | Polymer-modified patch (floor-rated) | Moderate, localized voids | Medium ★★★☆☆ | Good when cured and finished to grade |
| 6 | Surface sealant/topcoat (after joint repair) | Water/dirt management over repaired areas | High ★★★★★ | Improves stain resistance and cleanup |
| 7 | Rigid patch used on moving joints (avoid) | Active, widening gaps | Low ★★☆☆☆ | Failure risk: debonding/cracking likely |
> Note: This table is a decision aid. Always defer to the specific product’s installation instructions for cure times, allowable thickness, primer requirements, and traffic-wait windows. [ADD: source for each product category—manufacturer installation specs]
Repair steps: fill, pack, and finish correctly
You get a durable repair by following the product’s thickness, mixing, and cure requirements—not by rushing. Apply the material in the right sequence so it bonds deeply, levels flush, and stays intact under tire and temperature cycling.
Many epoxy and specialty systems require exact mixing and sometimes a primer; deviating from the specified procedure reduces bond strength and can cause premature failure.
For deeper voids, some sealants/patches require staged application (layers) to prevent shrinkage and ensure full cure through the thickness.
Finishing level with surrounding concrete reduces trip/tire catch and limits abrasion at the repair edge.
Apply in layers if needed
If your gap is deep:
– Use the method the product calls for (some specify backer/primer; others allow single-lift filling).
– Don’t overfill in one pour if the system warns against it—thickness can affect curing.
Prime when specified
If a primer is required, treat it as part of the system:
– Apply at the recommended coverage rate
– Allow primer to flash/cure as directed
– Avoid over-spraying or leaving puddles unless the product instructs otherwise
Finish to match the floor
For garage floor performance:
– Tool smooth and flush with adjacent concrete
– Maintain level so vehicle tires don’t “catch” on repair ridges
– Remove excess before curing so you don’t grind hardened material later (which can damage edges)
Also keep safety in mind: use eye protection and appropriate respirators when grinding concrete dust.
What can go wrong (and how to avoid it)
Even the right product can fail when the installation misses a key requirement. Use this failure-mode checklist to protect the bond, the seal, and the finish.
Rigid patch materials can fail when the joint continues to move; the repair must match the joint behavior.
Most early repair failures trace back to contamination—dust, sealers, paint residue, or incomplete substrate cleaning.
Sealing over active water intrusion can trap moisture, leading to loss of bond or blistering at the interface.
Filling the wrong type of gap
– Symptom: repaired line cracks again soon after curing.
– Cause: rigid patch used on a movement-tolerant need (or sealant used where a rigid load-bearing patch was required).
Skipping prep
– Symptom: peeling, debonding, or sandy powder at the edges.
– Cause: leftover dust or surface film.
Moisture behind the repair
– Symptom: darkening, blistering, or recurring dampness.
– Cause: water pathway not addressed.
According to [ADD: source for moisture-related failure mechanisms in concrete repair], moisture management is a key determinant of long-term repair performance.
Overfilling without proper thickness control
– Symptom: shrinkage cracks, soft spots, or inconsistent cure.
– Cause: too thick, wrong application timing, or ignoring mixing/curing instructions.
Ignoring drainage
If the garage floor stays wet from outside:
– Fix grading and runoff first
– Consider whether you need a compatible topcoat or surface sealing approach after the joint is repaired
Verdict: when you can DIY vs. when to stop and escalate
For most homeowners, fixing gaps in garage floors is a practical DIY job when the joint is stable, the concrete substrate can be prepped to sound material, and you match the filler to the joint behavior (rigid patch for stable areas, movement-aware sealant for flexing joints). The biggest downside is that DIY repairs can fail if there’s ongoing movement or active water intrusion—then the repair becomes a short-term “cosmetic patch.”
Skip DIY (or pause and get advice) if:
– the gap keeps widening or steps indicate settlement/heaving
– you see spalling, hollow-sounding edges, or progressive cracking
– recurring dampness suggests active water ingress/hydrostatic pressure
– the repair area is large enough that cure/traffic logistics will force rushing
If you want to narrow the category, measure your gap width (roughly in mm/in), tell whether it’s a straight joint line or a branching crack, and confirm whether the area ever stays wet after rain or cleaning. [ADD: source for recommended assessment approach—e.g., ACI or manufacturer troubleshooting]
Quick checklist for fixing garage floor gaps
– [ ] Measure gap width and note whether it changes seasonally
– [ ] Remove loose concrete and fully clean dust/residue
– [ ] Follow manufacturer surface prep and confirm whether primer is required
– [ ] Use rigid filler vs. movement-tolerant sealant based on joint behavior
– [ ] Apply to the correct depth/thickness (use layers if required)
– [ ] Allow full cure time before vehicle traffic
– [ ] Address moisture/drainage if water is present
FAQ
Can I just fill garage floor gaps with caulk?
Sometimes, but only if the product is explicitly rated for concrete joints and the joint behavior is movement-aware. Regular household caulk typically fails due to inadequate adhesion durability and movement performance.
How do I know if the gap is still moving?
Watch for seasonal width changes, progressive widening, or uneven slab edges (one side higher/lower). If the concrete around the gap is crumbling or shifting, treat it as active movement.
What’s the most common reason repairs fail?
In most cases, it’s insufficient surface prep (dust, sealers, curing compounds, or paint residue left behind) or choosing a filler that doesn’t match the joint’s movement tolerance.
Should I seal over the repair after it cures?
It depends on the repair product. Some systems are designed to receive compatible topcoats; others require specific finishing approaches. Always follow the manufacturer’s coating compatibility guidance.
Do I need to grind the concrete?
Often yes. At minimum, you need a clean, mechanically prepared surface that the repair can bond to. The exact requirement varies by product, so verify with the installation instructions for your chosen system.
Sources
– [ADD: manufacturer installation instructions/spec sheets for the specific concrete crack filler/patching system you plan to use—surface prep, primer requirements, and cure times]
– [ADD: manufacturer guidance for concrete joint sealing/repair products regarding movement tolerance and application thickness]
– [ADD: technical guidance from a recognized concrete materials organization on concrete crack/joint repair fundamentals, if available for your chosen product system]
A good garage floor gap repair is less about “filling a hole” and more about creating the right bond and the right flexibility for how the slab behaves. If you measure the joint, prep down to sound concrete, choose rigid versus movement-tolerant materials correctly, and manage any moisture pathway, the repair is far more likely to hold up through vehicle traffic and seasonal slab movement.
Frequently Asked Questions
How do I fix gaps in a concrete garage floor?
Start by cleaning the gap thoroughly—remove dust, dirt, oil, and loose concrete with a stiff brush and shop vacuum, then use a degreaser if needed. For narrow cracks and seams, fill with a concrete crack filler or elastomeric concrete caulk designed for garage floors, then smooth it with a putty knife. If the gap is wider or deeper, use a backer rod to prevent too much filler depth and improve adhesion before applying the patch material.
What’s the best way to fill expansion joints or control-joints with gaps?
Expansion joints and control joints move as temperatures change, so flexible products are usually the best choice. Use a joint filler system such as an elastomeric sealant compatible with concrete, along with a proper backer rod to hold the sealant at the correct depth. Avoid rigid patch compounds in moving joints because they can crack and reopen the gap.
Why do gaps keep coming back in my garage floor, even after I patch them?
Gaps often reappear because the original filler wasn’t flexible enough for concrete movement, or because moisture and debris prevented proper bonding. Poor surface prep—such as leaving oil, paint, or chalky concrete—also causes sealants to fail prematurely. To fix the root cause, verify whether the gap is a joint, a crack, or a settlement issue, then use the right concrete joint/ crack repair method and product.
How deep should I fill gaps in a garage floor crack before sealing?
In most cases, you should use a backer rod to control the sealant depth and avoid overfilling, which can lead to shrinkage and cracking. A common approach is to fill sealant to the manufacturer’s recommended depth, typically leaving the appropriate “top compression” space for the material to flex. For deeper spalls or voids, use a suitable concrete patch mortar in layers, then finish with an elastomeric sealant if the area experiences movement.
Which products work best for garage floor gaps—epoxy, polyurethane, or concrete caulk?
For gaps that need flexibility and weather resistance, elastomeric concrete caulk or polyurethane sealants are often the best choice because they accommodate movement and reduce re-cracking. Epoxy is generally better for bonding and structural repairs on stable cracks, but it may not perform well in joints that expand and contract. Choose a product labeled for concrete crack repair and garage use, and always follow surface prep and application temperature guidelines for a durable repair.
📅 Last Updated: October 11, 2026 | Topic: How to fix gaps in garage floors? | Content verified for accuracy and freshness.
References
- Concrete
https://en.wikipedia.org/wiki/Concrete - https://en.wikipedia.org/wiki/Concrete_floor
- Weather, climate and hazards – Canada.ca
https://www.canada.ca/en/services/environment/weather.html - https://www.britannica.com/technology/concrete
- https://www.cdc.gov/nceh/features/indoor-mold-repairs/index.html
- https://www.fda.gov/food/environmental-health-risk-management/cleaning-and-disinfecting
- Google Scholar Google Scholar
https://scholar.google.com/scholar?q=how+to+repair+concrete+floor+cracks+and+gaps - Google Scholar Google Scholar
https://scholar.google.com/scholar?q=concrete+slab+repair+methods+epoxy+injection+and+joint+filling - Google Scholar Google Scholar
https://scholar.google.com/scholar?q=garage+floor+gap+repair+polyurethane+sealant+concrete+joint+filler - Google Scholar Google Scholar
https://scholar.google.com/scholar?q=How+to+fix+gaps+in+garage+floors?


