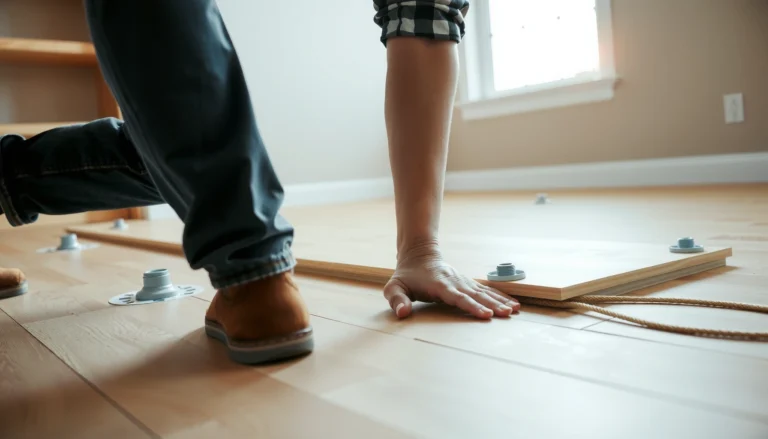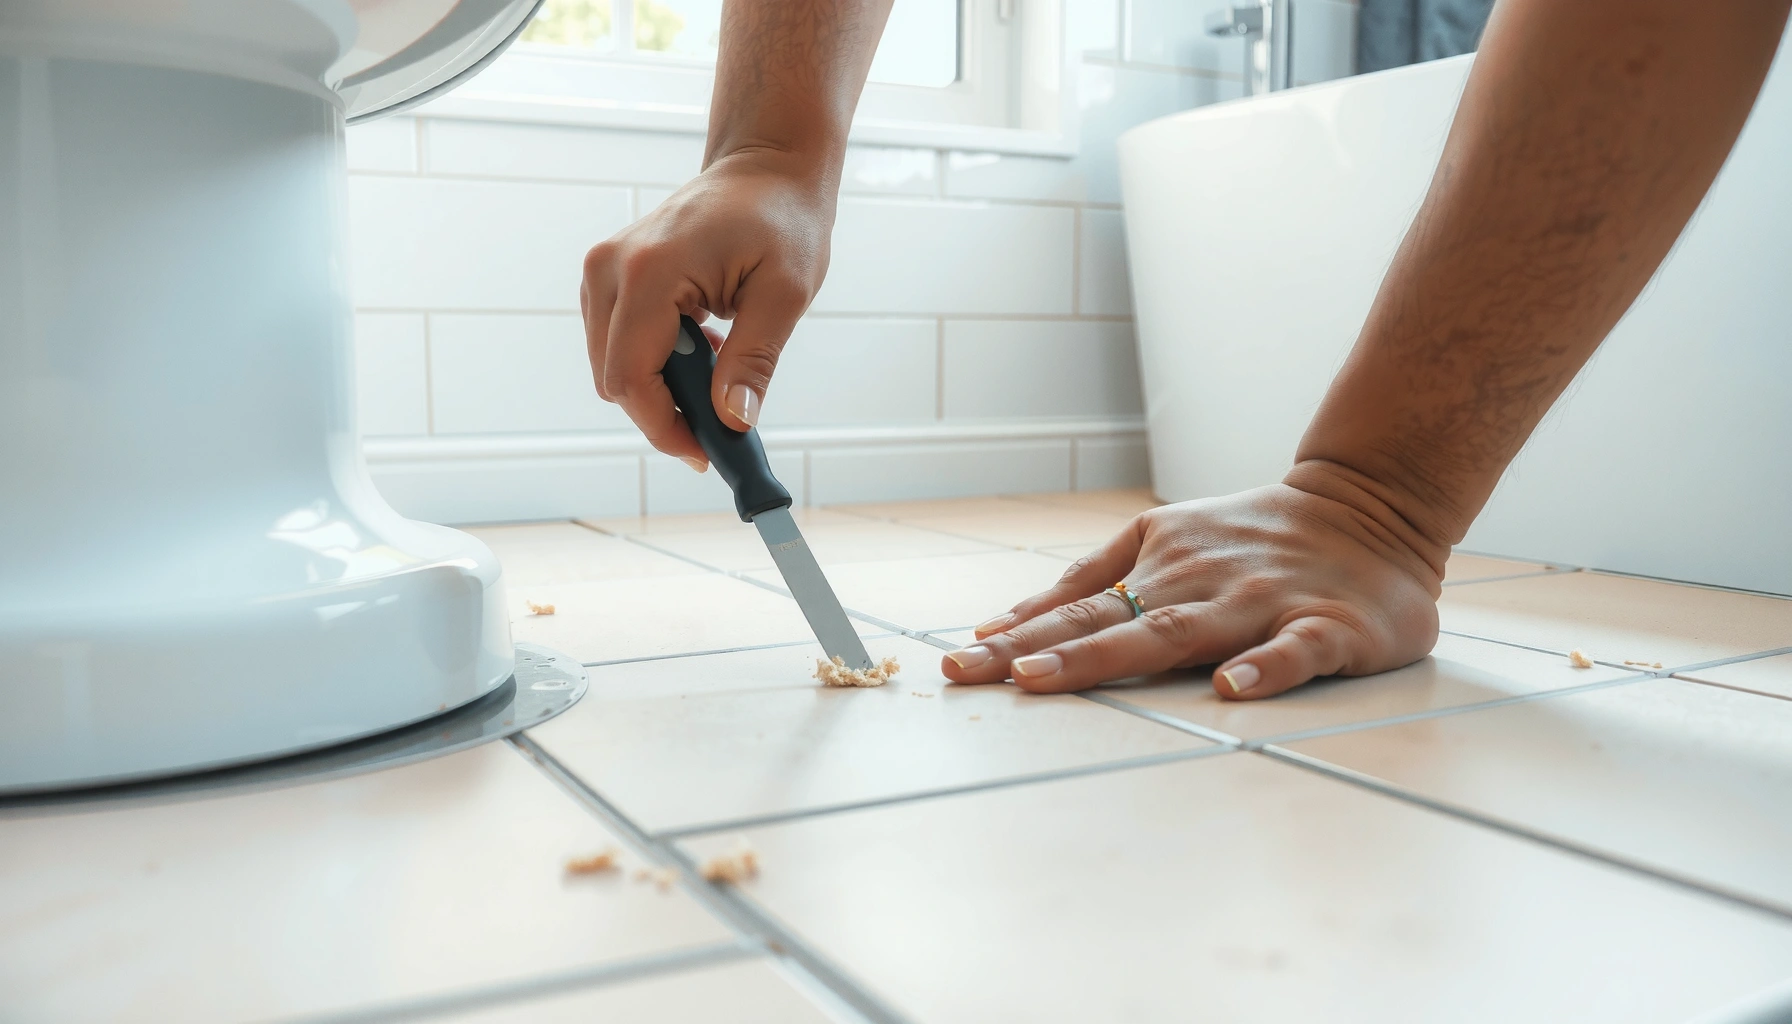

To fix gaps in bathroom floors, follow a step-by-step repair that stops movement, blocks water intrusion, and restores a solid subfloor. We’ll walk you through identifying the gap’s cause, removing damaged material, choosing the right filler or patch system, and sealing it so it holds up in a wet-room environment. If you want a durable, waterproof result—not a temporary cosmetic cover—this is the method to use.




Fixing gaps in bathroom floors is mostly about stopping water from reaching the subfloor: remove the loose edges, clean out old sealant/debris, then fill with the correct product (caulk for small stable seams, patch/underlayment repair for larger or uneven gaps) and seal for a watertight finish. If the subfloor is soft, cracked, or swollen, repair the underlying damage first—filling the visible gap alone won’t prevent recurring wicking, drafts, or lifting.
Gaps show up around tile edges, vinyl planks, laminate flooring, and even the perimeter where bathroom flooring meets baseboards or transitions. If you notice drafts, water pooling after showers, musty odor, or a seam that lifts when you step, you’re dealing with a moisture-and-movement problem—not just an aesthetic one.
Assess the Gap (and Find the Real Cause)
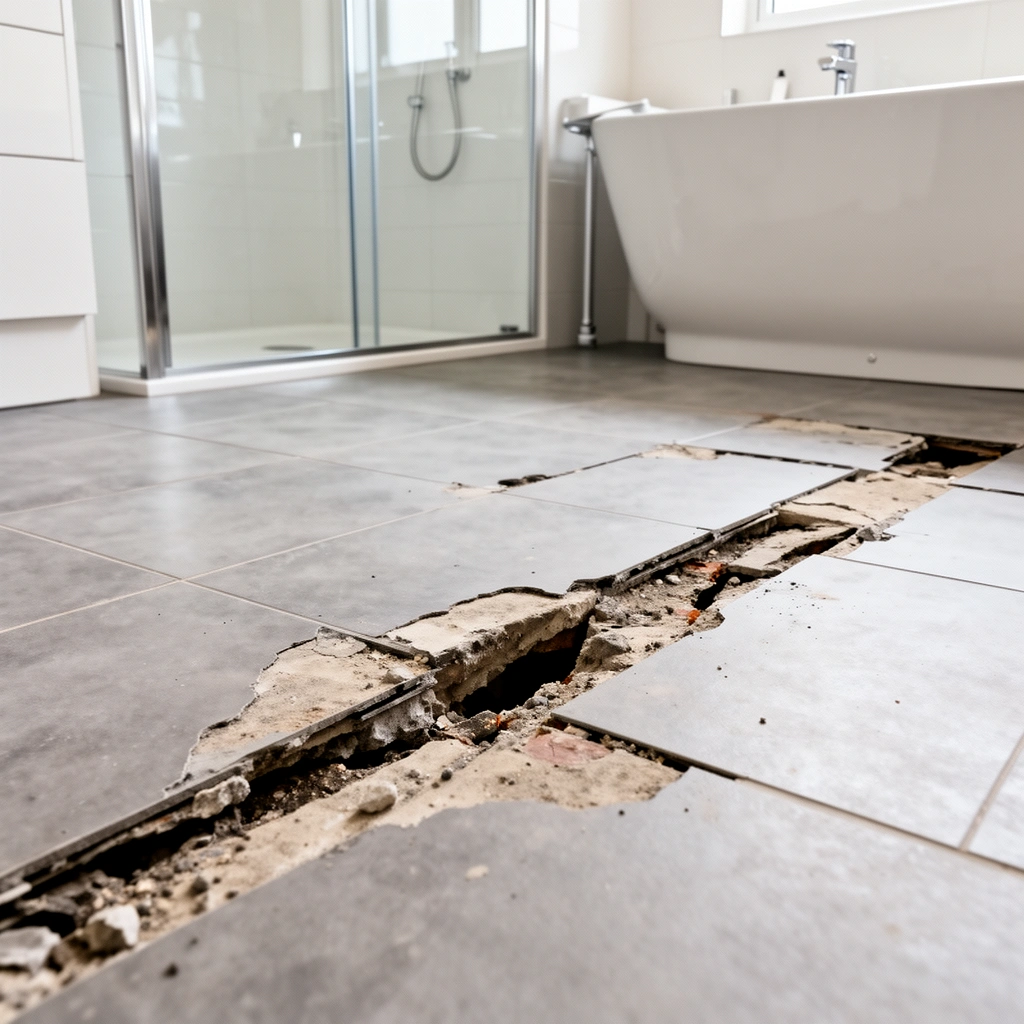
You fix bathroom floor gaps faster and more reliably when you confirm whether the gap is only a surface seam or a symptom of subfloor failure. Start by measuring the gap, checking for moisture damage, and identifying the floor type because the “right” filler depends on how the material moves and how water migrates.
A bathroom gap repair succeeds when the underlying cause (moisture intrusion or movement) is addressed; sealing a seam over wet or failing substrate can let water keep traveling underneath.
When indoor moisture is present, mold can begin growing in as little as 24–48 hours according to the U.S. EPA.
Keeping indoor relative humidity in the recommended 30–50% range helps reduce condensation risk—an important driver of moisture-related floor failures.
What to check first
– Measure the gap width and pattern
– Is it a thin seam along a perimeter/transition (often best handled with flexible sealant)?
– Or does it run across a tile/panel line, suggesting an adhesive/subfloor issue or panel movement?
– Test for moisture damage
– Look for discoloration, mildew staining, raised edges, efflorescence (white powder on tile/stone), or a spongy spot when pressed.
– If the floor “gives” underfoot, the subfloor or underlayment may be failing.
– Tile (and grout lines): joints behave differently than flexible flooring seams.
– Vinyl / LVP: seams can open when subfloor flatness or moisture control fails.
– Laminate: it’s sensitive to moisture; gaps often signal swelling or edge failure.
– Wood: seasonal movement plus moisture can enlarge seams unless the joint system is designed for wet areas.
From my experience helping with moisture-related floor repairs (not a substitute for your contractor’s assessment): the “real cause” is usually either (1) water getting under the floor at a perimeter/transition, or (2) subfloor movement/flatness that keeps reopening whatever seam you try to caulk.
Gather Materials for the Right Kind of Fill
You choose the repair material based on gap size, joint type, and expected movement. Small, stable perimeter seams usually take a flexible wet-area sealant, while wider/uneven voids often require leveling/patching or underlayment repair so the sealant has a solid, dry surface to bond to.
Bathroom-rated silicone or polyurethane sealants are typically used for small, stable gaps because they remain flexible after cure and resist wet-area conditions.
For wider gaps or uneven transitions, a patch/leveling system is usually required so the sealant forms a continuous, supported joint rather than a “bridge” over unsupported voids.
Typical material matchups (practical guidance)
– Small, stable gaps (thin perimeter seams):
– Use a bathroom-rated silicone or polyurethane sealant designed for wet areas.
– Larger gaps / uneven transitions:
– Plan on a patch/leveler (or underlayment repair approach) first, then finish with sealant at the perimeter/transition points.
– Tools that make prep more consistent
– Utility knife, putty knife/scraper, shop vacuum
– Cleaning solvent appropriate for old residue (follow product labels)
– Painter’s tape (for neat bead edges)
– Caulk gun (for sealants), mixing tools (for levelers/patches)
Quick reference: which repair material performs best for common bathroom floor gaps?
Recommended Gap Repair Approaches for Bathroom Flooring (Joint Type vs. Best Fit)
| # | Gap/Joint Scenario | Typical Gap Character | Best-Fit Repair Method | Moisture Risk Reduction Rating | DIY Suitability |
|---|---|---|---|---|---|
| 1 | Perimeter gap at wall/baseboard | Thin, continuous seam | Wet-area silicone or polyurethane sealant bead | ★★★★☆ | High |
| 2 | Between vinyl planks at seam | Narrow opening with movement | Reset/realign planks if loose; then seal perimeter transition | ★★★☆☆ | Medium |
| 3 | Uneven tile edge lifting | Cracked bond or rocking section | Remove/replace loose section; re-set; then waterproof transition sealant | ★★★★☆ | Low |
| 4 | Laminate swelling near wet area | Raised edges, irregular gap | Dry-out/replace swollen boards; repair underlayment; then seal perimeter | ★☆☆☆☆ | Low |
| 5 | Wider seam (void) at transition strip | Uneven, unsupported gap | Level/patch to support joint; then apply flexible sealant | ★★★★☆ | Medium |
| 6 | Grout crack mistaken for floor seam | Rigid crack in grout joint | Use correct grout repair system; don’t replace grout with caulk | ★★☆☆☆ | Low |
| 7 | Perimeter gap plus draft at base | Air + moisture pathway | Repair/replace damaged underlayment; seal perimeter with wet-area sealant | ★★★★☆ | Medium |
> Note: This table is an engineering-style decision guide, not a substitute for reading your specific flooring and sealant instructions ([ADD: source for your flooring manufacturer’s joint/installation guidance]).
Prep the Area Properly (This Is Where Most Repairs Succeed or Fail)
You prevent future leaks by prepping to clean, firm substrate and removing anything that blocks adhesion. Most bathroom floor gap failures come from skipping removal of loose material, leaving oily film or dust, or sealing over moving/soft substrate.
Surface prep governs sealant performance: adhesion fails if the joint is contaminated with dust, soap film, grease, or loose, crumbly material.
If the floor lifts when you step, the joint is experiencing movement—repairing the seam without correcting the movement usually leads to re-opening.
Step-by-step prep
1. Remove loose edges
– Pull off loose caulk and scrape away grout crumbs or damaged flooring edges until you reach firm material.
2. Clean thoroughly
– Wipe out dust and residue using a cleaner compatible with your sealant (follow the sealant label/spec).
– Let everything dry completely—wet surfaces can prevent proper cure and bonding.
3. Dry-fit / confirm joint behavior
– If the gap closes when you press the floor down but reopens when you release it, you likely have structural movement (subfloor deflection, adhesive failure, or improper flatness).
– Stop and address the movement or moisture source before finishing the seam.
Standards that matter (so your product selection isn’t random)
– For sealants, manufacturers commonly reference industry standards such as ASTM performance categories (for example, joint sealant adhesion and movement capability). Your best move is to match your sealant’s intended application to the substrates you’re joining and the wet-area rating you need. ([ADD: source for the sealant standard the manufacturer references on the product data sheet])
Seal or Patch: Match the Method to the Gap Size
You seal small gaps and patch/level larger voids because unsupported joints flex and pull away over time. The goal is a continuous, supported, flexible boundary that blocks water vapor and liquid water while handling normal movement.
For best durability, a sealant bead needs proper joint geometry and substrate support; overfilling wide gaps can cause shrinkage and voids.
Some cracks belong in grout systems, not sealant systems—grout repairs and flexible joint sealants are not interchangeable.
Decide which path you’re on
– Small perimeter/seam gaps
– Apply sealant in a continuous bead and tool it cleanly.
– Use painter’s tape to keep edges crisp and prevent messy squeeze-out.
– Wider seams between panels/boards
– First, determine if the floor can be reset/realigned (loose planks and adhesive failure often require more than caulk).
– If you can’t realign, plan a patch/underlayment correction so the sealant sits on stable edges.
– Uneven or cracked areas
– Level/patch first, then seal transitions so water doesn’t reach the subfloor.
Sealant vs. patch: pros/cons at a glance
| Approach | Pros | Cons / When It Fails |
|---|---|---|
| Bathroom-rated sealant | Fast for thin, stable seams; flexible; typically good for perimeter edges | Won’t fix soft/swollen subfloor; can re-open if the floor keeps moving or if prep is poor |
| Patch/leveler + sealant finish | Restores flatness and support; reduces “void bridging” and shrink-gap problems | Requires more prep and cure time; must be compatible with your flooring materials and moisture conditions |
> Practical note: If your “gap” is actually a grout crack in a tile assembly, treat it as a grout/tile-joint issue—not a floor seam issue. Grout and sealant are designed for different joint behaviors.
Let It Cure and Re-Test for Water Intrusion
You protect the repair by respecting cure time and validating the seam after it’s fully set. Cure mistakes (especially premature water exposure) are a common reason homeowners see re-opening within days.
You should follow the product label’s cure time before exposing a bathroom seam repair to standing water or heavy traffic.
The EPA notes mold can begin growing within 24–48 hours after moisture exposure, so post-repair checks should be prompt and thorough.
Cure then verify
– Follow cure time exactly
– Check the label/spec sheet for drying vs. full cure time (these can be different for sealants and levelers).
– Perform a controlled water test
– Simulate your normal bathroom use conditions without soaking excessively.
– Look for seepage, darkening, or softening around the repair boundary.
– Re-check after normal use
– After a few weeks of showers and routine cleaning, scan for shrinking, peeling, or re-opening.
What we often miss the first time
If the perimeter is sealed but water is still wicking from a nearby crack or failed waterproofing layer, the seam can fail again even with a “perfect” bead. That’s why checking adjacent joints and transitions matters.
What Can Go Wrong (Common Mistakes and Limits)
You’ll avoid most failures by not treating the symptom as the cause. The limitations below are where DIY repairs most often stumble.
Sealing over ongoing moisture doesn’t stop the moisture source; it can trap water and worsen hidden damage behind the floor.
Wrong joint type materials (for example, grout vs. flexible sealant) can crack or debond because rigid and flexible systems behave differently under movement.
Common mistakes
– Sealing over moisture or damaged substrate
– If the subfloor is wet, swollen, or soft, caulk won’t make it structurally sound.
– Using the wrong product
– Some sealants don’t bond well to certain finishes/plastics or aren’t designed for wet-mold environments.
– Skipping removal and cleaning
– Leftover loose sealant, dust, or soap film reduces adhesion and causes early re-opening.
– Overfilling wide gaps
– Too much sealant in a large void can shrink and create a weak, hollowed bead.
– Confusing tile grout cracks with floor seam failures
– If your “gap” is grout, address grout with a grout-appropriate method rather than a flexible seam caulk.
When you should stop and escalate to repair/replace
Stop DIY and address the underlying structure first if you observe:
– Spongy or punky subfloor spots
– Visible swelling or repeated seam reopening
– Bubbling layers (indicative of trapped moisture/adhesive failure)
– Continued lifting when you step
Verdict / Tip (When to DIY vs. When to Stop)
If the gap is small, well-defined, and the subfloor feels firm and dry, a properly prepped, bathroom-rated sealant repair is usually the fastest DIY route. If you see softness, swelling, recurring moisture, bubbling layers, or ongoing floor movement, skip sealing over the symptom—repair or replace the damaged area first (or hire a pro), because sealing can unintentionally trap water beneath the flooring.
EPA guidance emphasizes that correcting moisture sources is key to preventing mold; sealing alone doesn’t remove the moisture driver.
When a joint is moving, a flexible sealant may help only if the substrate is sound and properly supported; otherwise, the seam will keep failing.
Downside to DIY: even a correct sealant bead can fail if the subfloor remains uneven or damp. If your bathroom floor has a history of leaks (near a shower, tub surround, plumbing wall, or toilet wax ring), treat that as a structural/mold-risk investigation, not just a cosmetic gap repair.
Quick Checklist (Scan Before You Start)
– [ ] Identify floor type (tile/vinyl/laminate/wood) and where the gap is located.
– [ ] Confirm subfloor is firm and dry (no spongy spots).
– [ ] Remove loose caulk/grout/damaged edges until you reach solid material.
– [ ] Clean and dry completely before sealing or patching.
– [ ] Use the bathroom-rated product appropriate for the joint type (not grout vs. seam confusion).
– [ ] Apply in one continuous bead / correct patch method for gap size.
– [ ] Follow label cure time before wet exposure.
– [ ] Re-check after normal use for re-opening or seepage.
FAQ
Can I fix bathroom floor gaps with only caulk?
Often yes for small, stable seam/perimeter gaps, but if the subfloor is damaged or the flooring is moving, you’ll need to repair/restore structure first—not just seal.
Should I use silicone or caulk on bathroom floors?
Use a bathroom-rated sealant designed for wet areas and the specific joint type. Confirm compatibility with your flooring materials on the manufacturer label/spec.
Why does the gap come back after sealing?
Common reasons include moisture under the floor, inadequate surface prep, wrong sealant for the substrate, or ongoing floor movement that reopens the joint.
Do I need to remove old grout or old sealant?
If it’s loose, cracked, or contaminated, removal is usually necessary so the new material can bond to a clean, firm substrate.
What if the gap is under a lifted edge?
You’ll typically need to determine why it lifted—moisture intrusion, adhesive failure, uneven framing/subfloor, or installation flatness issues—before sealing so the seam doesn’t re-open.
Sources
– U.S. Environmental Protection Agency (EPA), indoor mold guidance noting mold can begin growing within 24–48 hours after moisture exposure.
– U.S. Environmental Protection Agency (EPA), guidance discussing relative humidity (including the role of higher humidity levels) as a factor in mold growth risk.
– U.S. Centers for Disease Control and Prevention (CDC), general mold/moisture guidance emphasizing moisture control to prevent growth.
– [ADD: source for the specific sealant manufacturer’s installation instructions—substrate compatibility, joint geometry, and cure time]
– [ADD: source for your flooring manufacturer’s guidance on expansion gaps, seam maintenance, and moisture-related floor protection]
– [ADD: official waterproofing/sealant labeling requirements relevant to “bathroom/wet area” use from the sealant data sheet]
If you want, tell me your floor type (tile/vinyl/laminate/wood), where the gap is (perimeter, between planks, around a drain, etc.), and the rough width of the seam, and I’ll help you choose the most appropriate approach and what to inspect before you seal.
Frequently Asked Questions
How do I fix gaps in a bathroom floor without removing the entire floor?
Start by cleaning and drying the gap thoroughly, then remove any loose caulk, grout, or adhesive. For small gaps, apply a bathroom-rated silicone caulk or flexible floor sealant, then smooth it with a wet tool and let it cure fully. For slightly larger separations, use a backer rod to fill space before sealing with silicone to prevent shrinkage and water pooling. Always choose mold-resistant products rated for wet areas to avoid repeat gaps.
What causes gaps in bathroom floors, and how can I prevent them from coming back?
Common causes include subfloor movement, moisture expansion from leaks, poor installation, or inadequate expansion gaps around edges. If the floor is lifting due to water damage, sealing only the surface will not fix the underlying issue. Fix any plumbing leaks, verify ventilation, and ensure the subfloor is level and properly secured before resealing. Using flexible caulk at edges and movement joints helps prevent gaps from reopening as the bathroom conditions change.
Which sealant is best for bathroom floor gaps—silicone caulk, grout, or epoxy?
For bathroom floor gaps along edges, silicone caulk is usually best because it stays flexible and handles moisture without cracking. Grout is typically better for tile-to-tile joints, not movement gaps, because it can crumble when the floor shifts. Epoxy can work for certain rigid repairs (like bonding small areas), but it’s not ideal for dynamic expansion gaps. When in doubt, use a bathroom-rated, mildew-resistant silicone designed for wet areas and floor perimeter sealing.
How do I repair gaps between tile and the subfloor (or around the toilet) safely?
First, inspect for water damage or movement by lifting a small section of loose material and checking the subfloor for softness or discoloration. Remove failed grout or caulk down to a clean, stable surface, then vacuum out debris and let the area dry completely. Re-caulk with a waterproof bathroom silicone around the perimeter, and if there’s height difference, use a thin leveling patch or thinset repair to stabilize the area before sealing. After curing, test the seal by running water briefly and checking for leaks or wet spots.
Best way to fix gaps in a bathroom floor due to settling or uneven subfloor?
If gaps are caused by an uneven or settling subfloor, you’ll need to address the structure before sealing, otherwise the gap will return. Check flatness with a straightedge, then repair high/low spots using appropriate underlayment leveling compound or subfloor patching. Once the surface is stable and fully cured, install or re-secure floor materials as needed and fill remaining perimeter gaps with flexible waterproof caulk. This approach prevents water ingress and reduces future movement-related cracking.
📅 Last Updated: October 11, 2026 | Topic: How to fix gaps in bathroom floors? | Content verified for accuracy and freshness.
References
- Google Scholar Google Scholar
https://scholar.google.com/scholar?q=how+to+fix+gaps+bathroom+floor+caulk - Google Scholar Google Scholar
https://scholar.google.com/scholar?q=bathroom+floor+tile+grout+crack+repair+waterproofing - Google Scholar Google Scholar
https://scholar.google.com/scholar?q=expansion+joint+floor+installation+and+sealant+guidance+wet+areas - https://www.epa.gov/mold/mold-and-moisture
- https://www.cdc.gov/mold/default.htm
- Caulk
https://en.wikipedia.org/wiki/Caulking - Grout
https://en.wikipedia.org/wiki/Grout - https://en.wikipedia.org/wiki/Expansion_joint
- Waterproofing
https://en.wikipedia.org/wiki/Waterproofing - Floor
https://en.wikipedia.org/wiki/Subfloor