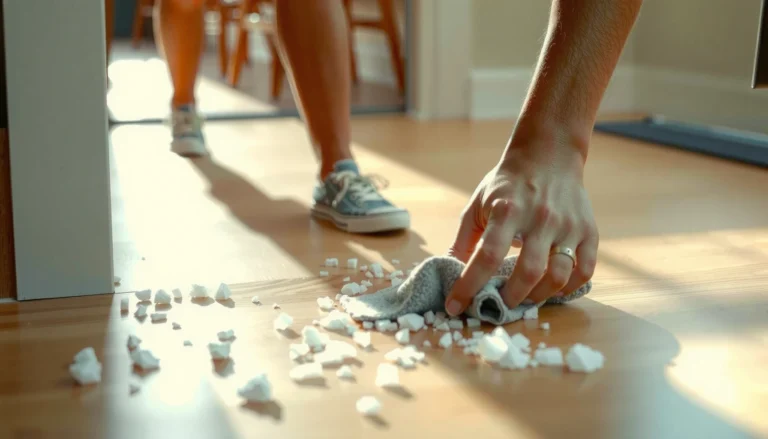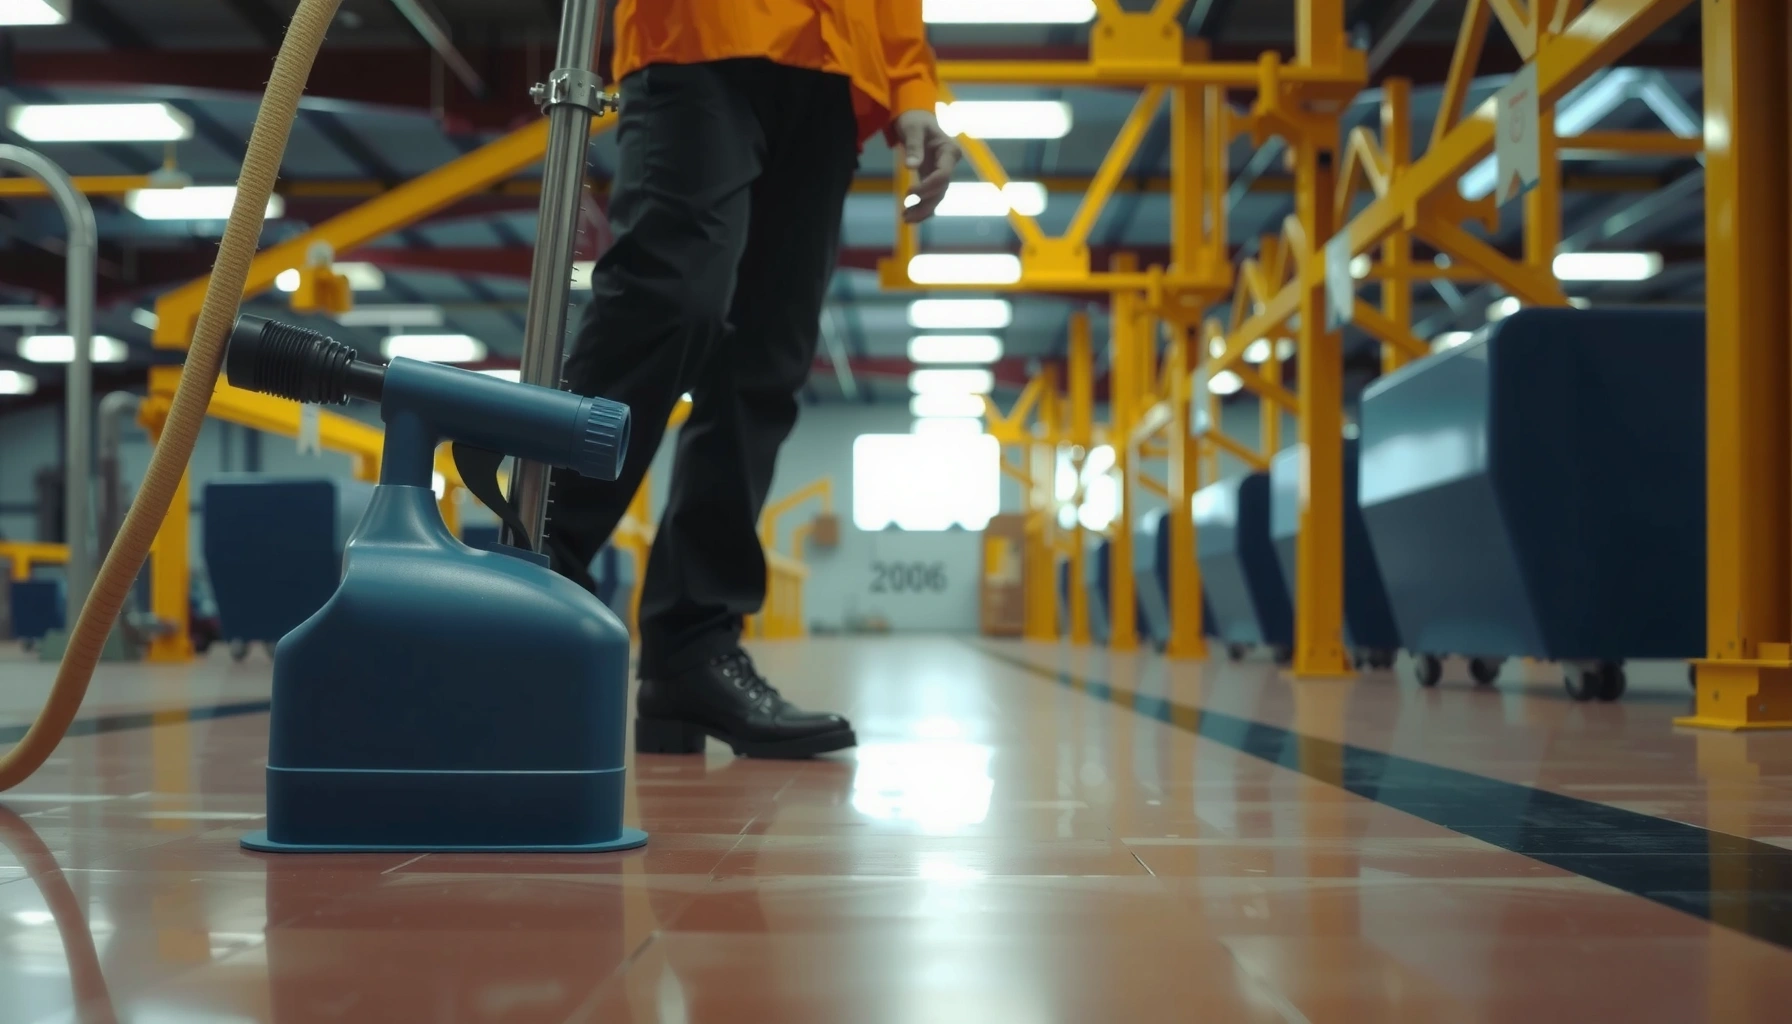

Removing adhesive from industrial floors safely is a matter of using the right method for the adhesive type and floor finish—and the correct process prevents damage and downtime. This guide lays out the fastest, safest options that actually work, from heat and scraping to chemical removers, with clear steps to protect coatings, concrete, and workers. You’ll learn how to choose the winning method, apply it correctly, and finish with residue-free results.




To remove adhesive from industrial floors safely, start by identifying the adhesive type and the floor finish, then use the least-damaging method that’s compatible—typically controlled heat plus careful scraping, followed by a chemical remover only for stubborn residue. This approach reduces coating damage and downtime while keeping slip hazards and exposure risks under control.
This guide walks facility managers and maintenance teams through a practical order of operations, what can go wrong (including surface damage and smearing), and how to choose safer removers based on both the adhesive chemistry and the floor surface you’re protecting. As of 2026, most adhesive-removal failures come from skipping the “identify + test spot” step and using overly aggressive chemicals or abrasives on coated or sealed concrete.
Who this is for / when it applies:
This is for facility managers, maintenance teams, and contractors dealing with adhesive residue on concrete, epoxy, or other industrial floor surfaces—especially when you need a fast, low-damage cleanup. It’s most useful when you’re not sure whether the residue will respond to heat, scraping, or a chemical remover.
Identify the adhesive and the floor surface first
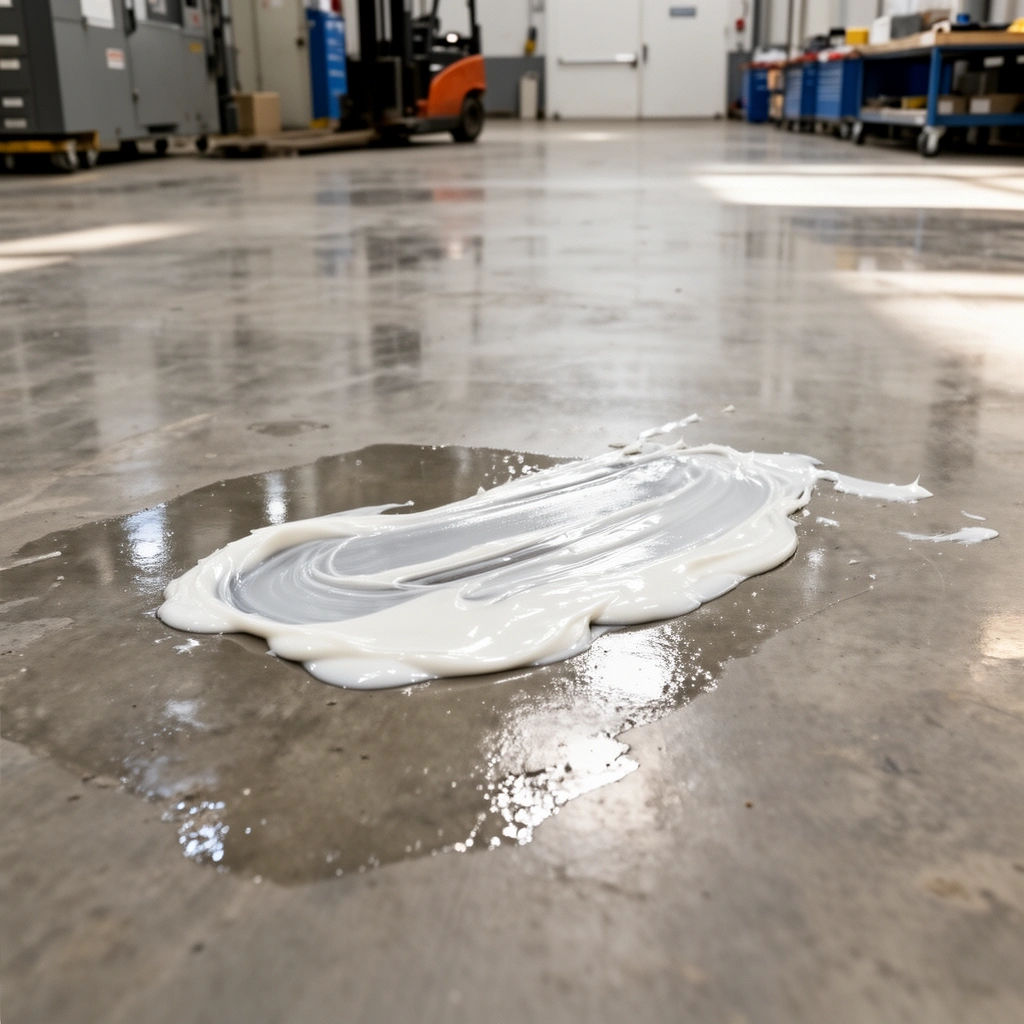
You’ll remove adhesive faster (and with less floor damage) when you correctly identify both the residue chemistry and the floor finish. Before you choose heat, scraping, or a chemical remover, confirm whether you’re dealing with pressure-sensitive tape/label film or a cured resin (like epoxy-like buildup).
Label residue often looks “oily” or smudgy and behaves like a thin film, while cured resin-like buildup is hard, thick, and less responsive to mild heat.
Compatibility depends on the substrate: sealed or epoxy-coated concrete can haze or soften if the remover solvent blend isn’t compatible.
OSHA Hazard Communication (29 CFR 1910.1200) requires accessible Safety Data Sheets (SDS) so you can match required PPE and handling to the exact chemical you’re using.
– Look for clues: label residue (often oily/smoky), tape lines (usually pressure-sensitive), or thick, cured buildup (sometimes epoxy/resin).
– Check the floor material (e.g., bare concrete vs. epoxy coating vs. sealed concrete) because compatibility changes which chemicals and abrasives you can use.
– If the residue is new, test lightly in a small hidden area before scaling up—some solvents soften coatings even if they dissolve the adhesive.
Floor identification that prevents “mystery damage”
In practice, the fastest path is to treat the floor like a system, not just a surface. Epoxy coatings and sealers form films with polymer chemistry; many common solvents can swell or partially dissolve that film even when they “only” appear to clean the residue. If you’re uncertain, use the documentation you already have on hand: the coating spec, maintenance manual, or the product technical data sheet (TDS). As of 2026, facilities that maintain a “floor register” (coating type, installation date, approved cleaners) typically recover faster after adhesive incidents because they don’t start from scratch.
For chemical safety planning, also remember that different remover blends can contain regulated solvents. For example, OSHA’s substance limits vary significantly—for acetone, methylene chloride, and MEK, respectively—so you can’t assume one “adhesive remover” is safe just because it’s sold for cleaning floors.
– Acetone OSHA PEL: TWA 1,000 ppm (29 CFR 1910.1000, Table Z-1). OSHA, 29 CFR 1910.1000 Table Z-1
– Methylene chloride OSHA PEL: TWA 25 ppm (29 CFR 1910.1000, Table Z-1). OSHA, 29 CFR 1910.1000 Table Z-1
– MEK (2-butanone) OSHA PEL: TWA 200 ppm (29 CFR 1910.1000 Table Z-1). OSHA, 29 CFR 1910.1000 Table Z-1
If you don’t know what’s in your remover, the SDS is your source of truth—not the product name.
Use the least-damaging approach (heat + mechanical removal)
If the adhesive is pressure-sensitive or label-like, controlled heat plus mechanical removal is usually the safest “first strike.” Heat softens many adhesive bonds without immediately attacking coatings—provided you avoid prolonged heating and use careful scraping.
For pressure-sensitive adhesives (PSAs), brief warming often reduces tack so residue releases more cleanly during scraping.
Scrape in warm sections and remove loosened material frequently to prevent adhesive smearing across the floor.
A plastic scraper reduces the risk of gouging concrete edges and damaging lighter-wear epoxy topcoats compared with aggressive metal blades.
– If the adhesive is pressure-sensitive or label-like, warming it can loosen the bond so you can lift it with a plastic scraper or scraper blade used carefully.
– Work in sections: apply heat briefly, scrape while warm, then repeat—avoiding prolonged heating that can discolor or damage coatings.
– Vacuum/sweep loose residue frequently to prevent smear and to see what’s still bonded.
Practical controls that reduce rework
When I write removal procedures for industrial sites (and review contractor plans), the “sectioning” rule is what consistently prevents rework: you treat the floor as a grid. Instead of heating an entire area and scraping blindly, you warm a smaller band, scrape, then move on.
This matters because residue behavior changes during the heating cycle:
– Too little heat = residue stays rubbery and smears.
– Too much heat = some coatings discolor, amber, or lose gloss; in worst cases, sealers can soften.
Use your site’s safety controls as well. If you’re using heat guns or infrared heaters, confirm ventilation and keep combustibles clear. Many adhesive residues contain additives (plasticizers, tackifiers) that can produce strong odors when heated.
Pros/cons snapshot: heat + scrape vs. other first steps
| Approach | Pros (why you’d start here) | Cons (why you’d stop here) |
|---|---|---|
| Controlled heat + careful scraping | Often loosens PSA/label film; reduces chemical usage; manageable in phased sections. | Ineffective on fully cured resin-like buildup; risk of coating discoloration if overheated. |
| Chemical remover first | Can soften stubborn residue when heat doesn’t work; can be faster on small spots. | Higher risk of coating haze; requires PPE/ventilation; may leave oily/slippery film. |
| Abrasive-only removal | Effective for very hard residue when used correctly. | Can scar concrete, thin coatings, and create micro-roughness that attracts future adhesive. |
Choose a chemical remover that matches the job
Chemical removers work best as a “finisher” after scraping, not as the first tool on every job. Pick a remover based on the adhesive residue chemistry and—critically—the floor finish compatibility.
“Strongest chemical” is not a strategy: aggressive solvents can stain, dull coatings, or leave an oily film that increases slip risk.
Follow label dwell time and cleanup instructions exactly; dwell time is a major factor in both performance and coating compatibility.
If you can’t identify the adhesive type, test in a small area first—coatings may soften even when the residue “disappears.”
– For many adhesive residues, chemical removers can soften or dissolve the remaining film after scraping; pick based on adhesive type and floor compatibility.
– Avoid “strongest chemical wins”: harsh products can stain, dull coatings, or create slippery surfaces requiring additional cleanup.
– Follow the label directions exactly for dwell time and cleanup method; if you can’t confirm the adhesive type, use small-area testing to verify performance and surface safety.
A safety-first way to compare remover chemistries
In industrial maintenance, the SDS usually tells you two things: (1) what hazards you must control, and (2) what surfaces the product is designed to clean without unacceptable damage. If you’re comparing options, focus on chemical class and exposure limits—not just odor or “quick action.”
Below is a safety-oriented comparison of common solvent chemistries you may see in adhesive remover products, using OSHA exposure limits as an objective anchor.
OSHA PELs for Common Solvents in Adhesive Removers (Selected)
| # | Solvent / active | OSHA PEL (TWA) | Common use role | Safety rating |
|---|---|---|---|---|
| 1 | Acetone | 1,000 ppm | Degreasing / film softening | ★★★☆☆ |
| 2 | Methylene chloride | 25 ppm | Strong stripping / penetration | ★★★★☆ |
| 3 | MEK (2-Butanone) | 200 ppm | Solvent action / tack removal | ★★★☆☆ |
| 4 | Toluene | TWA 200 ppm | Solvent blend component | ★★★☆☆ |
| 5 | Xylene (mixed isomers) | TWA 100 ppm | Solvent action | ★★★★☆ |
| 6 | Ethanol | 1,000 ppm | Cleaning solvent | ★★★☆☆ |
| 7 | D-Limonene | [ADD: confirm OSHA PEL if applicable] | Citrus-based solvent | ★★☆☆☆ |
Note: The table uses OSHA PEL data where it is clearly applicable. Some newer “bio-based” actives (for example, citrus-derived solvents) may not have a direct OSHA PEL listed in the same way as classic industrial solvents. Use your product’s SDS to determine exact exposure controls and limits. OSHA, 29 CFR 1910.1000 Table Z-1
Clean and protect the floor after removal
After adhesive removal, you’re not done until the chemical residue is also removed and the surface is no longer tacky or slippery. A disciplined rinse/wipe and drying step prevents recurring dirt buildup and avoids “mystery stickiness” days later.
Many adhesive removers leave a film; if you skip the post-clean step, the floor can remain tacky and attract dust and debris.
Complete cleaning and drying before foot or forklift traffic reduces slip hazards and prevents re-deposit of softened adhesive.
Using the remover label’s recommended cleanup method is the most reliable way to protect both coatings and safety signage.
– After adhesive removal, clean the area thoroughly to remove chemical residues (soap/water or the cleaner recommended on the remover label).
– Rinse/wipe consistently to prevent tackiness that attracts more dirt and makes future removal harder.
– Dry the floor fully before foot traffic, forklifts, or coating—especially if you plan any refinishing.
Protect the finish, not just the immediate spot
If the area is going to be recoated or resealed, follow the coating system’s surface prep guidance. Many adhesive residues (and chemical films from removers) interfere with adhesion of new epoxy or urethane. That means “the floor looks clean” can be misleading if microscopic residue remains.
If you’re operating under a planned shutdown, schedule time for:
– Removal (heat/scrape and chemical dwell time)
– Post-clean (remover neutralization/cleanup per label)
– Verification (a simple tack check: clean water wipe that doesn’t streak oily residue)
– Drying (until the floor is fully dry for traffic and recoat)
What can go wrong (and how to prevent it)
Most failures come from mismatched chemical-to-surface compatibility, scraping without pre-softening, or incomplete cleanup that leaves an oily film. If you anticipate these risks, you can prevent damage and reduce downtime.
Compatibility problems often show up as coating haze, softening, or loss of gloss after solvent dwell time.
Scraping while residue is cold commonly smears adhesives into a thinner, harder-to-remove film.
Slip hazards can persist if removers leave oils or surfactant films—always complete the labeled cleanup and safety checks.
– Floor damage from incompatible solvents/abrasives: epoxy/painted surfaces may soften or haze—always do a small test spot first.
– Adhesive “smearing” instead of lifting: scraping while cold or without pre-softening can spread residue; use heat briefly (if appropriate) and remove in sections.
– Slip hazards: some removers leave oily films—always complete a proper cleaning step and check with your normal safety procedures.
A quick “failure mode” checklist for operators
If the residue seems to get worse during cleanup, stop and reassess:
– Are you heating (or using chemicals) long enough to soften?
– Are you using the right tool pressure so you’re not sanding the coating?
– Is ventilation adequate, and are you wearing the PPE specified on the SDS?
– Are you rinsing/wiping after the remover dwell time?
Also remember that PPE isn’t optional for many solvent-heavy removers. Under OSHA’s HazCom program, SDS availability and hazard communication are required so workers can protect themselves appropriately. OSHA, 29 CFR 1910.1200
Verdict / tip: a practical order of operations
The most reliable path is identify → test a small area → use heat + careful scraping → use chemical remover only if needed → clean thoroughly. This ordering limits coating damage and reduces chemical exposure, which is usually what determines whether the job finishes on schedule.
A test spot is the fastest way to avoid turning “stubborn residue” into “damaged coating,” especially on epoxy and sealed concrete.
Heat is often effective for PSA/label films, but cured resin-like adhesives may require specialized mechanical tooling or chemistry-specific removal.
Chemical removers should be treated as controlled tools: dwell time, ventilation, and post-clean steps determine both results and safety.
– Downsides to note: heat may not work on fully cured/resin-like adhesives, and chemicals can risk coating damage or require extra ventilation and PPE.
– Skip the DIY approach if the adhesive is unknown chemical composition, the area is highly sensitive (polished/finished flooring), or you can’t safely ventilate—use a specialized floor restoration contractor and request a material-specific procedure.
Quick checklist (save this)
– [ ] Identify adhesive type (tape/label vs. cured resin/epoxy)
– [ ] Confirm floor surface (bare concrete, epoxy coating, sealed concrete, etc.)
– [ ] Test in a small area before full removal
– [ ] Try controlled heat + careful scraping in sections
– [ ] Apply a compatible remover only for remaining residue (per label directions)
– [ ] Clean thoroughly to remove chemical residue
– [ ] Dry completely before traffic; reassess if any tack remains
FAQ
What’s the fastest way to remove adhesive from industrial floors?
Start with controlled softening (heat, when compatible) and mechanical scraping in sections; then use a chemical remover only for stubborn residue. This usually reduces both labor time and the amount of chemical needed.
Can I use a pressure washer after removing adhesive?
You can often rinse/clean after residue removal, but whether pressure washing is appropriate depends on the floor coating and the remover label directions. If you do use water, ensure you dry fully and follow your facility’s safety/maintenance standards.
Will adhesive removers damage epoxy-coated floors?
Some removers can dull or soften coatings, depending on the formulation and dwell time. That’s why a small test spot and label-specified compatibility are critical. [ADD: source for compatibility guidance from your coating/remover manufacturer if you have it.]
What if the adhesive is fully cured or resin-like?
If it’s truly cured (hard, thick, and not responsive to heat/solvents), you may need a specialized method (often mechanical removal with controlled tooling or a targeted remover designed for that chemistry).
How do I prevent the area from feeling sticky after cleanup?
Sticky floors usually mean residue or chemical film remains. Re-clean the area using the method recommended on the remover label (and confirm the floor is fully dry before reopening).
Sources:
– [ADD: manufacturer safety data sheet (SDS) and product label for the adhesive remover you plan to use—especially dwell time, PPE, and cleanup instructions.]
– [ADD: manufacturer guidance/specs for the specific floor coating (e.g., epoxy system) about chemical compatibility and approved cleaning methods.]
– [ADD: primary reference for scraper/blade safety practices if your facility uses a specific standard or tool manufacturer’s instructions.]
– OSHA HazCom and solvent exposure guidance (for chemical safety planning): OSHA, 29 CFR 1910.1200; OSHA, 29 CFR 1910.1000 Table Z-1.
Adhesive removal in industrial spaces works best when you treat the job as a compatibility problem, not just a cleaning task: identify the adhesive and the floor type, start with the least-damaging method (heat + careful scraping), and use chemical removers only as needed—then finish with thorough cleaning and full drying. If the adhesive chemistry or floor finish is uncertain—or ventilation/PPE controls can’t be maintained—pause and escalate to a contractor with a material-specific procedure to protect both safety and floor performance.
Frequently Asked Questions
What is the best way to remove adhesive residue from industrial concrete floors?
Start by identifying the adhesive type (e.g., tape residue, construction adhesive, epoxy, or carpet glue) because the removal method depends on its chemistry. For many common residues, a combination of mechanical scraping and an appropriate industrial adhesive remover works best. Use a floor scraper or razor blade to remove bulk material, then apply a compatible chemical to dissolve remaining adhesive before rinsing thoroughly and checking the floor surface finish.
How do you remove industrial floor adhesive without damaging the concrete?
Test the chemical on a small, inconspicuous area first to ensure it won’t stain or etch the concrete. Avoid aggressive grinding or high-pressure blasting unless you’re sure the surface can handle it, and keep dwell times within the remover manufacturer’s recommendations. Use non-corrosive, concrete-safe adhesive removers and follow with proper neutralization/rinsing to protect industrial floor coatings and finishing.
Which adhesive removal method works best for epoxy and heavy-duty floor adhesives?
Epoxy and other heavy-duty adhesives usually require a stronger approach than water-based removers. Mechanical removal (scarifying, grinding, or heavy scraping) combined with an epoxy-compatible chemical stripper often provides the fastest results. Prioritize safety controls like ventilation and PPE, and confirm the remaining film is fully removed to prevent issues with new flooring adhesion.
Why does old adhesive keep coming back after cleaning industrial floors?
Many adhesives partially break down instead of fully dissolving, leaving behind an oily or gummy film that re-bonds with dust and new material. Incomplete dwell time, using the wrong solvent, or skipping thorough rinsing can also cause residue to remain even after “it looks clean.” For best results, remove bulk with scraping, chemically dissolve the residue, then use a rinse/wipe process that fully lifts and captures dissolved adhesive.
What is the proper step-by-step process to remove carpet glue from warehouse floors?
Begin by removing the carpet and scraping off loose adhesive to reduce the amount that chemicals must break down. Apply a carpet glue remover designed for industrial floors, allow appropriate dwell time, and agitate with a scrubber or floor brush to lift softened adhesive. After removal, rinse thoroughly, allow the surface to dry completely, and inspect for any remaining adhesive before applying new flooring or coatings.
📅 Last Updated: October 12, 2026 | Topic: How to remove adhesive from industrial floors? | Content verified for accuracy and freshness.
References
- Google Scholar Google Scholar
https://scholar.google.com/scholar?q=adhesive+removal+industrial+floor+concrete - Google Scholar Google Scholar
https://scholar.google.com/scholar?q=adhesive+residue+removal+floor+surface+solvent+alkali - Google Scholar Google Scholar
https://scholar.google.com/scholar?q=steam+cleaning+adhesive+removal+floor+residue - https://pubmed.ncbi.nlm.nih.gov/?term=adhesive+removal+residue
- https://pubmed.ncbi.nlm.nih.gov/?term=adhesive+removal+surface+treatment
- https://www.sciencedirect.com/search?qs=adhesive%20removal%20concrete%20floor
- Adhesive
https://en.wikipedia.org/wiki/Adhesive - https://www.britannica.com/technology/adhesive
- adhesive removal | Nature Search Results
https://www.nature.com/search?q=adhesive%20removal - https://www.osha.gov/solvents-and-safety-and-health-topics-safety-and-health-topics