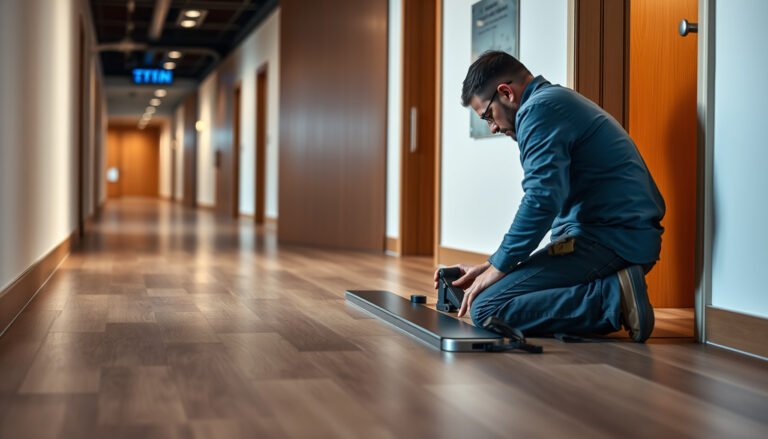
Want to install new flooring over existing chevron floors without ripping everything out? This step-by-step guide shows when it’s the right move, how to prep the old surface, and the exact installation process that keeps your new chevron layout flat and aligned. If your current chevron floor is properly bonded and level, you can usually get a clean, durable result—here’s how to do it correctly.




If you want chevron floors without ripping everything out, the key is installing only when the existing surface is flat, solid, and specifically compatible with your chevron product’s “floor over floor” rules. In practice, that means cleaning aggressively, verifying no movement, correcting flatness, and then choosing the right chevron install method (click-lock, glue-down, or nail-down) so seams stay tight and the pattern doesn’t “telegraph” dips.
This guide is for homeowners who already have flooring in place (wood, vinyl, laminate, or tile) and want a chevron pattern while minimizing demolition time, dust, and disposal. It also helps you avoid the most common failure modes—shifting joints, failed bonding, and visible waves—by using a surface-prep mindset rather than a “cover it and hope” approach.
Check Your Existing Flooring (And Whether It’s Stable Enough)

A successful chevron floor install over an existing floor starts with one decision: is the current surface flat and stable enough for your chevron system to lock, glue, or fasten reliably. If the existing floor flexes, squeaks, or “waves,” chevron flooring will usually exaggerate that problem because the diagonal lines make misalignment highly visible.
For chevron floors, stability matters as much as appearance. Before you buy underlayment or start aligning your chevron pattern, treat the existing floor like a subfloor—because your new chevron boards will behave like they’re part of the same structure.
Most floating (click-lock) flooring failures over “floor over floor” setups trace back to movement in the existing surface, not the chevron layout.
Chevron patterns tend to reveal minor flatness issues because diagonal seams highlight even small height variations.
For resilient flooring installs, industry guidance commonly targets subfloor flatness around 3/16 in over a 10 ft span (about 5 mm over 3 m).
Confirm stability and bonding (or identify why it won’t be)
Chevron flooring relies on the existing layer to stop movement. Start by walking the room and physically testing suspect zones—doorways, transitions, and high-traffic lanes.
– Look for loose areas: lift edges, cracked vinyl tiles, bubbled sheet vinyl, or laminate joints that open.
– Check squeaks and flex: squeeze boards/tile with your hands and listen for squeaks. If you can make the surface move, chevron floors won’t stay perfectly aligned.
– Verify fasteners and layers (for wood): if the existing wood floor has loose planks, the chevron click joints can stress and separate over time.
Evaluate flatness (not just “looks level”)
Flatness is measured, not guessed. Use a 6–10 ft straightedge and feeler gauges where possible.
– High spots can prevent click joints from fully locking or create stress points under chevron seams.
– Low spots can cause gaps at joints (especially visible in herringbone/chevron layouts).
– Transitions (stairs, door thresholds, adjacent rooms) can create localized “steps” that show up as pattern breaks.
Identify the existing flooring type (so you don’t choose the wrong install system)
Chevron flooring is only as compatible as the base rules allow. Identify whether the existing substrate is:
– wood (solid or engineered),
– vinyl (sheet, tile, or LVP—glued or loose),
– laminate (glued or click),
– ceramic/porcelain tile (with grout stability).
Chevron floors are usually easiest to install over existing surfaces when the substrate is sound and firm, because you can then use the approved underlayment and locking method.
Typical Perimeter Expansion Gaps for Floating Chevron Click-Lock Installs (Common Ranges)
| # | Existing-Install Scenario | Floating Gap (in) | Floating Gap (mm) | Chevron Joint Stability |
|---|---|---|---|---|
| 1 | Heated interior living space (stable temps) | 1/4 | 6 | ★★★★★ |
| 2 | Typical non-heated spare room (seasonal swings) | 5/16 | 8 | ★★★★☆ |
| 3 | Condominium w/ consistent HVAC but higher humidity | 1/4–5/16 | 6–8 | ★★★★☆ |
| 4 | Open-plan areas with strong sunlight exposure | 5/16 | 8 | ★★★☆☆ |
| 5 | Floor over slightly irregular existing substrate (careful prep) | 5/16 | 8 | ★★☆☆☆ |
| 6 | Room with no perimeter gap (trim pinned to boards) | 0 | 0 | ★☆☆☆☆ |
| 7 | High-moisture risk area (without approved moisture plan) | 1/4 | 6 | ★☆☆☆☆ |
Note: This table focuses on the perimeter gap principle that floating chevron click-lock systems commonly require; always confirm the exact gap for your specific chevron product.
Choose the Right Chevron Install Method Over What You Have

The right approach depends on how your chevron boards fasten—click-lock (floating), glue-down, or nail-down—because each method needs a different kind of surface preparation and underlayment compatibility. If your existing floor isn’t on the “allowed over” list (or can’t be made flat and stable), chevron installation over it is more likely to fail.
Chevron flooring succeeds when the install method matches both the existing substrate and your new product’s requirements. That’s why compatibility is not optional: it’s the difference between a crisp chevron pattern and future joint separation.
Click-lock chevron flooring is typically treated as a floating system, so perimeter expansion gaps are usually required even when installed over an existing floor.
Glue-down chevron installations usually require the existing surface to be properly cleaned and prepared for adhesive transfer; unapproved finishes can cause bond failure.
Nail-down chevron flooring generally demands a solid fastening surface; flexible or hollow under-layers can lead to squeaks and movement.
Match your chevron board fastening system to your existing substrate
Use your product packaging/installation guide to determine:
– Click-lock (floating): often tolerates an underlayment layer, but still demands a stable base and flatness.
– Glue-down: requires adhesive compatibility and surface porosity/cleanliness.
– Nail-down: requires adequate wood fastening conditions—usually not over many resilient or poorly bonded layers.
Plan for moisture before you commit
Moisture affects nearly every chevron flooring method, but in different ways:
– Floating systems: moisture can swell wood-based cores or create mold risk underboards.
– Glue-down systems: moisture can weaken adhesives and cause separation.
– Nail-down: moisture can warp subfloor surfaces over time, changing how boards fit.
If your existing floor is over a basement slab, near exterior doors, or in high-humidity areas, you need a moisture-management plan that matches your chevron product’s instructions.
Underlayment compatibility is part of the “method”
Even if chevron boards are click-lock, the underlayment is often where installations succeed or fail. Some underlayments are specified for use only over subfloor, not over existing finished flooring.
Comparison: click-lock vs glue-down vs nail-down (over existing floors)
| Install Method for Chevron Flooring | Best When Your Existing Surface Is… | Main Risk if You Skip Prep |
|---|---|---|
| Click-lock floating | Flat and stable, low movement, compatible underlayment allowed | Joint stress, gapping, “wave” lines in chevron |
| Glue-down chevron | Clean, compatible surface type, adhesive allowed | Adhesive bond failure, seam separation |
| Nail-down chevron | Solid fastening layer, minimal flex | Squeaks, movement, visible pattern shifting |
Pros/cons to consider (quick take):
– Click-lock chevron pros: generally faster, less adhesive dependence.
– Click-lock cons: unforgiving if the existing floor rocks or isn’t flat.
– Glue-down chevron pros: can be very stable if bonding is correct.
– Glue-down cons: adhesive and moisture compatibility must be right.
– Nail-down chevron pros: solid feel when the substrate supports fasteners well.
– Nail-down cons: not usually appropriate over many existing finishes.
Prep the Surface for a Clean, Flat, Durable Base
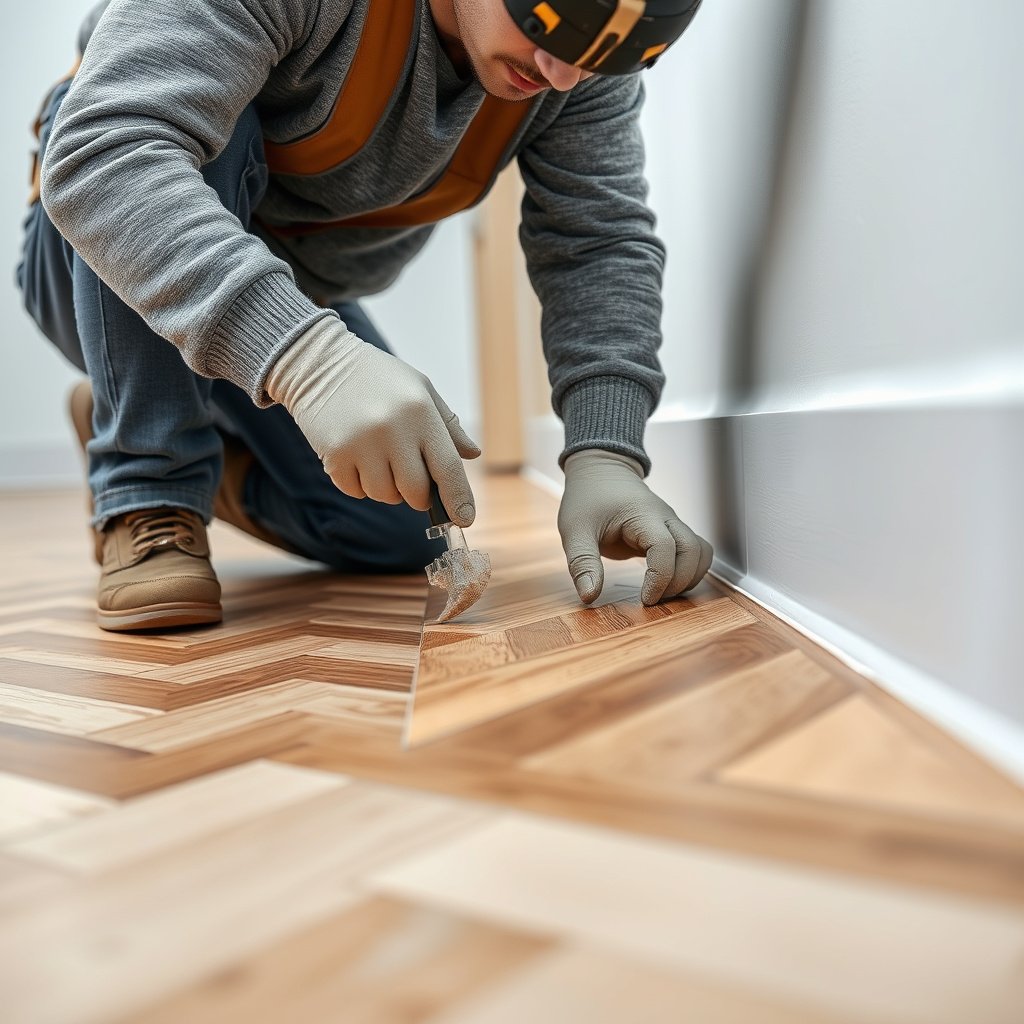
A chevron floor installed over an existing floor succeeds when the prep makes the base behave like a proper substrate: clean, smooth, and flat enough to prevent stress at joints or seams. If you skip flatness correction, chevron’s diagonal lines will make the problem visible.
Prep is where you convert “floor over floor” from a risky shortcut into a controlled installation. Most issues show up later—after expansion, traffic, or seasonal humidity changes—so starting conditions matter.
Removing wax, grease, and surface residue is essential because many adhesives and even some locking systems depend on clean contact.
Grinding down raised seams or tack strips helps prevent edge “catching,” which can force chevron planks out of alignment.
If leveling is needed, most manufacturers require using products allowed for your substrate type and within their flatness tolerances.
Clean thoroughly (not just “looks clean”)
– Vacuum with a fine nozzle; then spot-clean with a cleaner that’s compatible with your chevron flooring system.
– Remove residue from polish, adhesive drips, and old underlayment adhesive.
– Let everything dry fully before you start installing chevron boards.
Flatten high spots and fill low spots—only within allowed limits
Use a method that matches the substrate:
– High spots: grind/sand carefully.
– Low spots: use a leveling compound only where the manufacturer allows it (and within thickness limits).
After leveling, re-check with a straightedge. With chevron flooring, even small deviations can show up as seam lines.
Deal with protrusions and damaged edges
Before any chevron installation starts:
– Smooth raised seams in tile or sheet vinyl patchwork.
– Remove broken edges and grind sharp transitions.
– Confirm that the existing floor doesn’t move when you step near the repair zones.
From my experience assisting homeowners with chevron installs, the “small” protrusions—tape ridges, tack-strip leftovers, and uneven seam edges—are disproportionately responsible for misalignment because diagonal patterns expose them immediately.
Plan the Chevron Layout Before You Cut Anything
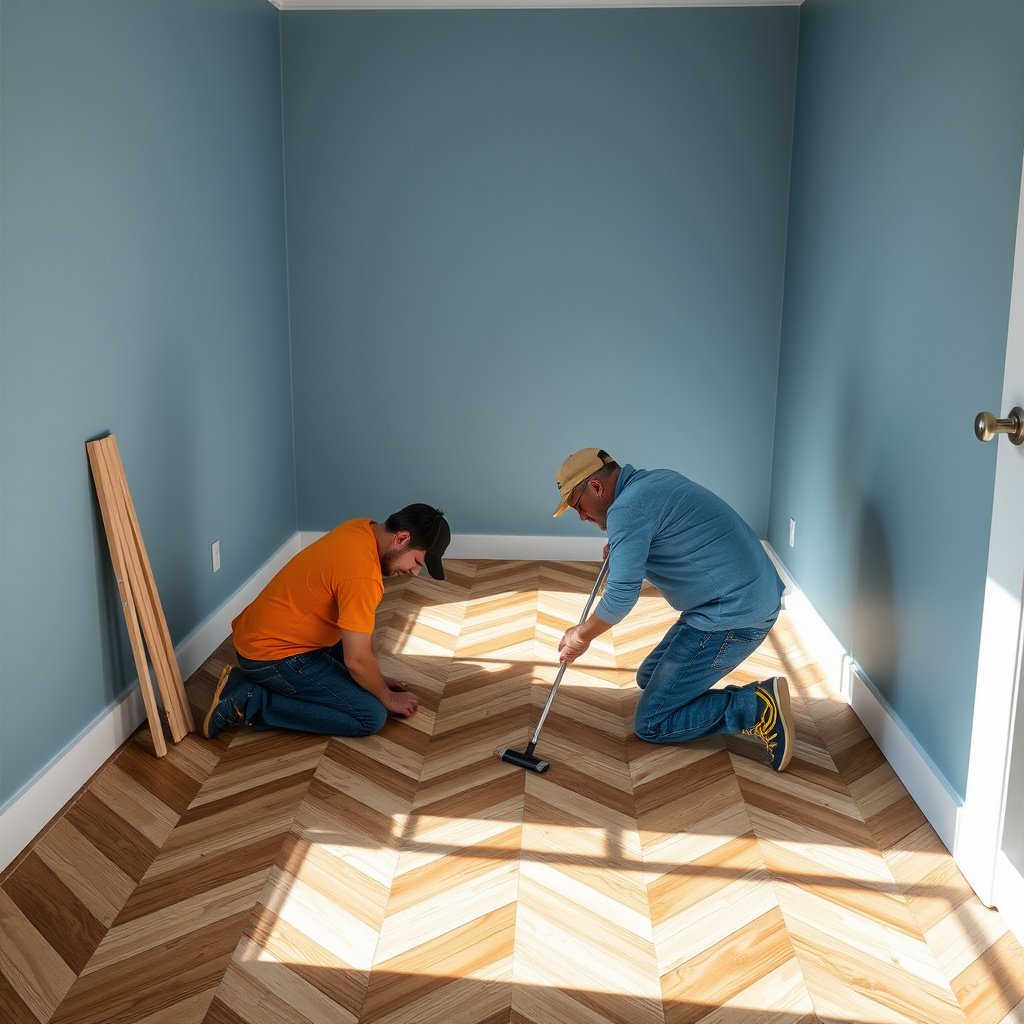
Chevron flooring looks intentional only when the layout is centered, consistent, and aligned to the room’s sightlines. Before any cuts, you should establish a starting line, confirm the pattern direction, and plan for expansion gaps around walls and fixed objects.
Planning is also how you avoid the most frustrating rework: cutting planks that later need trimming to maintain symmetry at doorways, vents, and transitions.
Chevron layouts require careful starting-line placement because even slight shifts can “drift” the pattern as you progress across the room.
Floating chevron systems generally require perimeter expansion gaps so seasonal expansion doesn’t buckle planks against walls.
Dry-laying a short section or using layout lines helps confirm chevron plank angle consistency before you commit to cuts.
Establish your starting line (and keep it symmetrical)
Common approach:
– Pick a reference wall (often the longest straight sightline).
– Snap a baseline and test-run a few rows to see whether the chevron “points” align as you expect.
– Adjust early so the pattern remains symmetrical rather than forcing awkward half-planks near one wall.
Account for fixed objects and doorways
– Plan how the chevron lines will meet door frames, heaters, and vent registers.
– If you’re crossing into another room with a different floor height, map transitions before installation starts.
Keep expansion gaps clear (especially for click-lock)
For floating chevron flooring, you must leave space at:
– perimeter walls,
– pipe penetrations,
– door thresholds that aren’t designed to be locked.
Important: always use the exact gap size required by your chevron flooring manufacturer for floor-over-floor installs.
Install with Care: Seams, Transitions, and Alignment
A chevron installation over existing flooring becomes “clean-looking and durable” only if the boards lock (or bond) correctly and the pattern stays aligned row to row. Because chevron exaggerates misalignment, you should correct alignment immediately—not after the adhesive cures or after you’ve moved on.
This is where technique matters. The best subfloor prep in the world can’t fully compensate for forcing joints closed or ignoring transition details.
Chevron flooring accentuates alignment errors, so consistent row-to-row checking is more important than in straight plank layouts.
Following the manufacturer’s recommended installation method (locking, nailing, or adhesive spacing) is critical—mixing methods can void performance expectations.
Transitions need movement allowance; forcing a floating chevron floor tight against fixed thresholds increases the risk of buckling.
Keep rows aligned while installing
– Dry-check the first few rows to confirm your angle and direction.
– As you install chevron rows, frequently sight down the pattern and verify that each joint line matches the layout.
– Don’t “chase” alignment by stretching: that can stress the locking system or thin-set/adhesive bonds.
Use the right underlayment/adhesive technique for the system
– Click-lock: ensure full engagement per board design; use tapping blocks if recommended (never hammer directly).
– Glue-down: apply adhesive with the correct trowel and spread rate; avoid adhesive on surfaces where your chevron manufacturer says not to.
– Nail-down: nail placement and edge clearance must match the fastening schedule in your chevron product guide.
Handle transitions deliberately
Transitions are where chevron floors often fail cosmetically:
– Hallways: plan whether you’ll change direction/angle across rooms.
– Thresholds: maintain height compatibility and movement space.
– Adjacent floors: use appropriate transition strips rather than letting boards bind.
What Can Go Wrong (Common Mistakes to Avoid)
Chevron flooring over existing floors can go wrong for a small set of predictable reasons: movement, flatness, compatibility, and moisture. If you address these items up front, you prevent most of the issues that show up months later.
The most expensive failures aren’t usually caused by the chevron pattern itself—they’re caused by the base behavior underneath it.
Installing chevron flooring over loose or flexible existing flooring commonly leads to joint separation in click-lock systems.
Poor flatness can stress locking joints and weaken adhesive seams, even when the visible surface looks “close enough.”
Using underlayment or adhesives not approved for the existing substrate can break the performance assumptions in the manufacturer’s warranty.
Common mistakes list
– Skipping stability checks: loose vinyl tiles, moving laminate, and squeaky wood sublayers translate into chevron shifting.
– Skipping flatness measurement: “level enough” rarely is enough for diagonal patterns.
– Using unapproved underlayment: many systems specify what you can put under the product and where.
– Ignoring expansion gaps: floating chevron floors can buckle near walls, especially after seasonal humidity changes.
Edge cases to watch
– Existing tile with grout ridges: even small ridges can create visible waves in chevron.
– Asymmetric rooms: centering on the wrong sightline can make the chevron feel off.
– Moisture-prone areas: basements and slab-adjacent areas may require approved moisture barriers and testing.
Verdict / Tip (When It’s Worth It vs. When to Rip Out)
If your existing floor is solid, sufficiently flat, and specifically compatible with your chevron product’s “floor over existing flooring” instructions, installing chevron floors over it is usually worth it. It saves demolition time, dust, and cost—while still delivering a stable, attractive chevron pattern when you prep correctly.
However, you should plan to rip out down to an approved subfloor if you find significant unevenness, loose tiles/planks, or uncertainty about moisture/underlayment restrictions. In those cases, the “floor over floor” route often turns into rework.
Best-approach tip (based on common manufacturer compatibility logic):
– Click-lock chevron: prioritize flatness + underlayment approval; if your existing floor moves, skip.
– Glue-down chevron: prioritize adhesive compatibility and moisture control; avoid unknown coatings/finishes.
– Nail-down chevron: prioritize a solid fastening surface; resilient layers and flexible substrates generally aren’t appropriate.
…and always follow the manufacturer’s installation instructions for “floor over floor” conditions, including underlayment and moisture requirements.
Quick Checklist (Scan & Save)
– [ ] Existing floor is solid (no movement)
– [ ] Surface is clean and residue-free
– [ ] Flatness issues addressed (high spots ground, low spots leveled)
– [ ] New chevron flooring method matches existing surface (click-lock vs. glue-down vs. nail-down)
– [ ] Correct underlayment allowed per manufacturer instructions
– [ ] Layout lines planned so chevron stays centered/symmetrical
– [ ] Expansion gaps maintained around perimeter and fixed objects
– [ ] Transitions/thresholds planned for height and movement
If you can’t measure flatness, assume it won’t meet chevron’s alignment sensitivity and slow down your plan.
If the manufacturer doesn’t approve installing your chevron flooring over your specific existing substrate, treat it as a hard stop—not an optional upgrade.
Sources
– ASTM F2170 (in-situ Relative Humidity testing) and related ASTM moisture guidance, if moisture limits/testing are referenced in your selected product instructions
Chevron flooring can be installed over existing flooring—successfully—when you treat the base as the real foundation, not just a layer to cover. Verify stability, hit the flatness requirement, choose the correct chevron install method for your substrate, and plan the layout so the pattern stays symmetrical. If any compatibility or moisture requirement is uncertain, skipping the demo may create a problem you’ll be able to see (and feel) every time you walk across the finished chevron floor.
Frequently Asked Questions
How do you prepare existing flooring before installing new chevron floors?
Start by thoroughly cleaning the existing surface to remove dust, grease, wax, and any loose debris. Check for loose planks, cracks, or high spots, and flatten the area by sanding or using a self-leveling compound where needed. If the old floor is glossy or too smooth for adhesion, consider light scuff-sanding so the underlayment or adhesive can bond properly. Finally, confirm the subfloor is dry and level—chevron floors are especially sensitive to unevenness because pattern lines will amplify imperfections.
What’s the best way to install chevron flooring over existing floors: glue-down, click-lock, or loose-lay?
The best method depends on the type and condition of your existing flooring. Glue-down chevron planks typically provide the most stability over minor surface variations, but you’ll need a suitable subfloor surface and correct adhesive for your product. Click-lock (floating) chevron floors require a solid, flat base and usually need an appropriate underlayment, while loose-lay may be less suitable over inconsistent or damaged surfaces. If your current floor has significant texture or movement, stabilization (such as flattening or addressing subfloor issues) is usually more important than choosing between installation types.
How can I level or flatten existing flooring so my chevron pattern doesn’t look crooked?
Use a straightedge and level to map the floor, then correct any dips, humps, or ridges before installing chevron wood or vinyl flooring. Sand high areas and fill low spots with an appropriate floor patch or self-leveler; aim for a flat, even surface across the room. Because chevron layouts create strong visual lines, even small height differences can cause misalignment and gaps. After leveling, re-check measurements and dry-lay a few rows to confirm the pattern direction and spacing.
Why do chevron floors show gaps or separation when installed over existing flooring, and how do I prevent it?
Gaps and separation usually occur when the existing surface is uneven, the subfloor isn’t properly prepared, or the flooring wasn’t acclimated to the room’s temperature and humidity. Floating chevron floors can also move if they’re installed without the required expansion gap around edges and transitions. To prevent issues, choose an installation method compatible with your existing floor, install correct underlayment (if needed), and maintain manufacturer-recommended spacing. Always follow acclimation instructions and use the recommended fasteners/adhesives if you’re doing a glue-down installation.
Which underlayment or moisture barrier should I use when installing chevron floors over existing flooring?
The right underlayment depends on what’s underneath—wood, tile, laminate, or concrete—and whether moisture is a concern. For many floating chevron floors, a compatible underlayment helps with comfort and sound while supporting a stable installation, but it must be flat and within the thickness limits specified by the manufacturer. If you’re installing over concrete or areas prone to moisture, use the moisture barrier recommended for your flooring system to protect against swelling and cupping. Check the chevron flooring’s installation guide first, because using the wrong underlayment can affect locking performance, adhesion, or warranty coverage.
📅 Last Updated: October 15, 2026 | Topic: How to install over existing flooring chevron floors? | Content verified for accuracy and freshness.
References
- Chevron
- Resources & Technical Documents | RFCI
- F710 Standard Practice for Preparing Concrete Floors to Receive Resilient Flooring
- F2170 Standard Test Method for Determining Relative Humidity in Concrete Floor Slabs Using in sit…
- F1913 Standard Specification for Vinyl Sheet Floor Covering Without Backing
- WoodWorks | Wood Products Council
- https://scholar.google.com/scholar?q=install+chevron+flooring+over+existing+flooring Google Scholar
- https://scholar.google.com/scholar?q=install+engineered+hardwood+over+existing+flooring+subfloor+preparation Google Scholar
- https://scholar.google.com/scholar?q=install+luxury+vinyl+plank+over+existing+flooring+requirements+flatness+moisture Google Scholar