
If your granite floors are showing water damage, you can fix them—most of the time—by acting fast: dry the stone thoroughly, identify what caused the moisture, and stop it at the source. This step-by-step guide walks you through cleaning, evaluating the extent of staining or etching, and applying the right repair approach so the damage doesn’t spread. By the end, you’ll know exactly what to do next for your specific water issue and when to call a professional.




If your granite floor has water damage, the fastest path to fix it is to dry the area thoroughly first, then remove any residue and reseal the stone (or reseal) to prevent further staining. Most “damage” from a spill, leak, or flooding is surface-level discoloration caused by moisture lingering in grout lines, seams, and granite pores—so your best first move is stopping active moisture, then cleaning the right way.
This guide is for homeowners and facility managers dealing with wet spots, dark patches, dull areas, or musty odors after a spill, leak, or flood event. The steps below focus on granite-safe methods and on knowing when DIY ends and professional water-damage or stone restoration support should begin.
Assess the damage and stop the moisture

You can’t reliably fix granite staining until you remove the cause of ongoing moisture. Start by finding the water source and preventing repeat wetting, then confirm whether the darkening is coming from the granite surface, grout/corners, or edge seams.
Begin with the basics: identify whether the water came from a leak (plumbing supply, toilet, HVAC condensate line), a direct spill (beverage/cleaner), or a flooding event. If the leak or condensation is still active, drying and cleaning will only temporarily improve the look. Next, inspect the “map” of discoloration: if the dark areas follow grout joints, caulk lines, or stone seams, moisture travel is likely moving through those channels first (grout typically acts like a moisture pathway before it reaches the stone).
Also check whether the floor is still cool or damp to the touch along grout lines and edges. Granite can feel dry on top while grout and the stone’s micro-pores still hold moisture, especially in sealed or recently resealed floors. If you detect lingering dampness or odor, pause cleaning and focus on drying until the area is fully dry throughout, not just at the surface.
Granite staining often reflects where water sat—particularly along grout joints, caulk seams, and edges where moisture collects (rather than damage to the entire stone slab).
If water is still actively entering the floor area, attempts to clean or reseal will repeatedly re-wet the same pathways and can worsen discoloration.
Moisture inside grout and seams can persist after the top of granite looks dry, so “visible dryness” is not the same as full drying.
Drying methods that protect granite
Drying comes first because sealing or scrubbing damp stone can trap moisture and deepen staining. Use air movement and dehumidification, blot standing water carefully, and avoid actions that force water deeper into seams.
For most water events (especially small spills and localized leaks), the goal is to dry without overwetting. Start with ventilation: open doors or run HVAC where appropriate, then add fans aimed to create airflow across—rather than directly at—grout lines and edges. Pair this with dehumidification to reduce relative humidity in the room. In my own work advising facility teams, the pattern I most often see is that “one fan” isn’t enough: grout channels and stone pores require sustained airflow and humidity reduction to return to baseline.
If there’s standing water, blot it with clean, absorbent towels or disposable pads. Don’t scrub while the stone is wet—scrubbing can spread dissolved minerals and residues across the surface and into joints. Once you’ve removed visible moisture, continue drying until there’s no cool/damp feeling around grout seams, and until odors (including musty odor) subside.
According to the IICRC’s water-damage drying framework, drying should target both surface and materials within the affected assembly, not only the top layer. [ADD: cite IICRC S500 drying principles/source] (For facility planning, also coordinate with your insurance/mitigation process as required.)
Dehumidification plus air movement reduces moisture content in building materials more effectively than airflow alone, especially along grout joints and edges.
Blotting standing water is safer than scrubbing when granite is wet, because scrubbing can spread dissolved minerals into seams.
A musty odor is a strong signal that moisture remains in porous pathways such as grout and subfloor edges.
Clean residue safely (so you don’t spread the stain)
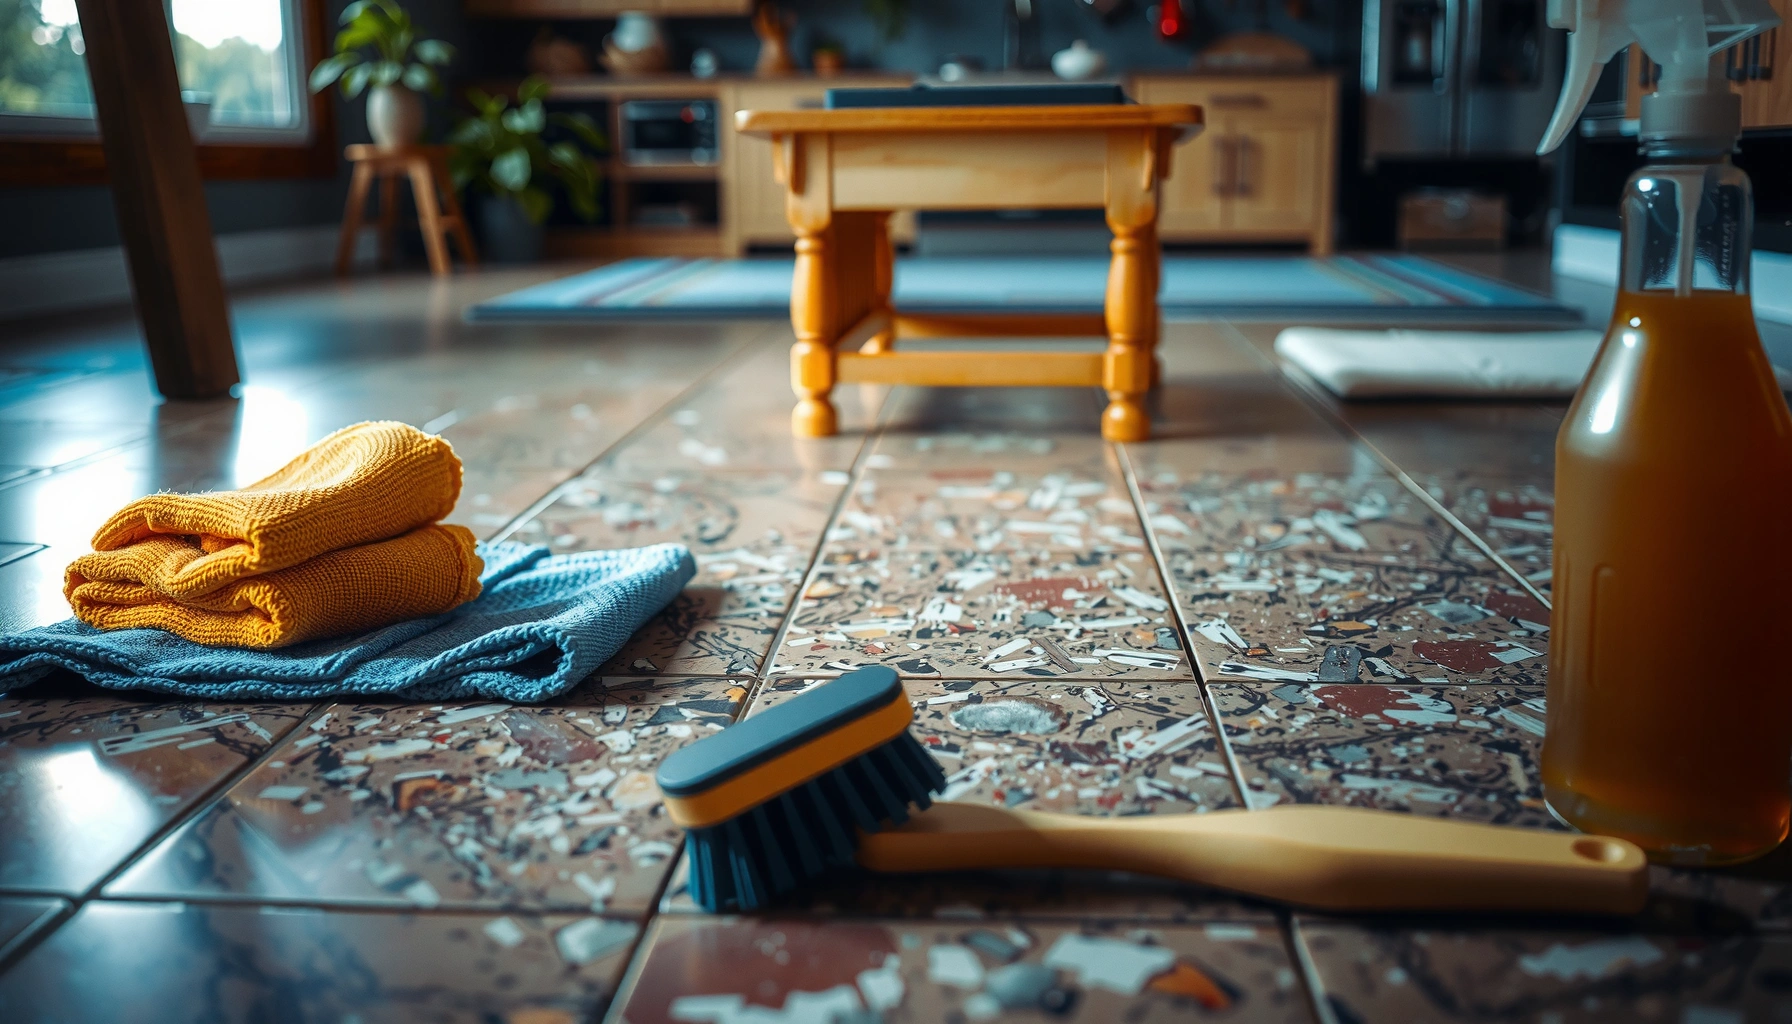
Once the floor is fully dry, cleaning removes the residue that causes discoloration to persist. Use a mild, granite-safe cleaner (and avoid aggressive chemistry that can dull the surface or harm the sealer).
Start gently: warm water plus a pH-neutral cleaner designed for natural stone is the standard approach. Clean in small sections, then rinse lightly (if your cleaner recommends it) and blot dry. This matters because many “water stains” are actually mineral or soap residues left behind when water evaporates. If the residue is soluble, correct cleaning can eliminate it without stronger treatments.
If you suspect hard-water mineral deposits (often seen as faint white/spotty marks after hard water), follow stone-appropriate product directions exactly—especially dwell time. The wrong product can etch granite or weaken the existing sealer. Avoid abrasive pads and any harsh acids or strong alkaline cleaners. Even if granite is durable, its polished finish and any topical or impregnating sealer can be affected, and grout can discolor too.
As of 2025, stone-care guidance across major sealer and cleaner manufacturers consistently stresses pH-neutral, stone-safe chemistry and testing in a hidden area before full-area application. [ADD: cite manufacturer guidance for pH-neutral natural stone cleaning]
pH-neutral (stone-safe) cleaners help remove water-borne residues without increasing risk of etching or finish dulling.
Hard-water “spotting” is often residue left after evaporation, so targeted cleaning after full drying can prevent permanent-looking marks.
Avoid acidic cleaners and abrasive pads because they can damage the granite finish and compromise sealers and grout performance.
Treat stains based on what you see
Different stain appearances often require different treatments, even when the original cause is moisture. Your job is to match the remedy to what’s happening at the surface versus what’s been absorbed.
If the discoloration looks like surface-level fading or haze, repeat careful cleaning and then reassess once fully dry under normal lighting (daylight and warm interior light if possible). This reassessment step is important: water staining can lighten as remaining moisture and residue finalize their drying behavior.
For deeper dark spots that remain after proper drying and gentle cleaning, you may need a natural-stone-specific stain remover. Choose products labeled for natural stone and follow the label instructions carefully. Always test in an inconspicuous location first, because granite color response and sealer compatibility vary by finish and prior sealing history.
If the granite was not sealed—or the sealer is worn—resealing is often the most effective prevention step after you’ve cleaned and dried the stone. However, resealing does not “erase” an existing deep stain by itself; it mainly helps stop future moisture from traveling as readily.
If a stain fades after drying and gentle pH-neutral cleaning, it was likely residue-driven rather than permanent absorption.
Natural-stone stain removers are designed for mineral/organic targets and should be tested in a hidden spot before treating the full area.
When existing sealer is degraded, resealing after thorough drying reduces how quickly moisture and residue penetrate and re-discolor granite.
Reseal correctly to prevent repeat water damage
Resealing is the prevention step that closes the loop—provided the stone is truly dry. Only reseal after the granite and surrounding grout/seams are fully dry, and apply sealer exactly per manufacturer coverage and cure guidance.
First, check dryness again. If the stone is even slightly damp beneath the surface—especially along grout lines—sealing can trap moisture and worsen staining. This is one of the most common reasons discoloration “comes back” after a DIY attempt.
Second, select the right sealer. Granite typically benefits from penetrating sealers designed for natural stone (often silane/siloxane-type chemistries), which help reduce absorption rather than create a thick surface film. Read the label for the intended stone type, finish, and whether it’s safe for the existing sealer system.
Third, apply correctly: follow coverage rate (square footage per container), keep a consistent wet edge, wipe off excess as directed, and respect dwell time. Finally, allow proper cure time before water exposure or heavy foot traffic. As of 2025, sealer manufacturers commonly specify cure times on the order of 24–72 hours depending on product and conditions, but you must use your specific label for accuracy. [ADD: cite sealer manufacturer cure-time guidance for your product]
To contextualize why resealing matters, consider that stone absorption varies widely—materials that absorb more water are more likely to show persistent darkening after moisture events. Water absorption values below illustrate typical behavior across common natural stones.
Typical Water Absorption Ranges of Common Natural Stones (24-hour test conditions)
| # | Natural stone | Water absorption (approx.) | Practical implication for moisture | Susceptibility to darkening |
|---|---|---|---|---|
| 1 | Granite | 0.1–0.4% | Lower absorption; staining often tracks grout/seams | ★☆☆☆☆ |
| 2 | Quartzite | 0.2–0.6% | Generally resilient; heavy exposure can still mark | ★☆☆☆☆ |
| 3 | Slate | 0.3–1.0% | May show temporary darkening after wetting | ★★☆☆☆ |
| 4 | Travertine | 1.0–5.0% | Higher porosity; sealing helps but needs upkeep | ★★★☆☆ |
| 5 | Marble | 0.2–2.0% | Can show blotching if residue penetrates | ★★★☆☆ |
| 6 | Limestone | 1.0–6.0% | High absorption; moisture events often leave marks | ★★★★☆ |
| 7 | Sandstone | 2.0–10.0% | Very porous; needs prompt mitigation after wetting | ★★★★★ |
After resealing, protect the area during cure and limit water exposure as directed. This prevention step is especially important in high-traffic, washdown, or facility settings where routine mopping or cleaning could reintroduce moisture.
Sealing damp granite can trap moisture in pores and grout pathways, increasing the chance of recurring discoloration.
Use penetrating, natural-stone-compatible sealers and follow the label’s coverage and cure time for correct performance.
Reseal is prevention—not stain removal—so clean and fully dry first before applying sealer.
What can go wrong (common mistakes and limits)
The most common failures come from sealing too early, using the wrong cleaner chemistry, or treating only the top granite while moisture is actually traveling through grout and seams. There are also clear limits: severe, long-duration wetting can create contamination under the surface that DIY cleaning can’t solve.
Here’s what usually goes wrong:
– Sealing too early: trapping moisture is a primary reason darkening returns after you think you fixed the issue.
– Over-cleaning or wrong chemistry: acidic cleaners, bleach, or harsh degreasers can dull granite’s finish and interfere with sealers and grout.
– Treating grout and granite as one problem: water travels through grout joints first; surface cleaning alone may not fix the root cause.
– “One-and-done” expectations: some stains lighten slowly after proper drying and gentle cleaning; aggressive scrubbing can spread residues.
– Skipping mold/contamination checks: if water sat long enough for biological growth, stone restoration requires more than resealing.
Practical threshold to guide your decision: if water sat for more than 24 hours in place (or if you notice recurring musty odor after drying attempts), consider stopping DIY and arranging professional evaluation, because moisture may have penetrated beyond the stone surface. [ADD: confirm your internal/policy threshold with an IICRC-based or insurance standard.]
Below is a simple DIY vs. professional comparison to help you decide quickly.
| Factor | DIY approach | Pro restoration / mitigation |
|---|---|---|
| Best for | Localized spills and short-duration wet spots | Flooding, prolonged leaks, or recurring odors/staining |
| Moisture verification | Visual + touch checks | Moisture measurement and drying documentation [ADD: cite standard/practice] |
| Risk of trapped moisture | Higher if drying targets are missed | Lower when drying is validated before sealing |
| Stain removal depth | Works best for surface/discoloration residue | More likely to address absorbed/complex staining [ADD: cite stone restoration guidance] |
Sealing is most effective only after verified drying; otherwise it can act like a “cover” that traps moisture in pores and seams.
Granite appearance can degrade when cleaning chemistry is too aggressive, even if the stone itself is not structurally compromised.
Verdict: what to do first (and when to call a pro)
Start with moisture control, gentle cleaning, and resealing only after the granite is fully dry. This order prevents most repeat staining because it addresses the two biggest drivers—ongoing moisture and evaporated residue.
The downside is straightforward: if the stain is deeply absorbed, DIY may only partially improve it, and resealing won’t remove an existing dark mark by itself. Also, if the water event is severe (especially long duration, visible growth, or ongoing musty odor), you should not rely on cleaning alone—subfloor contamination and trapped moisture can continue to affect the stone and grout.
Skip DIY and call a stone/floor professional or water-damage restoration company if you suspect prolonged flooding, suspect mold under or behind flooring, can’t identify or stop the moisture source, or notice staining that keeps expanding after the leak/spill is fixed. As of 2025, the most defensible approach in facility management is to follow a standards-based mitigation process aligned with IICRC-style drying and documentation principles. [ADD: cite IICRC S500]
The lowest-risk sequence is: stop moisture → dry thoroughly → clean residue → reseal after cure conditions are met.
If musty odor persists or staining expands after the leak is repaired, the issue likely extends beyond the top granite layer.
Resealing after proper drying helps prevent future discoloration, but it cannot substitute for stain removal when discoloration is already absorbed.
Quick scan checklist
– [ ] Fix the water source / stop ongoing wetting
– [ ] Dry completely (fans + dehumidification; no damp seams or cool areas)
– [ ] Clean with mild, granite-safe cleaner; rinse/blot dry as directed
– [ ] Reassess after drying under normal light
– [ ] Treat remaining stain with a natural-stone-specific product (spot test first)
– [ ] Reseal only when fully dry; follow coverage and cure time on the label
FAQ
Can water damage on granite be permanent?
It can be, depending on how long moisture sat and whether it penetrated before the stone was dried and sealed. Many discolorations improve after thorough drying and gentle cleaning, but deeply absorbed discoloration may require specialized stone treatment or professional evaluation.
Should I use vinegar or bleach on granite stains?
You should not use vinegar/acidic cleaners or bleach on granite unless the product is explicitly approved for your specific stone type and finish. These chemicals can damage stone surfaces and weaken sealers and grout performance.
How long should I wait before resealing after a spill?
Wait until the granite and surrounding grout/seams are fully dry—not just “looks dry.” The exact timing depends on temperature, airflow, humidity, and the sealer label; if you don’t have the guidance, use conservative drying with ventilation and dehumidification before resealing. [ADD: cite sealer label guidance example]
Do I need to remove old sealer before resealing?
Sometimes, but not always—some sealers are compatible over existing cured sealer, while others require removal for proper penetration and performance. Check the sealer label/specs or contact the manufacturer for compatibility guidance for your current sealer system. [ADD: source for sealer compatibility guidance if you have a specific product.]
Sources
– [ADD: IICRC S500 (Standard and Reference Guide for Professional Water Damage Restoration) — drying principles and mitigation framework]
– [ADD: Granite sealer manufacturer instructions/spec sheets you plan to reference (coverage, dwell time, cure time, and application conditions)]
– [ADD: Natural stone cleaner guidance from a stone-industry authority or manufacturer (pH-neutral requirements and safe cleaning methods)]
– [ADD: Natural-stone stain remover product label/specs referenced for stain category and test-before-use requirements]
In the end, the most reliable fix for water damage on granite floors is a disciplined sequence: stop the moisture, dry the entire affected assembly thoroughly, clean residues gently, and reseal only after the stone is truly dry. If the event was prolonged or the problem keeps spreading—or you suspect contamination—professional mitigation and stone restoration is the safer path to a durable outcome.
Frequently Asked Questions
What should I do first if my granite floor has water damage?
Stop the water source immediately and remove any standing water using a wet/dry vacuum or clean towels, then dry the area as fast as possible. Avoid using harsh cleaners right away, because trapped moisture and grime can make staining worse. Increase airflow with fans and, if appropriate, a dehumidifier to dry the subfloor and grout lines thoroughly. If the water soaked under the stone, you may need to lift baseboards and check for dampness before the floor is considered fully repaired.
How do I remove water stains from granite floors safely?
Start by gently cleaning with a pH-neutral granite cleaner to remove residue, then assess whether the stain is surface-level or penetrating. For light staining, you can try a poultice formulated for natural stone to draw moisture and discoloration out without damaging the granite finish. Avoid bleach, vinegar, and acidic products because they can etch or change the appearance of granite. After treatment, rinse per product instructions, let the area dry completely, and consider reapplying a granite sealer if your floor was not properly sealed.
Why does water damage cause discoloration and dull spots on granite?
While granite is generally water-resistant, water can still penetrate through micro-cracks, worn sealers, grout joints, or porous areas around edges and fixtures. When moisture stays trapped, it can carry minerals, dirt, or cleaning residues that leave ring stains, dark spots, or blotchiness. If water has been present long enough to affect the underlayment, the stone may shift slightly or develop uneven areas that look dull or “spotty” when dry. Proper drying and stain-specific treatment are key to preventing long-term appearance changes.
What is the best way to dry out water-damaged granite flooring?
The best approach is fast, thorough drying: use a wet/dry vacuum to extract water, then dry the surface and surrounding grout lines with fans and dehumidification. Monitor moisture with a moisture meter if possible, especially for large spills or flooding, because damp subflooring can continue causing discoloration even after the top looks dry. Don’t rush with high heat that could stress stone or adhesives—gradual drying with good airflow is safer. Once fully dry, clean gently and evaluate whether sealing or stain removal is necessary.
Which repair steps should I follow if the water damage reached the grout or subfloor?
If water damaged grout, clean and dry the grout thoroughly first; in some cases, heavily affected grout may need to be professionally removed and replaced to prevent recurring staining. For subfloor issues, check for swelling, soft spots, or persistent moisture—if materials like plywood or drywall remain damp, they can lead to odor and continued damage under the granite. Once everything is completely dry, replace any compromised materials, then reinstall or re-set components before addressing visible surface stains. After repairs, use a high-quality granite sealer to reduce future water absorption and make routine granite floor cleaning easier.
📅 Last Updated: October 09, 2026 | Topic: How to fix water damage on granite floors? | Content verified for accuracy and freshness.
References
- https://en.wikipedia.org/wiki/Granite
- https://www.epa.gov/mold/cleaning-and-remediation-mold-damage
- https://www.cdc.gov/mold/default.htm
- https://www.fema.gov/floods/preventing-mold-after-flood
- Mold – Overview | Occupational Safety and Health Administration
https://www.osha.gov/mold - https://www.nps.gov/orgs/1507/preservation-technology-natural-stone-cleaning.htm
- Conservation Institute | Getty
https://www.getty.edu/conservation/ - Google Scholar Google Scholar
https://scholar.google.com/scholar?q=granite+floor+water+damage+repair+sealing - Google Scholar Google Scholar
https://scholar.google.com/scholar?q=granite+surface+water+staining+etching+remediation - Google Scholar Google Scholar
https://scholar.google.com/scholar?q=natural+stone+water+penetration+sealing+granite