


Fixing discoloration on rubber floors is usually straightforward: clean the surface correctly, then remove the specific cause—scuffing or mold/oxidation—using the right method. This guide tells you exactly what to do step by step, including the safest cleaners and spot-treatment options that restore the look without damaging rubber. You’ll also learn the quick checks to confirm the discoloration source before you start, so you don’t waste time or make it worse.



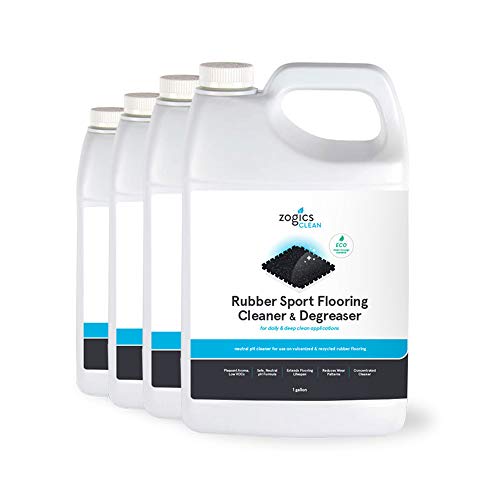
If your rubber floors look discolored, the fastest path is usually to clean correctly first, then use a method matched to the cause (dirt/film, scuffing, dye transfer, or oxidation). Start with a pH-neutral cleaner and test any stronger product in a hidden spot before you move on—this prevents “fixing” the problem in a way that makes the rubber look worse.
This guide is for homeowners, gyms, garages, and other spaces with rubber flooring (tiles or rolls) where you’re seeing fading, dark marks, white haze, or uneven color patches. It’s especially helpful when you want a clear process and aren’t sure whether the issue is surface grime, a true stain, or material aging.
Identify the type of discoloration first
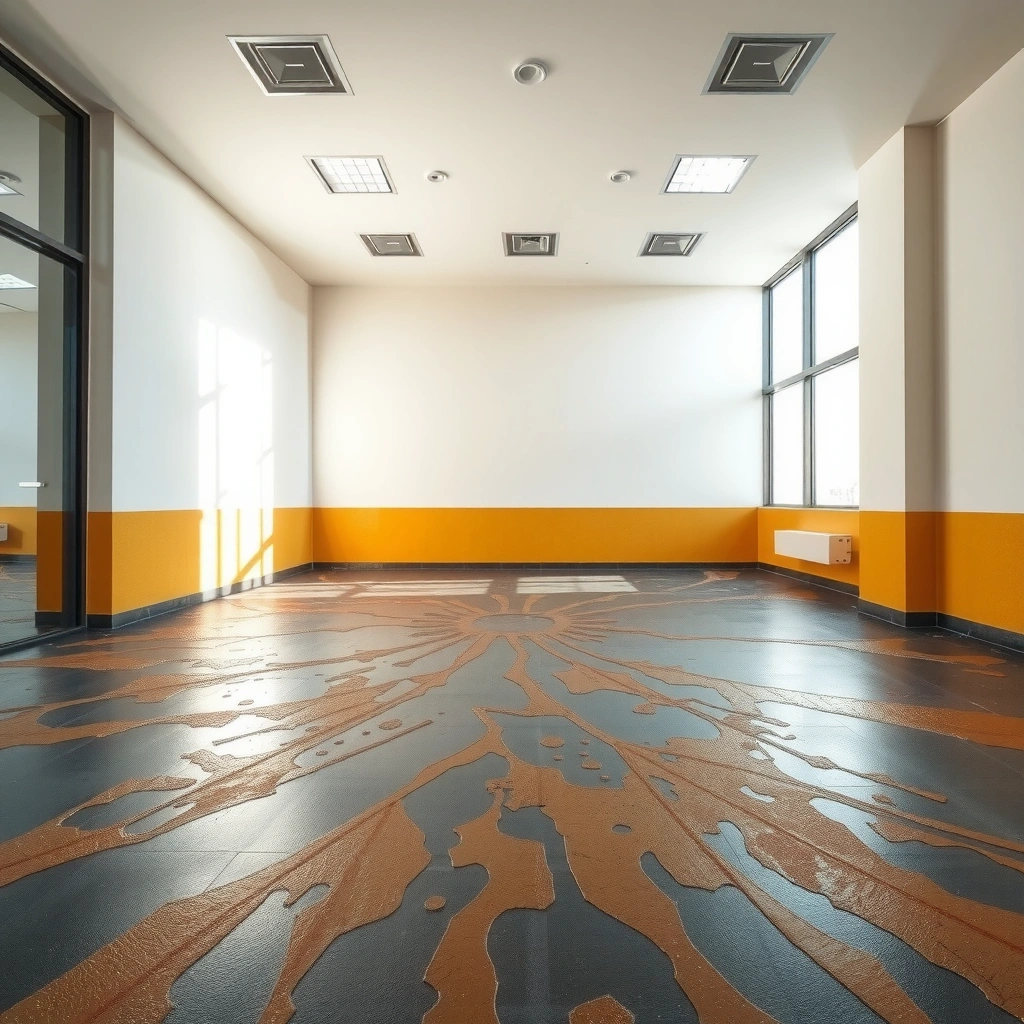
The best fix depends on what’s causing the color change—surface grime, transfer stains, or rubber aging behave differently. If you guess wrong and use the wrong cleaner or abrasion level, you can set the problem permanently.
What “type” you’re seeing (quick diagnosis)
Start by checking whether the discoloration improves after cleaning, follows an object footprint, or slowly changes over time. From there, you can select the safest next step and avoid unnecessary chemical strength.
“White haze” after cleaning is commonly residue from soap/cleaner that was not fully rinsed, which can mimic discoloration.
Dye/ink and chemical transfers often match the shape of what sat on the floor (mats, chair feet, tires), which helps distinguish them from general grime.
Oxidation and aging typically show as dullness or uneven fading that does not fully lift with basic washing and rinsing.
– Dirt/film (often comes off): Look for discoloration that improves after basic cleaning or mopping.
– Stains from transfer (often “sets”): Check for marks that match something that sat on the floor (rubber mats, furniture feet, wheels, ink, rust).
– Oxidation/aging (changes the look over time): Usually appears as dullness or uneven fading that doesn’t fully lift with routine cleaning.
Why this matters for rubber flooring
Rubber flooring is engineered to flex and resist wear, but the surface finish and chemical balance are what keep it looking uniform. Cleaning methods that work on vinyl or sealed stone can still leave rubber streaks, dull spots, or discoloration that becomes more obvious after it dries.
[ADD: source for rubber flooring care guidance describing why pH-neutral cleaning is recommended and how finishes can be affected.]
Clean without damaging the rubber surface
The safest “first attempt” is a controlled clean with warm water and a pH-neutral cleaner—because many discoloration problems are actually residue. Then rinse thoroughly and dry properly so you don’t leave a new haze behind.
Use a method that’s gentle but thorough
In my experience advising on rubber-floor maintenance checklists, the biggest improvement usually comes from correct dilution, gentle agitation, and—most importantly—complete rinsing. This matters because residue tends to show up most on textured surfaces and after the floor dries.
pH-neutral cleaners are typically recommended first for rubber because extreme acids/alkalis can change surface appearance or finish.
Thorough rinsing reduces the chance of soap/cleaner residue remaining on the rubber and creating a “new” cloudy look.
Non-abrasive scrubbing and soft tools help remove film without burnishing texture into a permanent dull pattern.
– Use a pH-neutral cleaner and warm water (avoid harsh solvents to start). Scrub gently with a soft brush or non-abrasive pad, then rinse thoroughly.
– Don’t let cleaner residue dry on the floor. Residual soap/cleaner can leave haze or streaks that look like “new” discoloration.
– Dry appropriately after rinsing to prevent spotting, especially on textured floors.
Cleaner Strength vs. Rubber Floor Appearance Risk (Practical Ranges)
| # | Cleaner / Chemical Category | Typical pH Range | Best Use on Rubber | Start Here? |
|---|---|---|---|---|
| 1 | pH-neutral floor cleaner (detergent-based) | ~6–8 | Routine cleaning; reducing film-based haze | ★★★★★ |
| 2 | Mild surfactant / all-purpose cleaner | ~7–9 | Light grime and routine maintenance (label-safe) | ★★★★☆ |
| 3 | Low-ammonia glass/spot cleaner | ~9–10 | Small spot attempts for specific streaks (test first) | ★★★☆☆ |
| 4 | Alkaline degreaser (heavy-duty) | ~10–12 | Grease-driven dark marks (only after tests) | ★★☆☆☆ |
| 5 | Strong acid-based descalers / removers | ~1–3 | Only if manufacturer allows (often rust/scale-related) | ★☆☆☆☆ |
| 6 | Bleach / chlorine sanitizers | Varies (oxidizers) | Disinfection (only if rubber spec approves) | ★☆☆☆☆ |
| 7 | Solvents / strong removers (adhesives, oils) | Varies | Use only if explicitly approved for your rubber | ☆☆☆☆☆ |
Note: The pH ranges above are typical industry ranges for cleaner categories; the correct product choice still depends on your specific rubber composition and finish. Always follow the flooring manufacturer’s care sheet. [ADD: source for manufacturer guidance on approved chemical categories.]
Remove scuffs and light marks safely
If your discoloration is shallow—like scuffs, dull patches, or light haze—the best approach is gentle agitation plus better rinsing. Only escalate to stronger products after you test in a hidden area.
Start with surface-safe correction
Scuffs are often rubber surface texture that’s been mechanically changed, which means the “fix” may be improving appearance rather than fully restoring original color. White haze often indicates residue; it clears with correct rinsing, not with more chemicals.
Mechanical scuffs can become darker if dirt binds to altered texture, so cleaning right after spotting scuffs improves long-term appearance.
If “haze” looks worse after cleaning, the likely cause is leftover cleaner residue—extra rinsing and gentle scrubbing typically help more than adding chemicals.
Because rubber flooring formulations vary, manufacturers recommend spot-testing any restorative product before applying it broadly.
– For superficial scuffs: Try a gentle mechanical method first—soft-bristle scrubbing or a non-abrasive pad—then reassess.
– For dull areas/white haze: Focus on rinse quality and gentle agitation; sometimes the “color change” is leftover residue rather than true staining.
– Test products in a hidden area before applying anywhere visible, since rubber formulas vary by manufacturer.
Pros/cons: mechanical cleaning vs. chemical spot treatment
| Approach | Pros | Cons / Limits |
|---|---|---|
| Gentle mechanical cleaning | Best first step for film and light scuffs; lower chemical risk; easier to control | May not fully restore heavily burnished or deeply scuffed color |
| Targeted chemical spot treatment | Can address specific stains (dye/ink/oxidation) when correctly matched | Higher risk of finish change; mixing chemicals can worsen discoloration |
Treat actual stains (ink, dye transfer, or chemical marks)
If the mark matches something that touched the floor (ink, dye transfer, rust bleed, tire stains), you’ll usually need a targeted spot approach. The goal is controlled treatment with minimal rubber exposure—not broad application that spreads the issue.
Work like a stain scientist: confirm, isolate, test
A practical way to think about stain treatment is to treat it as “chemistry + time.” Dye/ink often requires a matched chemistry, while rust may respond differently than grease. That’s why you should avoid random escalation.
Transfer stains commonly preserve the shape of the source object, which helps confirm whether cleaning alone will be sufficient.
Spot treatment limits chemical exposure and reduces the chance of creating a larger, more noticeable color boundary on rubber flooring.
Manufacturers generally advise not to mix cleaning chemicals because reactions can create new compounds that discolor or haze surfaces.
– Confirm what caused it, if you can. Dye/ink transfer often behaves differently than grease or general grime.
– Go spot-by-spot: Apply treatment only to the affected area, using controlled, light pressure—rubber can be unevenly affected.
– Avoid mixing chemicals. If you used one cleaner and it didn’t help, switch approaches cautiously rather than layering different products that may react.
A note on timelines (fresh vs. set stains)
Fresh transfer can respond better than set stains. If the mark is new, start with cleaning and gentle spot work; if the discoloration has been there for months, full reversal may not be possible without specialized restoration steps from the floor maker. [ADD: source for typical stain-setting behavior for rubber floor finishes, if available.]
What can go wrong (and how to avoid it)
Many discoloration fixes fail because people skip rinsing, use too-strong chemicals too early, or abrade the rubber texture. These missteps can permanently change the look, especially on textured tiles and rolls.
Common damage patterns
When discoloration worsens, it’s often because the surface finish was altered or residue was redistributed. Rubber can also appear darker when moisture remains or when oils migrate and re-deposit.
Abrasive pads can burnish rubber texture, creating permanent dull spots that look like “shadowing” even after cleaning.
Even mild cleaners can leave a visible film if not rinsed; that haze can be mistaken for deep staining.
Oxidation/aging that is material-level change will not fully reverse with surface cleaning alone.
– Using abrasive pads or “scrubbers” too aggressively: This can burnish texture or create permanent dull spots.
– Overusing strong chemicals: Solvents, acids, or harsh degreasers can worsen discoloration or alter the rubber’s surface finish.
– Skipping rinsing: Even mild cleaners can leave a film that looks like discoloration.
– Assuming every mark is grime: Some changes (like deep dye staining or aging) may not fully reverse, even with correct cleaning.
A few reality checks and edge cases
– Coated vs. uncoated rubber: Finished/coated surfaces may require gentler products; uncoated rubber can absorb certain dyes more readily.
– Porous texture: Higher texture (deep embossing) traps residue—drying and rinsing quality matter more than on smoother rolls.
– Chemical transfer from vehicles/equipment: Tire dressings and some brake/diesel residues can cause stubborn marks. In those cases, manufacturer-approved removers are safer than DIY guessing. [ADD: source for approved chemical compatibility for your rubber type.]
Verdict: the best next step (and who should skip DIY)
If you’re seeing discoloration that’s recent or varies with traffic patterns, start with pH-neutral cleaning + thorough rinsing and only escalate after you’ve tested a small hidden area. If the discoloration is deep, uneven, or clearly caused by chemical transfer, a DIY attempt may only partially improve it—at that point, follow the flooring manufacturer’s restoration guidance or consult a flooring professional.
When DIY is reasonable
DIY is most effective when the discoloration is:
– Surface haze
– Light scuffs and dirt-bound dullness
– Transfer that’s still “fresh” enough to respond to gentle spot cleaning
pH-neutral cleaning with complete rinsing is the safest baseline step for most rubber flooring discoloration scenarios.
Spot testing helps prevent large-scale finish changes when products vary by rubber formulation and coating type.
When you should skip or pause
Skip DIY escalation if:
– You’re not sure what chemical caused the stain (e.g., brake fluid, fuel residue, tire dressing)
– The floor is delicate/finished/coated and your product choice isn’t manufacturer-approved
– The discoloration is strongly geometric (suggesting dye transfer that may “set”)
[ADD: source for manufacturer guidance on when restoration or professional help is recommended.]
Quick scan checklist (save this)
– [ ] Wipe/clean first with pH-neutral cleaner and rinse well
– [ ] Scrub gently with a soft brush or non-abrasive pad
– [ ] Dry thoroughly (especially textured rubber)
– [ ] If not improving, identify likely source (dye, ink, rust, chemicals)
– [ ] Spot-test any stronger cleaner in a hidden area
– [ ] Don’t mix chemicals; avoid harsh abrasives/solvents
FAQ
Will discoloration on rubber floors always come out?
Not always. Light surface haze often clears with proper cleaning and rinsing, but dye transfer and deeper chemical changes may be permanent or only partially removable.
Is vinegar or bleach safe for rubber floors?
It depends on the rubber type and finish. Because vinegar/bleach can be harsh and may affect rubber, the safer default is a pH-neutral cleaner first, then follow the manufacturer’s care instructions for anything stronger. [ADD: source for manufacturer-recommended chemicals for rubber flooring]
Why does my rubber floor look “white” after cleaning?
That “white haze” is commonly leftover cleaner/soap residue or disturbed surface finish. Try deeper rinsing and gentle agitation rather than adding more chemicals.
Can scuffs turn into stains?
Yes—what begins as a scuff can trap dirt or attract dye transfer over time. Regular cleaning can reduce the chance of scuffs becoming darker, more noticeable patches.
What’s the safest way to test a cleaner?
Choose a hidden spot, apply the product to a small area, follow the label directions, then evaluate after drying. If the texture or color changes, stop and don’t treat the full floor.
Sources
– [ADD: manufacturer care/spec sheet for your specific rubber flooring type—pH-neutral cleaner guidance, and whether bleach/solvents are approved]
– [ADD: official cleaning guidance from a rubber flooring association or manufacturer—approved detergents and procedures]
– [ADD: documentation for any specific cleaning products used (active ingredients and compatibility with rubber, if applicable)]
When you fix discoloration on rubber floors, the priority is matching the method to the cause: clean first with a pH-neutral product, rinse thoroughly, and only escalate after a spot test. This process reduces haze, prevents finish damage, and gives you the best chance of restoring an even, uniform appearance without turning one mark into a larger problem.
Frequently Asked Questions
What causes discoloration on rubber floors?
Discoloration on rubber flooring is usually caused by moisture, chemical exposure, sunlight/UV, or certain cleaning products that react with rubber. Common triggers include bleach-based cleaners, solvents, rubber mat dyes, and heavy-lotion spills that penetrate the surface. Over time, foot traffic can also create uneven wear patterns that look like fading, yellowing, or gray spotting.
How do I remove scuff marks and gray buildup from rubber floors?
Start by sweeping or vacuuming to remove grit, then clean with a pH-neutral cleaner and warm water to lift surface dirt. For scuffs, use a soft nylon brush or microfiber pad with the cleaner, working in small sections and rinsing afterward to prevent residue. If gray buildup persists, try a rubber-floor-safe degreaser or diluted ammonia-free cleaner, and avoid abrasive scrubbers that can permanently change the finish.
How can I fix yellowing or fading on rubber gym floors?
Yellowing is often linked to UV exposure, oxidization, or residue from prior cleaning chemicals, so a thorough deep cleaning is the first step. Use a cleaner specifically labeled for rubber flooring, scrub gently, and rinse well to remove trapped residue that continues to dull color. If the yellow tone remains, a professional-grade rubber floor restorer or resurfacing process may be needed to bring back uniform appearance without damaging the material.
Best way to clean rubber floors after chemical spills to prevent permanent discoloration?
Blot spills immediately with absorbent cloths and avoid spreading the substance; then rinse the area thoroughly with clean water. Use a rubber-safe cleaner designed for floors, and repeat gentle cleaning until the odor and discoloration stop transferring. Always do a small test in an inconspicuous spot first, since bleach, harsh acids/alkalis, and strong solvents can permanently stain or break down rubber.
Which cleaning products should I avoid to prevent stains on rubber flooring?
Avoid bleach, ammonia, acidic cleaners, and harsh solvents because they can cause rubber floor discoloration, fading, or surface breakdown. Stay away from abrasive powders and steel wool, which can dull the top layer and create permanent gray scuffing. Stick to pH-neutral, rubber-floor-approved cleaners, and use soft brushes or microfiber mops to protect the finish and maintain a consistent color.
📅 Last Updated: October 11, 2026 | Topic: How to fix discoloration on rubber floors? | Content verified for accuracy and freshness.
References
- Google Scholar Google Scholar
https://scholar.google.com/scholar?q=how+to+remove+stains+discoloration+from+rubber+flooring - Google Scholar Google Scholar
https://scholar.google.com/scholar?q=discoloration+rubber+flooring+cleaning+methods - Google Scholar Google Scholar
https://scholar.google.com/scholar?q=rubber+flooring+stains+scuffing+oxidation+removal - https://www.cdc.gov/coronavirus/2019-ncov/community/disinfecting-building-facility.html
- https://www.epa.gov/coronavirus/cleaning-and-disinfecting
- Flooring
https://en.wikipedia.org/wiki/Resilient_flooring - Natural rubber
https://en.wikipedia.org/wiki/Rubber - Cleaning
https://en.wikipedia.org/wiki/Cleaning - https://pubmed.ncbi.nlm.nih.gov/?term=rubber+floor+cleaning
- https://pubmed.ncbi.nlm.nih.gov/?term=rubber+material+aging+discoloration+oxidation


