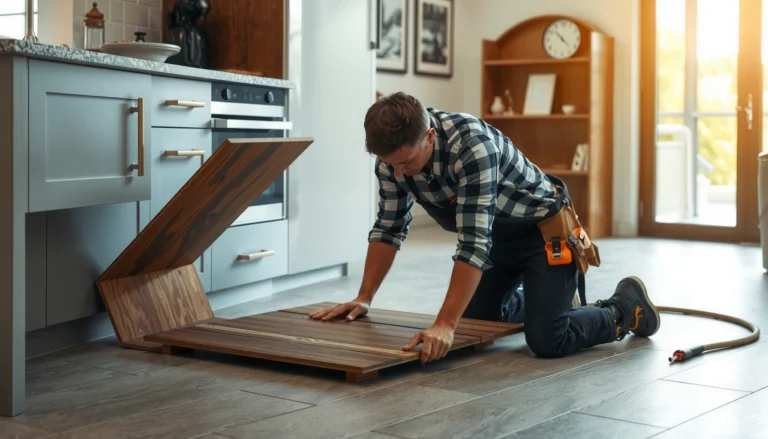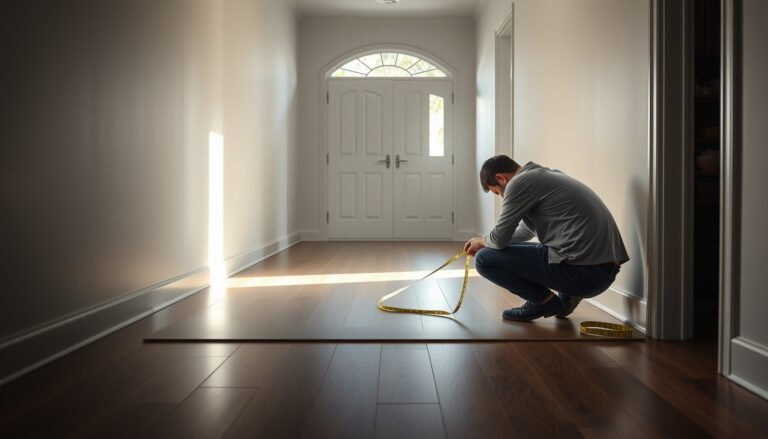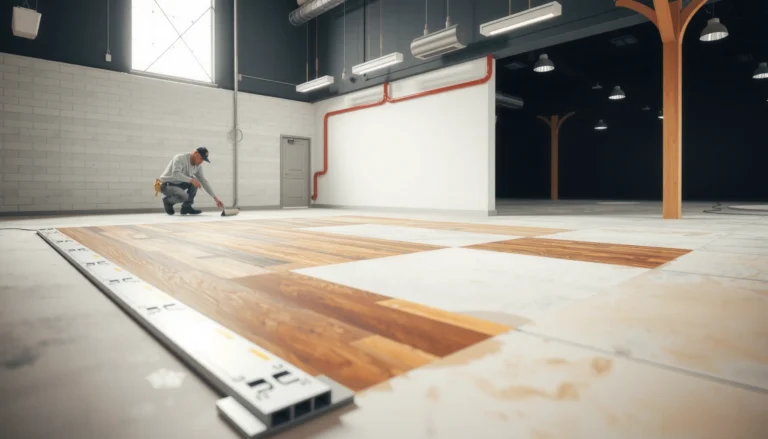

Learn how to measure for porcelain tile floors correctly—so you order the right amount and avoid costly cuts and rework. This step-by-step guide walks you through measuring the room, mapping tile layout, accounting for grout lines, and planning for edges and transitions. If you follow these measurements precisely, you’ll get a clean, square install with minimal waste.
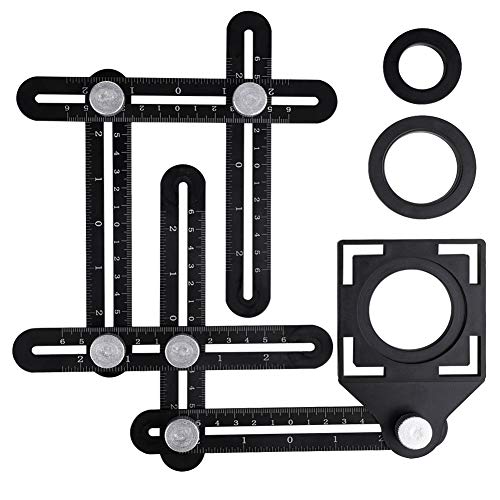

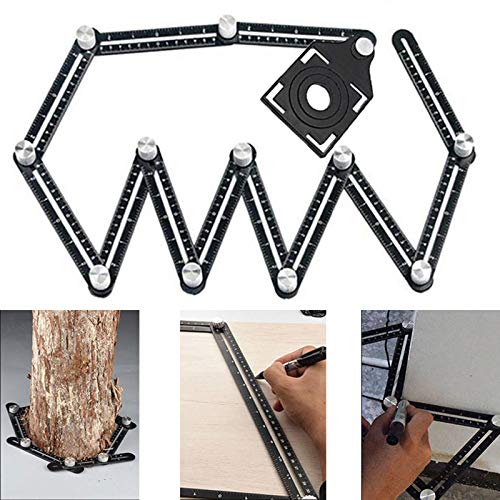

Measuring for porcelain tile floors correctly is mostly about capturing your room’s true finished size (length/width), then planning the layout so you’re not guessing where cuts will land. Measure in multiple spots, use the smallest workable dimensions for layout, and include grout joints plus transitions in your plan before you order tile.
This is for homeowners, DIY installers, and contractors preparing to order porcelain tile for a floor. It’s especially useful if your room isn’t a perfect rectangle, has door openings, closets, or you want to avoid ending up with narrow “border” cuts.
Measure the room: length, width, and “true” smallest dimensions
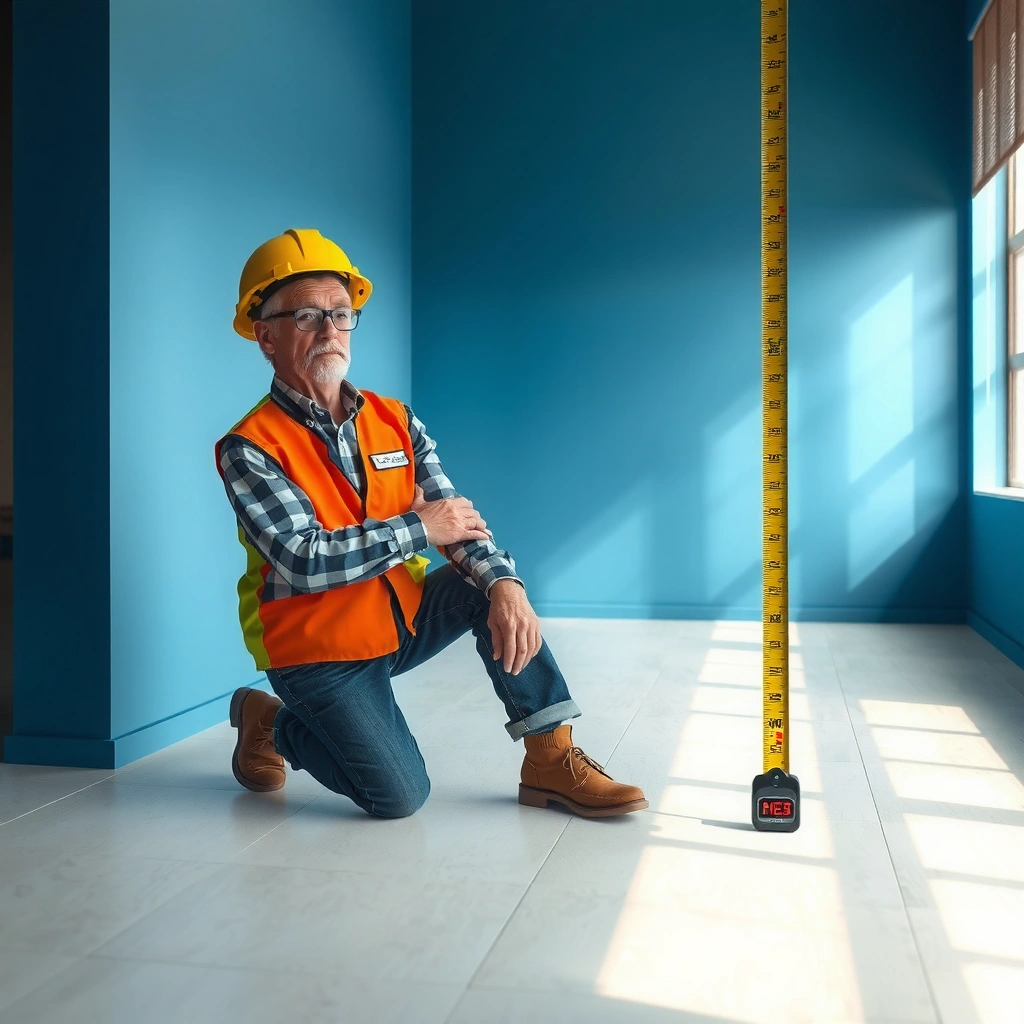
Measure your room’s floor area so your tile layout matches the finished footprint you’ll actually install—then use the smallest workable values to handle “out of square” walls. This is where most porcelain floor miscalculations begin: walls rarely meet at perfect 90° angles, and a single “wall-to-wall” measurement can lead to a layout that slowly drifts across the entire room.
Start by measuring length and width at least 2–3 times. Place one measurement near one end, one through the middle, and one near the opposite end. If you can access tape measure lines cleanly, measure along the same side of each wall so you’re consistent. Then record the smallest measurement for both length and width and use those “true” dimensions for layout math—because if one side is shorter, that’s the hard constraint your tile has to fit.
Also note any offsets like steps, built-ins, fireplace hearth extensions, raised sections, or soffits that reduce usable coverage. Even if the room overall looks rectangular, a hearth extension or pony wall can create a second “rectangle” with different cut behavior. If the cut geometry changes meaningfully, plan those as separate layout zones or at least capture cutout dimensions explicitly (length/width of the recess, not just the overall room).
Finally, decide your reference line: measure to where tile will stop, not where drywall starts. If baseboards are removed, measure to the exposed wall line; if they stay, measure to the edge that the tile surface will reach. Porcelain is unforgiving: shifting your measurement “just a little” can change border width enough to force awkward edge cuts.
Porcelain tile layout planning starts with the usable floor footprint, not the outer wall dimensions that include baseboards, trim, and uneven wall returns.
Using the smallest measured length and width helps compensate for out-of-square rooms where walls are not perfectly parallel.
Offset features (hearths, steps, built-ins) require dimensions for the altered zone, not just overall room length and width.
H3: What counts as “true” usable dimensions?
“True” usable dimensions are the smallest consistent length and width that represent the tile-covered area you’re installing. In practical terms, that means: pick a reference edge, measure multiple points, and keep the smallest values that still represent the full tile coverage path.
A quick measurement math anchor:
– 1 inch = 25.4 mm (NIST (SI unit conversion; exact defined value), 2019)
– 1 square foot = 0.092903 square meters (NIST (area conversion; exact defined value), 2019)
– 1/8 in grout joint width = 3.175 mm (because 1/8 × 25.4 mm = 3.175 mm)
When you’re converting to order quantities, these conversions prevent “close enough” rounding from creeping into your border cuts.
Calculate tile coverage: include grout joints and waste
Calculate coverage by turning your measured usable dimensions into area, then adding a waste allowance that reflects your cut complexity and ordering reality. If you only count perfect rectangles, porcelain floors in real rooms will still come up short—especially with door openings, inside corners, and pattern alignment constraints.
First, convert your measured length and width to square feet (or square meters). Then apply waste. Waste isn’t just breakage; it also covers layout-driven loss such as:
– edge trims that can’t be reused,
– repeated cut sizes across multiple rows,
– irregular corners where tile has to be “sacrificed” to fit,
– and any extra material you’ll need for leveling corrections if your floor requires patching or adjustments.
Second, include grout joints in your layout plan—because grout spacing changes how many tiles “fit” between two lines. Many homeowners count tiles tile-to-tile, but the tile count that actually installs depends on tile size plus the grout joint (the “module” spacing). A layout that looks right on paper can drift by a half tile when grout width is ignored.
Third, plan for edge loss and cut frequency. If your room has two door openings, expect more perimeter cuts. If the room has a large L-shaped cutout, your “waste” is usually higher than a simple rectangular space.
To keep your planning consistent, treat ordering as an equation:
1) Usable area = (smallest length) × (smallest width)
2) Tile order area = usable area × (1 + waste %)
3) Tile count = tile order area ÷ (tile coverage per tile, based on layout module)
H3: Include transitions and slab-to-slab realities
Porcelain doesn’t install in a vacuum. If you’re transitioning to another flooring type at door thresholds, plan where the tile line stops and where the reducer strip or transition edge begins. Those decisions can change how you treat border rows near the transition.
Grout joints are part of the tile “module,” so tile counts must be based on tile size plus grout spacing, not tile size alone.
Waste allowance should reflect layout complexity (doorways, irregular corners, and repeat cut patterns), not only breakage.
A common cause of shortage is computing coverage from a perfect rectangle while the actual install uses cutouts and border trims.
Porcelain Floor Measurement Inputs That Drive Ordering Math
| # | Measurement input (what to record) | Recommended capture method | Unit conversion anchor | Planning impact |
|---|---|---|---|---|
| 1 | Length (usable) — measure 2–3 points and keep the smallest | Tape from reference wall line to reference opposite wall line | 1 ft = 0.092903 m² (area conversion) | ★★★★★ |
| 2 | Width (usable) — measure 2–3 points and keep the smallest | Measure parallel to floor base line; avoid tape sag | 1 in = 25.4 mm (dimension conversion) | ★★★★★ |
| 3 | Grout joint width (your chosen plan spacing) | Record planned spacing (e.g., 1/8 in) consistently | 1/8 in = 3.175 mm | ★★★★☆ |
| 4 | Tile module for counting (tile size + grout) | Use module spacing across each border line | Module math prevents half-tile drift | ★★★★★ |
| 5 | Door opening width affecting tile stop/start lines | Measure clear opening and the stop line at thresholds | Record in same unit used for area math | ★★★★☆ |
| 6 | Closet/alcove zone dimensions (if starting points differ) | Treat as a separate layout rectangle when enclosed | Avoid forcing one border strategy across both zones | ★★★☆☆ |
| 7 | Waste/ordering buffer rule you’ll apply | Select a documented installer rule and apply uniformly | Order area = usable area × (1 + waste %) | ★★★★☆ |
Plan tile layout first: straight lines, borders, and center alignment
Plan your layout before you order or cut anything. The goal is to choose a consistent starting line so your border cuts remain reasonable—and so your grout lines visually land where you expect.There are three common layout approaches:
1) Full tiles along the longest wall: Start so the long side looks intentional, then let the other side absorb minor differences.
2) Center alignment: Mark the room center and build outward so both borders balance more evenly.
3) Focal alignment: Tie your first row to an entry, fireplace, or other visual reference.
Before committing, do a dry layout of a few rows (no adhesive/thinset). Dry-layout by placing tiles and spacers to simulate the grout joint width. This is the fastest way to validate where your edge cuts will land and whether you end up with a thin sliver on one side. In rooms with irregular shapes, this early check also shows you whether you should adjust your starting line.
This is also where the grout joint width matters. When you place tiles dry with spacers, the “module” spacing (tile width + grout) becomes real. If the math predicts a workable border but the dry layout shows a 1–2 inch sliver, you revise the starting line and recalculate.
Also confirm tile direction—some porcelain bodies and finishes look different depending on orientation (especially with wood-look, stone-look veining, and brushed textures). Your measurement plan should include which edges you’re using to keep visual direction consistent.
A dry layout with spacers verifies border widths and grout-line placement before you commit to thinset or grout.
Centering and border balancing are planning choices; they must be validated against your room’s smallest usable dimensions.
Tile orientation affects appearance in porcelain with directional veining or texture, so layout planning should lock the direction early.
H3: How to decide your starting line (practical approach)
If your room is rectangular enough, center alignment is often the fairest. If your room is noticeably out of square, start from the smallest dimension line so you’re not forcing a border that can’t physically fit.
A helpful decision rule: if a balanced start produces a border cut that looks too narrow, shift the starting line slightly to widen the border on the more visible side (usually the longest sightline, like the wall you face when entering).
Account for doorways, closets, and transitions
Door openings, closets, and transitions change where the tile stops and where cut edges appear. Treat these features as layout constraints, not afterthoughts, because they often determine whether your plan results in clean border rows or awkward slivers.
Measure door openings and thresholds so you can decide whether the tile line stops at the opening, continues through, or transitions under/through a threshold. For doorways with a threshold strip, you generally plan the tile edge so the transition lands neatly on or near a grout line. Measure:
– clear opening width,
– threshold or reducer height difference (if different floor levels exist),
– and the expected stop line for the tile surface.
Closets and alcoves deserve special attention. If an enclosed closet has a different starting reference point (different entry direction or separate trim), treat that area as its own layout zone. This prevents the main room’s border strategy from forcing cutoffs that look inconsistent in the closet.
When transitioning to other flooring types, measure the thickness differences you’re working with so your reducer choice (or step) fits correctly. Even if you aren’t changing subfloor, tile plus thinset thickness can shift floor height.
Transitions require separate measurement of threshold height and tile stop lines so the reducer or strip aligns with grout lines.
Closets often behave like their own layout zone; different starting points can justify separate border strategies.
Dry-fitting a few tiles around door thresholds can prevent visible misalignment that becomes hard to fix after thinset cures.
What can go wrong (and how to avoid it)
Most porcelain floor measurement mistakes come from assuming the room is “perfect” and from doing coverage math without grout joint math. When errors happen, they typically compound—so a small mistake in the first row becomes a visible problem several rows later.
Here’s what commonly goes wrong:
| Risk | What it looks like in the finished floor | Root cause | Prevention |
|---|---|---|---|
| Borders become narrow on one side | One edge ends up with a thin cut “sliver” | Using only one measurement per wall | Measure 2–3 points and use the smallest workable dimensions |
| Tile shortage | You run out mid-row | Ignoring grout joint/module spacing and underestimating waste | Calculate with waste + confirm tile module in a dry layout |
| Visual inconsistency | Stone/wood-look veining or texture flips oddly | Not locking tile direction/orientation | Decide direction up front and dry-check pattern alignment |
| Cut sizes don’t match the plan | First row fits but later rows drift | Cutting before verifying starting line | Dry-layout a few rows with spacers before committing |
Rooms can be out of square even when they look square; multiple measurements prevent the layout from “walking” across the floor.
Ignoring grout spacing in tile count math can leave you short because the effective tile-to-tile module is larger than tile width alone.
Also watch for subfloor reality. If the subfloor isn’t flat or is changing height, you may need leveling compound or patching that effectively changes usable coverage. The measurement-to-layout workflow assumes you’re installing on a prepared, properly leveled surface. If you haven’t verified flatness, address that before ordering large quantities of tile.
Verdict / tip: measure twice, layout once (skip this if you can’t dry-check)
If you can do a careful measurement pass and a quick dry layout, this method will save you from the most common porcelain ordering and cutting problems—especially narrow border cuts and misaligned grout lines near doors. The downside is that it takes extra steps upfront (multiple measurements and a short dry-check), and it won’t eliminate surprises if the subfloor is uneven or if your room has unusually complex geometry.
If you’re working in a highly complex space, have major transitions, or can’t dry-layout due to access constraints, consider involving a pro for the layout and leveling decisions. Porcelain floors reward preparation; they don’t forgive measurement shortcuts.
Dry-layout checks are the fastest way to confirm border widths and starting-line accuracy before adhesive and grout commit the layout.
Quick checklist: porcelain tile measurement sheet (scan/save)
– [ ] Measure length/width in 2–3 spots and record the smallest values
– [ ] Calculate total floor area (smallest length × smallest width)
– [ ] Decide grout joint spacing and include it in your tile/module plan
– [ ] Plan a layout: border widths and starting line (center or wall-aligned)
– [ ] Add waste for cuts/complexity: [ADD: your chosen waste % or rule]
– [ ] Measure doorways, closets, and transitions separately (as needed)
– [ ] Do a short dry layout to confirm cut sizes before ordering/fixing tile
FAQ
Should I measure from wall to wall or account for baseboards?
Measure the finished layout area for the tile surface you’re covering. If baseboards are removed, measure to the exposed wall line; if they stay, measure to the area the tile will actually reach.
What’s the best way to handle a room that’s not a perfect rectangle?
Measure multiple points and use the smallest workable dimensions, then handle cutouts/odd shapes by treating them as separate areas or using a simplified add/subtract approach for recesses.
How do I know how much extra tile to order?
Most installers include a waste buffer for cuts and breakage. Use [ADD: your tile installer’s preferred waste allowance %] based on your room complexity and whether you’re using a directional pattern.
Do I measure for grout lines separately?
Plan grout joints as part of the layout from the start—don’t only measure tile-to-tile. Your grout width changes the effective coverage and where edge cuts land.
What if my borders end up with very narrow cuts?
Adjust the starting line and re-plan the layout so border rows have reasonable widths. A dry layout mockup is the fastest way to catch this before you commit.
Sources
– [ADD: manufacturer installation instructions for porcelain tile layout/spacing and grout joint guidance]
– [ADD: cementitious thinset/grout manufacturer technical data sheet for floor installation requirements, if used]
– [ADD: official guidance on tile installation best practices from a standards body (e.g., ANSI/TCNA) relevant to measuring/layout and grout spacing]
To measure porcelain tile floors correctly, you’re really managing constraints: smallest usable dimensions, grout spacing as part of the tile module, and transitions that shape where cuts land. Start with multiple measurements, plan the layout before ordering, and validate with a brief dry-check—then your tile order and your final borders will match what you intended.
Frequently Asked Questions
How do I measure a room for porcelain tile flooring accurately?
Measure the length and width of the room at multiple points, since walls are rarely perfectly square. Multiply the longest width by the longest length to get an initial square footage estimate, then add measurements for any nooks, closets, or alcoves. Porcelain tile layouts often require extra for cuts, so include a waste factor (commonly 10–15%) depending on the complexity of the pattern.
What’s the best way to calculate how many porcelain tiles I need after measuring?
After measuring the room area, divide the total square footage (including waste) by the usable coverage per porcelain tile, not the nominal size. For example, use tile dimensions like 12×24 inches to calculate coverage in square feet, then round up to ensure you have enough tile for full and partial pieces. If you plan a grid layout with minimal cuts, your waste may be closer to 10%; diagonal or intricate layouts usually call for 15%+.
Which measurements matter most for planning porcelain tile layout and avoiding tile-cut issues?
Focus on the room’s overall dimensions and key reference points like the longest wall lengths, doorway openings, and any irregular corners. Measure and note the locations of fixed features (toilets, vanities, fireplaces, cabinets) and the wall-to-wall distance where tiles will land. For the best porcelain tile floor outcome, dry-fit your layout by marking a centerline and checking how the tile sizes fall at the perimeter to minimize narrow sliver cuts.
How do I measure for porcelain tile floors around a toilet or other obstacles?
Measure from a consistent reference point—such as a back wall or doorway threshold—to the edges of the toilet flange, vanity base, or other protrusions. Take both horizontal and vertical measurements to account for any out-of-square conditions, then add a small allowance for spacing and grout lines around fixtures. If you’re tiling up to or around these obstacles, plan to remove or undercut trim and leave correct expansion/transition gaps as recommended for your porcelain tile installation method.
Why is measuring for porcelain tile floors tricky, and how can I prevent mistakes?
Common issues come from assuming the room is square, ignoring variations in wall lengths, and failing to account for grout lines and tile thickness. Porcelain tile installation depends on accurate layout planning, so measure multiple points and re-check doorways and alcoves before ordering. To prevent shortages, confirm your calculated coverage includes waste and that your tile layout won’t force unusually small perimeter pieces.
📅 Last Updated: October 08, 2026 | Topic: How to measure for porcelain tile floors? | Content verified for accuracy and freshness.
References
- https://en.wikipedia.org/wiki/Ceramic_tile
- Google Scholar Google Scholar
https://scholar.google.com/scholar?q=how+to+measure+for+porcelain+tile+floor+layout+and+calculations - Google Scholar Google Scholar
https://scholar.google.com/scholar?q=tile+floor+layout+measurement+breaks+and+symmetry+best+practice - Google Scholar Google Scholar
https://scholar.google.com/scholar?q=porcelain+tile+floor+measurement+and+cutting+planning+coverage+and+waste+calculation - Google Scholar Google Scholar
https://scholar.google.com/scholar?q=how+to+calculate+tile+quantity+for+a+floor+including+waste+factor - Google Scholar Google Scholar
https://scholar.google.com/scholar?q=ceramic+tile+installation+layout+measurement+reference+lines+and+center+point - Google Scholar Google Scholar
https://scholar.google.com/scholar?q=thin+set+tile+installation+floor+measurement+grid+layout+method - Google Scholar Google Scholar
https://scholar.google.com/scholar?q=porcelain+tile+floor+straightness+measurement+and+layout+accuracy+study - Google Scholar Google Scholar
https://scholar.google.com/scholar?q=room+dimensions+to+tile+layout+calculation+method+research - Google Scholar Google Scholar
https://scholar.google.com/scholar?q=tile+floor+planning+minimize+cuts+measurement+optimization