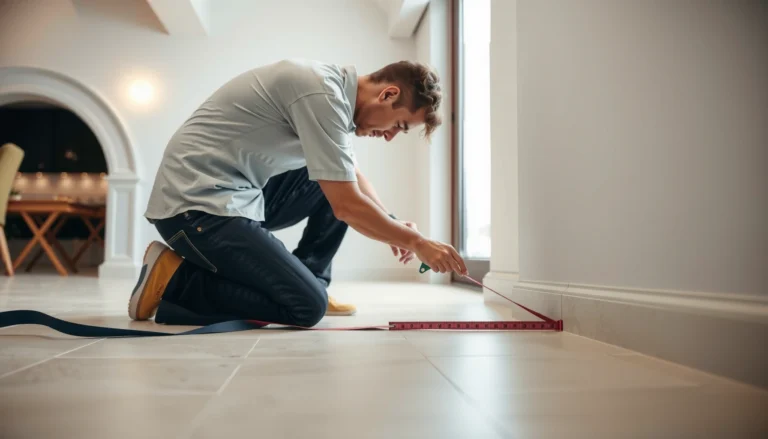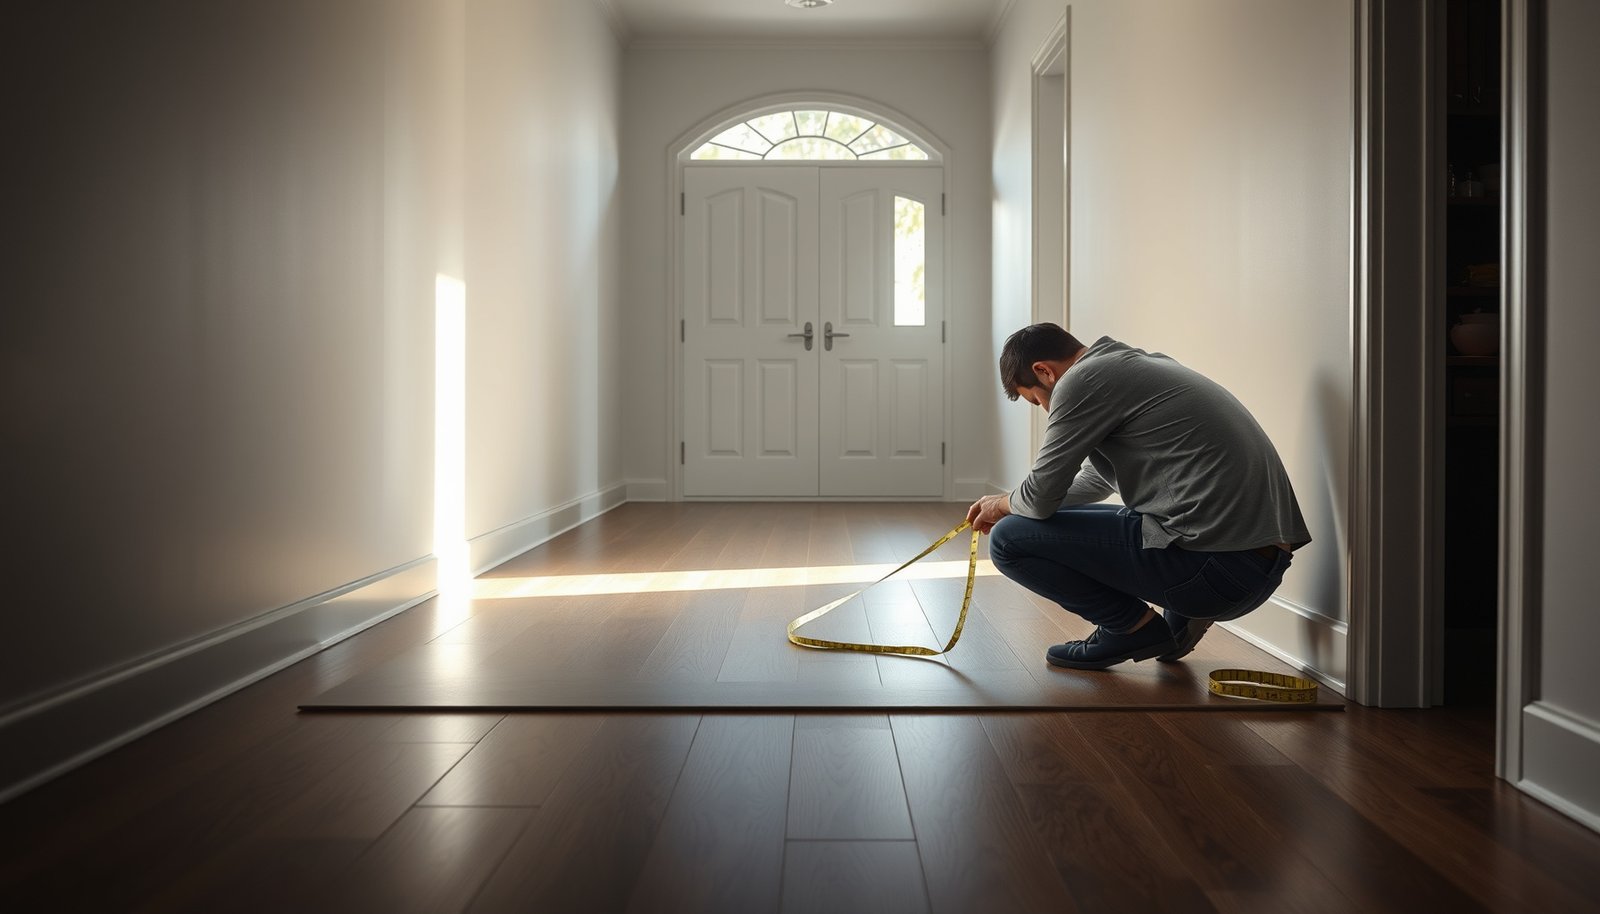

How to measure vinyl floors for an entryway? Use these exact steps to get precise width, length, and layout measurements—including door clearances and any irregular edges—so your cuts land right the first time. If you follow this method, you’ll know exactly how many planks or sheets to buy and avoid costly waste.




Measure your entryway by taking the width and length of the floor area, then adding a small waste allowance for cuts. If your entry has a doorway, threshold, or angles, measure each section separately and add them up so the plank/tile layout lands where it actually will—so your vinyl flooring order matches reality, not just the room’s outer walls. With a quick sketch-first workflow, you can get accurate dimensions even when transitions and tricky edges affect where planks truly stop.
This guide is for homeowners or DIY installers figuring out how much vinyl flooring (plank or tile) they need for an entryway—especially when the space isn’t a perfect rectangle. It works whether you’re installing directly over a subfloor or planning a doorway transition (like to tile, carpet, or a different LVP direction) that changes where your vinyl ends.
Gather what you need before you measure
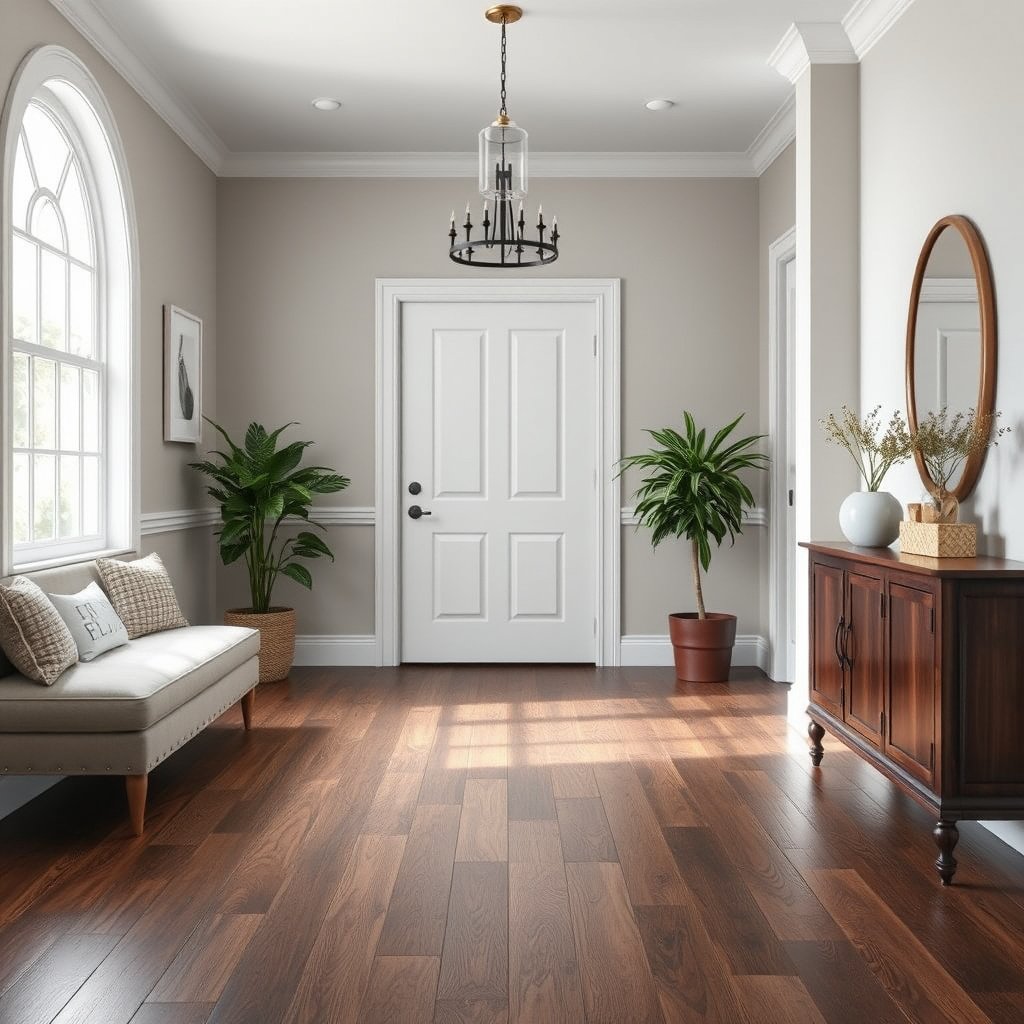
You’ll get the most accurate vinyl flooring estimate when your tools and notes are ready before you start walking the entryway. This avoids re-measuring and ensures every number ties back to a labeled edge on your sketch, which is critical for entryway transitions in 2026.
A tape measure plus immediate note-taking prevents “memory drift” when you’re measuring multiple edges in one entryway.
Measure the usable flooring stop lines (threshold/trim lines) rather than the rough wall-to-wall opening so the vinyl layout fits the actual covered area.
If you’re planning a doorway transition, measure to the transition line first, then measure the transition zone separately.
– Use a tape measure (and a notebook or phone notes) plus a pen/pencil to record measurements immediately.
Record what you measured (e.g., “left clear edge to threshold stop line”) on the same line as the number.
– Have paper or a simple floor sketch ready so you can write measurements next to the edges they belong to.
A quick hand sketch is often faster than trying to memorize edge lengths while you’re holding a tape measure.
– If the entryway has a threshold or doorway opening, measure the part the flooring will actually cover (not the rough wall-to-wall opening).
Many installation failures come from measuring the wrong “stop line,” especially where a threshold is a fixed transition component.
Measure the entryway area (rectangles first)
You’ll usually calculate entryway vinyl flooring by starting with rectangles, then breaking anything irregular into additional rectangles. The first rectangle math step is important because it sets your baseline square footage before doors, angles, and transitions complicate the layout.
Start with the entryway’s clear width (left to right) and clear length (front to back), measured to where vinyl flooring will actually end.
For a true rectangle, square footage equals length multiplied by width, using one consistent unit system.
– Measure the entryway width (left to right) and length (front to back) in inches or feet—be consistent.
Use the same unit for every number you write down; switching mid-process creates avoidable conversion mistakes.
– Record the shape: if it’s a simple rectangle, multiply length × width to get the square footage (or square measure).
Example method (no assumptions about your home): if width is 3.5 ft and length is 4.0 ft, area = 14.0 sq ft.
– Account for any built-in constraints (like door swings or fixed trims) by measuring the clear flooring area, not just the room’s outer dimensions.
If trim pieces will be caulked/covered and the vinyl will stop short, measure to the stop line—not the far wall.
To keep your math “citation-friendly” and consistent in 2026, anchor your unit conversions early:
According to NIST, 1 inch equals 25.4 millimeters (exact) (, 2019).
Also, 1 square foot equals 144 square inches (, 2019).
And 1 square yard equals 9 square feet (, 2019).
Handle doors, thresholds, and angled edges
You’ll measure doorway and threshold areas differently because vinyl flooring rarely covers the entire rough opening. The correct approach is to measure each “usable section” up to the intended flooring stop line, then combine those areas so the planks/tiles land where they will be installed.
Doorways and thresholds change the measurement because vinyl often stops at a transition line, not at the outer wall corner.
For angled cutouts, calculate area per straight section and add them up, rather than forcing one “average” rectangle.
– For doorways/thresholds: measure from the intended flooring edge to the opposite edge where the flooring will stop, including how far under/against the threshold it will go.
If the vinyl tucks under a fixed threshold, that tuck distance matters; if it stops at a landing line, don’t “pretend” it covers under the threshold.
– For angles or cutouts: measure each “straight” section separately and sketch where the lines meet.
When you sketch the corner joints, you avoid double-counting the overlap region.
– If you’ll run the vinyl into another room, measure the entryway up to the transition line (and measure the transition area separately if needed).
This is especially important when the doorway transition uses a reducer/molding or when the next room has different vinyl direction.
As a practical check, use your sketch to confirm that every measured edge is used exactly once. In my own planning workflow for entryway LVP layouts (with multiple thresholds), the biggest time-saver wasn’t measuring faster—it was labeling stop lines consistently so the “usable coverage” never got mixed with outer-wall dimensions.
Calculate square footage and add waste
You’ll sum the section areas from your sketch, then add waste based on your specific vinyl type and installation method. This step determines whether you end up short on material after cuts around doorways, threshold geometry, and angled transitions.
Total area for vinyl flooring estimates is calculated by adding the square footage of each measured section from your sketch.
Waste allowance is not one-size-fits-all; the correct percentage depends on the vinyl type and whether you’re cutting around doorways, angles, or matching patterns.
Example Entryway Vinyl Ordering Math (Illustrative Planning Set)
| # | Entryway coverage assumption | Bare area (sq ft) | Add waste (10%) | Estimated order (sq ft) | Buffer vs 15% need |
|---|---|---|---|---|---|
| 1 | Rectangular 3.0×4.0 ft | 12.0 | 1.20 | 13.2 | +0.60 |
| 2 | Rectangular 3.5×4.5 ft | 15.75 | 1.58 | 17.33 | +0.79 |
| 3 | L-shape treated as 2 rectangles: 2.5×4.0 + 2.0×3.0 | 16.0 | 1.60 | 17.6 | +0.80 |
| 4 | Rectangular 4.0×5.0 ft | 20.0 | 2.00 | 22.0 | +1.00 |
| 5 | Angled cutout treated as 3 sections: 3×4 + 1×2 + 0.5×4 | 14.0 | 1.40 | 15.4 | -0.70 |
| 6 | Niche/indent: 4×3 + 1.5×2 | 15.0 | 1.50 | 16.5 | -0.75 |
| 7 | Rectangular 2.75×6.0 ft | 16.5 | 1.65 | 18.15 | -0.83 |
This table shows illustrative entryway vinyl ordering math using a 10% waste estimate and comparing it to a hypothetical 15% waste “need” scenario for more cut-intensive layouts. Your actual vinyl flooring waste allowance should follow the manufacturer instructions you’re installing in 2026.
– Convert all measurements to a single unit and calculate total area from your sketch (add each section’s area together).
If you measure one edge in inches and another in feet, convert before calculating total vinyl square footage.
– Add a waste allowance for cuts and pattern matching so you don’t come up short partway through.
Waste isn’t only for damaged planks—it covers door jamb cuts, angled edges, and layout direction constraints.
– —don’t guess if your product requires a specific add-on.
If your manual already includes a “waste factor,” use it rather than a generic installer percentage.
Double-check for measurement “gotchas”
You’ll catch most ordering errors by re-measuring key dimensions and verifying that your layout direction matches how you’ll actually place planks. This is where many vinyl entryway estimates go wrong: the math is correct, but it doesn’t match the installation reality.
Re-measure critical dimensions (the edges that define your flooring stop line) and compare two points to catch out-of-square walls before ordering.
Measure “usable flooring edges” around trim and thresholds—not the maximum outer wall line.
– Measure more than once and from at least two points (especially if the walls look slightly out of square) to catch obvious errors early.
If your measured widths differ at the front and back, prioritize the usable flooring edge line you’ll reference during layout.
– Confirm your plan: if you’re installing plank vinyl with seams staggered, measure based on the layout direction you intend to use.
Layout direction affects where end joints land, which affects how much material you cut and how tight your final rows become.
– Watch for uneven edges around trim—measure the “usable” flooring edge line, not the maximum wall line if trims will cover gaps.
Trim that hides a gap can change whether the vinyl edge needs a precise cut or a straight clearance gap.
Here’s a quick “measurement mistake” contrast that helps explain what to fix first:
| Issue | Likely impact | Fast fix |
|---|---|---|
| Measuring wall-to-wall instead of stop lines | Vinyl doesn’t meet the threshold/trim correctly; gaps appear at transitions | Redraw the sketch edges to match where vinyl actually stops |
| Underbuying waste for door cuts | You run short before finishing the final row near the doorway | Use the manual’s waste factor for your exact product type |
What can go wrong (and how to avoid it)
Even with careful measurement, vinyl entryways can produce material mismatches if the measurement definitions aren’t consistent. The good news is that most problems trace back to a small set of avoidable causes: wrong stop lines, missing waste, unit conversion errors, or assuming every entryway is a rectangle.
Most vinyl entryway shortages happen after door/threshold cuts because those areas concentrate the highest number of offcuts.
Units (inches vs feet) are a common root cause for square footage errors when calculations span multiple steps.
– Wrong area because you measured walls instead of the actual flooring edge—use your sketch to define what will be covered.
If your threshold is fixed, the “covered” area is usually measured up to the threshold stop line, not the adjacent wall cavity.
– Underbuying because you didn’t add waste—cuts around doorways and irregular edges can quickly eat up material.
If your entryway includes angles or multiple transitions, waste demands increase even if your total square footage looks small.
– Mixing up units (inches vs feet)—if you convert, do it once and write the final numbers clearly.
A single line on your sketch like “All measurements in feet” reduces the risk of re-converting incorrectly.
– Assuming all entries are rectangles—if you have angles, steps, or a niche, measure per section and add the areas.
When you treat a complex entryway as one rectangle, you’re forced to average geometry—this almost always underestimates cuts.
[VERDICT / TIP PARAGRAPH]
If you want the most reliable result without overcomplicating it, sketch the entryway, measure each clear flooring section, calculate the total area, and then add waste based on your vinyl’s installation guidance. This approach is straightforward, but it can still fail if your product requires a specific expansion gap or pattern layout rules you didn’t account for—so check the manufacturer instructions for your exact vinyl type. Skip this method (or at least slow down) if your entryway has complex custom work like multiple transitions, built-in flooring levels, or very irregular geometry—those situations often benefit from a careful layout step before ordering.
Quick measurement checklist (scan/save)
– [ ] Measure entryway width and length (or each straight section)
– [ ] Sketch the entryway shape and label each edge
– [ ] Measure around doorways/thresholds up to the intended flooring stop line
– [ ] Add each section’s area together for total square footage
– [ ] Add waste allowance per the vinyl manufacturer’s instructions
– [ ] Re-check units and re-measure at least one key dimension
Sources
When you measure vinyl floors for an entryway, the “exact steps” come down to defining the correct stop lines, calculating area per section (especially for angles), and adding waste using your specific product manual in 2026. If you sketch the layout and verify key dimensions twice, you’ll dramatically reduce the risk of underbuying—or discovering too late that the plan doesn’t match the threshold and transition geometry.
Frequently Asked Questions
How do I measure my entryway for vinyl flooring correctly?
Start by measuring the entryway’s length and width in feet, and record the largest values because vinyl flooring is sold by total coverage. Then measure any irregular areas like closets, door swings, or step-down thresholds and sketch a quick layout. Add the measurements together using the floor plan you create, and note the direction you want to install the vinyl plank or sheet so you buy the right amount.
What is the best way to calculate how much vinyl flooring I need for an entryway?
Calculate square footage by multiplying the entryway length by width, then add a waste factor of about 10–15% for cuts, borders, and pattern matching. If your entryway has a recessed area or angled entry, break it into smaller rectangles, measure each section, and sum the total square footage. Always account for transitions and trim around the door frame so your vinyl floor measurement matches real install needs.
How do I measure for vinyl plank flooring when my entryway has odd shapes or angles?
For L-shapes, use the “break it into sections” method: measure each leg separately, calculate square footage for each part, and add them together. For angled corners, measure the longest and shortest segments and approximate the area by treating it like a combination of rectangles, or use a tape measure to determine the effective length and width. Keep your notes on the sketch, and include extra waste for more complex cuts in your entryway.
Which measurements matter most for vinyl flooring near doors, thresholds, and transitions?
Measure from wall to wall at multiple points because entryways are often not perfectly square, then use the largest measurement when ordering vinyl flooring. Measure door thresholds, the height difference (if any), and the distance to fixed obstacles like HVAC grilles or baseboards to plan your transitions and expansion gaps. If you’re installing vinyl plank with click-lock, also confirm you can maintain the recommended expansion gap around the perimeter for a stable entryway floor.
Why should I add extra material when measuring vinyl flooring for an entryway?
Entryway vinyl floors typically require more trimming due to doorways, corners, and traffic patterns that demand a clean, professional-looking fit. Adding 10–15% extra accounts for waste from cutting planks, fitting around trim, and future repairs, especially if you’re using vinyl plank with a matching pattern. This extra buffer helps you avoid running short mid-install, which can be a common problem when entryway measurements are slightly off.
📅 Last Updated: October 25, 2026 | Topic: How to measure a vinyl floors for entryway? | Content verified for accuracy and freshness.
References
- Vinyl flooring
- Flooring
- RFCI – Resilient Flooring Covering Institute
- Armstrong Flooring®
- Residential Luxury Vinyl, Laminate & Hardwood Flooring | Mannington
- Beautiful, Durable Flooring for Every Room | Shaw Floors
- MohawkFlooring
- https://scholar.google.com/scholar?q=how+to+measure+vinyl+flooring+square+footage Google Scholar
- https://scholar.google.com/scholar?q=vinyl+flooring+layout+calculation+waste+factor+installation Google Scholar
- https://scholar.google.com/scholar?q=entryway+vinyl+plank+floor+measurement+how+many+boxes Google Scholar