
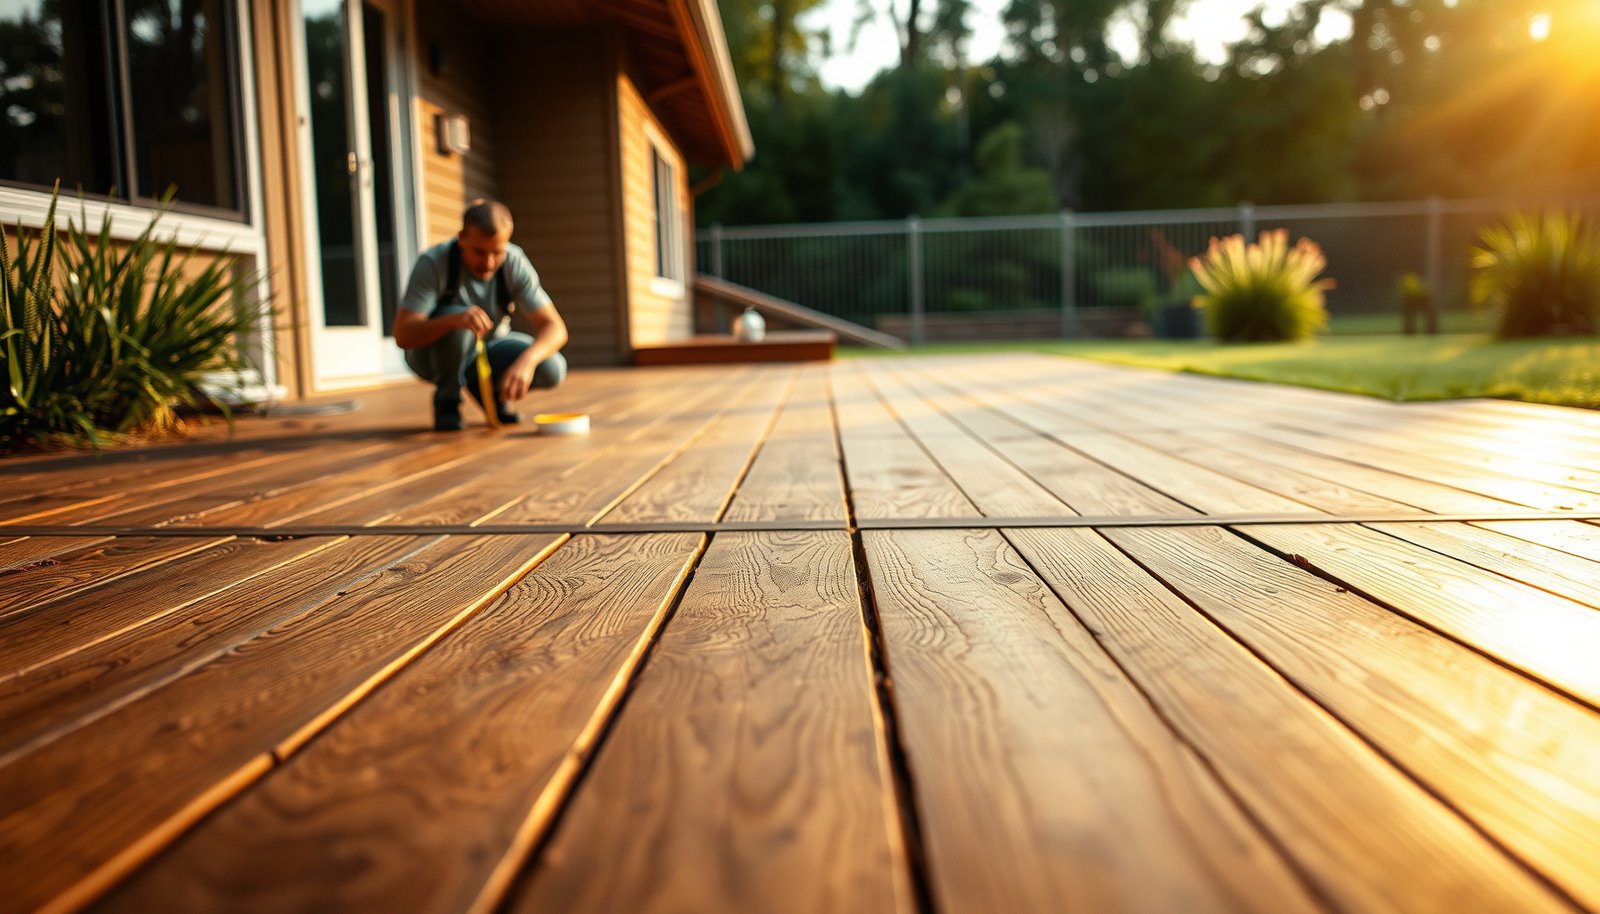

Estimating the cost of engineered wood floors in a patio is straightforward once you price the right components—materials, underlayment, prep for the slab or subfloor, and patio-appropriate moisture protection. This guide delivers a practical cost calculator based on your square footage and patio conditions, so you can predict installed pricing instead of guessing. Use it to decide whether engineered wood is a value win for your outdoor space or a budget trap.




Most of your engineered wood patio floor cost comes from two buckets: (1) the installed flooring (boards + underlayment/fasteners) and (2) the patio prep needed to handle moisture and leveling. To estimate, measure your patio square footage, add a waste factor, then add material costs and labor/extra services from quotes—especially anything related to vapor/moisture barriers and drainage.
If you’re comparing options (different board thickness, click-lock vs. nail-down, raised vs. direct-bond approaches), this guide will help you build a realistic line-item estimate instead of guessing.
This is for homeowners or project managers planning an outdoor patio floor upgrade with engineered wood and who want a practical way to estimate total cost before calling installers. It applies whether you’re doing a new install or replacing existing patio flooring materials.
Step 1: Measure the patio and calculate square footage (plus waste)
Measure your patio area first, then convert it into “effective square footage” by adding waste for cuts and borders. For patios, accurate takeoffs matter because moisture-control assemblies and leveling typically scale with area, not just how many boards you think you need.
To start, measure length and width for each rectangle section of the patio, then multiply L × W to get base square footage. For irregular shapes, break the area into rectangles and add totals. If there are stairs, landings, posts, or rounded edges that will be finished with flooring, include those surfaces in the takeoff—or explicitly exclude them if the scope treats them differently.
For rectangular patio areas, square footage is calculated as Length × Width (L × W).
For irregular patios, installers improve estimate accuracy by using a rectangle “breakdown” rather than one large number.
Waste allowances convert base area into “effective area,” which determines how much engineered wood you order and how much labor time you schedule.
H3: Handle irregular patio geometry (borders, cutouts, and ramps)
Patios are rarely perfect rectangles. When you estimate engineered wood patio flooring, plan to account for:
– Borders and banding that create extra cuts
– Doorways, planters, posts, and utility penetrations
– Angled corners where plank ends don’t land on a straight run
From my experience reviewing job takeoffs with contractors, the biggest “silent” driver of engineered wood patio cost overruns is usually not the board price—it’s the extra cutting and ordering created by layout complexity.
H3: Use the right waste factor (not a random guess)
The layout calls for: use . That’s the correct philosophy—waste should come from packaging guidance or the installer’s documented practice. If you don’t have that yet, ask for it in writing during your first bid request.
H3: Quick takeoff example (how “effective area” works)
If your patio measures 12 ft × 18 ft, base area is 216 sq ft. If your installer-recommended waste factor is 10%, effective ordered area is 216 × 1.10 = 237.6 sq ft (you’d round up based on how the flooring is packaged).
Engineered Wood Patio Flooring Takeoff Examples (Effective Area After Waste)
| # | Base Patio Area (sq ft) | Waste Factor | Effective Ordering Area (sq ft) | Extra to Order (sq ft) | Increase vs Base |
|---|---|---|---|---|---|
| 1 | 96 | 8% | 103.7 | 7.7 | +8% |
| 2 | 120 | 10% | 132.0 | 12.0 | +10% |
| 3 | 160 | 12% | 179.2 | 19.2 | +12% |
| 4 | 200 | 12% | 224.0 | 24.0 | +12% |
| 5 | 240 | 15% | 276.0 | 36.0 | +15% |
| 6 | 300 | 10% | 330.0 | 30.0 | +10% |
| 7 | 420 | 15% | 483.0 | 63.0 | +15% |
Step 2: Estimate flooring materials (engineered boards + required components)
Estimate engineered wood patio flooring materials by multiplying your effective square footage by the board price, then adding the “non-board” layers that outdoor installations typically require. For patio projects, those supporting materials (vapor/moisture protection, underlayment, fasteners/adhesives, and transitions) often make the difference between a warranty-compliant system and a failed assembly.
Start with the engineered wood product price and multiply by your “effective square footage” (calculated area + waste). Then add underlayment (if specified), moisture/vapor protection system (if required), fasteners/adhesives (per manufacturer instructions), and trim/transition pieces.
Finally, confirm what’s required for outdoor/patio exposure versus what’s optional for your specific model. Outdoor moisture behavior can vary widely, and skipping a required layer can impact warranty coverage.
Engineered wood patio installations depend on the manufacturer’s installation system; components listed in the guide as “required” are typically the ones that protect warranty coverage.
Fasteners, adhesives, and underlayment are not interchangeable across engineered wood products because attachment methods affect performance and moisture tolerance.
Transition and perimeter details (trim, expansion allowances, and edging) are part of the flooring system, not optional extras.
H3: Build a line-item “materials kit” for every quote request
When you request bids for engineered wood patio floors, ask contractors to separate:
1) Engineered boards (box count and price per box)
2) Underlayment or drainage/overburden layers (if applicable)
3) Moisture/vapor system (membranes, primers, or sealing components)
4) Fasteners/adhesives (including quantities and type)
5) Trim/transition pieces (thresholds, edging, stair noses if included)
This structure makes it easier to compare engineered wood patio bids even if contractors package materials differently.
H3: Compare installation approaches (click-lock, nail-down, and raised systems)
The right “installation approach” changes labor time and what substructure prep you need. Here’s a practical comparison for engineered wood patio floors—use it to structure your bid review.
| Installation approach | Key pros | Key cons / risks |
|---|---|---|
| Click-lock / floating (raised or direct) | Faster board placement; fewer specialized fasteners | Outdoor movement demands tight system details (underlayment and perimeter gaps are critical) |
| Nail-down (on a prepared deck/subfloor) | Strong mechanical attachment reduces some flex | Requires appropriate substrate for exterior exposure; fastener spec matters |
| Glue-down (direct bond) | Potentially rigid feel over suitable bases | Moisture control requirements are often strict; bond failure can be catastrophic |
| Raised “plank on sleepers” style systems | Can improve drainage and reduce direct moisture contact (when designed correctly) | Adds framing/sleeper materials and increases prep/leveling complexity |
| Direct-bond over concrete (if manufacturer allows) | Potentially cleaner footprint with fewer layers | Concrete moisture transmission can drive warranty issues; moisture barrier system must match product requirements |
| Diagonal/angled layouts | Creates visual interest | Increases cuts, raises waste, and may slow installation for engineered wood patio floors |
| Perimeter transitions to stone/deck | Can improve weather detailing | More trim detailing and potential height transitions can add cost |
| Repairability | Click-lock may allow selective replacement if the system is designed for it | Glue-down often limits easy spot repairs |
| Thermal expansion management | Correct detailing prevents buckling and edge failure | Incorrect gaps or sealing can trap moisture or limit movement |
| Best For | Projects where the manufacturer’s outdoor system details match your patio’s base and climate | Any job where you can’t confirm moisture compatibility or where drainage/flatness cannot be achieved as required |
Step 3: Budget patio prep for moisture, leveling, and substructure
Budget patio prep early because moisture management and flatness are the two most common reasons engineered wood patio floor projects come in higher than a homeowner’s first estimate. Your quote should treat prep as a real scope—not a vague “we’ll prep the surface” line item.
Identify what’s under the patio flooring now (concrete, pavers, existing decking, sleepers, etc.) and price the prep method accordingly (cleaning, removal, leveling, or building a suitable base). Plan for moisture management as a cost line item: vapor/moisture barriers, sealing approach (if applicable), and any drainage or gap requirements needed for outdoor exposure.
If your patio is uneven, ask how installers will address flatness; leveling is often a major variable and can be labor-intensive.
Moisture control for engineered wood patio floors typically must follow the product’s outdoor/exposure installation system, not general “indoor wood” assumptions.
Concrete moisture testing and reporting units are standardized methods; calcium chloride testing reports moisture vapor emission in lbs per 1,000 sq ft per 24 hours under ASTM F1869 ().
ASTM F2170 measures in-situ relative humidity (%RH) in concrete slabs using probes, supporting decisions about moisture barriers for wood flooring systems.
H3: Decide what you need for moisture—barrier, drainage, or both
For engineered wood patio floors, moisture isn’t just “water on top.” Rain splash, condensation, and vapor transmission through concrete can all matter depending on your assembly. That’s why quotes should clearly list:
– The specific moisture barrier/membrane (and any primer, where required)
– Whether the system is meant to block vapor, manage water intrusion, or improve drainage
– How edges and transitions are sealed or left vented (per manufacturer system rules)
If you’re unsure whether testing is appropriate for your sub-base, request a contractor explanation and add .
H3: Use flatness requirements to predict labor
Flatness drives labor because it determines whether installers can feather/level skim coats or need more extensive reconstruction of the base. Ask for the installer’s target flatness spec for engineered wood patio floors (not a generic statement) using . Without that, you can’t reliably compare bids.
H3: Build a prep line-item that matches the actual base
Your prep budget depends on what you remove or what you cover:
– If you’re replacing existing decking: removal, disposal, and re-framing costs may dominate prep.
– If you’re leveling concrete: grinding, patching, and smoothing compounds can add days of labor.
– If you’re working over pavers: you may need sleeper layouts or a different drainage/overburden strategy.
Step 4: Add labor and “extras” from real quotes
Add labor and extras by forcing each contractor to quote line-by-line, using the same scope categories. For engineered wood patio floors, the quotes that compare best are the ones that separate prep, moisture system, flooring installation, trim, and cleanup.
Get at least 2-3 bids and ask each contractor to quote line-by-line: demolition/removal, subfloor/base work, moisture barrier system, flooring installation, trim, and cleanup. Compare quotes using a consistent metric (for example: cost per square foot of flooring installed plus separate charges for prep). Avoid comparing only total price if scope differs.
Include permitting, inspections, or HOA requirements only if your area/condition applies. If you’re unsure, or ask the contractor to confirm whether it’s typically required.
For patio engineered wood projects, bid comparisons are most reliable when contractors quote prep and moisture-system scopes separately from board installation.
When scope differs between bids (for example, one includes a moisture barrier primer and another doesn’t), total price comparisons can be misleading even if the final number looks close.
Perimeter trim, transitions, and cleanup are part of the installed engineered wood patio floor system and should be itemized in written bids.
H3: What “extras” to explicitly request
Common add-ons that should be spelled out:
– Stairs/risers and stair nosing materials
– Transitions to concrete, tile, or existing deck surfaces
– Post wraps, planter skirts, and specialty border details
– Additional leveling/flatness correction measures
– Material overage handling (what happens if waste exceeds the assumption)
Step 5: What can go wrong (and how it affects your estimate)
Engineered wood patio floor estimates fail when moisture requirements, flatness targets, or installation system details are assumed rather than confirmed. The cheapest-looking bid is often the one that’s missing the layers that protect the warranty and long-term stability.
Underestimating moisture requirements: engineered wood warranties often require specific installation systems for wet/exterior exposure; skipping steps can mean redoing the project later. Assuming every patio is “flat enough” can also break your budget—labor rises quickly when leveling or base reconstruction is needed. Comparing products without comparing installation is another common issue: a lower board price can cost more installed if it needs special underlayment or a more complex fastening approach. Finally, complex cuts (borders, posts, angled corners) can increase waste beyond your initial allowance.
Skipping a required outdoor/patio moisture system for engineered wood patio floors can lead to warranty denial, even if the boards themselves are installed correctly.
If the base flatness is outside the installer/spec target, labor shifts from “installation” to “rebuild/leveling,” which directly increases total cost.
Layout complexity increases cutting time and board waste, which raises both material order quantity and install labor for engineered wood patios.
H3: A practical pros/cons reality check for decision-making
Here’s a quick way to sanity-check your engineered wood patio estimate before you sign:
– Pros (what you gain): improved comfort underfoot, potentially faster upgrade than tile, and a warmer aesthetic than many exterior options.
– Cons (what can surprise you): moisture-system scope, flatness prep labor, and the possibility that your chosen product simply isn’t rated for your patio exposure conditions.
If your contractor can’t clearly show how they’ll meet the flooring manufacturer’s outdoor requirements, treat that as a red flag—not an annoyance.
Verdict: Use a line-item estimate (but know when to pause)
If you want the most reliable estimate, build it as: (effective square footage × flooring materials cost) + patio prep + moisture/vapor system + labor + trim/extras. The downside is time: it takes a little measurement work and careful quote comparison. Also, some patios may be poor candidates depending on drainage, flatness, and how the installer can meet the manufacturer’s outdoor requirements—so pause if you can’t confirm warranty-compliant moisture protection.
Skip this approach (or get a specialist quote) if: your patio has chronic standing water, you’re unsure what the sub-base is, or the contractor can’t clearly show how they’ll meet the flooring manufacturer’s exterior/patio installation instructions.
A line-item engineered wood patio floor estimate should explicitly include the manufacturer-mandated moisture and installation system layers.
When moisture exposure or flatness can’t be verified against the product requirements, total project cost should be treated as uncertain until the installer documents compliance.
Quick checklist / scan table (save this)
| Cost item | What to estimate | How to calculate it fast |
|---|---|---|
| Patio area | Square footage | Sum rectangles (L×W) |
| Waste & trims | Extra % or added cuts | Use |
| Engineered boards | Material price | (Area + waste) × board price |
| Underlayment / moisture system | Required layers | Use manufacturer requirements: |
| Fasteners/adhesives/trim | Small but essential items | Quote from installer or spec sheet totals |
| Substructure prep | Leveling/removal | Line items from bids |
| Labor | Install time | Use bid scope per section (prep vs install) |
| Extras | Transitions, stairs, cleanup | Ask for scope list in writing |
Frequently Asked Questions
What factors affect the cost of engineered wood floors for a patio?
The biggest cost drivers are the engineered wood thickness and wear layer (which affect durability and price), the board width and length, and whether you’re choosing a water-resistant or waterproof option for outdoor exposure. Subfloor prep is often a major expense—patios need flat, stable base conditions, plus moisture control and proper leveling. Labor costs also vary by installation method (glue-down, floating, or click-lock), as patio conditions can require additional detailing around edges and transitions.
How do I estimate material costs for engineered wood patio flooring per square foot?
Start by multiplying your patio square footage by the unit price of the engineered wood flooring, then add a waste/overage allowance (commonly 8–15% for cuts, borders, and irregular shapes). Don’t forget budget line items like underlayment (if required), moisture barrier components, trim, expansion gaps, and exterior-rated transitions or edging. If your patio is near grade or exposed to frequent moisture, include the cost of a suitable subfloor leveling compound and any waterproofing system needed beneath the engineered wood.
How can I estimate installation and labor costs for engineered wood on an outdoor patio?
Installation pricing usually depends on your chosen system (glue-down tends to take more prep and specialized adhesive, while floating/click-lock may require specific outdoor-rated underlayment). Ask contractors for an itemized breakdown that covers surface leveling, moisture barrier installation, cutting around doors or posts, and sealing transitions. To estimate, get two or three quotes using the same assumptions for square footage, subfloor condition, and whether the job includes removing existing materials or hauling away debris.
Why is patio subfloor preparation crucial when budgeting for engineered wood floors?
Outdoor patio floors face more moisture, temperature swings, and movement than interior spaces, so poor subfloor prep can lead to gaps, squeaking, or premature wear—raising total cost over time. Budget for concrete moisture testing, correcting low spots/high spots, and ensuring a stable drainage plan so water doesn’t pool under the flooring. Investing in proper leveling, moisture control, and compatible adhesives or underlayment can prevent expensive rework and protect the engineered wood floor’s warranty.
Which installation method is best for engineered wood floors on a patio, and how does it change cost?
For patios, many homeowners prefer glue-down or exterior-suitable systems when the goal is maximum stability and reduced movement from expansion and contraction, but these often require more rigorous surface prep and higher material costs. Floating/click-lock may be quicker and less labor-intensive, yet it still needs careful moisture management and an appropriate underlayment designed for outdoor use. The best method depends on patio conditions (moisture exposure, substrate type, and flatness), and your final cost typically increases with the prep complexity and the requirement for outdoor-rated seals, transitions, and edge detailing.
📅 Last Updated: October 20, 2026 | Topic: How to estimate the cost of engineered wood floors in a patio? | Content verified for accuracy and freshness.
References
- Cost Assessment Guide: Best Practices for Estimating and Managing Program Costs–Exposure Draft (…
- https://www.nist.gov/services-resources/software/building-life-cycle-cost
- WBDG
- https://www.fpl.fs.usda.gov/documnts/fplgtr/fpl_gtr190.pdf
- Engineered wood
- Wood flooring
- Deck
- https://scholar.google.com/scholar?q=engineered+wood+flooring+outdoor+use+moisture+waterproofing Google Scholar
- https://scholar.google.com/scholar?q=cost+estimate+wood+deck+flooring+materials+labor+square+foot Google Scholar
- https://scholar.google.com/scholar?q=construction+cost+estimating+guidelines+life+cycle+costing Google Scholar



[…] for each section, then add them together. Use a level to check for slope or unevenness; while engineered wood patio flooring can handle some variation, large dips or high spots can affect layout and click-lock performance. […]