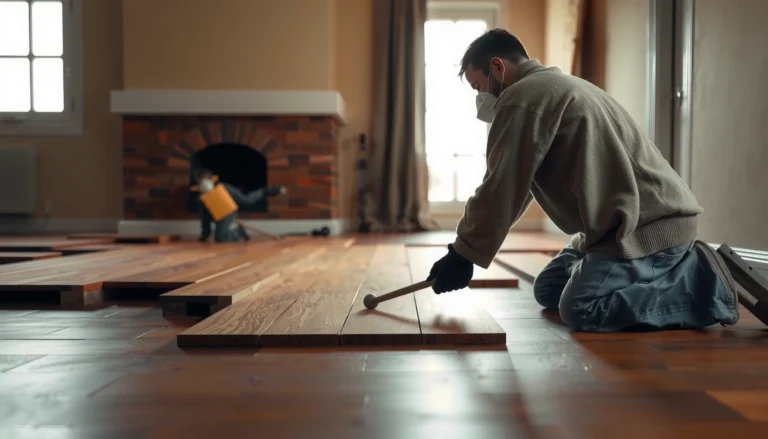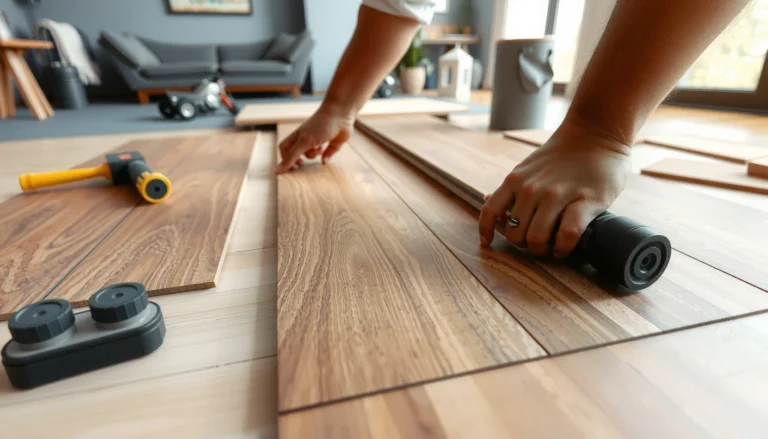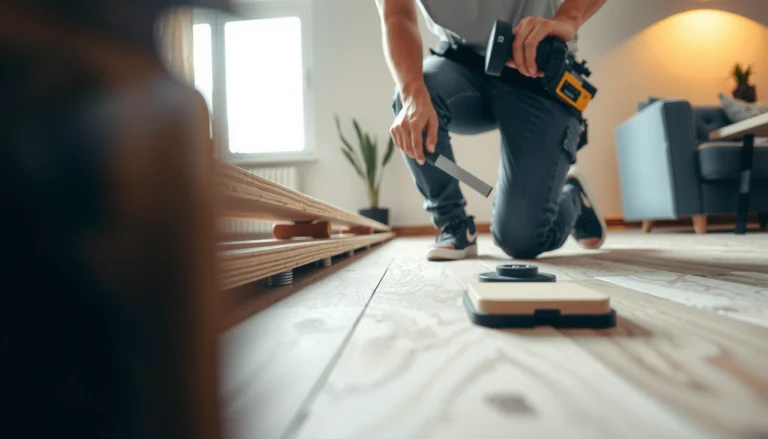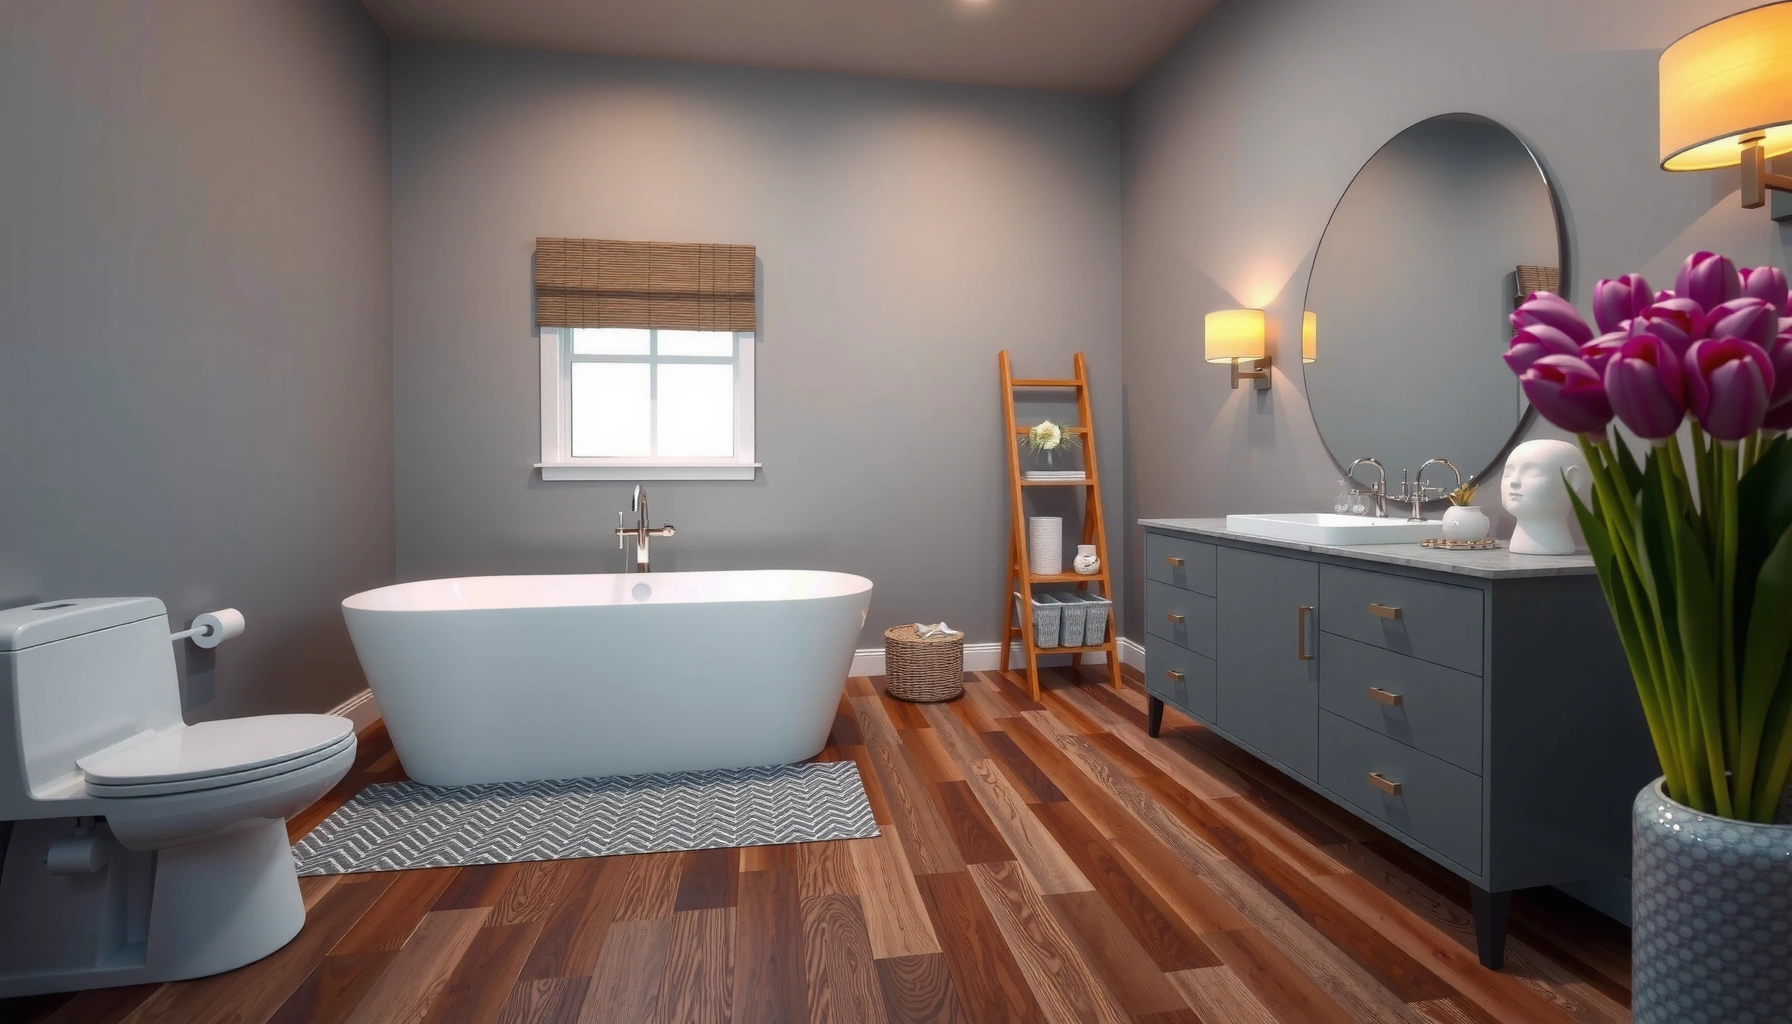

Want to know how to install hardwood floors in a bathroom without warping, cupping, or damage? This guide lays out the direct, must-follow steps for choosing the right water-resistant hardwood, prepping the subfloor, and installing with the proper waterproof underlayment and adhesives. Follow it correctly and you’ll get a bathroom floor that looks like hardwood—built to handle moisture.




If you want hardwood floors in a bathroom, the key is preventing moisture damage: choose a bathroom-appropriate flooring system and install with proper subfloor prep, sealing, and ventilation. Follow a moisture-managed approach—start with the right underlayment/subfloor conditions, then use manufacturer-approved adhesives or fastening methods and finish with a compatible seal.
This is for homeowners, DIYers, and contractors planning a hardwood (or engineered hardwood) install in a bathroom where humidity and splashes are expected. It applies whether you’re installing over plywood/subfloor or converting an existing floor, and especially if the bathroom lacks strong exhaust ventilation.
Choose the Right Hardwood for Bathroom Conditions
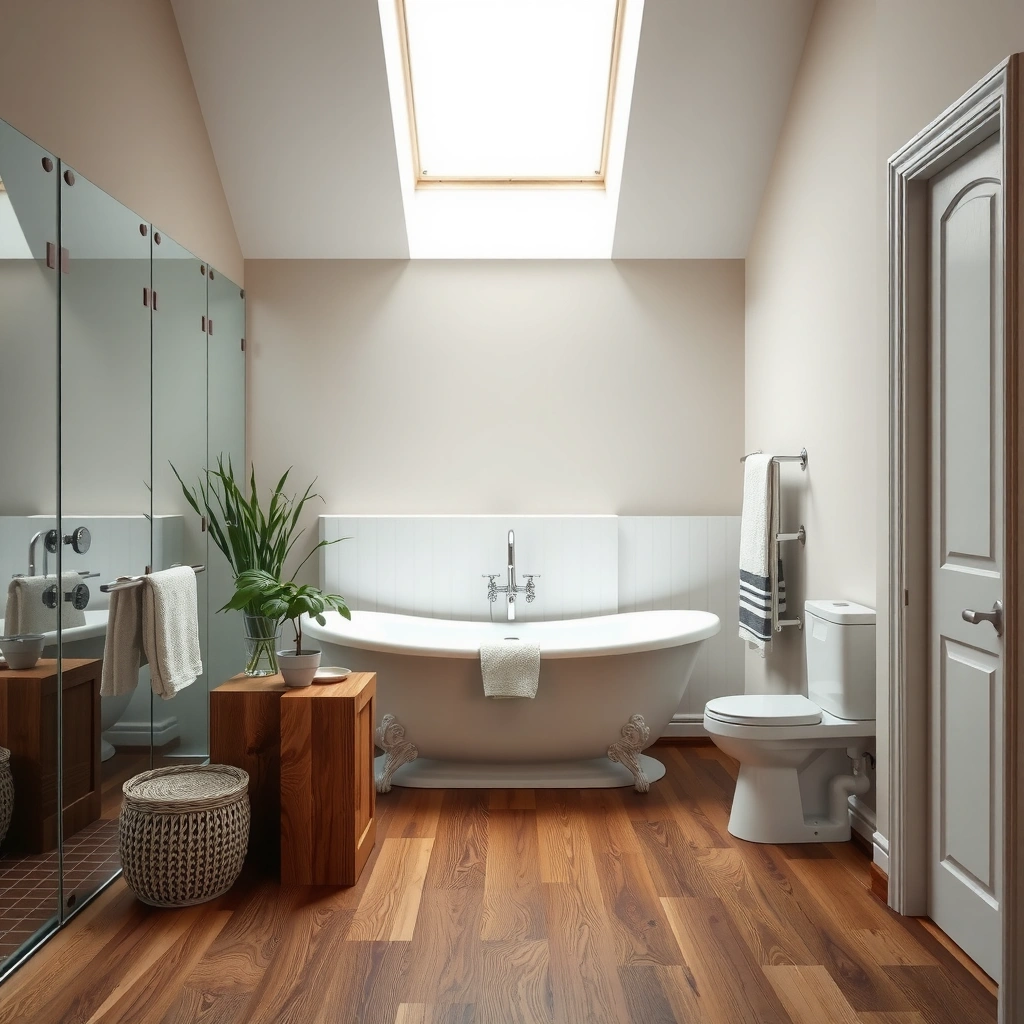
To keep bathroom hardwood stable, you need a flooring product designed for fluctuating humidity. In practice, that usually means engineered hardwood (not solid hardwood) plus manufacturer-approved installation and moisture controls.
The biggest win is choosing the right construction: engineered hardwood is built in layers that resist cupping and joint failure better than most solid planks when moisture conditions swing. Still, “bathroom-appropriate” is not a vibe—it’s a documented permission from the flooring brand, including any required acclimation time and acceptable humidity/temperature ranges.
Engineered hardwood is generally more dimensionally stable than solid hardwood because its layered core reduces plank movement as relative humidity changes.
Before installation, the only acceptable “bathroom approval” is what the flooring manufacturer explicitly states in its installation guide for that SKU.
Wood flooring performance depends on maintaining indoor humidity within the range specified by the flooring guidelines rather than reacting after problems appear.
When you evaluate options in 2026, focus on these decision points:
– Prefer engineered hardwood where the bathroom experiences routine humidity and occasional splashes.
– Verify explicit bathroom suitability in the product’s documentation (not general blog advice). The installation guide will also indicate whether glue-down, nail-down, or floating is permitted.
– Match the installation type to the product. Some engineered floors tolerate moisture better with certain backing systems and moisture barriers.
A practical “what to ask the manufacturer” checklist
Ask (or verify in the PDF) for:
– Approved bathroom use (yes/no, and any limits)
– Required acclimation conditions and duration
– Acceptable subfloor moisture limits and test method
– Approved underlayment/moisture barrier types
– Approved adhesive type (if glue-down) and whether sealing is permitted
Moisture targets you should not ignore
For stable wood flooring performance, the National Wood Flooring Association (NWFA) commonly recommends maintaining indoor relative humidity in a controlled range. According to National Wood Flooring Association (NWFA), maintaining indoor relative humidity around 35%–55% helps reduce seasonal movement and moisture-related failures (guideline-based; verify your product’s specific requirements).
Because bathroom exhaust systems vary widely, this RH target is where DIY installs often get won or lost.
Bathroom-Related Moisture Control Points for Hardwood Installs (Best-Practice Ranges)
| # | Moisture-Control Item | Target / Limit | Why it Matters | Confidence |
|---|---|---|---|---|
| 1 | Indoor Relative Humidity (RH) | ~35%–55% (guideline) | Reduces seasonal wood movement and joint stress | ★ ★ ★ ★ ★ |
| 2 | Subfloor moisture test method | Use the method your flooring manual specifies | Prevents “wrong test, wrong pass” scenarios | ★ ★ ★ ★ ☆ |
| 3 | Subfloor flatness | Correct per the floor’s L/Δ requirements | Improves click-lock integrity and reduces squeaks | ★ ★ ★ ★ ☆ |
| 4 | Underlayment/moisture barrier | Approved and installed with sealed seams | Limits vapor drive and keeps edges from wicking | |
| 5 | Expansion gap to walls | Maintain the manual’s required gap | Allows movement without buckling | ★ ★ ★ ★ ★ |
| 6 | Ventilation to outdoors | Exhaust fan vented outdoors | Reduces RH spikes after showers | ★ ★ ★ ☆ ☆ |
| 7 | Sealing at transitions/edges | Only where manufacturer permits | Prevents trapped moisture under flooring | ★ ★ ★ ★ ☆ |
Note: Where exact numeric limits vary by brand/SKU, this table points you to the governing requirement—your specific flooring manual.
Prep the Subfloor Like Moisture Depends on It (It Does)
To install hardwood in a bathroom, you must treat the subfloor as the foundation of your moisture control plan. If the substrate is damp, out of plane, or contaminated, the best top layer in the world won’t perform reliably.
Your first job is ensuring the subfloor is flat, clean, and dry—because moisture plus movement magnifies every weak point: loose plywood, failing leveling compounds, or ridges that prevent proper underlayment contact. From a contractor workflow perspective, we usually aim to fix substrate problems before any underlayment is opened.
Hardwood failure in bathrooms is frequently caused by subfloor moisture or vapor drive rather than the finish coat itself.
Flatness defects (ridges, dips, loose boards) can create squeaks and concentrated stress at plank joints.
Moisture limits must be verified with the flooring manufacturer’s specified test method and acceptance criteria.
Step-by-step subfloor readiness
1. Remove old adhesives/debris to avoid weak bond areas for glue-down systems.
2. Check flatness with a straightedge and address high/low spots per the flooring instructions.
3. Repair structural issues: fix loose subfloor boards, replace damaged plywood, and stabilize failed patch/leveling compound.
4. Measure moisture using the specified method in the installation guide.
– Common methods for wood flooring include tests aligned with ASTM standards such as ASTM F1869 (calcium chloride) and ASTM F2170 (in-situ relative humidity probes).
– Your manual will specify which method to trust for compliance.
A moisture-test reality check for bathrooms
Bathrooms often create a “leaky environment” even when the floor doesn’t feel wet. Steam, humidity spikes, and intermittent splashes can push moisture through subfloor pores or along seams. That’s why I strongly recommend you do moisture testing after any plumbing work is complete and the space has had time to stabilize—otherwise you’re testing during the “still drying” phase.
According to ASTM F2170, this in-situ method measures relative humidity directly within the slab/substrate (it’s a different signal than surface readings). (2024-era product manuals frequently require this type of measurement for accurate vapor risk assessment.)
Install Underlayment and Moisture Barriers Correctly
To protect hardwood in a bathroom, underlayment isn’t optional—it’s part of the moisture system. Use only the barrier/underlayment your flooring manufacturer approves for the installation method you’re using.
The biggest mistake in moisture-barrier installs is treating it like a generic underlay sheet. The vapor barrier needs correct seams, correct overlap/taping, and correct transitions at doorways and fixtures. If the underlayment is wrong or installed loosely, moisture can bypass the system.
Moisture barriers for wood flooring must match the flooring’s installation method and product design, not just “feel right” underfoot.
Seams and penetrations are common leak points; approved tape and installation details matter as much as the barrier material.
Underlayment that traps moisture under a plank system can worsen problems rather than prevent them.
How to install barriers without creating new problems
– Confirm installation compatibility: floating vs nail-down vs glue-down can change what barrier you’re allowed to use.
– Tape seams with the barrier’s specified tape. A barrier that overlaps but isn’t sealed is often not a continuous vapor control plane.
– Plan transitions: where the flooring meets tile, transitions aren’t just aesthetic—they’re moisture management details.
Comparison: underlayment/barrrier choices (what to watch)
| System | Best When | Primary Risk | Moisture-Safety Tip |
|---|---|---|---|
| Floating engineered hardwood | You need a nail-free install with locking planks | Moisture bypass at seams/transitions | Use the approved underlayment and seal edges per manual |
| Nail-down (engineered) where permitted | You’re fastening into sound wood subfloor | Fastener/edge stress if flatness is poor | Verify flatness and correct nailing schedule |
| Glue-down engineered hardwood | You need maximum contact and stability | Adhesive mismatch leading to bond failure | Follow exact adhesive type/trowel guidance |
Plan the Layout and Handle Key Bathroom Areas
To reduce failure risk, you plan around bathroom “stress zones” before you cut your first plank. Doorways, vanity bases, toilet clearance, and transitions to tile create weak edges if you improvise.
In bathrooms, moisture and movement are concentrated where flooring meets other materials and where objects restrict expansion. Even with an engineered product, planks can experience joint stress if gaps are blocked or if transitions trap moisture.
Wood flooring still expands and contracts in bathrooms, so expansion gaps must remain at walls and fixed objects.
Transitions at tile changes and at toilet/vanity boundaries often determine whether the installation stays stable over time.
Avoid creating narrow “pinched” plank strips at doorways where movement concentrates.
Layout actions that pay off
– Maintain expansion gaps exactly as the installation guide requires (and don’t hide them with caulk unless the manual permits it).
– Use transitions strategically:
– Where hardwood meets tile, use the recommended transition method (often required for warranty and moisture performance).
– Work around penetrations: plumbing and vents can create localized moisture paths. Plan cutouts with proper clearances.
Use the Correct Installation Method (Nail-Down, Glue-Down, or Floating)
To install hardwood in a bathroom, you must match the installation method to the manufacturer’s system. Nail-down, glue-down, and floating aren’t interchangeable—they each require specific underlayment and moisture-compatible materials.
The most expensive mistakes are the ones that feel “close enough,” like using a different adhesive, skipping the specified adhesive trowel size, or using the wrong underlayment under a glue-down product. Bathrooms punish those shortcuts.
Installation warranties typically require the exact method described in the manual, including adhesive type and moisture barrier compatibility.
Glue-down systems require the manufacturer-approved trowel/adhesive configuration to achieve correct bond and moisture resistance.
Floating systems rely on correct locking engagement and expansion gaps to prevent joint failure during humidity swings.
Nail-down (if permitted)
– Follow the nailing schedule and spacing in the manual.
– Ensure the substrate supports fastening (sound plywood/wood framing).
Glue-down (if permitted)
– Use only the specified adhesive and follow open time and trowel notching requirements.
– Keep flooring pieces aligned to avoid squeeze-out that can interfere with transitions.
Floating (if permitted)
– Maintain expansion gaps.
– Install per the locking/stagger rules to prevent gapping.
Sealing and transitions—do it only where allowed
Bathrooms tempt people to “seal everything.” Don’t. Some products allow limited sealing at edges; others warn that sealing can trap moisture beneath planks. Use the manufacturer’s sealing/trim guidance.
What Can Go Wrong (and How to Avoid It)
To avoid bathroom hardwood failure, you need to anticipate moisture and movement issues before they start. Most problems come from a mismatch between product specs and real bathroom conditions.
Here are the failure modes we see most often when flooring manuals aren’t followed:
– Skipping moisture testing or using the wrong test method.
– Using unapproved underlayment/adhesive that doesn’t function as a moisture-control system for your specific flooring.
– Trapping moisture at transitions by sealing where the manual forbids it.
– Poor ventilation, allowing humidity to remain elevated after showers.
Even an “approved” bathroom floor can fail if indoor humidity is not controlled and the bathroom ventilation is inadequate.
Finish failure (peeling, dulling, or premature wear) is often downstream of moisture issues rather than a coating defect.
Improperly sealed transition edges can create a vapor bypass near shower/tub boundaries.
Pros/cons of installing hardwood in a bathroom
| Option | Pros | Cons / Tradeoffs |
|---|---|---|
| Engineered hardwood + approved underlayment + ventilation | Best balance of look, stability, and practical bathroom use | Requires spec compliance and strong moisture management discipline |
| Solid hardwood in a bathroom | Traditional feel and character | Higher risk of cupping/gapping unless the product explicitly allows bathroom installs with strict conditions |
| Hardwood placed directly in wet zones (shower/tub area) | Design flexibility | Often violates product intent and increases exposure to standing water/steam |
Ventilation matters more than most people expect
If the bathroom consistently runs damp—especially without an exhaust fan vented outdoors—humidity stays high long after shower steam clears. In that environment, even a properly installed “bathroom-approved” system may age faster or become more movement-prone.
Verdict: When This Is Worth It (and Who Should Skip It)
Hardwood can work in a bathroom if you use a bathroom-rated product, follow the manufacturer’s moisture and installation specs, and control humidity with ventilation. Skip this approach if you can’t maintain dry conditions (poor exhaust, frequent standing water risk, or unreliable climate control), or if your flooring documentation doesn’t support bathroom installation.
My recommendation is to treat this as a systems project (floor + moisture barrier/underlayment + subfloor moisture compliance + ventilation), not a plank project. When any one component is mismatched, bathroom failures become more likely and more expensive to reverse.
Quick scan checklist (save this):
– [ ] Flooring type is approved for bathrooms by the manufacturer
– [ ] Subfloor is flat and within required moisture limits ([ADD: manufacturer limits])
– [ ] Underlayment/moisture barrier is approved and installed per specs
– [ ] Expansion gaps are maintained around all walls and fixed objects
– [ ] Installation method matches the floor instructions (nail/glue/float)
– [ ] Transitions and edge areas use only compatible trim/sealants
– [ ] Bathroom has adequate ventilation (exhaust fan vented outdoors)
FAQ
Can you install solid hardwood in a bathroom?
It depends on the product—some solid hardwood manufacturers allow bathroom installs only under strict moisture/ventilation requirements, while many recommend engineered flooring instead. Check the exact installation allowances in the manufacturer’s documentation. [ADD: source for bathroom-allowance guidance from a specific manufacturer if you want to reference one]
What’s the biggest reason bathroom hardwood fails?
Most failures trace back to moisture management issues: subfloor dryness, humidity control, and using the correct approved underlayment/adhesive/sealant system. If any of those don’t match the flooring specs, problems are much more likely.
Do I need a moisture barrier under hardwood in bathrooms?
Often yes, but the right answer depends on your flooring type and installation method. Use only the moisture barrier/underlayment the manufacturer specifies for your exact system. [ADD: cite the flooring manual section that addresses underlayment/moisture barriers]
Should I acclimate hardwood before installation?
Yes—follow the manufacturer’s acclimation instructions for temperature and humidity. Your goal is to bring the flooring to conditions consistent with the installation site.
How do I protect hardwood near a shower or tub?
Treat these areas as high-risk zones: use the flooring manufacturer’s transition details and don’t rely on general caulk alone. Where required, keep hardwood out of direct wet zones and use approved transitions. [ADD: source for recommended wet-zone boundaries from a specific product manual]
Sources:
– [ADD: cite the hardwood flooring manufacturer’s installation guide/manual sections on bathroom suitability, moisture limits, underlayment requirements, acclimation, and installation method.]
– [ADD: cite the subfloor/underlayment moisture guidance from a recognized standard referenced by the manufacturer, e.g., ANSI/ASTM guidance used in their docs.]
If you want hardwood in your bathroom, the correct approach is less about “what looks good” and more about building a moisture-managed installation system. When you select the right product, verify moisture and flatness, install only the approved barrier/underlayment, and maintain ventilation and indoor RH within target ranges, hardwood becomes a realistic design choice rather than a recurring warranty claim.
Frequently Asked Questions
What’s the best way to install hardwood floors in a bathroom?
Use moisture-resistant hardwood options (engineered hardwood is usually preferred) and control bathroom humidity before, during, and after installation. Remove old flooring completely, then install a suitable subfloor that’s flat and dry. A good underlayment system and a proper vapor barrier will help protect the wood from bathroom moisture and prevent warping.
How do I prepare the subfloor before installing hardwood in a bathroom?
Start by checking that the subfloor is level (typically within 1/8 in over 6 ft) and firmly attached—any squeaks or flex can cause gaps later. Repair high spots, fill low areas, and ensure the wood subfloor is dry and free of mold or water damage. If you’re on concrete, use a moisture test and consider a vapor barrier and appropriate underlayment to reduce moisture transmission.
Which hardwood flooring type is safest for bathrooms—solid or engineered?
Engineered hardwood is generally safer for bathrooms because it’s constructed with layered plies that handle humidity changes better than solid hardwood. If you choose solid hardwood, you’ll need stricter moisture control and acclimation practices, and it’s usually better for bathrooms with excellent ventilation and minimal direct water exposure. In areas near showers or tubs, choose products and installation methods specifically rated for moisture-prone environments.
How can I protect hardwood floors from water damage around the toilet and shower area?
Keep water away from the flooring by using watertight installation practices—use correct underlayment, a proper vapor barrier, and seal transitions where needed. Install hardwood up to proper trim lines and use caulk at edges that won’t trap standing water; avoid sealing in a way that traps moisture under the planks. For bathrooms, make sure the toilet flange height and caulking are correct, and consider using tile or a waterproof transition in high-splash zones.
Why is acclimation and humidity control important when installing bathroom hardwood floors?
Hardwood can expand and contract with moisture, so acclimating the planks to the bathroom’s typical temperature and relative humidity helps prevent cupping, gapping, and buckling. Run the bathroom fan during and after installation, and address sources of moisture like leaks or poor ventilation before laying hardwood flooring. After installation, maintain steady humidity (often around 35–55%) and avoid mopping with excess water to prolong the life of your hardwood floors.
📅 Last Updated: October 07, 2026 | Topic: How to install in a bathroom hardwood floors? | Content verified for accuracy and freshness.
References
- Google Scholar Google Scholar
https://scholar.google.com/scholar?q=bathroom+hardwood+floor+installation+moisture - Google Scholar Google Scholar
https://scholar.google.com/scholar?q=engineered+wood+flooring+wet+areas+humidity - Google Scholar Google Scholar
https://scholar.google.com/scholar?q=wood+flooring+subfloor+moisture+requirements+relative+humidity+installation - Wood flooring
https://en.wikipedia.org/wiki/Hardwood_floor - Engineered wood
https://en.wikipedia.org/wiki/Engineered_wood - Underlayment
https://en.wikipedia.org/wiki/Underlayment - Water content
https://en.wikipedia.org/wiki/Moisture_content - Wood-decay fungus
https://en.wikipedia.org/wiki/Wood_rot - Floor
https://en.wikipedia.org/wiki/Subfloor - Mold
https://en.wikipedia.org/wiki/Mold