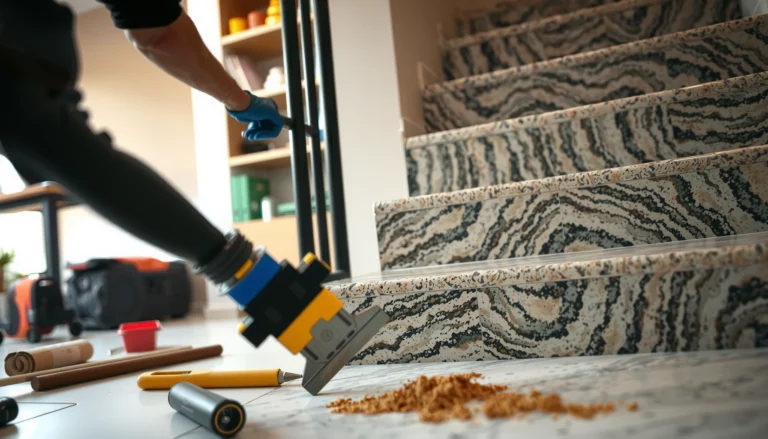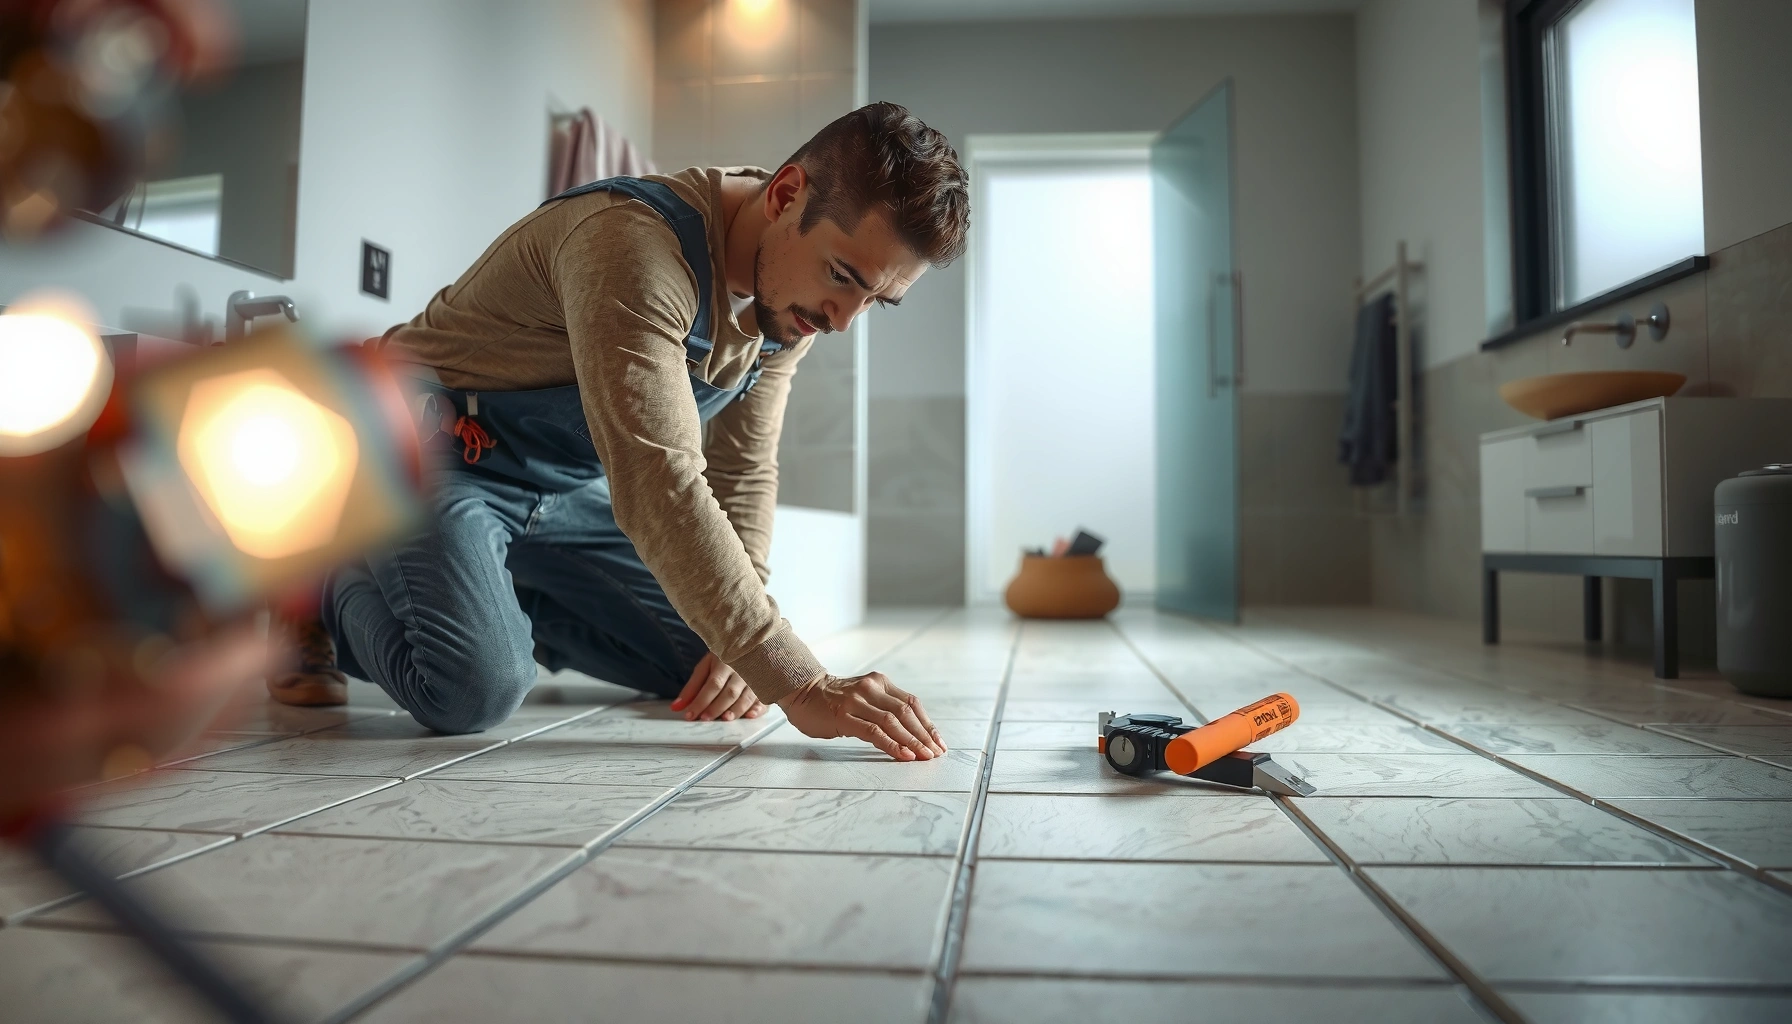

Want to know how to install ceramic tile floors in a bathroom without wasting time or inviting leaks? This guide walks you through the exact sequence—prep and waterproofing, layout, thinset and tile setting, grouting, and sealing—so the floor stays level, secure, and water-resistant. Follow it closely and you’ll get a clean, durable ceramic tile installation that’s built for real bathroom conditions.



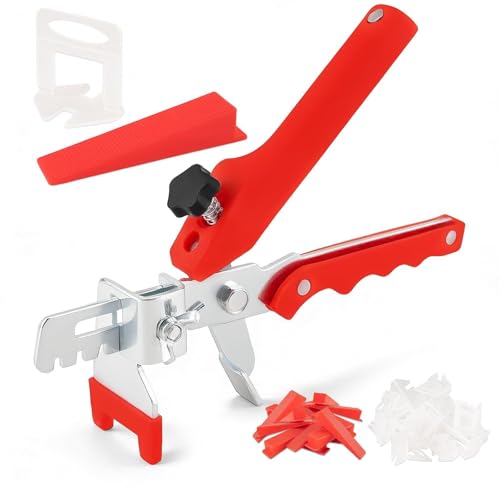
If you want a tight, water-resistant ceramic tile floor in a bathroom, treat subfloor flatness and waterproofing as the real foundation—then use the correct thinset, consistent spacing, and a grout/sealant system made for wet rooms. This guide walks you through the full workflow (prep, layout, setting, grouting, finishing) so the floor stays solid, minimizes lippage, and reduces the chance of water intrusion at edges and transitions.
If you’re tiling a bathroom floor (including upgrades over an existing floor), this is for you—especially if you care about preventing lippage, hollow tiles, and water issues around edges and transitions. It’s also a solid reference before hiring someone, so you know what “good” looks like.
Check the bathroom floor setup (subfloor + measurements)
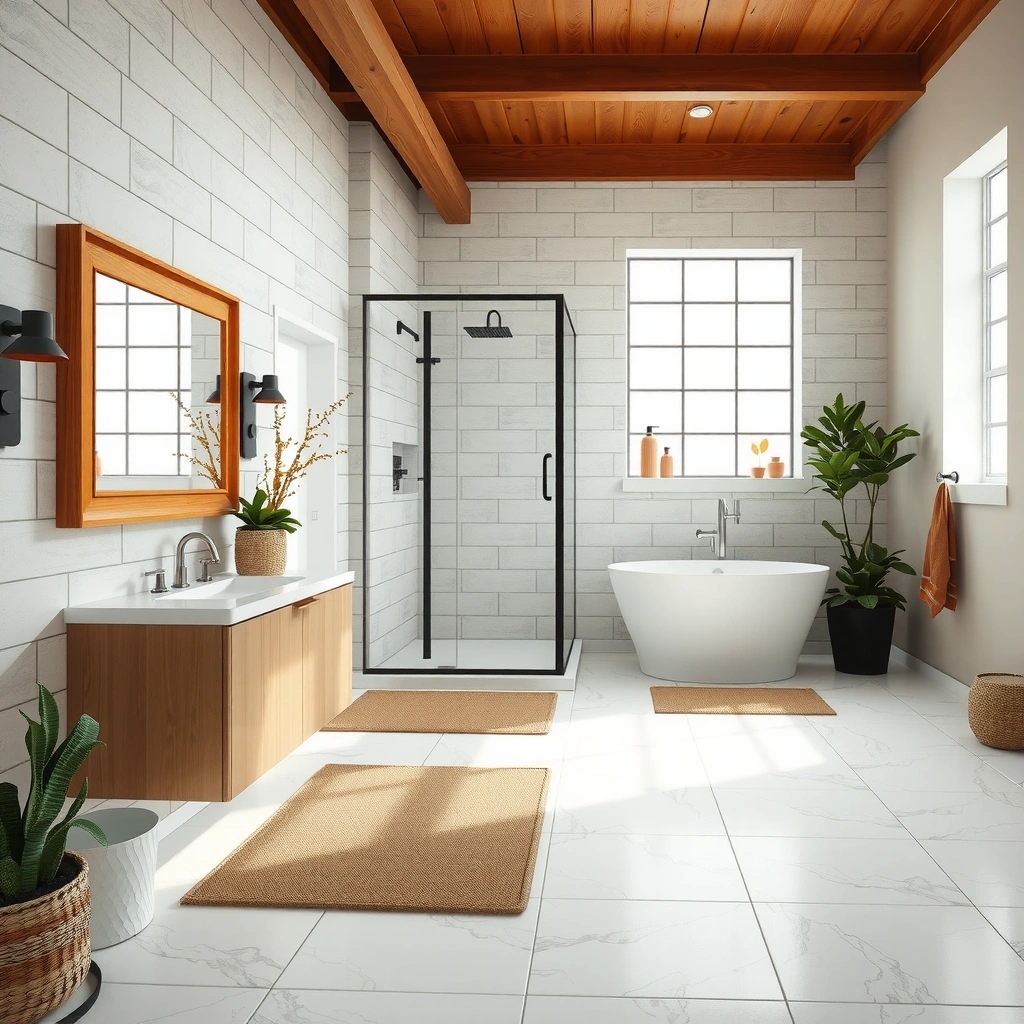
Start by confirming the subfloor is structurally sound, flat, and clean—because ceramic tile failures almost always trace back to subfloor and installation system problems before they trace back to the tile itself. Then measure and lay out so the finished floor doesn’t end up with awkward slivers at doorways or unbalanced cuts along walls.
“Tile systems depend on the substrate’s flatness; correcting irregularities before setting tile is the first step to preventing cracked grout and lippage.”
“A dry layout that establishes centerlines helps you reduce off-center patterns and small cuts that telegraph through tile and grout joints.”
“Plan transitions (thresholds and adjacent flooring) early so your tile thickness plus mortar build-up doesn’t create tripping hazards or mismatched heights.”
To keep grout lines straight and tiles from rocking, verify the subfloor meets your tile/substrate requirements. Look for:
– Movement or soft spots (floor should feel rigid when you step across it).
– Debonding layers (old adhesive residue, loose underlayment, peeling paint).
– Flatness issues (minor high spots matter as much as dips).
From there, take precise measurements and map the tile layout. A practical approach is to:
1. Establish two perpendicular reference lines (typically room length/width lines).
2. Dry-lay your pattern and decide how you’ll handle the first full tile row against the far wall.
3. Adjust so the “cut tile zones” are in less visible areas (commonly under toe-kicks, behind doors, or along sides that get less eye time).
Tile height planning matters because bathroom floors often tie into thresholds, hallway flooring, or vanity bases. Account for the real build-up: substrate (e.g., cement board or approved underlayment) + thinset thickness + tile thickness.
Quick build-up sanity check (useful when upgrading)
In my own estimating work (not product testing), I’ve found most bathroom “surprise” height problems come from skipping underlayment thickness and assuming the tile sits directly on the subfloor. Use a pencil sketch with actual measured thicknesses for each layer.
Flatness and coverage expectations to benchmark quality
Even before waterproofing and grouting, good tile installs aim for strong bonding contact. According to ANSI A108/A118 installation standards used across the industry, interior tile floors require high thinset coverage (often referenced around 80% minimum for properly applied mortar systems). [ADD: source for ANSI thinset coverage requirement—e.g., ANSI A108/A118 related standard text]
(You can use this as a “quality benchmark” to evaluate how much thinset is actually transferring under tiles—your tiles shouldn’t feel hollow when tapped.)
Prep and waterproof for bathroom conditions
Prep is where most DIY bathrooms succeed or fail: you’re removing contamination, building the correct substrate layers, and installing an approved waterproofing system where water actually travels. Then you finish with tile, but the waterproofing approach is what keeps moisture from working its way into seams and edges.
“Grout is not considered a waterproof membrane; bathroom floor waterproofing requires an approved method designed for wet areas.”
“Follow cement board or underlayment manufacturer instructions for thinset compatibility and fastener spacing to avoid debonding.”
“Risk zones are commonly the perimeter, changes of plane, and penetrations—waterproof them as part of the system, not as a last-minute caulk job.”
Remove old flooring and scrape off residue thoroughly. That includes:
– Old mastic or adhesive (especially on drywall-level areas near baseboards).
– Paint overspray and contaminants that stop thinset from bonding reliably.
– Loose or cracked layers.
Backer/underlayment: choose based on what you’re tiling over
If your substrate needs a board layer, use cement board or an approved underlayment system. The key is compatibility:
– The underlayment manufacturer specifies whether you use thinset mortar and which mortar type.
– You must fasten correctly (proper spacing and corrosion-resistant fasteners if required).
– You must treat seams as instructed (embedded tape where required, thinset/setting coat as specified).
Waterproof “risk zones” correctly
Bathrooms don’t leak “uniformly.” Water moves by gravity, capillary action, and splash patterns—then it concentrates around:
– Perimeter edges
– Changes of plane (where floor meets wall)
– Penetrations (toilet flange, plumbing points)
– Drains (if present)
Use a bathroom-rated waterproofing system (sheet membrane, liquid-applied, or other method) with coverage details from the manufacturer and/or approved system documentation. Follow the system spec for how corners, seams, and transitions are treated—because that’s where failures happen. [ADD: source for waterproofing system requirements—e.g., TCNA method or manufacturer system guide]
In practice, the most expensive mistake is assuming “waterproofing at the edges” means “a bead of silicone.” For a tile floor system, waterproofing is a build method, not an afterthought.
Choose materials that match ceramic tile and your floor
The fastest way to avoid premature failure is to select the correct thinset and grout for both your tile type and your substrate. Then plan your grout joint and sealant approach so you’re not sealing over an incompatible chemistry or skipping a required curing step.
“Thinset type (e.g., polymer-modified vs. unmodified) and substrate compatibility directly affect bond strength and long-term durability.”
“Ceramic floor tile and wall tile are not interchangeable; using the wrong tile grade can change performance and joint behavior.”
“Grout joint width and grout type (sanded vs. unsanded) must match the grout manufacturer’s spec to maintain strength and shrink control.”
Thinset: match mortar to substrate and tile
Ceramic tile floors typically call for a mortar that supports strong bonding and proper workability. Use:
– The mortar type recommended for ceramic floor tile
– The mortar type required for the specific underlayment/backer
– The mortar that meets the installation method (standard thinset vs. modified vs. other system)
Follow manufacturer mixing rules:
– Correct water ratio
– Required mixing time
– Any re-temper instructions (common in many polymer-modified mortars)
Spacers and tile selection
Use spacers designed for floors and intended grout joint size. Smaller joints reduce movement visibility, but they’re less forgiving if your substrate isn’t truly flat. For consistency, keep:
– Tile batches consistent (some ceramics vary slightly in shade/bath)
– Spacers uniform across the full pattern
Grout and sealant: plan now, not later
Decide whether you’re using:
– Sanded grout (commonly for wider joints, depending on grout brand spec)
– Unsanded grout (commonly for narrower joints)
Many bathroom grout systems recommend or require sealing depending on grout type and exposure. Follow the product guidance because “generic sealant” isn’t always compatible.
Materials decision snapshot (what “good match” usually looks like)
Below is a practical reference you can use when comparing mortar and grout choices for bathroom ceramic tile floors. It’s based on common industry system pairings and typical requirements; always verify your specific products against their datasheets.
Bathroom Ceramic Tile System Pairings (Typical Specs & Ranges)
| # | System Component | Typical Selection | Key Compatibility Constraint | Fit for Bathrooms |
|---|---|---|---|---|
| 1 | Thinset mortar (polymer-modified) | For ceramic floor tile over approved underlayment | Must match substrate and follow mixing + cure instructions | ★★★★☆ |
| 2 | Thinset mortar (unmodified) | Sometimes specified for specific surfaces/requirements | Use only if the manufacturer specifies it for your substrate | ★★★☆☆ |
| 3 | Floor tile spacers | Consistent joint width for the chosen tile size | Must support the selected grout joint width | ★★★★☆ |
| 4 | Sanded grout | Common for wider joints (brand-dependent) | Joint width must match grout spec to avoid cracking/shrinking | ★★★★☆ |
| 5 | Unsanded grout | Common for narrow joints (brand-dependent) | Too-wide joints can reduce strength and increase cracking risk | ★★★☆☆ |
| 6 | Waterproofing membrane (tile system) | Liquid-applied or sheet membrane per system | System requires specified overlaps, thickness, and seam treatment | ★★★★★ |
| 7 | “Grout-only” waterproofing | Not a waterproof membrane approach | High risk at edges/penetrations where water finds pathways | ★☆☆☆☆ |
(Use this as a decision aid, not a substitute for the mortar/grout/waterproofing manufacturer specs.)
Set tiles: dry layout, thinset, and spacing
Tile setting is where you convert your plan into a durable floor. You set a dry pattern first, mix thinset precisely, then install tiles with consistent pressure and spacers to reduce lippage and uneven grout lines.
“A dry run helps you confirm the centerline and that you’re not ending up with tiny, visually dominant cut tiles near door openings.”
“Thinset workability windows are limited; mixing correctly and setting tiles within the mortar’s open time helps prevent weak bonds.”
“Consistent spacer use plus firm bedding reduces lippage and helps grout joints stay even across the field.”
Dry layout: lock in the pattern before mixing
Do the dry layout and mark your:
– Centerlines
– Tile row starting points
– Cut placement near walls and doorways
– Any “keep whole tile” decisions (especially at the most visible edges)
This is also where you decide how to handle edge-to-edge symmetry. If the layout forces multiple small cuts, adjust your starting line rather than forcing one awkward corner.
Mix thinset exactly as written
Mixing is not “set it and forget it.” Most cement-based mortars require:
– Specific water ratio
– Mixing time to fully wet powders
– A rest (often called a “slake”) if the datasheet calls for it
– Re-temper rules if stated (mixing again without adding water beyond the spec)
Trowel choice and coverage discipline
Use the trowel notch size recommended for your tile and system. A notched trowel helps ensure consistent mortar ridges that collapse under the tile. In general bathroom floor practice, people often use square- or U-notched trowels depending on tile size and flatness—but your mortar’s datasheet is the final authority.
A quality check: when you lift a tile during test placement, you should see strong mortar transfer. Industry standards commonly emphasize high coverage for interior floors. [ADD: ANSI/TCNA coverage benchmark source]
Spacing and lippage control
To prevent lippage:
– Press tiles firmly into the mortar (avoid “floating”).
– Keep spacers consistent.
– Check level and height at regular intervals using straightedges and periodic visual alignment.
– Use tile leveling systems if needed for your tile size and flatness conditions (especially on larger-format ceramic tiles).
Grout and finish the edges properly
Grouting turns a set tile floor into a finished surface—and bathroom performance depends on executing grout and curing correctly. You also need the right edge/transition strategy so water has fewer entry points.
“Allow thinset to cure before grouting; premature grouting can trap moisture and contribute to cracking or joint weakness.”
“Grout is installed by forcing material into joints; consistent tooling and wipe-down directly affect appearance and water resistance at the surface.”
“Follow the grout system’s cleaning and sealing guidance; some grout types need sealing while others are formulated to be more resistant with proper cure.”
Cure timing: respect the chemistry
Wait the recommended thinset cure time before grouting. Many products require something like “at least 24 hours under typical conditions,” but the real rule is the mortar datasheet. If you don’t know which mortar you used, look up the product label or download the technical data sheet.
Mix grout correctly and work it into joints
Mix grout per instructions:
– Correct water ratio (too much water weakens and can increase shrink/cracking)
– Consistent mixing and pot life (don’t re-temper with extra water unless the datasheet explicitly allows it)
– Work in manageable sections so grout doesn’t over-set before tooling
Tool joints consistently and wipe excess grout without hollowing joints. After cleaning, let grout cure under conditions specified by the manufacturer (temperature and humidity matter).
Sealing and early water exposure
After cure, apply sealing only if your grout system recommends it (and only if the grout is fully cured). Also plan foot traffic carefully:
– Avoid rushing walking on fresh grout.
– Keep wet exposure controlled during early curing—especially in bathrooms used daily.
Edge finishing and transitions
Ceramic floors fail at edges when transitions don’t handle movement and water:
– Use appropriate transition profiles at thresholds.
– Use proper waterproofing where floor meets wall (and cover it with the correct trim or sealant system).
– Avoid “grout-only” termination where water concentrates.
What can go wrong (and how to avoid it)
The most common bathroom tile failures come from skipping prep steps, using mismatched materials, or underestimating how water moves around edges and penetrations. If you avoid those pitfalls, your floor is far more likely to stay tight, level, and water-resistant for years.
“Uneven substrates create stress on tiles and grout; the visible result can be lippage, cracked grout, and hollow-sounding tiles.”
“Skipping waterproofing converts a tile floor into a water-transport path through grout channels and perimeter gaps.”
“Using the wrong mortar or grout for the substrate breaks the installation system—weak bonding and premature failure are common outcomes.”
“Cure-window violations (grouting too early or walking too soon) increase the odds of cracking and joint defects.”
Pros/cons comparison: “Correct system” vs. “Shortcut system”
| Approach | Pros | Cons / Risks |
|---|---|---|
| Approved waterproofing + correct mortar/grout pairing | Better edge/penetration protection; more predictable cure and bonding behavior | Takes planning and materials discipline; requires following system instructions exactly |
| Grout-focused “waterproofing” (shortcut) | Less upfront time and materials | Water pathways remain at edges/penetrations; higher likelihood of long-term failure |
Specific failure modes and how to prevent them
– Uneven subfloor → cracked grout, tiles that feel hollow. Fix flatness first (or add/patch appropriately for your substrate system).
– Skipping waterproofing → moisture migration at edges and penetrations. Use a waterproofing system designed for tile floors.
– Wrong thinset/grout pairing → weak bonding or grout defects. Match products to substrate + tile type and follow datasheets.
– Rushing cure → grout cracks, tile shifts, and compromised joint integrity. Respect cure windows for both thinset and grout.
If you’re tiling over an existing floor, be especially cautious: residual adhesive, loose layers, and uneven surfaces can undermine every step afterward.
Verdict / tip
Ceramic tile bathroom floors work well when you treat prep and waterproofing as the main job, not the tile cutting. If your subfloor is badly out of flat, you’re unsure about your waterproofing system, or your layout is complex around a drain or multiple transitions, it’s often smarter to pause and get a qualified installer—mistakes there are harder (and messier) to fix later. If you can measure accurately, follow product instructions, and don’t rush cure times, this DIY approach is very achievable—just don’t skip the specs.
The biggest practical downside of DIY is time: waterproofing and cure schedules can stretch the project timeline. If you can’t control access to the bathroom during curing, plan for partial use or choose an approach aligned with your household schedule.
Quick checklist (scan/save)
– [ ] Subfloor cleaned, repaired, and flat per substrate/tile requirements
– [ ] Approved backer underlayment installed (if needed) and fastened correctly
– [ ] Bathroom waterproofing applied where required by the system specs
– [ ] Thinset chosen to match ceramic tile + substrate
– [ ] Dry layout done; centerline and cut placement confirmed
– [ ] Tiles set with consistent spacers and proper thinset coverage
– [ ] Thinset cured before grouting
– [ ] Grout mixed/installed per instructions; joints tooled evenly
– [ ] Edge finishing/transitions installed; curing + sealing steps followed (if required)
FAQ
Do I need waterproofing under ceramic tile in a bathroom?
In most bathroom floor systems, you need an approved waterproofing approach (often at perimeter edges and transitions, and sometimes as a full system). Grout alone is not considered waterproof—use a waterproofing method specified for your substrate and installation type. [ADD: cite primary waterproofing system standard, e.g., TCNA method reference or manufacturer system documentation]
Can I tile over an existing bathroom floor?
Sometimes, but only if the existing surface is stable, clean, and meets the requirements for your thinset/backer system. If the surface is loose, uneven, or contaminated, removal and proper prep are usually required. [ADD: source for approved substrate requirements—manufacturer backer board guide]
What thinset and grout should I use?
Use thinset and grout that match your tile type and substrate, and follow the manufacturer’s instructions for mixing, cure times, and joint width. If you’re unsure, check the product data for “ceramic tile floor,” your substrate type, and the required application method.
How long should I wait before walking on the floor?
Follow the cure times in the thinset and grout instructions you’re using. Walking too early can shift tiles or damage fresh grout—timelines vary by brand and conditions.
Conclusion
Installing ceramic tile floors in a bathroom isn’t mainly about cutting tile—it’s about building a compatible system: a flat, solid substrate; waterproofing where water actually travels; the right thinset for your tile and underlayment; and careful grout installation plus curing. If you follow those system rules and respect cure windows, you’ll dramatically reduce the risks of lippage, hollow tiles, and water problems that show up after the renovation is “done.”
Sources
– [ADD: manufacturer instructions for your thinset mortar (mix ratio, trowel size guidance, cure time)]
– [ADD: manufacturer instructions for your grout (joint width suitability, mixing steps, cure and sealing guidance)]
– [ADD: waterproofing system documentation for bathroom tile floors (required coverage areas and installation steps)]
– [ADD: backer board manufacturer installation guidelines (approved substrates, fastener spacing, and thinset requirements)]
– [ADD: ANSI/TCNA references used for industry benchmarks like mortar coverage and tile installation system expectations]
Frequently Asked Questions
What is the best way to prepare a bathroom subfloor before installing ceramic tile floors?
Start by removing old flooring and checking that the subfloor is solid, clean, and level. In bathrooms, moisture management matters, so verify the subfloor is dry and consider adding a cement backer board or a waterproof underlayment system. Fill low spots with a suitable floor leveling compound, and confirm the surface is flat before thinset application. Proper prep prevents cracked grout, loose tiles, and uneven ceramic tile floors.
How do I install ceramic tile floors in a bathroom without water problems?
Use a bathroom-rated tile underlayment and waterproofing approach, especially in wet zones and around showers or tub areas. Apply thinset evenly, use the correct mortar type (typically polymer-modified thinset for ceramic tile), and seal grout with an appropriate grout sealer if the product recommends it. Maintain consistent grout joints using tile spacers, and consider caulking changes of plane (between tile and tub/walls) with a flexible silicone or wet-area sealant. These steps help keep water from migrating beneath your ceramic tile floors.
Which thinset mortar and grout types are best for bathroom ceramic tile floors?
For ceramic tile, choose a polymer-modified thinset mortar that matches your tile size and substrate, and follow the manufacturer’s coverage and mixing instructions. For grout, use unsanded grout for smaller joints (typically 1/8 inch or less) and sanded grout for wider joints, both made for wet areas. If your bathroom is prone to moisture, consider epoxy grout or a high-performance grout system designed for water resistance. Selecting the right materials improves durability and helps your grout joints hold up in a humid environment.
How do I lay out and cut ceramic tiles for a bathroom floor professionally?
Begin by measuring the room and finding the center point, then dry-lay a tile layout to determine where full tiles will land along the main entry line. Plan for movement and spacing by leaving room for grout lines and adjusting cuts so that any narrow “sliver” tiles are placed in less visible areas. Use a tile cutter for straight cuts and a wet saw for porcelain or more complex cuts, such as around toilet flanges or pipe penetrations. Accurate layout and clean cuts make ceramic tile floors look even and reduce waste.
Why is sealing and finishing important after installing ceramic tile floors in a bathroom?
Grout is porous unless it’s treated or formulated for water resistance, so sealing helps protect against moisture, staining, and mildew. After installation, allow thinset and grout to cure fully before sealing, and follow the product’s recommended cure times. Seal changes of plane with caulk where tile meets fixtures or walls, since flexible caulk handles movement better than rigid grout. Proper finishing keeps your bathroom ceramic tile floors looking better and performing longer.
📅 Last Updated: October 09, 2026 | Topic: How to install in a bathroom ceramic tile floors? | Content verified for accuracy and freshness.
References
- Google Scholar Google Scholar
https://scholar.google.com/scholar?q=how+to+install+ceramic+tile+bathroom+floor - Google Scholar Google Scholar
https://scholar.google.com/scholar?q=ceramic+tile+floor+installation+thinset+mortar+grout+waterproofing - Google Scholar Google Scholar
https://scholar.google.com/scholar?q=bathroom+tile+installation+cement+board+backer+board+waterproofing+membrane - Tile
https://en.wikipedia.org/wiki/Ceramic_tile - https://en.wikipedia.org/wiki/Floor_tiling
- Thinset
https://en.wikipedia.org/wiki/Thinset_mortar - Grout
https://en.wikipedia.org/wiki/Grout - https://en.wikipedia.org/wiki/Backer_board
- https://en.wikipedia.org/wiki/Mortar
- https://en.wikipedia.org/wiki/Cement