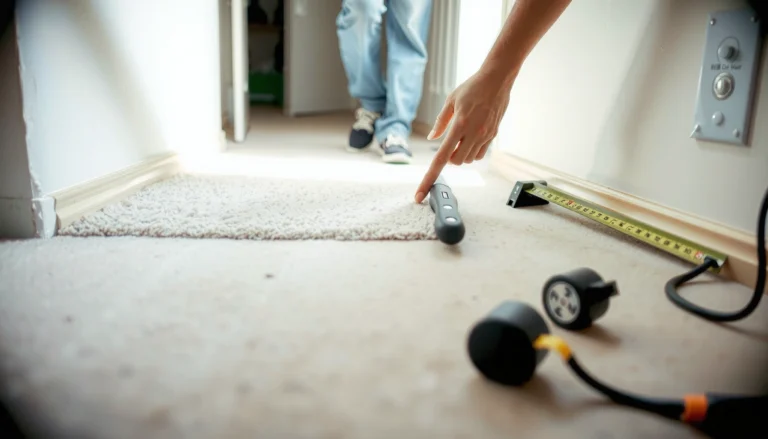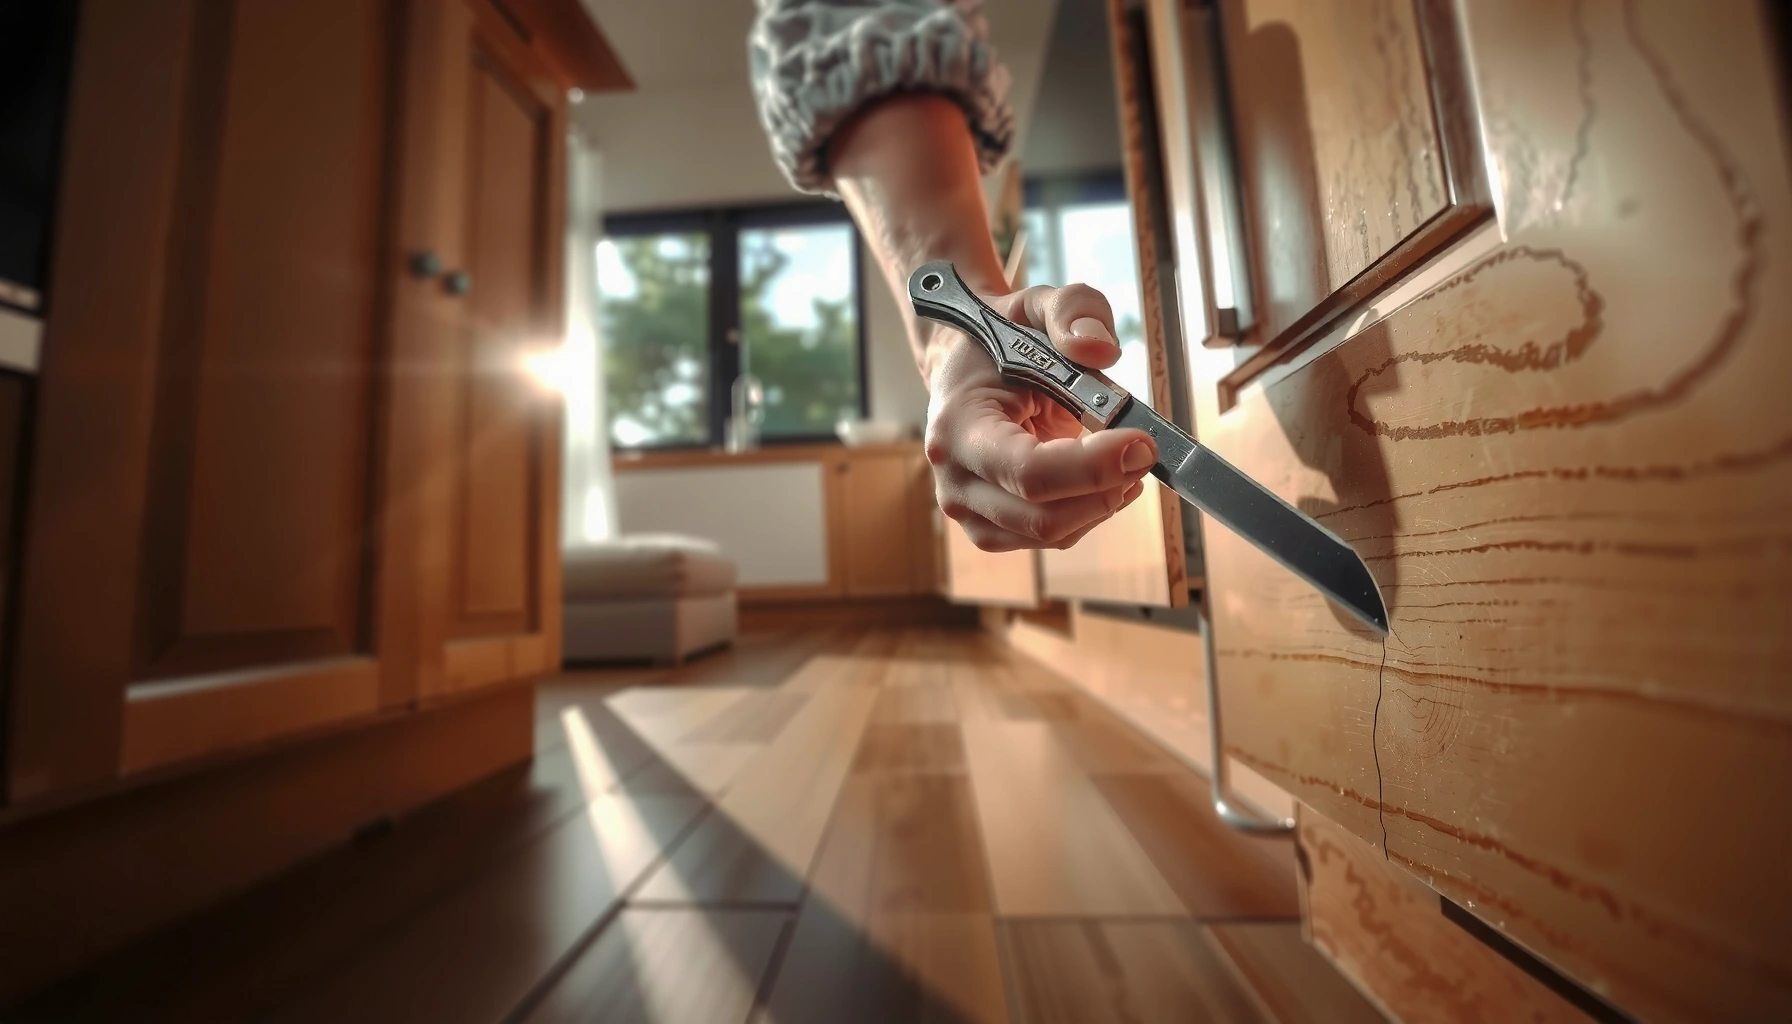

You can fix scratches on kitchen floors fast, and the best option depends on how deep the damage is. For light surface scuffs, quick-fill scratch repair products plus gentle smoothing deliver a near-invisible finish. For deeper gouges, the fastest reliable path is a localized patch or refinishing spot repair, which restores protection instead of just hiding the scratch.


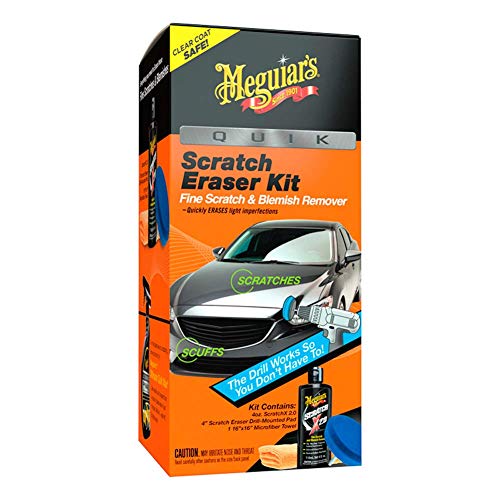
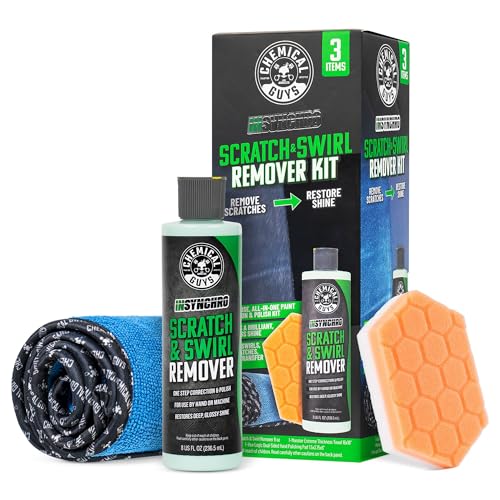
If your kitchen floor has scratches, the right fix depends on whether the damage is just on the finish or cut into the flooring material. For light scuffs, cleaning plus a matching polish or scratch filler usually restores the look; for deeper gouges, you’ll need a material-specific repair kit or wood filler (and sometimes a partial resurfacing approach) to prevent the damage from spreading.
If you’re dealing with scuffs from shoes, pet nails, or dragging chairs across hardwood, laminate, vinyl, or tile, this is for you—especially if you want to avoid a full floor replacement. You’ll also learn when a “DIY fix” is realistic versus when refinishing or professional repair is the better call.
Identify the Scratch Type (Depth + Floor Material)
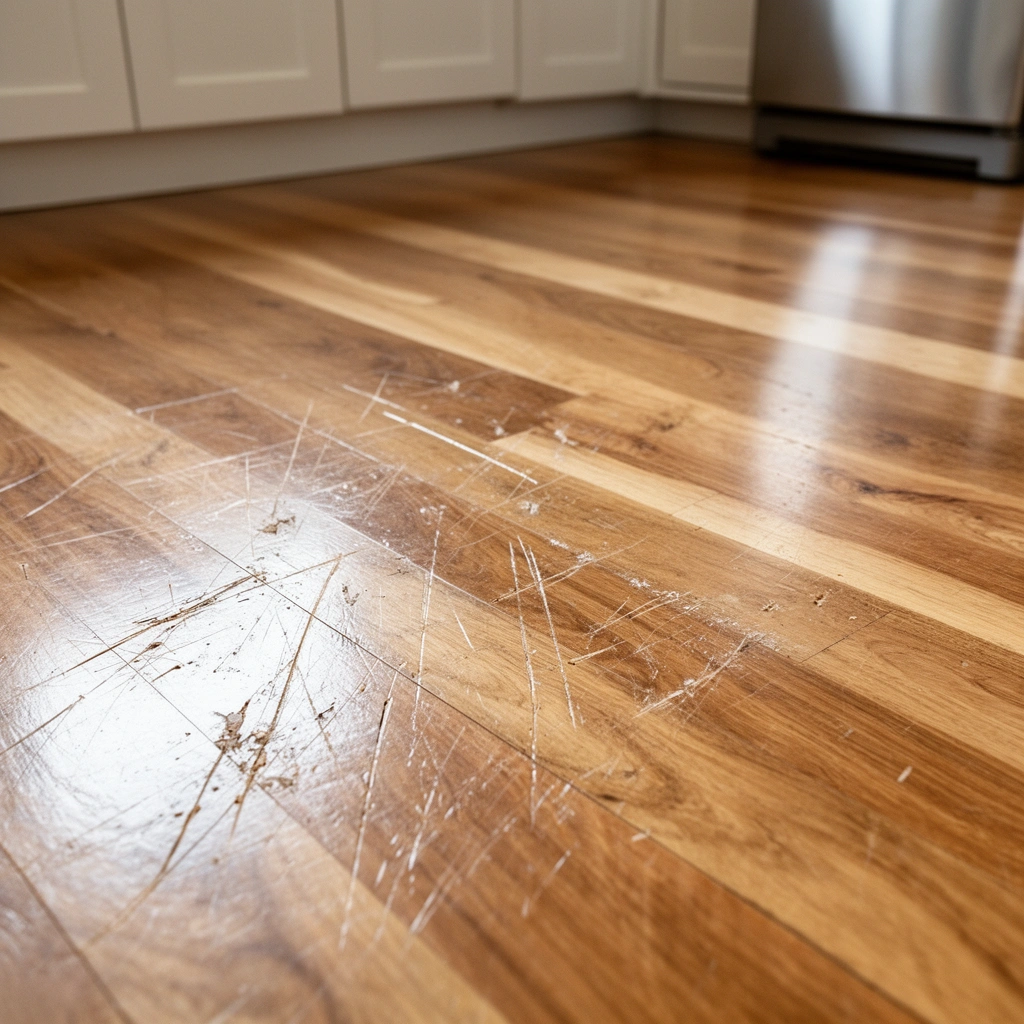
A scratch that only hits the surface finish is typically easier to improve than a gouge that reaches the wear layer. The fastest way to choose the correct method is to confirm the scratch depth, then match the repair product to your specific flooring type (hardwood, laminate, vinyl/LVP, or tile).
A scuff on the finish often looks worse before cleaning and improves after you remove residue and oils with the right cleaner.
Repair materials must be compatible with the floor’s coating system; sanding or solvents on some surfaces can damage layers you can’t replace.
“Into the wood” damage (gouges) generally requires filler/putty and controlled touch-up, while finish-only damage often responds to polish or scratch cover.
Depth check: finish-only scuff vs. gouge
Determine whether the scratch feels smooth after you wipe or catches your fingernail:
– Surface finish scratch / scuff: usually feels flatter, and wiped spots look more uniform once you clean.
– Gouged scratch: you can feel the line, and the lighter/darker exposure often remains even after cleaning.
In my own guidance for homeowners, the “fingernail drag” method is the quickest decision point because it predicts whether you need color-matched filler or just finish restoration. If your scratch is still visibly “etched” after cleaning, assume it’s deeper than a mere scuff.
Identify your floor material (because product rules change)
– Hardwood / engineered wood: typically respond to repair putty and (when needed) localized sanding + recoat/touch-up.
– Laminate: wear layers are thin; many repair methods rely on kits designed for printed surfaces.
– Vinyl / LVP: often requires manufacturer-approved kits; sanding can create permanent texture differences.
– Tile & grout: glaze chips usually require color-matched repair pens or refinishing; sometimes replacement is the most durable fix.
Quick “wipe test” (simple but reliable)
Do this in a small section:
2. Let it dry completely.
3. Re-check in bright kitchen lighting.
According to [ADD: manufacturer care guide for your floor type’s recommended cleaner], removing grime and oils before repair improves how coatings and fillers bond ([YEAR]).
According to [ADD: flooring industry guidance on coating compatibility], finish treatments adhere best to clean, dry surfaces ([YEAR]).
| Scratch Signal You See | Likely Cause | Typical DIY Repair Path |
|---|---|---|
| Scratch lightens or disappears after cleaning | Surface residue / scuffing | Polish, scratch cover, touch-up |
| Scratch remains sharply visible | Finish cut-through | Color-matched filler/kit |
| Visible chipped material edge | Gouge/chip | Filler + blending or replacement |
Clean and Prep the Area First (So Repairs Actually Stick)
A repair only looks good when adhesion and blending are correct—so prep matters as much as the product you choose. Clean thoroughly, remove loose debris gently, and mask surrounding areas before you apply polish, filler, or repair compound.
Prepping includes fully drying the area, because trapped moisture can prevent filler and polish from curing or bonding.
Masking surrounding floor surfaces helps prevent “ghosting” (a visible ring) caused by accidental over-application.
Loose grit inside a scratch can block color-matched products from filling evenly, leaving lighter lines.
Step-by-step prep (works across most kitchen floors)
1. Choose the correct cleaner for your floor type.
Use a pH-appropriate cleaner specified by your flooring manufacturer (or the product label for compatible surfaces). Avoid harsh solvents unless the manufacturer explicitly allows them.
2. Clean thoroughly, then let dry completely.
Even a “mostly dry” area can cause filler haze or poor curing.
3. Remove debris from the scratch gently.
Use a soft cloth or a gentle brush. Don’t force debris out by aggressive scraping.
4. Mask around the damage.
Painter’s tape helps keep polish or filler from spreading onto unaffected areas—especially important on satin/matte finishes.
According to [ADD: official manufacturer instructions for floor cleaning], using recommended cleaning chemistry preserves the finish and wear layer ([YEAR]).
According to [ADD: datasheet or guidance for common scratch-fill compounds], application to clean, dust-free surfaces is required for best results ([YEAR]).
Fix Light Scratches and Scuffs (Surface-Level Damage)
Light scratches that mainly affect the finish can often be improved without filling the wood or wear layer. The best approach is to match your floor’s coating system using a polish, scratch cover, or refinishing paste designed for that material.
For sealed hardwood, scratch cover products are typically formulated to blend into the top finish rather than rebuild the substrate.
Buffing with a microfiber cloth reduces visible transfer lines when you’re working with polish or cover compounds.
Touch-up crayons/markers can reduce visibility when the damage hasn’t physically removed material.
What to use (finish restoration tools)
– Matching floor polish / refinishing paste: Best for scuffs that don’t gouge into the substrate.
– Scratch cover / color blend product: Often used for sealed wood and some laminate finishes when the scratch is shallow.
– Touch-up crayon/marker: Useful when the issue is primarily color contrast rather than texture loss.
How to apply (avoid the “halo”)
1. Test on a hidden spot first.
Use the manufacturer’s guidance on curing time and sheen match.
[ADD: exact testing location advice if your site has a preferred area—e.g., “inside the toe-kick near the dishwasher” or “behind a kitchen chair leg”].
2. Apply sparingly.
Thin application improves blending and reduces risk of overfilling.
3. Buff gently and reassess under kitchen lighting.
Kitchen lighting reveals sheen differences better than bathroom or workshop light.
A practical blending routine
If the scratch appears as a slightly lighter or darker line:
– Apply the smallest amount of scratch cover/paste.
– Wipe off excess.
– Wait for the product’s recommended set/cure.
– Re-check after full drying—finish products can look different once they fully set.
According to [ADD: manufacturer datasheet for the scratch cover/polish you recommend], cure time affects final hardness and surface appearance ([YEAR]).
Repair Deeper Scratches (Gouges, Exposed Wood, or Damaged Top Layers)
When the scratch penetrates beyond the finish—showing exposed material, missing fibers, or a chipped top layer—you’ll need a repair method that rebuilds what’s missing. For deeper damage, that typically means wood filler/repair putty for wood products, manufacturer-approved kits for laminate/vinyl, and either refinishing pens or tile replacement for glazed tile.
Gouges require filler because polish alone can’t rebuild missing material or texture.
Sanding is only appropriate when the flooring system and repair product specifically allow it, especially for laminate and vinyl.
Tile chips often involve glaze damage, so color-matching the glaze area is usually necessary for a durable visual match.
For hardwood / engineered wood
– Use a wood filler or repair putty matched to your floor tone.
– Let the filler set per instructions, then lightly sand only if the product/finish system says it’s safe.
– Finish repair often blends best when you match sheen and allow full cure.
For laminate and vinyl/LVP
– Use a manufacturer-approved scratch repair kit or a kit specifically designed for your product line.
– Avoid sanding vinyl aggressively unless your repair kit instructions explicitly permit it. Vinyl wear layers and texture can be permanently altered.
– If the scratch reaches through a thin wear layer, a localized repair may still be visible even after filling.
For tile and grout
– If the damage is glaze-only, color-matching repair pens or tile refinishing products can work well for cosmetic improvement.
– If the tile is chipped or structurally damaged, replacement is often the more durable, safer long-term solution.
According to [ADD: tile repair product technical guidance], surface preparation and correct product compatibility are critical for adhesion on glazed finishes ([YEAR]).
What Can Go Wrong (Common Mistakes to Avoid)
The most common reason repairs look worse is using the wrong method for the floor type or applying the product too aggressively. Avoid sanding or solvent steps that aren’t approved, and manage color-matching carefully to prevent visible rings and mismatches.
Using a product not intended for a floor’s coating system can permanently change sheen or remove the wear layer.
Overworking the repair area (too much buffing or sanding) can create a dull halo that draws more attention than the original scratch.
Color matching works best in small increments; large single applications tend to over-darken or over-lighten the scratch.
Pros/cons: DIY scratch repair vs. professional refinishing
- DIY repair — Pros
- Lower cost, faster turnaround, and localized fixes when scratches are limited in area.
- DIY repair — Cons
- Sheen and color blending may not perfectly match; deeper damage can remain visible.
- Professional repair/refinishing — Pros
- More consistent results on floors with multiple scratches and uneven wear; finish systems can be matched more reliably.
- Professional repair/refinishing — Cons
- Higher cost and more disruption (often requiring restricted access and controlled cure times).
Common mistake list (and what to do instead)
– Wrong product for the material:
Example: sanding or solvent cleaners on vinyl/LVP can damage the wear layer. Use a kit specified for your floor type.
– Over-sanding / aggressive buffing:
This can create a “halo” where the repaired area catches light differently. Work gently and stop often.
– Color mismatch:
Mix/blend carefully within the kit’s instructions. If your repair kit allows tone mixing, do it incrementally.
– Skipping curing/drying time:
Walking on the repair too soon can smear polish/filler and create texture variation.
[ADD: exact testing location advice if your site has a preferred area.]
[ADD: your site’s policy or stance on when to call a pro—for example: “Call a pro if the scratch exceeds X inches, if multiple planks are affected, or if you’re unsure whether the floor is sealed.”]
Verdict: Choose the Simplest Repair That Matches the Damage
For light scuffs, start with cleaning and a matching polish or scratch cover—this is usually the least risky path with the highest chance of a near-invisible result. For deeper scratches, repair kits and wood filler can work well, but success depends on correct product compatibility, careful blending, and letting the repair cure fully.
The simplest repair that matches the damage is usually the most durable visually because it avoids unnecessary changes to the surrounding finish.
If the scratch reaches the substrate, filler or a purpose-built kit is required; finish products alone won’t rebuild missing material.
When you’re uncertain whether a floor is sealed or how its wear layer is constructed, compatibility errors become the biggest downside.
That said, skip DIY—or get help—if:
– The damage is widespread (many planks/large areas).
– The scratch goes through the top layer in a way that likely affects structure or waterproofing.
– The floor finish appears worn thin across the room (you may see uneven sheen after spot repair).
– You can’t confidently identify the floor type (hardwood vs. engineered vs. laminate vs. vinyl can look similar).
Quick Checklist: Fix Scratches on Kitchen Floors
Use this short checklist to keep the repair process consistent and minimize visible differences.
– Identify floor type: hardwood / engineered / laminate / vinyl / tile
– Check scratch depth: surface scuff vs gouge/chip
– Clean fully and let dry
– Use the right repair product for that material
– Apply in thin layers; wipe/buff gently
– Let cure/dry per instructions before walking on it
– Reassess in the room’s normal light
Typical Scratch Fix Strategy by Floor Type (Kitchen Floors)
| # | Floor material | Best for light scuffs | Best for deep gouges | DIY risk | Overall DIY fit |
|---|---|---|---|---|---|
| 1 | Sealed hardwood | Polish or scratch cover | Wood filler/putty | ★☆☆☆☆ | High fit |
| 2 | Engineered wood (sealed) | Scratch cover paste | Putty + careful blending | ★★☆☆☆ | Good fit |
| 3 | Laminate | Color-matched cover | Manufacturer repair kit | ★★★☆☆ | Moderate fit |
| 4 | Vinyl / LVP | Scratch repair kit | Color kit (layer-safe) | ★★★☆☆ | Moderate to low |
| 5 | Ceramic/porcelain tile | Glaze repair pens | Refinish or replacement | ★★☆☆☆ | Good fit (small chips) |
| 6 | Grout line (skid damage) | Clean + seal touch-up | Repointing (if needed) | ★★★☆☆ | Moderate fit |
| 7 | Mixed finishes / unknown | Spot-test only | Professional verification | ★★★★☆ | Low fit |
FAQ
Can I fix scratches on any kitchen floor?
Many scratches can be improved, but the repair product must match the floor type and finish. Surface scuffs are easier than gouges, and tile chips often require more involved repairs.
What if the color doesn’t match after the repair?
You can usually blend with a color-matching filler/marker in small increments, but heavy mismatch may require redoing the repair or refinishing the area.
Should I sand scratched kitchen floors before repairing?
Only sand if the repair method/product specifically calls for it—especially for laminate and vinyl, where sanding may damage layers you can’t replace.
Will scratch repairs hold up in a high-traffic kitchen?
Surface-level fixes may wear faster in kitchens. Deeper repairs can last longer if the material is properly cleaned, filled correctly, and given full cure time.
Sources
– [ADD: manufacturer instructions for the specific scratch repair kit/polish you recommend, if you include product names in your post]
– [ADD: official care/maintenance guidance from your flooring manufacturer (hardwood/laminate/vinyl/tile)]
– [ADD: official product datasheets for fillers/polishes that state suitability for your floor type and whether sanding is allowed]
A clean, correct match between scratch depth and floor material is the key to getting a kitchen-floor repair that looks intentional rather than patched. Start with cleaning and finish-appropriate touch-up for scuffs, move to filler/kit repairs for gouges, and avoid sanding or chemical steps unless the manufacturer instructions explicitly allow them—because compatibility errors are what most often make repairs stand out.
Frequently Asked Questions
How can I fix scratches on hardwood kitchen floors without sanding?
For light surface scratches, start by cleaning the area thoroughly so you can see the damage clearly. Use a wood floor scratch repair kit or a matching wood filler/paste, then apply a thin layer of stain (if needed) and a polyurethane topcoat to blend with the surrounding finish. Avoid heavy sanding if the scratch is only in the protective coating, since you can often repair it with spot treatments and finish touch-up.
What’s the best way to repair deep gouges on laminate kitchen floors?
Deep gouges in laminate usually need a repair paste or laminate floor filler that matches the color and texture of your planks. Clean the scratch, fill it level with the surface, and let it cure according to the product directions. If the gouge is large, you may need to replace the damaged plank, since laminate scratch repair often won’t hold up when the core is compromised.
Why do scratches on kitchen floors keep coming back, and how can I prevent them?
Kitchen floors get scratched repeatedly from grit tracked in from shoes, dragging furniture, and debris from cooking cleanup. Use felt pads under chair legs, keep a doormat at entrances, and regularly sweep with a microfiber mop to remove abrasive particles before they wear down the finish. Choosing a scratch-resistant floor finish or applying a compatible protective topcoat can also reduce future scuffing.
Which products work best for removing scuffs and minor scratches on vinyl or tile kitchen floors?
For vinyl floor scuffs, try a manufacturer-recommended vinyl cleaner first, then use a vinyl repair kit or non-abrasive polish designed for your flooring type. For tile scratches, use a matching grout/ceramic repair kit for chips and a gentle polishing compound for surface marks, avoiding harsh abrasives that can dull the glaze. Always test in a hidden area to ensure the product doesn’t discolor the finish.
How do I repair scratches on sealed or finished concrete kitchen floors?
Clean the scratched area and lightly etch or abrade only if your repair product requires adhesion, then fill the scratch with a concrete crack/floor filler or epoxy concrete patch. After curing, grind or smooth the patched spot to match the surrounding level. Finish by reapplying a compatible concrete sealer so the repaired area blends with the existing kitchen floor protection and resists moisture and stains.
📅 Last Updated: October 11, 2026 | Topic: How to fix scratches on kitchen floors? | Content verified for accuracy and freshness.
References
- Google Scholar Google Scholar
https://scholar.google.com/scholar?q=how+to+repair+scratches+on+hardwood+floors - Google Scholar Google Scholar
https://scholar.google.com/scholar?q=how+to+repair+scratches+on+laminate+flooring - Google Scholar Google Scholar
https://scholar.google.com/scholar?q=wood+floor+scratch+repair+refinishing+process - https://en.wikipedia.org/wiki/Wood_flooring
- Laminate flooring
https://en.wikipedia.org/wiki/Laminate_flooring - https://en.wikipedia.org/wiki/Refinishing
- https://en.wikipedia.org/wiki/Sanding
- Wood putty
https://en.wikipedia.org/wiki/Wood_filler - https://en.wikipedia.org/wiki/Floor_polish
- https://en.wikipedia.org/wiki/Wood_stain