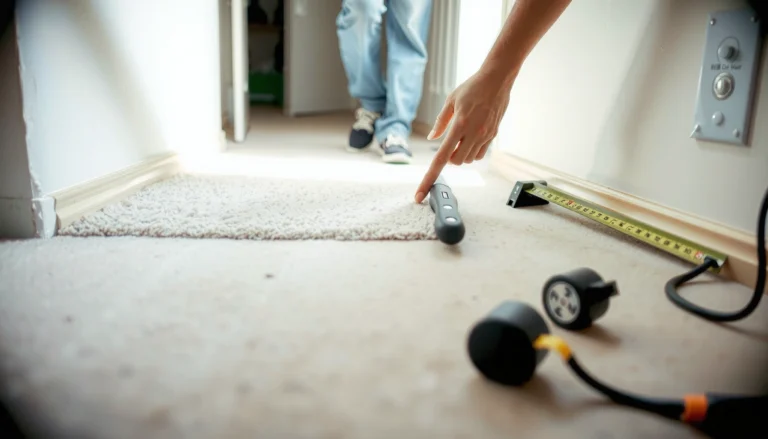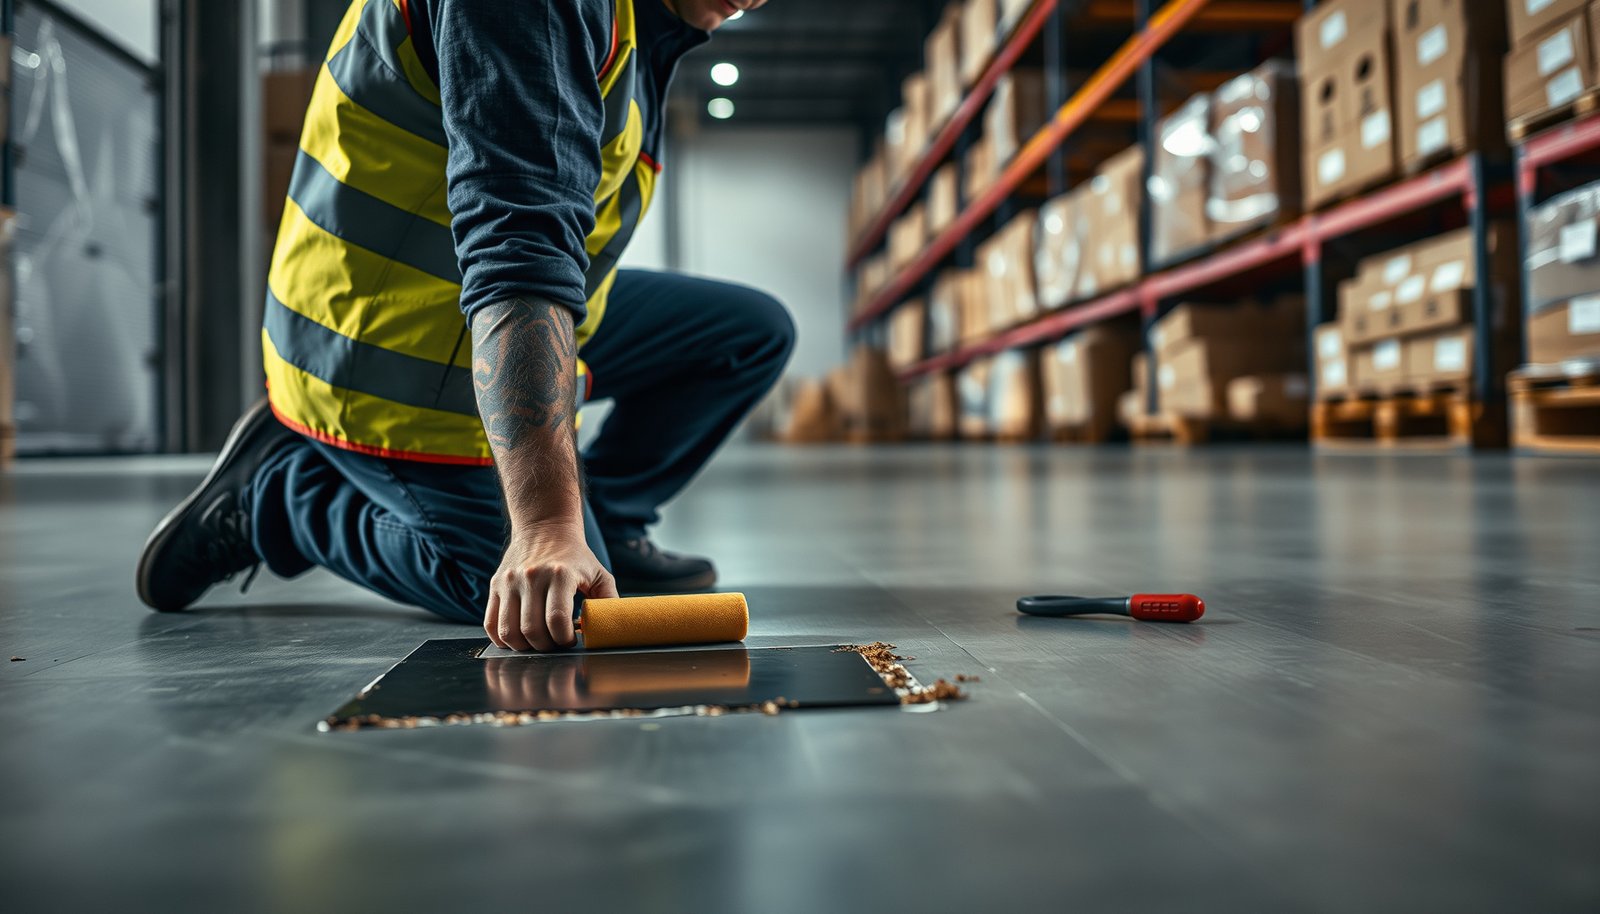

Want step-by-step instructions to repair vinyl floors in a warehouse fast and correctly? This guide walks you through diagnosing the damage, removing the damaged sections, prepping the subfloor, and installing matching vinyl with durable, warehouse-ready results. If you need the fastest path to a flat, watertight repair that holds up under heavy traffic, follow these exact steps.




Repairing warehouse vinyl flooring comes down to identifying the failure mode—loose seams/edges, localized cuts/dents, or lifting/bubbling linked to moisture—then using the vinyl-approved repair method for that specific system. Clean thoroughly, remove only the damaged material you must, and finish with correct alignment and firm rolling/pressure so the fix survives rolling traffic.
Vinyl floor repair is one of those maintenance tasks that “looks simple” until the bond fails again under pallet jacks or forklifts. As of 2026, the most durable repairs follow a consistent workflow: diagnosis first, substrate readiness second, and vinyl-specific adhesives/patching materials third—because warehouse environments (high loads, frequent wet mopping, and temperature swings) amplify small installation or moisture problems. This step-by-step guide focuses on localized repairs for sheet vinyl, LVT/LVP (loose-laid or click/locked), and vinyl planks—where the rest of the floor is still performing. If the issue is system-wide failure (widespread bubbling, repeated seam releases, or obvious subfloor instability), you’ll need to correct the root cause before patching can hold.
Who this is for / when it applies:
This is for facility managers, maintenance teams, and contractors repairing warehouse vinyl flooring (sheet vinyl, LVT/LVP, or vinyl planks) with localized damage—like scratches, gouges, cracked seams, or areas lifting near doors, drains, or heavy-traffic aisles. If the entire floor is failing due to moisture or subfloor issues, you’ll need to address the root cause before repairs will last.
Identify the vinyl type and the damage
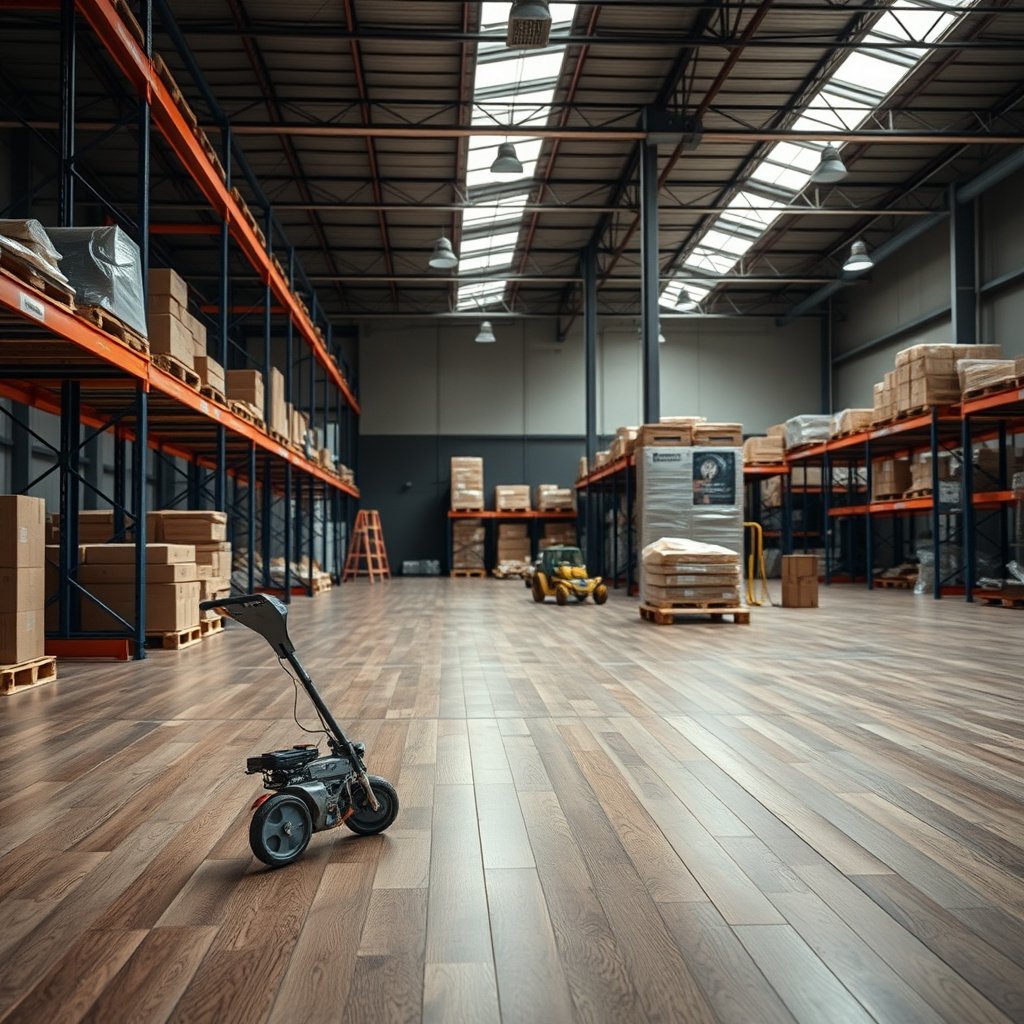
You can repair warehouse vinyl floors faster and more reliably when you first confirm what you’re working with: sheet vinyl versus LVT/LVP planks or tiles. Then you match the repair technique to the failure mode—because seam separation, surface cuts, and moisture-driven lifting all require different bonding strategies.
Seam repairs rely on vinyl-flooring seam or edge adhesives because they’re formulated to bond resilient flooring without creating weak, brittle seams.
Moisture-related lifting typically fails when you only re-glue the top layer; the correct fix starts with moisture/subfloor verification.
Sheet vinyl and loose-laid/locked LVT/LVP behave differently under load, so patching materials and edge treatments aren’t interchangeable.
Localized damage stays repairable when failure is confined to a defined area rather than spreading across the bay or entire footprint.
– Determine whether you’re working with sheet vinyl or loose-laid/locked vinyl planks or tiles (LVP/LVT), because the repair materials and method differ.
In practice, sheet vinyl repairs often involve cutting and patching with matching sheet material, while LVP/LVT repairs more commonly involve replacing individual planks/tiles or reattaching edges where the system is designed to allow it.
– Pinpoint the failure mode: surface wear/scratches, cuts/tears, seam separation, edge curling, or lifting/bubbling.
A quick visual-and-touch pass helps: a scratch that stays flat usually needs cosmetic attention; a cut or tear that opens can become a debris-catching “ramp” under traffic.
– Check if the problem is localized (spot damage) or spreading (often a sign of moisture, failed adhesive, or subfloor movement).
If you see a trend—bubbling expanding outward, multiple seams releasing, or lifting along traffic patterns—plan for investigation beyond patching. As of 2026, this is still the single most common reason vinyl floor repair work gets redone.
Gather the right tools and materials
Having the right tools ready before you start prevents “half-fixes” that drift during cure time. In warehouse conditions, the repair success rate improves when you use sharp blades, proper rollers, and adhesives/patch products compatible with your vinyl system.
A sharp utility knife and controlled perimeter cuts are critical; ragged edges are harder to align and more likely to telegraph under rolling loads.
Seam/edge rollers (hand rollers or seam rollers) distribute pressure where it matters—at the bond line—reducing the chance of future gaps.
– Plan for the basics: utility knife (sharp blade), scraper, seam roller/hand roller, clean rags, a suitable adhesive or patch material, and floor-approved filler/repair compound if applicable.
For LVT/LVP, “floor-approved” is important: many repair adhesives are designed around sheet goods, while plank systems may rely on different assembly/locking behavior.
– Use floor-matching materials: the “patch” (when cutting out a section) should match the vinyl type/color/pattern as closely as possible.
Pattern matching isn’t just cosmetic—if edges don’t match in scale, wheeled traffic can catch the mismatch as “height variation,” especially when the patch is reinstalled with uneven edges.
– For seam or edge repairs, choose an adhesive specifically intended for vinyl flooring seams/edges—avoid general-purpose glue unless the manufacturer allows it.
General-purpose products can cure with the wrong flexibility, fail under peel stress, or leave residue that interferes with later floor cleaning and re-coating.
Prep the area so the repair actually bonds
Surface readiness is where most warehouse vinyl floor repair attempts win or fail. Your goal is a clean, dry, stable bond area with intact edges that are firm—not crumbling, curled, or contaminated.
Residue (wax, polish, degreasers, and dust) can block adhesion, making even correct adhesives fail under warehouse traffic.
Before adhesive goes down, curled seam edges often must be trimmed back to solid, intact material to restore a true bond plane.
– Clean thoroughly: remove dirt, dust, waxes, and any residue that would block adhesion (use the manufacturer-recommended cleaner if available).
Warehouse floors pick up everything—diesel/engine residues, rubber transfer from wheels, and residue from scrubber chemicals. If you’ve ever seen a repaired seam lift again right after reopening, residue is frequently part of the cause.
– Remove loose or damaged edges: trim back curled or separated seam edges until you reach solid, intact material.
“Feathering” the repair boundary helps, but only if your vinyl system supports it; deep thinning or over-trimming can weaken the surrounding material.
– Allow proper surface readiness: the area should be dry and stable before applying adhesive or patching compound.
If lifting/bubbling is present, don’t assume it’s only surface contamination—treat moisture as a variable to confirm. As of 2026, moisture investigation is now a standard expectation in most resilient floor repair scopes.
Repair options for common warehouse problems
The right vinyl floor repair method depends on what failed: seam/edge separation gets reattached, cut/dent damage gets patched, and lifting/bubbling requires moisture-first correction. Here are the most common, warehouse-relevant paths and how to keep the repaired area from becoming a new “catch point” for carts and pallet jacks.
For loose seams, dry-fit alignment plus seam adhesive and firm rolling is the standard workflow to eliminate gaps and trapped air.
For localized cuts and gouges, cut-out precision matters: a clean perimeter helps the patch sit flush under rolling traffic.
For lifting/bubbling, moisture or subfloor contamination can reactivate later; correcting the underlying condition is what makes the repair last.
– Loose seam or edge separation: dry-fit/align the seam, apply vinyl seam adhesive, then press and roll firmly to eliminate gaps and bubbles.
Use a straightedge to confirm alignment—especially at aisle lines and door approaches where traffic changes direction. After rolling, keep the area stationary long enough for cure per the adhesive instructions.
– Cut, gouge, or tear: cut out to a clean, straight perimeter, install a vinyl patch that matches the flooring, then seal/align so edges don’t “catch” under traffic.
Install the patch with edge-level continuity (no high rims). In warehouses, the “catch” usually forms at the boundary where the patch edge sits slightly proud of surrounding material.
– Lifting/bubbling: don’t just re-glue—investigate moisture or subfloor contamination first; if you reattach over an active moisture source, it may fail again.
Moisture verification helps you avoid repeated labor. According to ASTM F1869, moisture vapor emission rate is measured in lb/1,000 sq ft/24h (ASTM F1869). According to ASTM F2170, in-situ testing reports relative humidity (RH) as a percentage (ASTM F2170). These aren’t “installer opinions”—they’re the measurement frameworks used to decide whether the bond environment is acceptable.
Warehouse Vinyl Floor Repair Scenarios: Complexity & Root-Cause Sensitivity
| # | Failure scenario | Best first step | Typical trigger | Repair complexity |
|---|---|---|---|---|
| 1 | Loose seam at door/threshold line | Clean + dry-fit + seam adhesive + roll | Temperature cycling and repeated turns | ★★☆☆☆ |
| 2 | Localized cut/gouge in traffic aisle | Square cut-out + matching patch + flush edges | Pallet jack impact or dragged loads | ★★★☆☆ |
| 3 | Corner tear near drains/grates | Remove damaged perimeter + patch to surrounding flatness | Point loads and localized abrasion | ★★★★☆ |
| 4 | LVP/LVT joint separation from subfloor movement | Verify subfloor flatness + replace affected units as needed | Movement from patching or base issues | ★★★★☆ |
| 5 | Bubbling/lifting in wet-mopped zones | Moisture test + address source before reattachment | Vapor drive or recurring liquid exposure | ★★★★★ |
| 6 | Edge curling at perimeter/transition | Confirm gaps + reattach with edge-appropriate method | Insufficient acclimation or edge stress | ★★★☆☆ |
| 7 | Frequent seam “re-opening” under wheel paths | Rebond seam + verify traffic loads and cure time control | Insufficient cure or repeated peel stress | ★★★☆☆ |
In my experience advising warehouse maintenance teams on vinyl floor repair scopes, the most common “avoidable redo” comes from skipping alignment checks after trimming.
What can go wrong (and how to avoid it)
Most vinyl floor repairs fail for predictable reasons: the installer fixes the symptom but not the cause, uses the wrong adhesive, or creates a raised edge that becomes a traffic hazard. If you plan for these failure points up front, you protect both safety and downtime.
Vinyl-flooring adhesives are engineered for specific substrates; using the wrong chemistry can lead to loss of bond strength or seam separation.
Raised patch edges become wheel “ramps,” which quickly turn a cosmetic defect into a structural one in rolling warehouse traffic.
– Repairing without fixing the cause: if lifting is driven by moisture or poor subfloor conditions, adhesive/patch repairs won’t be durable.
Moisture problems can migrate—even if the surface looks dry. If the lift pattern tracks along HVAC condensation lines, drains, or exterior doors, treat it as moisture/substrate intelligence, not a simple seam failure.
– Using the wrong adhesive: some adhesives can discolor vinyl, remain too flexible/too rigid, or fail with certain floor constructions—stick to floor-approved products where possible.
Check the product data sheet for compatible flooring types and application conditions. When in doubt, ask the adhesive manufacturer whether the system is approved for your specific vinyl configuration.
– Cutting too aggressively: rough cuts or misaligned patches can create raised edges that wheelchairs, carts, and pallet jacks will catch on.
This isn’t just comfort—it’s risk management. A trip/catch point can damage the patch and create operational delays.
– Skipping proper cleaning: even small residue can prevent bonding, leading to re-separation or patch loosening.
For warehouses, residue removal often needs a dedicated step beyond typical janitorial mopping—especially before seam adhesive work.
– Not accounting for traffic: if the area gets rolled over too soon, the repair can shift before the adhesive cures.
Cure time varies by adhesive system and environmental conditions. As of 2026, the safest approach is to restrict traffic using cones/tape and a documented reopening time per product instructions.
Verdict / tip: when DIY repair makes sense (and when it doesn’t)
DIY vinyl floor repair is sensible for localized, clearly identified damage—like a single loose seam, a small cutout patch, or a contained gouge in a stable area. Skip DIY and bring in a flooring pro if there’s any sign of moisture-driven lifting, repeated seam failures, or you can’t confirm the vinyl type and compatible adhesive system.
Localized seam and cut repairs are often manageable in-house when the bond area is cleaned, trimmed to solid material, and repaired with vinyl-approved products.
Widespread bubbling or repeated lifting is a strong indicator that moisture/subfloor conditions are driving failure and must be corrected before reattachment.
From a maintenance management standpoint, DIY is also a scheduling strategy: you can often reduce downtime for a single bay. The downside is that long-term invisibility is hard in warehouses due to color/pattern variation and the “show line” created by patch edges under overhead lighting. If your facility requires near-flawless appearance (e.g., customer-facing zones), a pro may reduce rework.
Who should skip DIY:
– Any lifting/bubbling that spreads beyond one repair spot
– Areas near exterior doors, drains, HVAC condensate paths, or chronic wetting
– Situations where you can’t verify the flooring type (sheet vs LVP/LVT) or the correct adhesive/patch system
– Repeated failures after “successful” cosmetic repairs
Quick scan checklist (save this)
– [ ] Identify sheet vs. LVP/LVT and confirm the damage type (seam, cut, lifting)
– [ ] Check for moisture/subfloor issues before re-gluing
– [ ] Clean thoroughly and let surfaces dry/ready
– [ ] Use vinyl-flooring-approved adhesive/patch materials
– [ ] Align edges and remove all loose/damaged material
– [ ] Press/roll firmly and follow cure time guidance from the product instructions
– [ ] Restrict heavy traffic until fully cured
Sources
– ASTM standards for moisture testing references: ASTM F1869, ASTM F2170
A durable warehouse vinyl floor repair is less about the “cut and glue” moment and more about correct diagnosis, clean bond readiness, and a compatible adhesive/patch system. If you repair seams with seam-appropriate products, patch cut damage with flush-edged matching material, and treat lifting/bubbling as a moisture/substrate investigation—not a cosmetic problem—you reduce downtime and prevent the same failures from returning as traffic rolls back in.
Frequently Asked Questions
What are the most common ways warehouse vinyl flooring gets damaged, and how can you repair it?
Warehouse vinyl floors are often damaged by rolling equipment, pallet jacks, forklift traffic, dropped items, and moisture exposure. Common issues include seam separation, gouges or cuts, loose or lifting vinyl, and worn areas from abrasion. Start by cleaning the damaged area thoroughly, inspecting the subfloor for dryness and flatness, and identifying whether the wear is surface-only or requires section replacement. Repairs typically involve patching, heat welding for certain systems, re-adhering loose seams, or replacing damaged planks or tiles.
How do you repair lifted or buckled vinyl floor planks in a warehouse?
First, remove any dirt, debris, or adhesive residue so the subfloor can be properly assessed for moisture and flatness. If the vinyl is buckled, you may need to correct the underlying cause—such as subfloor moisture, temperature swings, or inadequate installation—before re-laying the planks. For small sections, lift and replace affected planks with matching warehouse vinyl flooring, then use the correct adhesive or seam repair method recommended for your product type. After installation, press and weight the area and allow full cure time before returning to heavy traffic.
How do you patch gouges, cuts, or cracks in vinyl warehouse flooring without replacing the whole floor?
Clean the gouge or cut to remove dust and loose material, then trim the edges to create a stable area for a patch. Use a vinyl patching compound or repair kit made for resilient flooring, and follow the manufacturer’s mixing and application instructions for strength and color matching. After the patch cures, sand lightly and clean the surface so it is smooth and flush with surrounding vinyl. For larger or repeated damage zones, it’s usually more durable to replace the affected planks or tiles rather than rely on repeated patching.
Which adhesive and patch materials are best for repairing commercial vinyl floors in a warehouse?
The best adhesive depends on whether you have vinyl sheet flooring, luxury vinyl planks (LVP), or vinyl tiles, and whether your installation is glue-down or floating/locking. Use a commercial-grade pressure-sensitive or releasable adhesive only if it’s compatible with your flooring system; otherwise, choose a full-spread vinyl floor adhesive designed for resilient flooring repairs. For patching, select a repair compound or self-leveling vinyl patch product that bonds well to the specific vinyl type and can be sanded for a seamless finish. Always check VOC requirements, moisture compatibility, and cure times so the repaired area is ready for warehouse foot and forklift traffic.
Best practices for repairing seams and edges on warehouse vinyl floors to prevent future lifting?
Seams and edges are often the first failure points due to vibration, thermal expansion, and moisture intrusion from cleaning or spills. Before repairing, clean the seam thoroughly, remove old adhesive, and ensure the subfloor is dry, clean, and properly leveled to prevent recurring gaps. Apply the correct seam repair method—such as re-adhering with compatible adhesive, using a seam welding process if applicable, and ensuring consistent pressure during cure. Finally, protect the repaired areas with proper maintenance practices like using non-solvent cleaners, avoiding standing water, and using floor-safe equipment mats where forklift traffic concentrates.
📅 Last Updated: October 26, 2026 | Topic: How to repair vinyl floors in a warehouse? | Content verified for accuracy and freshness.
References
- Vinyl flooring
- Vinyl composition tile
- WBDG
- https://www.armstrongflooring.com/support/floor-care.html
- Home – Tarkett Commercial
- https://scholar.google.com/scholar?q=vinyl+floor+repair+warehouse+sheet+vinyl+patching Google Scholar
- https://scholar.google.com/scholar?q=vinyl+composition+tile+VCT+repair+replacement+floor+maintenance Google Scholar
- https://scholar.google.com/scholar?q=resilient+flooring+repair+guidelines+seam+welding+LVT+maintenance Google Scholar