
Want to refinish herringbone floors without guesswork? This step-by-step guide walks you through sanding, repairing damage, and applying finish in the right order so your pattern stays crisp and even. Follow it and you’ll avoid the most common failures—cupping, blotchiness, and edge wear—while achieving a factory-smooth result.




Refinishing herringbone floors comes down to stripping/removing the old finish (or abrading it appropriately), sanding evenly across the pattern, then applying a stain (if you want color) and sealing with a compatible topcoat. The main determinant of a professional-looking “chevron” finish is prep—especially removing residue from the V-joints, repairing movement, and keeping your sanding consistent so you don’t create blotches or row-to-row lightness differences.
This is best for homeowners or DIY renovators dealing with a worn-but-sound herringbone hardwood floor (or a floor with a clear, intact pattern). If boards are lifting, the surface is delaminating, or you’re unsure what finish is on the wood, plan for extra testing and/or consider a pro for the removal and finishing steps.
Prep and inspect your herringbone floor
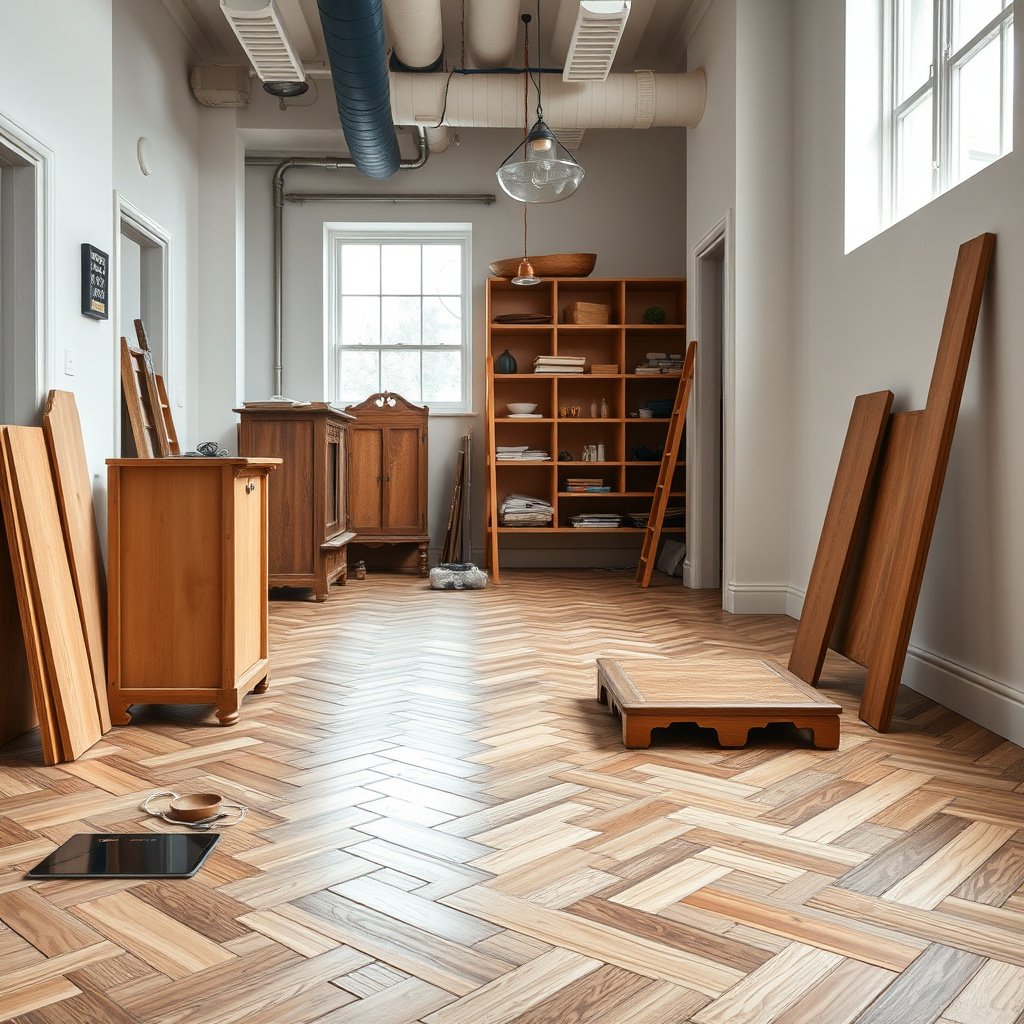
Start by treating inspection as the real starting line: if the floor is moving or the finish type is wrong, every later step becomes unreliable. Your goal is to confirm the floor is solid, identify the current finish system, and control dust so sanding doesn’t clog the chevron joints—because that’s where uneven stain and adhesion problems begin.
“A sound substrate is essential—before refinishing, you must correct loose boards and any movement so the new finish isn’t applied over something that will continue to shift.”
“Dry sanding of wood can generate respirable crystalline silica, and OSHA regulates worker exposure during sanding (PEL: 50 µg/m³ TWA).” OSHA 29 CFR 1910.1053 (2016)
– Check the floor is solid: look for loose boards, squeaks that suggest movement, raised edges, and open seams where finish can collect.
– Identify what you’re working with: determine whether the existing surface is a film finish (varnish/poly) or an oil/wax look, because removal and topcoat compatibility depend on it.
– Protect the room and layout: seal off vents/returns, mask walls/trim carefully, and plan dust control so the chevron joints don’t get clogged during sanding.
What to inspect (and why herringbone makes it more noticeable)
Herringbone amplifies irregularities. A slight sand “dip” on one leg of a chevron row reads as a visible line because the geometry is repeating. That’s why you should do a quick physical survey before you ever pull a sander:
– Press test: Walk in socks and press down along a few boards perpendicular to the pattern. Any springiness or “clicking” indicates movement.
– Seam inspection: Look closely at gaps between planks. If the gap edges feel ragged or raised, old finish can pool there and later create dark or raised “V” lines.
– Edge and transition check: If your floor meets tile, thresholds, or baseboards, check whether the finish at those transitions has failed first—often a clue that prior coatings or moisture exposure have been an issue.
Identify the existing finish before you choose removal
The fastest way to ruin a refinish is to remove the wrong layer incorrectly (or to apply the wrong topcoat over the wrong residue). Finish identification doesn’t have to be guesswork—start with what you can observe:
– Film finish indicators: Glossy or uniform sheen; “rub-off” that feels like a surface layer; previous coats that look consistent across boards.
– Oil/wax indicators: Duller, “hand-rubbed” look; areas that feel slightly more flexible; the surface may appear to absorb and darken unevenly.
If you’re still unsure, use small test spots and follow product/system manufacturer instructions for sanding/removal compatibility.
“OSHA’s action level for respirable crystalline silica is 25 µg/m³ (TWA), which is why dust collection and respiratory protection matter during wood floor sanding.” OSHA 29 CFR 1910.1053 (2016)
Remove the old finish and make repairs
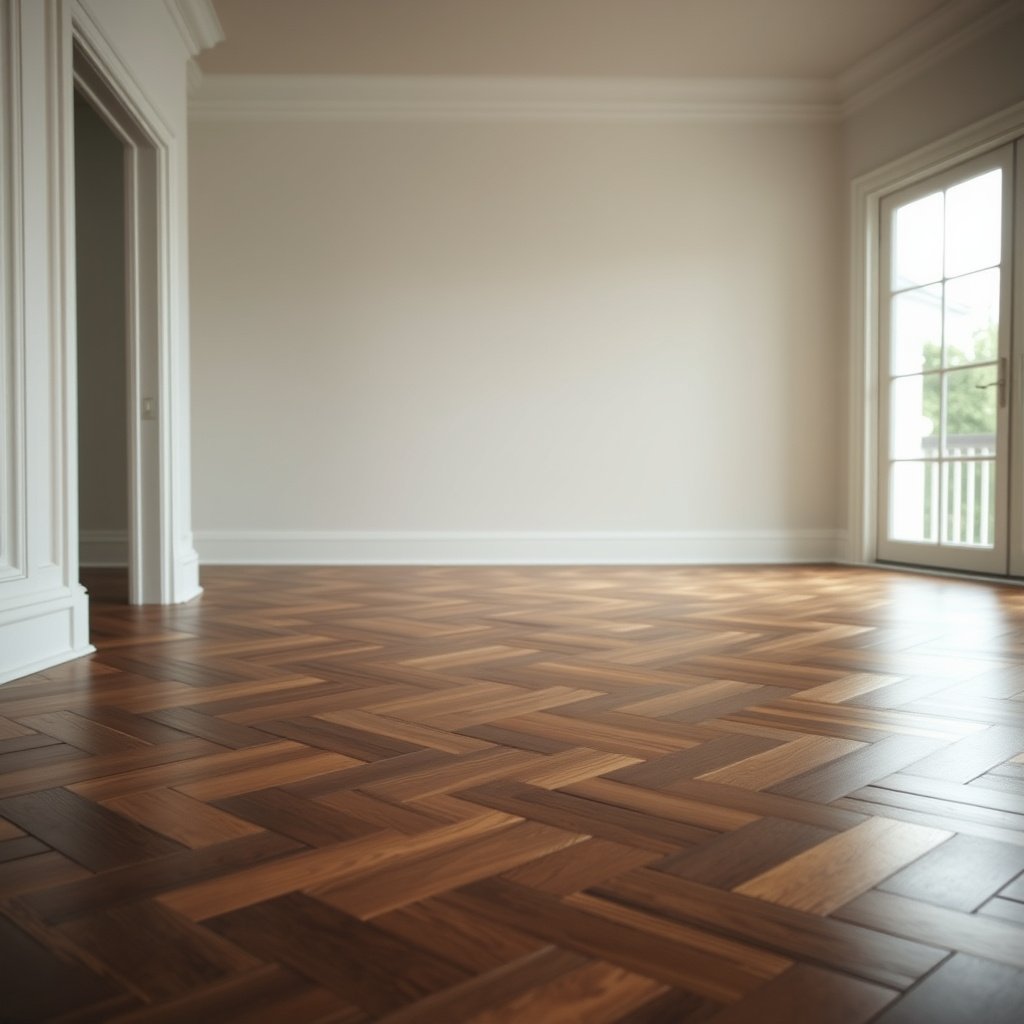
Start removal once you’ve confirmed the floor is stable and your finish type is reasonably identified. The objective is not “bare wood at all costs”—it’s a clean, sanding-ready surface with no residue in the chevron valleys, plus repairs that stop movement.
“Refinishing can’t correct structural problems; if boards are loose or gaps are widening, adhesion and appearance will fail no matter how good the stain and topcoat are.”
“Previous finish residue in micro-gaps (including herringbone V-joints) can block bonding or create uneven stain penetration, so cleanup must be complete before sanding/staining.” NWFA finishing guidance (National Wood Flooring Association)
– Strip or abrade to bare wood (or to a compatible sanding-ready state) based on your current finish type—film finishes usually need sanding/stripping, while some oil/wax surfaces may require thorough cleaning and scuffing per the finish’s compatibility guidance.
– Repair before you sand further: fill gaps with an appropriate wood filler or patching product, address any loose planks (per your floor system), and scrape off any remaining buildup in the “V” joints.
– Vacuum and degrease properly: residue in the pattern is a common reason stains look patchy or fail to bond.
Stripping vs. sanding: decide based on compatibility, not convenience
For many film-finished floors, sanding can reduce finish thickness and create a bonding surface, but stripping may be necessary if the finish is thick, severely degraded, or contaminated. For oil/wax looks, degreasing and appropriate scuffing are often critical because leftover oils/waxes can interfere with adhesion.
Practical decision rule:
– If you can achieve an even, sanding-ready surface with scuffing and thorough cleaning, you may not need full stripping.
– If the surface won’t “uniformly sand” or you see gummy/waxy behavior, stop and re-evaluate removal method.
Repair now—before your new finish turns imperfections into permanent features
Do repairs while the floor is unfinished because you need mechanical adhesion and proper filling performance.
– Fill gaps and minor chips with filler designed for hardwood floors. Let filler cure fully (follow the product label).
– Address loose planks according to your flooring system (solid hardwood vs. engineered construction changes what’s appropriate).
– Scrape residue in the V-joints: Herringbone is basically a network of valleys. Even small leftover buildup can later show up as darker “rivers” after staining.
Clean like it’s part of finishing—not “just housekeeping”
After stripping/abrading, vacuum thoroughly and degrease as recommended by your stain/sealer system. Residue removal isn’t optional; it’s one of the most common causes of blotchy stain and soft adhesion.
“Respiratory protection and dust controls are not optional when sanding wood flooring because OSHA links exposure to respirable crystalline silica to sanding/grinding operations.” OSHA 29 CFR 1910.1053 (2016)
Sand herringbone evenly (without changing the look)
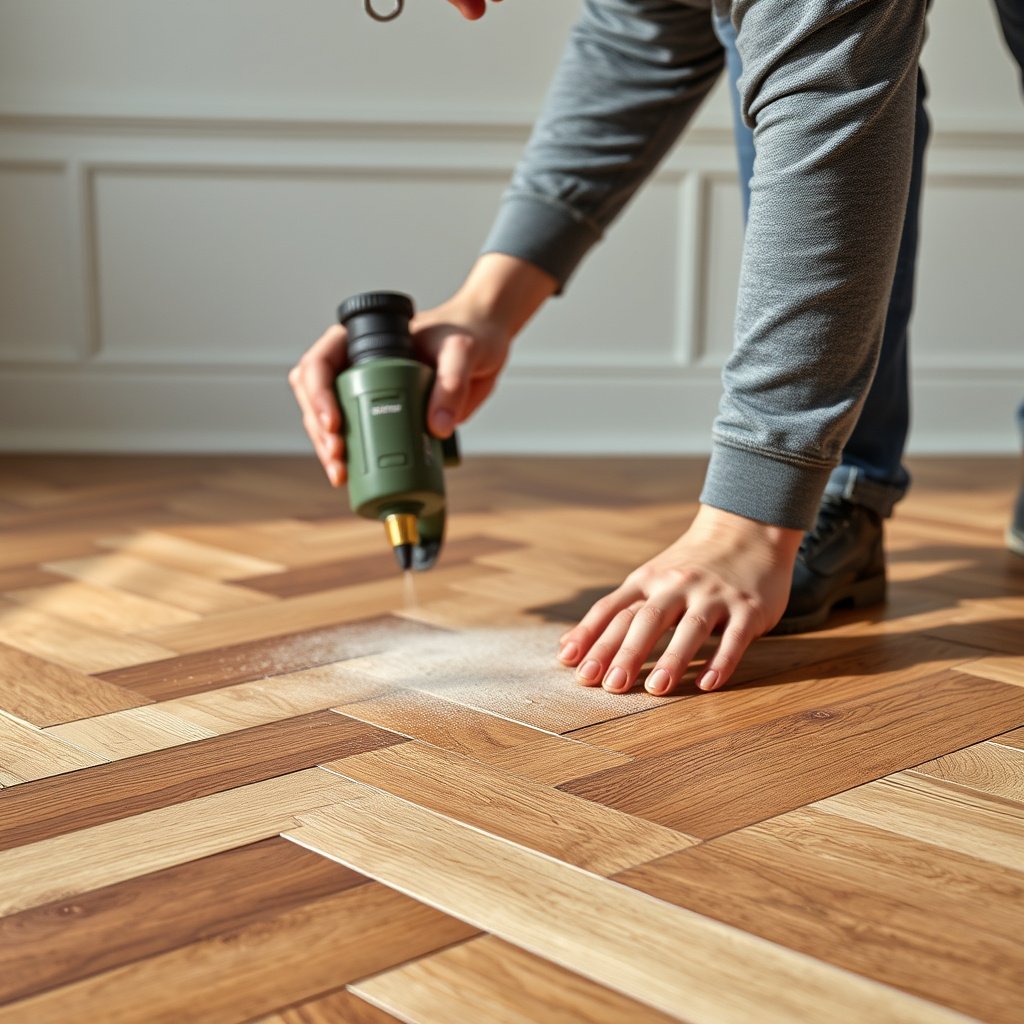
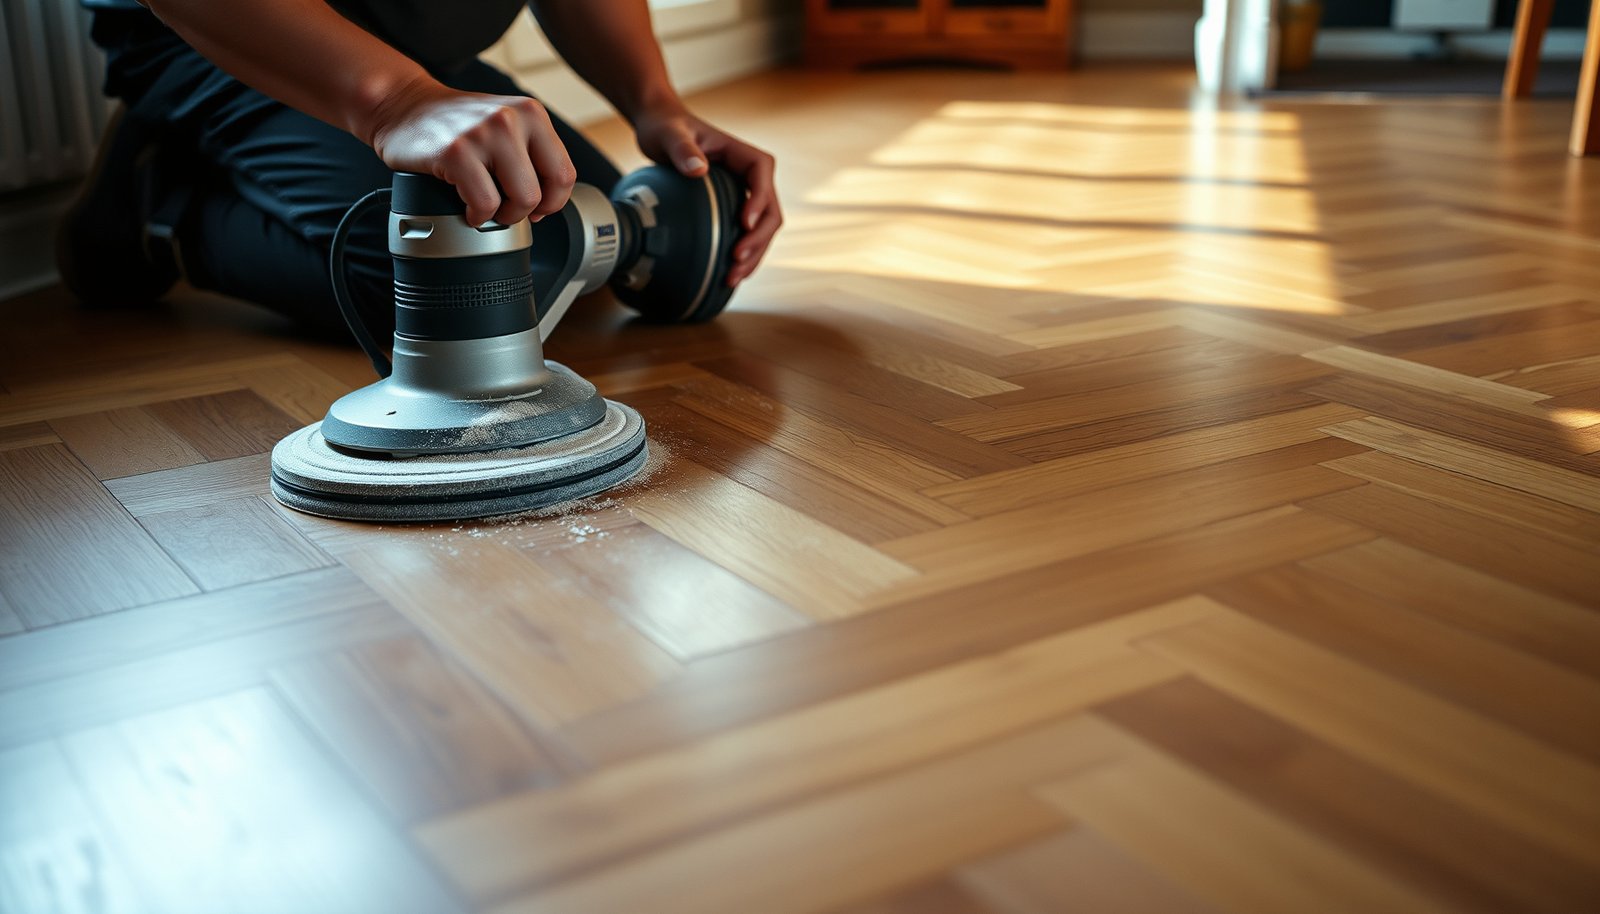
The best way to avoid blotches and uneven chevrons is to sand in a consistent progression while keeping pressure and technique uniform across each repeating leg of the pattern. In practice, that means controlled passes, careful edge work in the V-joints, and meticulous dust removal between stages.
“Uneven sanding is a frequent driver of ‘row-by-row’ color variation because stain absorbs differently when the scratch pattern and porosity aren’t consistent.” NWFA finishing guidance (National Wood Flooring Association)
– Sand in a controlled progression: use a method that lets you keep the chevron pattern uniform—consistent pressure and overlap matter more than brute force.
– Stay within the floor’s wear layer: herringbone floors often have less margin for sanding if they’re refinished repeatedly, so avoid sanding through thin areas.
– Remove dust thoroughly between stages: wipe/vacuum the surface carefully before moving to staining (or straight to sealing if you’re not changing color).
Use a sanding strategy that respects the pattern
Herringbone requires more “micro-control” than straight-plank floors. Your plan should include:
1. Main field sanding: Keep passes steady and overlap consistent so each board leg receives the same abrasion.
2. Chevron joint handling: Use an appropriate detail method to address V-joints without gouging—these areas often retain old finish longer.
3. Progressive grit refinement: After removal of the old surface, move through finer grits to reduce scratch depth and create a more uniform stain-ready surface.
If your floor is already thin or you’ve refinished it before, treat sanding limits as a hard constraint—especially for engineered floors with limited wear layers.
Dust removal between steps isn’t optional
Staining and sealing fail even when sanding looks perfect if fine dust remains in the V-joints.
– Vacuum with a system that captures fine particulates.
– Wipe with a lint-free tack cloth (if your system allows it) or follow your stain/sealer manufacturer’s cleaning method.
– Don’t “rush to stain” while dust is still visible in crevices.
“N95-class respirators are designed to filter at least 95% of airborne particles, and higher-rated respirators (e.g., P100) filter at least 99.97%, which supports the need for proper respiratory protection during dusty floor sanding.” NIOSH/respirator filtration efficiency guidance (42 CFR 84)
Stain (optional) and seal with compatible products
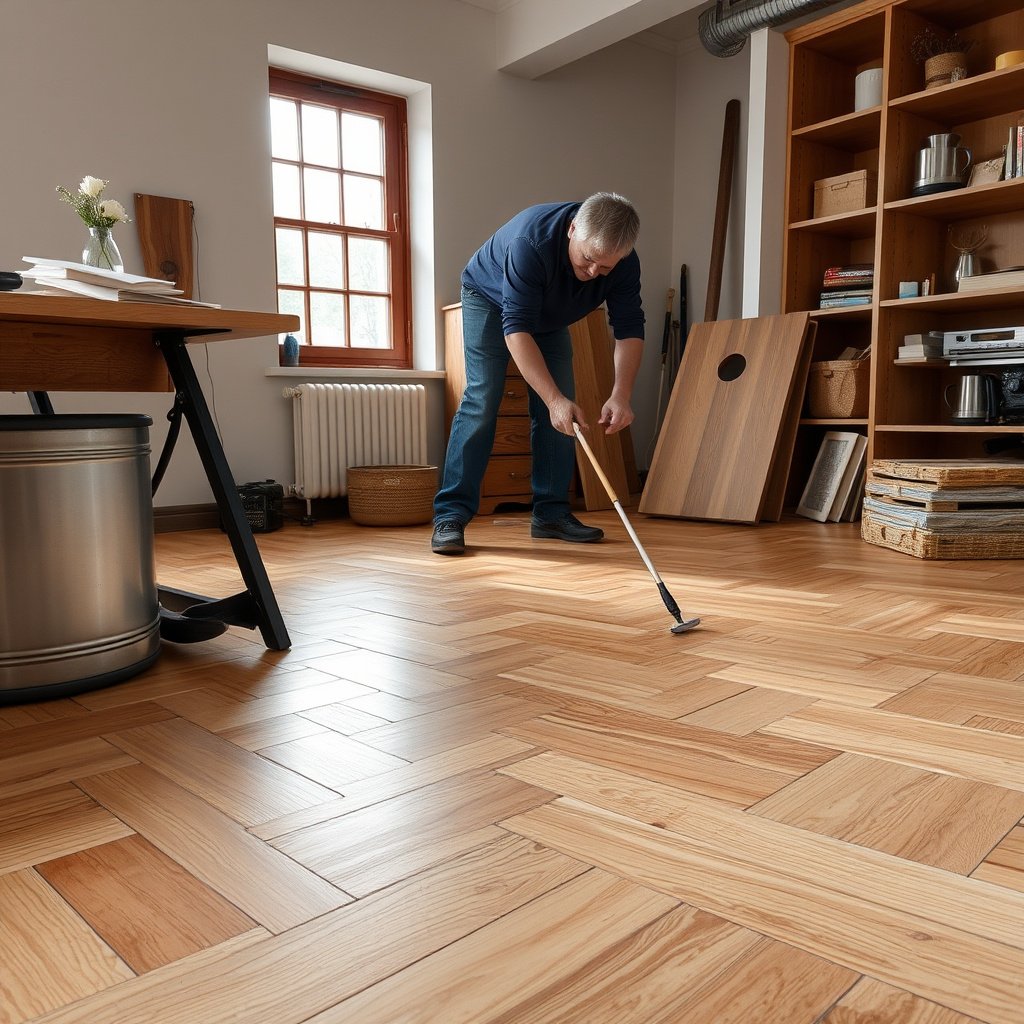
You get the cleanest, most even herringbone color when you apply stain consistently and then seal with a compatible topcoat system that fully cures between coats. Compatibility and timing are critical because oil/wax residue, coating type mismatch, or premature recoating can create adhesion failures or soft finish.
“Stain and topcoat systems must be compatible (e.g., water-based over water-based systems), because adhesion depends on the coating chemistry and the surface condition.” Manufacturer technical data for stain/topcoat systems (general compatibility guidance)
– Match the stain and topcoat system: use stain and sealer that are designed to work together (water-based over water-based, oil-compatible over oil-compatible, etc.), and follow the manufacturer’s application and cure guidance.
– Work the chevrons cleanly: stain can pool in corners and joints—apply consistently and avoid overworking one side of the pattern, which can create darker lines.
– Seal to protect the whole floor: apply your topcoat per the recommended spread rate and number of coats, letting each coat cure fully before the next (rushing is a common finish failure point).
Staining herringbone: control pooling in the V-joints
Chevron floors “collect” liquid differently than flat planks. Two habits prevent most stain problems:
– Consistent application passes: Apply with the same pace and pressure so each chevron leg receives similar product.
– Avoid overworking: Repeated brushing into the same spot changes how much stain penetrates and how much ends up trapped in the joints.
If you’re changing color, you should also test—herringbone may take stain differently on each board leg depending on prior wear and sanding history.
Sealing: follow the system and don’t shortcut cure
Topcoats fail more often from process mistakes than from bad products:
– Recoating too early can trap solvents and cause tackiness or weak intercoat adhesion.
– Wrong topcoat over contamination can lead to peeling or softness.
– Uneven application can cause gloss variation (matte patches) that reads like sanding defects.
Keep your wet/dry plan realistic (as of 2026)
In recent finishing schedules, the limiting factor is often cure time rather than “time spent applying.” Plan furniture move-out, foot-traffic restrictions, and drying/ventilation in a way that matches your product data.
“Full cure time matters because many coating systems reach handling strength sooner than they reach full chemical and wear resistance.” Manufacturer technical data sheets for wood floor finishes
What can go wrong (and how to prevent it)
Common problems are usually rooted in prep mistakes (residue, movement, uneven sanding) or compatibility errors (wrong stain/topcoat chemistry). The prevention strategy is straightforward: verify substrate stability, confirm compatibility, and keep your process consistent from sanding through sealing.
“Blotchy staining is commonly linked to uneven sanding, incomplete residue removal, or inconsistent surface porosity.” NWFA finishing guidance (National Wood Flooring Association)
“Topcoat peeling or softening typically traces back to adhesion failure—often caused by wax/oil contamination, missing scuff prep, or coating compatibility problems.” Manufacturer adhesion and compatibility troubleshooting notes (technical data sheets)
– Blotchy stain or “mottling”: usually comes from incomplete cleaning, uneven sanding, or mismatch between the stain and the wood’s porosity/previous finish residue.
– Finish peeling or softening: often caused by topcoat incompatibility, wax/oil contamination, or skipping the required prep/scuff step for the existing surface.
– Pattern unevenness: if one chevron side was sanded more aggressively (or if you didn’t manage dust buildup in the joints), the floor can look lighter/darker “by row.”
– Loose boards and wide gaps: refinishing can’t fix structural problems—if boards are moving, the new finish won’t stay looking great.
Quick compatibility sanity check (pros/cons)
This is the decision point that avoids the costliest failures.
| Approach | Pros | Cons / Watch-outs |
|---|---|---|
| Strip to cleaner/bare wood | Higher odds of uniform bonding if old finish is incompatible or deteriorated | More labor; chemical stripping adds ventilation/handling requirements |
| Scuff-sand for bondable surface | Less material removal; often faster if finish is intact | Only works if adhesion is truly achievable—residue can still block bonding |
| Use manufacturer-matched stain/topcoat system | Chemistry alignment reduces risk of softening/peeling | You’re constrained by the system’s color and sheen options |
Verdict: Is DIY refinish right for your herringbone floor?
If your herringbone floor is solid, you can identify the existing finish, and you’re willing to take prep slowly, DIY refinishing can be a good option—because the workflow is straightforward, but the details (compatibility, sanding uniformity, dust control) are what make it look professional.
That said, skip DIY (or get help for the messy parts) if you have widespread loosening, unclear finish type (especially heavy wax/residue), deep cupping/warping, or you’ve already refinished the floor multiple times and worry about sanding limits.
Scan/checklist before you start
| Stage | Quick check |
|---|---|
| Inspect | No lifting boards, minimal/repairable gaps |
| Identify finish | You know whether it’s film, wax/oil, or something mixed |
| Prep | Room sealed, dust control in place, masking done |
| Sand | Even progression across the pattern; no thin spots |
| Clean | Residue removed; joints are free of dust |
| Finish compatibility | Stain/sealer system is compatible and properly cured |
| Protect | Plan furniture movement and traffic timing around cure/dry times |
Sanding & Joint Prep Steps That Most Affect Herringbone Chevron Uniformity (Practical Reference)
| # | Step | Typical grit / method | Primary job | Chevron consistency |
|---|---|---|---|---|
| 1 | Sheen removal (film finish) | 60–80 grit | Break uniform gloss for adhesion | ★★★★☆ |
| 2 | Feathering across rows | 80–100 grit | Equalize scratch depth on boards | ★★★★★ |
| 3 | Refine for stain readiness | 100–120 grit | Reduce sanding marks that telegraph | ★★★★☆ |
| 4 | V-joint detailing | Hand/oscillating 120–150 | Remove residual film in chevron valleys | ★★★★☆ |
| 5 | Final de-nib / micro-sanding | 150–180 grit (light pass) | Smoother surface for topcoat appearance | ★★★☆☆ |
| 6 | Dust removal before stain | HEPA vacuum + tack/wipe per system | Prevent grit-driven blotches | ★★★★★ |
| 7 | Topcoat application pattern consistency | Per product (typ. 2–3 coats) | Even sheen and protection | ★★☆☆☆ |
(Note: grit ranges and coat counts must be confirmed against your specific product technical data sheet; the table is intended as a practical reference for what most affects chevron uniformity.)
Frequently Asked Questions
What’s the best way to refinish herringbone floors without damaging the pattern?
Start by protecting the herringbone layout with careful sanding that follows the grain directions and avoids over-aggressive passes that can round over the angled blocks. Use a floor sander with a controlled approach, and use detail sanding around edges and the “V” joints to keep the pattern crisp. Before finishing, fill gaps and dents with a wood filler matched to the tone of the herringbone oak or other wood species, then sand again for a smooth, even surface.
How do I sand and prep herringbone wood floors for refinishing?
Remove all existing finish using the appropriate method (screening for lightly worn finishes or sanding for thicker/peeling layers), then thoroughly clean dust with a vacuum and tack cloth. For herringbone floors, pay special attention to the grooves where planks meet so you don’t leave residue that can cause cloudy spots or poor adhesion. Repair scratches, check for loose boards, and ensure the subfloor is stable before you start the final sanding and staining steps.
Why do herringbone floors sometimes look uneven after refinishing, and how can I prevent it?
Uneven color and sheen usually come from inconsistent sanding depth, leftover finish in recesses, or not maintaining the same grit progression across the entire pattern. Because herringbone has many angled seams, it’s common for dust and old stain to remain in corners, leading to blotchy results. Use consistent sanding grits, vacuum thoroughly between steps, and test your stain or water-based polyurethane in a small hidden area first.
How do I choose between stain and paint when refinishing a herringbone floor?
If you want to highlight the natural character of the wood, stain is usually the best option because it enhances the contrast in the angled herringbone pattern. If your goal is maximum color uniformity or hiding previous damage, painting can work well, but you’ll need a proper primer and a smooth leveling approach. Either way, use a finish system designed for wood floors—such as a compatible stain plus polyurethane—to ensure durability in high-traffic areas.
Which finish is best for herringbone floors—water-based polyurethane, oil-based, or hardwax oil?
Water-based polyurethane is popular for herringbone floors because it dries quickly, has low odor, and often produces a clear, even topcoat when applied correctly. Oil-based polyurethane tends to offer a warm tone and can be more forgiving for some installers, but it takes longer to cure and has stronger fumes. Hardwax oil can be a great choice if you prefer a more natural look and easier spot-repairs, but it typically requires careful maintenance and the right application technique for consistent sheen across the entire herringbone layout.
📅 Last Updated: October 15, 2026 | Topic: How to refinish herringbone floors? | Content verified for accuracy and freshness.
References
- Herringbone
- Parquet
- Floor sanding
- Varnish
- Polyurethane
- Wood stain
- Lead Renovation, Repair and Painting Program | US EPA
- https://scholar.google.com/scholar?q=how+to+refinish+parquet+hardwood+floors Google Scholar
- https://scholar.google.com/scholar?q=herringbone+parquet+floor+refinishing+sanding Google Scholar
- https://scholar.google.com/scholar?q=wood+floor+sanding+finishing+polyurethane+how+to Google Scholar