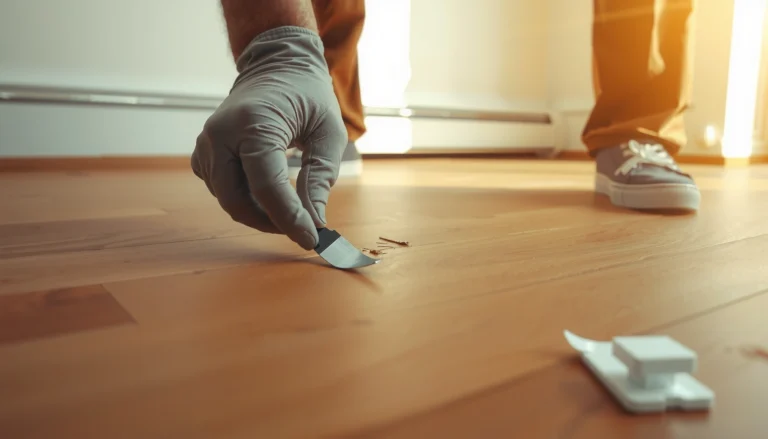
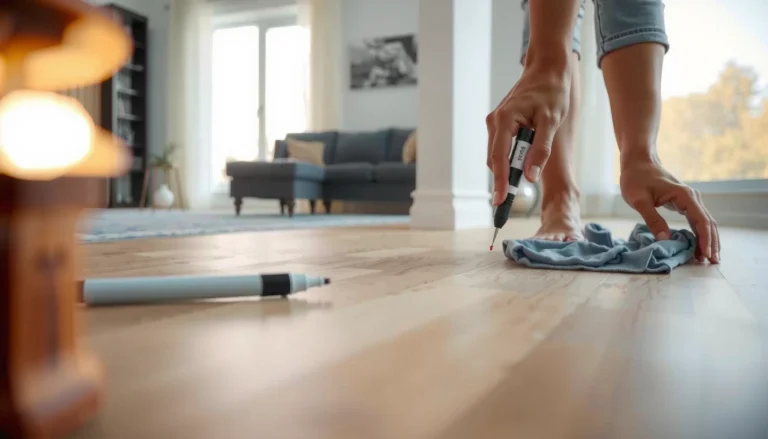
If you’re dealing with water damage on SPC floors, follow these steps and a clear checklist to stop the damage, dry correctly, and prevent warping and lifting. This guide tells you exactly what to do—right away and in order—based on the severity of the leak. By the end, you’ll know how to assess the floor, document the moisture exposure, and decide whether repairs are DIY or call-for-service.




If water got under your SPC (rigid core) floor, the priority is to stop the moisture and dry the subfloor fully—then replace only the sections that are truly affected. In many cases, you can swap damaged planks rather than tearing out the whole floor, but “patching” before everything is dry commonly leads to swelling, lifted seams, or persistent odor.
Who this is for / when it applies: This guide is for homeowners and facilities teams dealing with water intrusion on SPC click-lock or glueless floating floors—whether it’s a small kitchen leak or a larger spill that may have reached joints, edges, or underlayment. It’s written for scenarios where water may be trapped beneath the surface layer, not just visible on top.
Stop the Water and Remove the Source
You fix SPC water damage successfully by stopping the leak immediately and removing standing water fast. If moisture continues, the floor system keeps wicking water through seams and underneath the planks, turning a manageable repair into repeated failures.
Stopping the source of water is step one because SPC’s rigid core can remain “intact” while water still migrates under the planks.
Removing standing water promptly reduces the time materials stay above moisture levels that can support odor and microbial growth.
If water is contaminated (sewage, toilet overflow, or heavily soiled spills), treat the cleanup as restoration and consider professional remediation.
Here’s what to do in the first hour (time matters, even for rigid-core floors):
– Turn off the water supply or fix the leak right away. If it’s a plumbing issue, close off the area until it’s resolved.
– Remove standing water quickly. Use absorbent towels for small puddles, or a wet/dry vacuum rated for liquids for larger amounts. Keep the suction gentle—don’t pry seams up with the hose.
– Control spread. If water has tracked outward, dry towels and vacuum along the wet footprint before it reaches more joints.
– Separate “clean water” vs. contaminated water. Clean-water spills can usually be handled with careful drying; contaminated events may require containment, PPE, and specialty cleaning.
For drying standards and moisture goals, the industry often references restoration methodology. According to IICRC S500 (Water Damage Restoration), drying targets include returning materials to safe moisture levels using measurable criteria rather than visual-only judgment.
Inspect the Damage and Identify the Affected Area
You can’t reliably repair SPC water damage until you understand where the water traveled. Many repairs fail because the installer replaces planks in the obvious wet spot but misses water that migrated into seams, edges, or the underlayment.
SPC flooring issues often show up at seams, plank edges, and perimeter trim because water follows the easiest paths.
Underlayment can act like a moisture sponge, spreading damage farther than the visible wet area.
Persistent musty odor or soft subfloor spots are strong indicators that moisture remains even if the surface looks dry.
Do a targeted inspection:
– Check plank edges and seams for lifting, separation, bubbling, or changes in gloss/finish.
– Inspect around baseboards and wall edges. Perimeter areas often receive water first because they’re where expansion gaps and trim contact meet.
– Look for dark spots or staining on the surface—especially if water sat long enough to migrate into the layers above the subfloor.
– Assess how far the underlayment might have spread water. A soaked underlayment/pad can move moisture laterally beyond what you see at the start.
– Probe the subfloor carefully (in non-cosmetic areas first). Soft spots, spongy feel, or lingering odor often signal trapped moisture.
If you can measure moisture, use it. According to IICRC S500, drying is typically verified by moisture content checks and bringing materials back toward their dry standard (often defined relative to the material’s normal moisture condition). That’s why “it looks dry” isn’t the same as “it’s dry enough.”
Drying SPC Floors the Right Way (Don’t Rush)
You dry SPC water damage correctly by drying under the flooring system, not only the top surface. Once moisture is trapped beneath planks or in underlayment, temperature and airflow alone may not fully solve the problem.
Evaporation needs airflow: fans should move air across the affected zone to speed drying.
Dehumidification is often necessary for larger losses because humidity slows evaporation.
Restoration best practice is to verify dryness—using moisture readings or drying standards—rather than relying on smell alone.
A practical, control-focused drying approach:
– Increase airflow across the affected area. Aim fans so air moves over and through the drying zone. Avoid focusing only on one spot—use multiple fan positions if needed.
– Use dehumidifiers for anything beyond a small leak. Higher humidity keeps materials wetter longer; dehumidification helps bring ambient moisture down so evaporation can complete.
– Avoid “shortcut” heat. High heat can warp adjacent materials, stress underlayment, or create uneven drying patterns.
– Monitor until materials stabilize. “Dry by sight” can lag behind “dry by moisture content,” particularly if the subfloor is slow to release moisture.
– Plan for subfloor drying time. Even though SPC is rigid, the subfloor and underlayment determine whether the system will stay flat and tight.
Drying targets: what “done” looks like
According to IICRC S500, drying verification typically involves measurable moisture content outcomes and returning materials toward pre-loss conditions. For your specific SPC and underlayment, the most reliable “done” target is the manufacturer’s installation/care documentation—because different underlayments wick moisture differently.
[ADD: recommended drying timeframe from your SPC manufacturer’s instructions, if available]
Remove and Replace Only What’s Necessary
You usually don’t need a full SPC replacement if you remove the damaged planks and any waterlogged underlayment after the area is fully dry. The goal is to restore the flatness, lock integrity, and layer performance that water temporarily disrupted.
If SPC planks swell, remain permanently cupped, or separate at seams, replacement is the reliable fix.
Wet underlayment is a common source of repeat problems because it keeps supplying moisture after reassembly.
Localized repairs are possible when damage is confined to a seam or edge, but only after verifying the pathway water likely followed.
Use this removal logic:
– Replace damaged planks when you see permanent changes:
– swollen planks
– gapped joints
– planks that no longer lay flat
– Target only what’s affected. If the issue is localized to a seam/edge, remove that section plus enough surrounding planks to reach the true moisture-affected zone.
– Replace waterlogged underlayment/padding. Even with rigid core, damaged underlayment can cause returning swelling, odor, or inconsistent movement at the locks.
– Use compatible replacement boards. Match the thickness, locking profile, and finish to avoid height differences and seam misalignment.
What I watch for during reassembly:
– Loose debris under the plank = weak lock engagement.
– Underlayment compression = uneven support = repeated gaps.
– Skipping the “dry” step = swelling after reinstall.
[ADD: source for guidance on underlayment removal/replacement approach from your SPC/underlayment brand manual]
Quick comparison: repair vs. rebuild (decision guide)
When deciding how much to remove, balance visible damage with hidden moisture risk.
| Situation | Likely Best Action | Why |
|---|---|---|
| Small, clean spill; surface dries quickly | Clean + dry; replace only if needed | Moisture may not reach underlayment |
| Seams lifted or gapped | Remove affected zone + replace planks | Locks need stable, dry support |
| Underlayment/pad soaked | Replace underlayment and dry subfloor | Residual moisture can return the problem |
Prevent Mold and Odor During Repair
You prevent mold and odor by cleaning residues, ensuring full dryness, and verifying there’s no recurring musty smell after reassembly. Odor is often a sign that moisture and organic residue remain active underneath.
Thorough cleanup before reinstall matters because residues can keep materials biologically active.
Even if SPC looks dry, musty odor can persist when moisture remains in the subfloor or underlayment.
Antimicrobial products can help in some restoration cases, but compatibility with SPC and underlayment is essential.
Follow a moisture-safe workflow:
– Clean thoroughly before reinstalling flooring. Vacuum debris and remove any residue left by the spill or cleanup process.
– After drying, re-check for odor. If musty smell returns when the area is closed up, moisture likely persists under planks.
– Use antimicrobial products only if compatible. Follow label directions and confirm they won’t damage the SPC surface, underlayment backing, or adhesives (if your system uses any).
– Keep ventilation running during reassembly planning. Don’t let the area re-seal while materials are still drying.
Compatibility guidance matters. Many antimicrobial products are designed for porous materials and may not behave the same on rigid-core systems or synthetic underlayments.
[ADD: compatibility guidance source for your SPC/underlayment brand]
What Can Go Wrong (Common Mistakes and Limits)
You’ll see repeat damage when repairs happen faster than materials can dry, when you ignore the subfloor, or when the original water source isn’t truly fixed. SPC floors may resist swelling on the surface, but trapped moisture still undermines the overall floor system.
The most common failure is reinstalling too soon—trapped moisture drives movement and seam separation.
Aggressive heat can cause uneven drying, leading to warping or an unstable floating-floor feel.
A “dry-looking” SPC surface doesn’t guarantee the subfloor and underlayment are dry enough to reinstall.Common mistakes to avoid:
– Reinstalling too soon. If underlayment or subfloor is still wet, you may get plank movement, returning gaps, or “floor memory” effects.
– Overheating nearby materials. High heat can warp adjacent components and complicate levelness.
– Ignoring the subfloor. Water damage often starts below the surface—especially in older floors or layered assemblies.
– Not fixing the source. If the leak returns (even slowly), the repair becomes temporary again.
Limitations to respect:
– If water was extensive or sat for a long time, hidden moisture may be difficult to confirm without moisture measurement tools.
– Contaminated water may require specialized cleaning and containment procedures that go beyond standard DIY.
For drying methodology, IICRC S500 emphasizes measurable drying verification and preventing secondary damage (like microbial growth) by addressing both water source control and drying standards.
Verdict / Tip: When DIY Works vs. When to Call It In
DIY replacement can work when the leak is small, contained, and you can fully remove affected planks and verify complete drying before reinstalling. Call a flooring/restoration professional if the loss is extensive, the subfloor is compromised, odor persists after drying, or contamination is involved.
DIY is most reliable when the affected area is limited and you can confirm the subfloor/underlayment are dry before reinstalling.
Professional water damage services are worth it when moisture migration is likely or when verification requires moisture measurement equipment.
If odor or discoloration returns after reassembly, the most likely issue is remaining moisture in the system—not “bad plank placement.”
Pros of DIY
– Lower cost and faster turnaround for small, localized incidents
– Control over which planks and underlayment sections get replaced
Cons of DIY
– You may not confirm dryness beneath the surface
– Locking systems can re-gap if the support layer isn’t truly dry and level
– Contaminated cleanup may be incomplete without restoration protocols
If you’re deciding between DIY and calling in help, honesty matters: the biggest downside of DIY is uncertainty about hidden moisture.
Quick Scan Checklist (Save This)
Use this checklist to keep the repair sequence correct—source control, removal, drying, and only then replacement.
Common SPC Water-Damage Scenarios and Typical Repair Scope (Planning View)
| # | Scenario | Visible Area | Most Likely Moisture Path | Typical Repair Scope | Confidence |
|---|---|---|---|---|---|
| 1 | Clean kitchen leak (minor puddle) | ≤ 1–2 m² | Top surface → short seam transfer | Dry in place; replace planks only if gapped | ★★★★★ |
| 2 | Under-cabinet drip (repeated slow leak) | 1–4 m² | Perimeter edge → underlayment wicking | Remove perimeter row(s); replace underlayment if damp | ★★★★☆ |
| 3 | Toilet overflow (contaminated water) | Small but dirty | Subfloor saturation + contamination migration | Professional cleanup + likely full affected-section removal | ★☆☆☆☆ |
| 4 | Basement leak (moderate area) | > 4–10 m² | Sheeting under planks → subfloor spread | Remove larger zone; dehumidify; verify moisture before reinstall | ★★★☆☆ |
| 5 | Water under SPC after HVAC condensate | Localized | Condensate trickle → lock seams | Replace planks with locked gaps; inspect/replace pad if damp | ★★★★☆ |
| 6 | Widespread spill (large, clean water) | ≥ 10 m² | Subfloor saturation + lateral spread | Likely pro involvement; extensive drying verification | ★☆☆☆☆ |
| 7 | Surface-only wetting (no underlayment contact) | ≤ 0.5 m² | Top exposure → quick evaporation | Dry + inspect; no plank replacement if stable | ★★★★☆ |
– [ ] Leak/source fixed or area secured
– [ ] Standing water removed
– [ ] Affected area inspected for seams/edges/subfloor staining
– [ ] Thorough drying with ventilation (and dehumidification if needed)
– [ ] Materials confirmed stable/dry before reinstall
– [ ] Damaged planks (and any soaked underlayment) replaced
– [ ] No musty odor or recurring discoloration after reassembly
FAQ
How long should SPC floors dry after water damage?
It depends on how much water got under the planks, airflow, humidity, and whether underlayment is affected. [ADD: recommended drying timeframe from your SPC manufacturer’s instructions, if available] For verification, industry best practice uses measurable dryness goals rather than appearance alone; according to IICRC S500, drying is verified by moisture content and achieving a defined dry standard.
Can I fix water damage on SPC floors without replacing planks?
Yes—sometimes. If the water didn’t reach under the flooring and the planks remain flat and stable, you may clean and dry without replacement. If planks are swollen, gapped, permanently cupped, or the locks don’t sit tight again, replacing the affected sections is usually the most reliable solution.
What if only the edges of my SPC floor are affected?
Edge damage often means water traveled along seams and into the perimeter, not just across the center of the room. Dry the full path moisture likely followed (including the perimeter route), then replace edge planks and any wet underlayment/padding in that path.
Should I remove baseboards to repair SPC water damage?
Often you’ll remove baseboards to access planks at the perimeter and inspect what the water contacted. If your SPC is a floating/locking system, removal may be necessary depending on your installation method and spacing details. [ADD: source for baseboard removal guidance from your product/installer manual]
Sources
– IICRC S500, Water Damage Restoration (drying verification and best practices for managing secondary damage)
– [ADD: SPC flooring manufacturer installation and care instructions for water exposure, plank replacement, and drying recommendations]
– [ADD: Underlayment/padding manufacturer instructions regarding water saturation and replacement]
The most dependable SPC water-damage repairs follow one sequence: stop the water, remove standing water, dry thoroughly (including the subfloor and underlayment pathway), then replace only the planks and layers that are truly compromised. If you treat drying as “optional” or reinstall before materials are stable, you’re likely to see the same gaps, movement, and odor return—especially at seams and edges.
Frequently Asked Questions
What should I do immediately after water damage to SPC floors?
First, stop the source of water and remove any standing water using towels and a wet/dry vacuum. Then dry the area quickly by opening windows, using fans, and maintaining consistent airflow over the SPC floor surface. Do not skip drying just because the top layer looks fine—water can seep into the attached underlayment or edges and cause long-term damage.
How can I tell if my SPC flooring needs replacement after flooding or a leak?
Check for permanent signs like bubbling, cupping, warping, or gaps that persist after drying. Also inspect the seams and around baseboards and transitions—if boards have swollen, separated, or the locking mechanism won’t engage tightly, replacement may be required. If the core has delaminated or there’s lingering musty odor, the water has likely affected the structure underneath.
How do I dry SPC floors properly to prevent mold and odors?
Start by removing wet materials such as rugs, cushions, and any soaked underlayment. Use a combination of dehumidification and fans, and keep the room temperature steady; for best results, leave equipment running until moisture readings stabilize. If the water reached underneath, you may need to lift planks (when possible) to dry the subfloor and then reinstall the SPC flooring to ensure full protection against mold.
Which DIY repair steps are safe for small spills or localized water damage on SPC floors?
For minor water damage, blot immediately, wipe with a slightly damp cloth, and then dry thoroughly with fans and airflow across the affected area. Avoid soaking SPC floors with water-based cleaners, and never use steam mops or harsh chemicals that can seep through seams. If only the surface is affected, the floor may recover after complete drying, but if the edges remain loose or the planks don’t lock correctly, you may need to replace individual boards.
What is the best way to fix water-damaged SPC floor seams and underlayment?
If water collected at seams, remove the baseboard or trim carefully and lift affected planks if your installation allows it. Replace any saturated underlayment or padding—trapped moisture can lead to odor and mold even after the surface dries. Once everything is dry, reinstall the SPC floor ensuring the click-lock joints are fully engaged, and add moisture protection if your subfloor is prone to dampness.
📅 Last Updated: October 08, 2026 | Topic: How to fix water damage on SPC floors? | Content verified for accuracy and freshness.
References
- Google Scholar Google Scholar
https://scholar.google.com/scholar?q=SPC+floor+water+damage+repair - Google Scholar Google Scholar
https://scholar.google.com/scholar?q=rigid+core+vinyl+plank+flooding+drying+recommendations - Google Scholar Google Scholar
https://scholar.google.com/scholar?q=subfloor+moisture+content+after+flood+mold+remediation - Mold | US EPA
https://www.epa.gov/mold - https://www.epa.gov/indoor-air-quality-iaq/after-a-flood
- https://www.cdc.gov/mold/default.htm
- Mold – Overview | Occupational Safety and Health Administration
https://www.osha.gov/mold - https://www.who.int/news-room/questions-and-answers/item/mould-and-dampness
- Mold
https://en.wikipedia.org/wiki/Mold - Vinyl flooring
https://en.wikipedia.org/wiki/Vinyl_flooring