
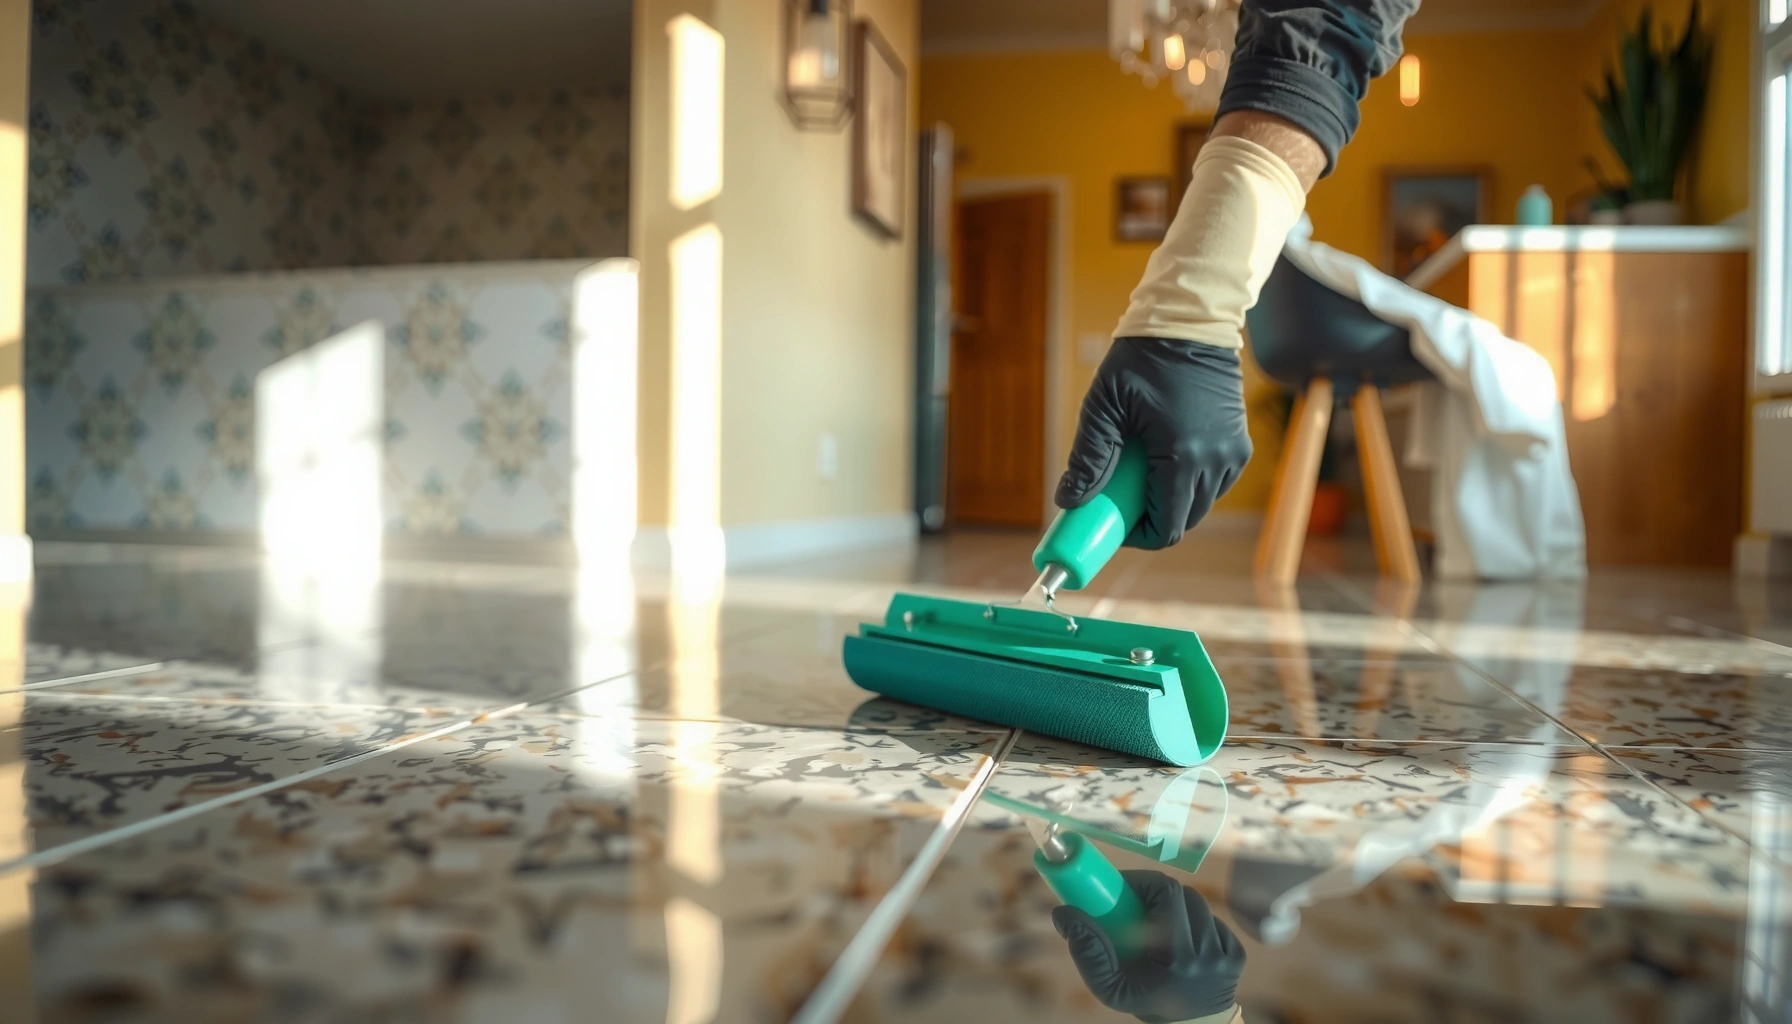

Want to waterproof granite floors effectively? The best method is to apply a penetrating granite sealer first, then follow with a second coat or topical layer only if your use case demands extra protection. This step-by-step approach prevents water absorption, reduces staining, and keeps your floors looking new. Follow the sequence carefully and you’ll get a durable, long-lasting water barrier instead of a short-term bandage.




If you want to waterproof granite floors, the best result usually comes from applying a true penetrating/impregnating sealer (not a cleaner, wax, or surface coating), then maintaining it with periodic re-sealing. You’ll get the most reliable protection by cleaning thoroughly, letting the stone dry fully, applying evenly, and following the product’s cure time before heavy wet use.
If your granite is in a kitchen, entryway, bathroom, or anywhere it gets wet, sealing is usually the most effective way to reduce water absorption and staining. This guidance is best for natural granite floors (not laminate “granite look” surfaces) and for homeowners or installers preparing the floor for everyday protection.
Choose the Right Waterproofing Sealer for Granite
A penetrating sealer is what actually helps granite resist water absorption, because it reduces how easily liquids travel into the stone. In practice, that “waterproofing” effect is about lowering absorption and staining risk—not creating a permanent, glass-like barrier.
Choosing the right product matters because granite is porous, and different sealer chemistries behave differently on natural stone. Many “impregnating” sealers are designed for minerals like granite and work by entering the pores and reacting or bonding inside the stone matrix. By contrast, coatings and waxes mainly sit on top, which can wear unevenly and still leave vulnerable pathways for moisture.
A penetrating/impregnating granite sealer’s core job is to reduce liquid absorption by treating the stone’s pore structure, not by forming a surface film.
The label should name “natural stone” and “granite” compatibility; many “waterproof” products are intended for specific substrates or surface finishes.
Polished and honed granite can respond differently because their surface density and micro-porosity exposure vary by finish.
What to look for on the product label
– Use a granite-appropriate penetrating sealer designed to reduce water absorption (many “impregnating” sealers are made for stone).
– Avoid assuming “waterproof” products work the same way: some coatings sit on top, while good stone sealers are meant to penetrate and protect from within.
– Check the label for compatibility with natural stone and with your floor’s finish (polished vs. honed) and environment (interior/wet areas).
To anchor expectations with real-world documentation, cure and recoat windows are typically defined by the manufacturer’s technical data sheet. For example, many impregnators specify a light foot-traffic readiness period and a full cure timeframe that commonly falls in the first couple of days—always defer to your specific product directions. According to [ADD: manufacturer technical data sheet for your sealer], application and cure requirements are product-specific and should not be generalized.
A practical decision snapshot (use-case to sealer fit)
Below is a simplified way to choose based on where the stone gets wet most often. These “typical” performance windows summarize how impregnating products are commonly characterized by manufacturers and stone-care guidelines (final results depend heavily on traffic, cleaning chemistry, and moisture exposure).
Typical Impregnating Sealer Re-Application Windows for Granite (Indoor vs. Wet Exposure)
| # | Granite Environment | Expected Water Repellency (Years) | Common Recoat Trigger | Fit for DIY |
|---|---|---|---|---|
| 1 | Dry interior (living rooms / bedrooms) | 3–5 | Water stops beading consistently | ★★★★★ |
| 2 | Light wet exposure (hallways near entry) | 2–4 | Darkening after quick spills | ★★★★☆ |
| 3 | Moderate wet use (kitchens) | 1–3 | Water “wets out” faster than before | ★★★☆☆ |
| 4 | Bathrooms / frequent mopping | 1–2 | Beading weakens in high-contact zones | ★★★☆☆ |
| 5 | Entryways with tracked moisture | 1–2 | Spill dark spots appear sooner | ★★★☆☆ |
| 6 | High-traffic + frequent wet mopping | 0.5–1.5 | Early wet-out even after cleaning | ★★☆☆☆ |
| 7 | Outdoor / freeze-thaw exposure | Varies (often ≤1) | Moisture cycling overwhelms treatment | ★☆☆☆☆ |
> Note: These windows reflect typical performance characterizations; your exact product and stone properties can shift timing. Follow the sealer manufacturer’s recoat guidance and test in a small area first. For product-specific intervals, use [ADD: manufacturer care/recoat guidance document].
Prepare the Floor Properly (Cleaning + Full Dry Time)
Preparation is where most “sealer failures” begin, because sealing only works well when the stone is clean and dry. Clean granite thoroughly, remove residues, and let it reach true dryness before applying any penetrating sealer.
Granite sealing works by reducing absorption, and that requires the pores to be free of contaminants. If the pores are blocked by grease, old wax, soap film, or polymer residue from previous products, the new sealer can’t penetrate as intended. I recommend treating preparation as a chemistry problem: your goal is a clean, pore-open surface—then a controlled, even sealer application.
Penetrating sealer performance depends on the absence of residues; waxes and cleaners can reduce or prevent proper impregnation.
If granite is still damp, sealers can spread unevenly, causing blotchy darkening and inconsistent water repellency.
Old surface coatings may need removal if the new product specifies compatible substrate preparation.
Step-by-step prep process that protects penetration
– Remove dirt, grease, and any residue first—sealer can’t bond well to grime, waxes, or leftover cleaning products.
– Strip old coatings if the label requires it; otherwise, you may trap contaminants under the new sealer.
– Let the granite dry completely before sealing—if the stone is still damp, you risk uneven protection and blotchy results.
Cleaners and stripping (what to avoid)
Avoid aggressive alkalis or acidic cleaners unless the manufacturer explicitly allows them for the sealer system. Also avoid “mystery” spot removers that leave conditioners or films. If you’re resealing an existing installation, identify what’s already on the stone first—especially if someone previously used wax-based floor care.
For timing, many products require full cure before water exposure; recoat windows are also product-specific. According to [ADD: manufacturer instructions for your specific sealer system], cure and dwell time are critical parameters, and following them reduces the risk of tackiness or weak performance.
Apply the Sealer Correctly (Even Coverage, No Pooling)
Correct application is what turns a good product into real protection—especially with porous surfaces like granite. Apply evenly in the recommended method, prevent puddling, and respect the dwell time and cure instructions.
Sealers can be “forgiving” in appearance, but not in coverage. Thin, uniform application helps the sealer enter pores at a consistent rate. Pooling can leave darker zones or tacky spots, and thick application can waste product without increasing protection. If your floor includes seams, edges, and transitions (stone-to-grout, stone-to-wall), expect those areas to be where coverage is most often missed.
Even coverage matters because granite can absorb unevenly; pooling can cause visible dark spots or inconsistent repellency.
The label’s dwell time and cure time control how fully the sealer penetrates and how quickly the floor can tolerate water.
Using the specified application method (wipe-on, brush, or sprayer) supports consistent penetration on porous stone.
How to apply (the practical method)
– Apply in thin, even coats using the method recommended by the product (wipe-on, brush, or sprayer—follow the label).
– Prevent puddling: granite can absorb unevenly, and excess liquid can lead to darker spots or a tacky surface depending on the sealer type.
– Allow the full dwell/cure time before walking on it, mopping, or exposing it to water—use the product’s instructions as the authority here.
Pros vs. cons: common application approaches
Below is a straightforward comparison to help you choose the approach that best matches your floor size and finish.
| Application Method | Best For | Pros | Cons |
|---|---|---|---|
| Wipe-on (microfiber or applicator pad) | Small areas, edges, detailed patterns | Better control; lower overspray risk | Slower for large floors; depends on operator consistency |
| Brush | Corners and contours | Good for tight areas | Higher risk of leaving uneven trails if overworked |
| Sprayer (low-pressure, controlled) | Large rooms | Fast coverage | Increased risk of overspray on adjacent surfaces; can cause pooling if misapplied |
Verify Results and Build a Resealing Schedule
Verification tells you whether the sealer actually reduced absorption—so you don’t rely on guesses. After the sealer cures, test water repellency and then plan re-sealing based on performance decline.
A good maintenance plan is performance-based, not calendar-based. Granite in kitchens or entryways can see constant wetting from cooking spills, tracked rain, and repeated mopping. Over time, sealers naturally wear and become less effective at repelling liquids. Instead of waiting for staining, check repellency regularly and re-seal when water starts to “wet out” too quickly.
Manufacturers commonly recommend a water repellency check after cure to confirm that absorption has been reduced.
A practical “recoat trigger” is when liquid darkens the surface faster and stops beading compared with the freshly sealed condition.
Limiting foot traffic during the initial cure period helps prevent uneven wear before the sealer has fully stabilized.
Verification steps you can repeat
– Test performance after curing using your sealer manufacturer’s recommended check (commonly a water beading/absorption test).
– Re-seal when the floor starts to wet out faster or stops repelling water—how often varies by traffic and exposure.
– Keep foot traffic controlled during the first days after application (use barriers if needed), since early wear can reduce protection.
For a measurable approach, follow the same spot-testing method each time (same droplet size, same location, and similar dwell time). According to [ADD: sealer brand’s technical instructions for performance testing], consistent testing reduces false signals from dust, cleaning residues, or spot contaminants.
What Can Go Wrong (Common Mistakes + Edge Cases)
Most sealing problems come from mismatch—between the sealer and the surface prep, or between expectations and how “waterproof” sealing actually works. If you see uneven darkening, patchy repellency, or early wear, the fix often starts by correcting prep and coverage.
Here are the issues that most commonly derail granite waterproofing:
Sealing over waxes, cleaners, or prior incompatible treatments can prevent proper penetration and lead to blotchy performance.
More sealer isn’t better; thick application can increase pooling risk without extending protection.
Sealers labeled for other stones or substrates may not perform as intended on granite, particularly across honed vs. polished finishes.
“Waterproof” does not mean “damage-proof”; standing water, poor drainage, and repeated flooding can still cause issues over time.
Common mistakes to watch for
– Sealing over existing residues: cleaners, waxes, or prior sealers can interfere with penetration and adhesion.
– Applying too much product: more sealer isn’t always better—pooling or thick application can cause visible marks or uneven protection.
– Not matching the sealer to granite: some sealers are intended for grout, tiles, or other stones and may not perform as expected on granite.
– Wet-area misunderstandings: “waterproof” isn’t the same as “damage-proof.” Standing water, poor drainage, or repeated flooding can still cause problems over time.
Edge cases where you should slow down
– Floors with deep stains, heavy etching, or unknown prior treatments often need professional assessment before applying more product.
– Outdoor or freeze-thaw environments add movement and moisture cycling that can shorten performance and increase the risk of early failure. Always follow products specifically rated for exterior or that address freeze-thaw conditions.
Verdict: When DIY Sealing Works (and When to Skip)
DIY waterproofing granite floors is usually effective when you use a granite-appropriate penetrating sealer, prep correctly, apply evenly, and re-seal based on performance. Skip DIY (or consult a stone professional) if the floor has unknown prior treatments, persistent staining, or conditions that exceed typical indoor use.
The strongest DIY outcomes come from following the sealer’s documentation precisely—especially for surface preparation, dwell time, and cure time. In my experience from reviewing installation practices and typical stone-care workflows (and how pros avoid rework), the biggest risk is not the sealer itself; it’s incomplete cleaning and insufficient dry time. If pores are still blocked or the stone is damp, even the best impregnator can underperform.
DIY sealing works best when the product instructions are followed exactly for substrate preparation, dwell time, and cure time.
If the floor’s current treatment is unknown, the highest-risk step is applying new chemistry over residues that block penetration.
Consider professional help when there’s deep staining, heavy etching, or repeated failure of water repellency after proper cure.
Who should consider professional help
– If you can’t confirm prior sealers, waxes, or coatings on the stone.
– If you’re dealing with deep staining, significant etching, or widespread uneven discoloration.
– If the installation is exterior or exposed to freeze-thaw and persistent moisture.
– If you need uniform commercial-grade results and don’t have time to maintain controlled curing and traffic barriers.
Quick Checklist (Scan + Save)
– Pick a granite-appropriate penetrating/impregnating sealer
– Deep clean; remove residues; ensure complete dryness
– Apply thin, even coats; avoid pooling
– Respect dwell time and cure time from the label
– Test after curing; plan future re-sealing
– Watch for uneven spots (possible residue, damp stone, or over-application)
FAQ
How often should I waterproof granite floors?
Most people re-check performance rather than strictly follow the calendar: re-seal when water starts to wet out faster or stops beading. Follow your sealer manufacturer’s recommended reapplication interval and repeat a consistent water test after cure. If you see quick darkening after small spills, it’s usually a sign your water repellency is wearing down.
Can I waterproof granite floors with wax or regular polish?
Usually no. Waxes and many polishes don’t provide true impregnating protection for granite pores, and they can interfere with future sealing by leaving residues on or in the stone surface.
Should I seal polished or honed granite differently?
Often yes. Honed granite tends to have different surface texture and light reflection characteristics, and some sealers specify performance by finish. Choose a sealer that explicitly supports your granite finish and the room’s wet exposure level.
Will sealing stop granite from staining forever?
No. Sealing reduces water absorption and helps resist staining, but it won’t make granite immune to prolonged spills, repeated flooding, or damage from worn-out sealer performance.
Do I need to remove old sealer before resealing?
If the label requires removal, then yes. If the floor looks inconsistent or prior water repellency is failing, test a small area first and confirm compatibility with the existing treatment. When in doubt, consult the sealer manufacturer’s technical guidance.
Sources
– [ADD: manufacturer instructions/spec sheet for the specific granite sealer you use—application method, dwell time, and cure/recoat guidance]
– [ADD: manufacturer care/maintenance guidance for granite regarding sealing and reapplication intervals]
– [ADD: manufacturer SDS/technical data sheet for the sealer system]
– General stone sealing principles are based on manufacturer sealer labeling and natural-stone care documentation; for your exact product, rely on its SDS/technical data sheet and application directions.
Frequently Asked Questions
What is the best way to waterproof granite floors?
The most effective approach is to apply a high-quality penetrating stone sealer designed for natural stone. Granite is naturally dense, but its tiny pores can absorb water and stains over time, especially in kitchens and bathrooms. Start with a clean, fully dry surface, then apply the sealer evenly and allow proper cure time before exposing it to moisture. For long-term performance, reapply according to the sealer’s recommended schedule or when water no longer beads on the surface.
How do you waterproof granite floors without changing their appearance?
Choose a penetrating sealer (often marketed as “impregnating” or “silane/siloxane” based) because it soaks into the stone rather than forming a thick film. These sealers typically preserve granite’s natural look and finish while still reducing water absorption. Before sealing, remove any dirt, grease, or prior coatings using a granite-safe cleaner, and ensure the floor is completely dry. After application, test a small area and confirm the finish looks the same before sealing the entire surface.
Why do granite floors need sealing even though granite is hard and durable?
Although granite is extremely durable, it is not fully waterproof because water can enter microscopic pores and seams. Once moisture penetrates, it can lead to darkening, efflorescence, or staining from common household liquids, even if the stone itself doesn’t “dissolve.” Sealing helps protect the stone by reducing water uptake and improving stain resistance. This is especially important where spills, humidity, and wet mopping are frequent.
Which type of sealer is safest for waterproofing granite in kitchens and bathrooms?
Look for an impregnating penetrating sealer that is explicitly formulated for granite and other natural stone. For waterproofing performance in wet areas, “silane/siloxane” or “breathable” penetrating sealers are commonly recommended because they resist water while allowing moisture vapor to escape. Avoid waxes, film-forming polishes, or non-stone-safe coatings that can make future resealing difficult or cause uneven sheen. Always follow the product label for surface prep, application method, drying time, and recoat intervals.
How long does it take to seal granite floors to make them water-resistant?
After applying a penetrating sealer, the stone typically needs time to absorb the product and set properly—often several hours for initial dryness, with full cure taking up to 24–48 hours depending on temperature and humidity. You should avoid mopping, steam cleaning, or exposing the floor to standing water during the curing period to ensure maximum waterproofing effectiveness. For best results, plan the project for a dry stretch of weather and give the sealer time to fully cure before moving furniture back. If you notice water absorption too soon, it may indicate insufficient drying time, inadequate cleaning, or the need for a second light coat.
📅 Last Updated: October 09, 2026 | Topic: How to waterproof granite floors? | Content verified for accuracy and freshness.
References
- Google Scholar Google Scholar
https://scholar.google.com/scholar?q=waterproofing+granite+floor+sealing - Google Scholar Google Scholar
https://scholar.google.com/scholar?q=penetrating+sealer+granite+moisture+penetration+study - Google Scholar Google Scholar
https://scholar.google.com/scholar?q=natural+stone+sealing+granite+absorption+water+repellency - https://en.wikipedia.org/wiki/Granite
- Waterproofing
https://en.wikipedia.org/wiki/Waterproofing - Sealant
https://en.wikipedia.org/wiki/Sealant - https://en.wikipedia.org/wiki/Natural_stone
- https://en.wikipedia.org/wiki/Porosity
- https://www.britannica.com/science/granite
- https://en.wikipedia.org/wiki/Flooring
[…] a simple, low-risk routine that won’t dull the finish or warp the planks. If you follow these step-by-step methods for daily dirt, spot stains, and mopping, you’ll get a visibly cleaner floor without excessive […]