
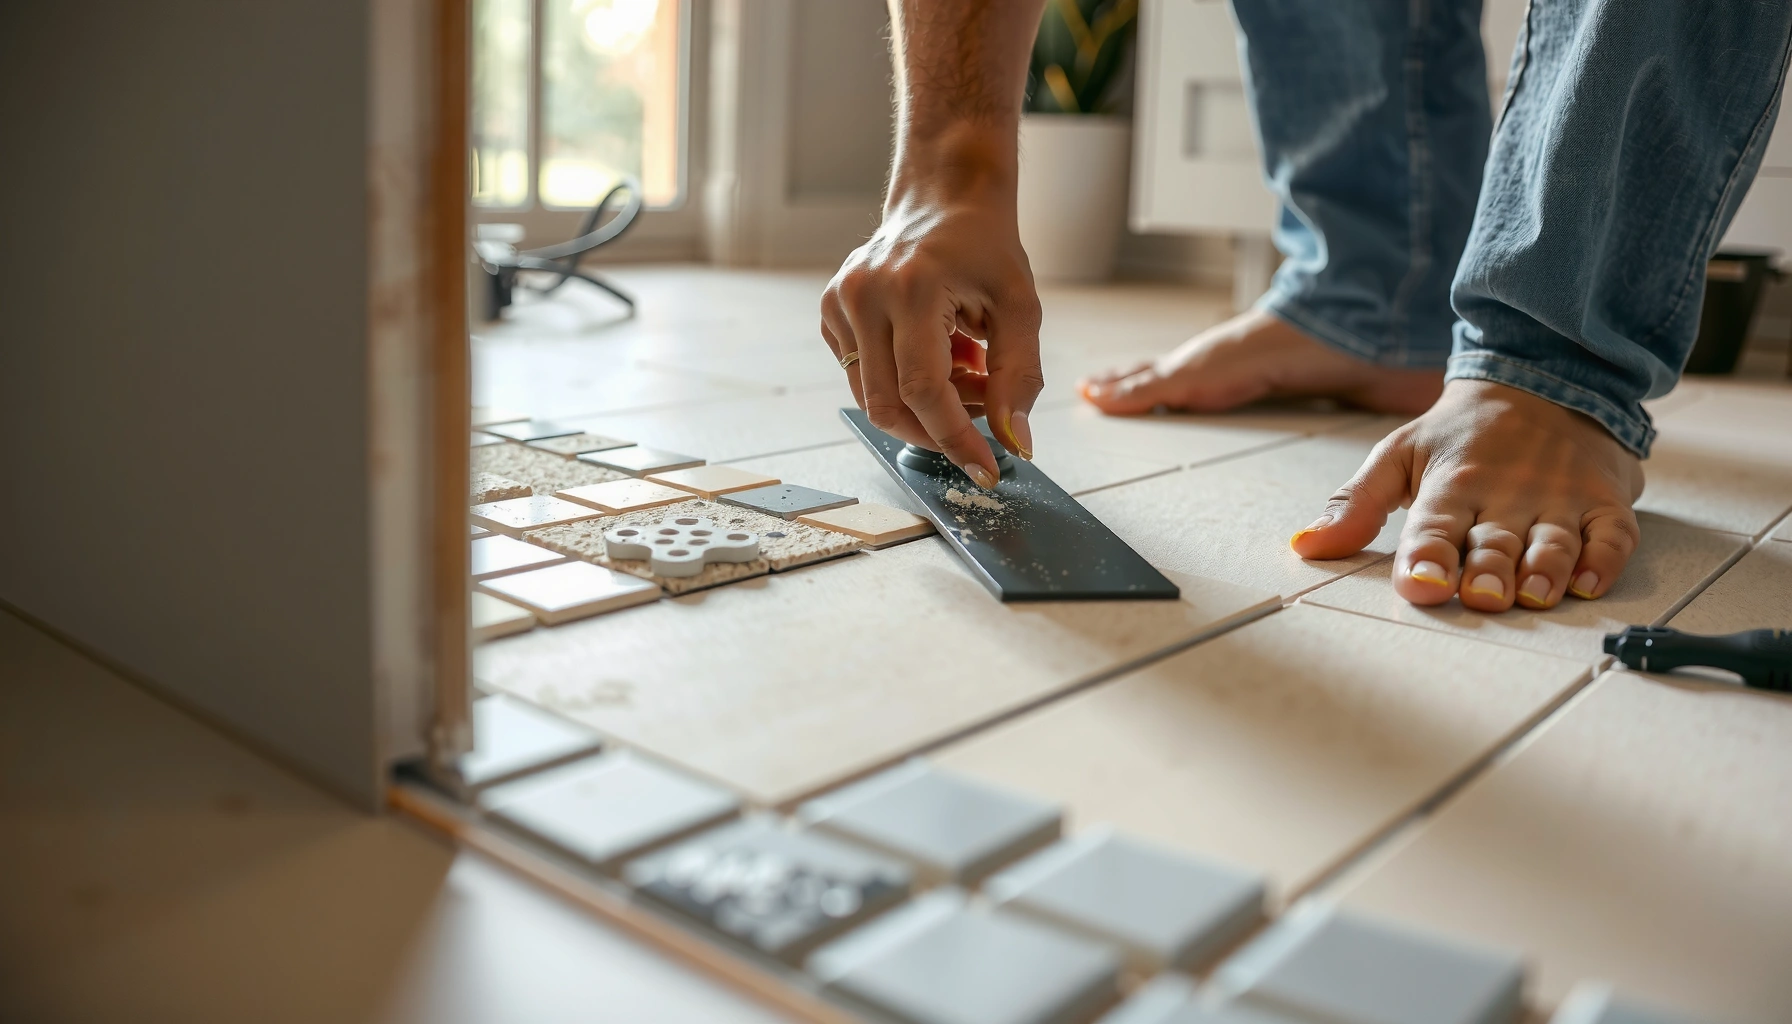

Want to install new flooring over tile mosaic tile floors without guessing? This step-by-step guide shows you exactly when you can tile right over the existing mosaic tile and when you must remove or level it first. You’ll learn how to prep the surface, choose the right thinset/adhesive system, and set the new tile for a flat, durable finish.




Yes—most mosaic tile floors can be installed over existing mosaic tile, provided the surface is solid, properly cleaned/abraded, and made flat enough for your new tile to lock in. The fastest path is to verify the old floor is firmly bonded, flatten ridges/dips, then use a manufacturer-approved “tile over tile” thinset system so the new mosaic grout and tile don’t crack or loosen later.
This guide is for homeowners and DIYers who want to avoid full tile demo and re-tile directly over an existing mosaic tile floor. It’s especially relevant when the original mosaic is not rocking, not hollow-sounding, and not suffering widespread water-related failure—because those are the scenarios where “tile-over-tile” actually works.
Check if the existing tile is “safe to cover”

Covering mosaic tile over tile works when the existing floor behaves like a stable substrate—not when it’s moving, failing, or repeatedly wet. If you find loose tiles, hollow spots, or significant movement, the safer solution is removal and subfloor repair before you attempt tile-over-tile.
“Tile-over-tile” is only a good choice when the existing tile is firmly bonded and the substrate is flat enough to prevent lippage and stress on grout joints.
Most thinset mortar manufacturers require the old tile surface to be clean and mechanically prepared (e.g., abrasion/scuffing) to achieve a durable bond.
Standards such as ANSI/TCNA guidance emphasize that bond and performance depend on surface preparation and overall substrate stability, not just using thinset.
First, you’re validating the existing mosaic tile—not hoping it holds. Run a firm tap-test across the entire floor (use your knuckles or a light mallet). Any loose or hollow-sounding tiles mean you have to remove those areas and rebuild the substrate, because the new mosaic tile can only be as stable as what it’s attached to.
Next, check flatness. Mosaic tiles are smaller, which helps tolerance, but the grout and tile still transmit irregularities from the old floor. If there are high ridges along old grout lines, you can end up with cracked grout, cracked tiles, or a patchy appearance where light reveals waves. For a practical check, use a straightedge (commonly 6–10 ft) and note where light gaps appear—then plan grinding/filling where needed.
Finally, inspect for damage and moisture history. If the existing floor shows widespread cracking plus signs of water intrusion (staining, recurring efflorescence, soft subfloor areas), don’t treat “tile-over-tile” as a fix. You’re covering the symptom, not the cause—especially in bathrooms, kitchens with recurring spills, and any area with plumbing leaks.
Quick decision rule (tile-over-tile)
– If the mosaic tile is solid, flat enough, and not actively failing, tile-over-tile is usually workable.
– If it’s rocking/loose/hollow or there are strong moisture/movement signs, removal is the more reliable route.
Prep the tile surface so new thinset can bond
The bond in a tile-over-tile install is won or lost during prep. You need deep cleaning, mechanical abrasion of the glossy surface, and leveling of dips/high spots so your new thinset can form consistent contact across the mosaic floor.
Thinset bond requires removing contaminants like wax, soap scum, dust, and grease that can interfere with cement hydration and adhesion.
If the existing mosaic glaze is glossy or non-porous, thinset manufacturers typically require scuffing/abrasion so the mortar can key into the surface.
Grinding high spots and filling low spots reduces stress concentrations that commonly lead to cracked mosaic tiles or grout joints in tile-over-tile floors.
Start with degreasing and cleaning. Even if the floor looks “clean,” residues from daily life—cleaners, polish/wax buildup, and dust—can create a weak bond plane. Use a cleaner intended for removing residues (follow label directions), then scrub thoroughly and rinse as appropriate. After drying, wipe again with clean water/clean cloth to verify you’re not leaving surfactant film behind.
Next comes mechanical roughening. Glossy glazed mosaic tile is often the reason tile-over-tile fails. Thinset isn’t just “glued”—it relies on cement chemistry plus mechanical interlock with the surface texture. Scuff sanding or light grinding is typically what the tile-over-tile process calls for. Avoid aggressive grinding that creates deep gouges, but do remove enough sheen to turn the glaze from slick/shiny to uniformly abraded.
Now address flatness. If your existing mosaic floor has ridges between grout joints, those ridges can telegraph through—small mosaics are more forgiving than large-format tile, but they still don’t eliminate the physics. Grind peaks, and fill depressions using a compatible patching approach rated for your floor system (or rebuild the substrate where needed). The goal is a surface where thinset can spread evenly and you can achieve full contact.
Finally, keep the work clean during layout and installation. Dust is bond’s enemy. After abrasion and leveling, vacuum thoroughly and wipe with a method recommended by your mortar system guidelines.
Choose the right bonding/underlayment approach
The right tile-over-tile approach is about compatibility: the thinset system must be approved for bonding to existing tile, and any underlayment must be rated for this specific over-tile use. If you mix unapproved products or skip required steps, you’re effectively building on uncertain adhesion.
A tile-over-tile installation should use a thinset mortar system that is explicitly intended/approved for bonding to existing tile surfaces.
Cement-based tile thinset systems require proper mixing and cure behavior; following manufacturer instructions is critical for bond strength.
If an underlayment is part of the plan, it must be listed/rated for installation over existing tile, otherwise it can introduce movement or debonding.
Here’s the decision logic I use when planning tile-over-tile mosaic floors:
– No underlayment (common choice): Prepare the existing tile (clean + abrade + flatten), then bond the new mosaic directly using a manufacturer-approved thinset for tile-over-tile.
– Underlayment included (less common): Only use an underlayment/tile-underlayment system specifically rated for over-tile installation, and follow its fastening and layering rules.
Pros/cons: direct bond vs. underlayment (tile-over-tile)
| Approach | Pros | Cons / Watch-outs |
|---|---|---|
| **Direct tile-over-tile bond** (thinset directly over existing mosaic) | Fewer layers, simpler system, often faster; minimizes height build-up | Requires excellent surface prep and flatness; relies heavily on correct thinset/mortar compatibility |
| **Tile-underlayment over existing tile** | Can improve flatness and reduce minor irregularities if the product is rated for over-tile | Adds thickness and complexity; performance depends on the underlayment being specifically approved for tile-over-tile and installed per specs |
Trowel strategy (small mosaic specifics)
Mosaic floors can be sensitive to coverage. Your thinset needs consistent spread, and the notch size must match your tile thickness and back-configuration. When in doubt, reference the tile manufacturer’s specs and the mortar manufacturer’s “trowel size/coverage” guidance for your particular tile type.
Also: dry-fit your layout before you commit. Tile-over-tile doesn’t remove the need for a good plan—if you force small mosaics into spotty transitions, you may create weak grout geometry and visible misalignment.
Typical Trowel Notch Guidance for Installing Sheet Mosaic (Tile-Over-Tile)
| # | Mosaic Sheet / Individual Tile Size | Common Thinset Notch | Back-Buttering? | Installer Confidence Rating |
|---|---|---|---|---|
| 1 | 1″ × 1″ (2–2.5 cm) typical | 1/4″ × 1/4″ (6 mm) | Often recommended | ★★★★☆ |
| 2 | 1-1/2″ × 1-1/2″ typical | 1/4″ × 1/4″ (6 mm) | Usually recommended | ★★★★☆ |
| 3 | 2″ × 2″ typical | 1/4″ × 1/4″ (6 mm) to 3/8″ (10 mm) | Commonly required | ★★★☆☆ |
| 4 | 2″ × 2″ with thicker backing | 3/8″ × 3/8″ (10 mm) | Required | ★★★☆☆ |
| 5 | Mixed-size mosaic sheets | Match to largest unit | Recommended | ★★★☆☆ |
| 6 | Mosaic with high-profile lippage risk | 3/8″ × 3/8″ (10 mm) plus leveling checks | Required | ★★☆☆☆ |
| 7 | Small mosaics on uneven old tile | Re-prep flatness first; notch per tile spec | Required | ★☆☆☆☆ |
Install the new mosaic tile (the actual steps)
Tile-over-tile mosaic installation is straightforward when you control alignment and achieve full thinset contact under each sheet/tile. The core steps are: layout, thinset mixing/spreading, tile setting with consistent spacing, then grout after the correct cure time.
A level reference line and dry layout are the fastest way to keep mosaic patterns straight when installing tile over existing tile.
Back-buttering (also called “keying in” mortar to the tile back) improves coverage and reduces the risk of weak spots under small-format mosaics.
Grout and thinset have specific cure times; applying grout too early can weaken the bond line and cause shifting or discoloration.
1) Set your starting line. Choose a longest straight wall or the most visually prominent axis. Snap lines for perpendicular directions, then dry-fit several rows to confirm the mosaic layout looks intentional.
2) Dry layout to check pattern alignment. Because mosaic sheets can shift slightly during cutting and setting, you want to confirm how the pattern lands before thinset ever touches the floor.
3) Mix thinset correctly. Use the exact water ratio and mixing method recommended on the mortar bag; inconsistent mixing is one of the most common reasons tile-over-tile jobs develop bond issues.
4) Spread thinset with the correct trowel. Use steady pressure to produce uniform ridges. Then, if your tile/tile size and manufacturer require it, back-butter—especially for mosaics with textured backs or any scenario where you can’t visually confirm coverage.
5) Set tiles with consistent spacing. Use spacers as needed (mosaic sheets often include alignment grids, but spacers still help consistency at transitions). Apply light pressure and check that sheets sit flat and don’t rock.
6) Check coverage during installation. Lift a set tile/sheet after initial bonding and confirm mortar contact coverage across the back. For tile-over-tile floors, coverage expectations are often defined by standards and manufacturer specs; verify your system’s requirement. (According to ANSI/TCNA-related guidance, coverage targets vary by location and installation—confirm the exact threshold for your product.) [ADD: source for tile-over-tile coverage requirement and where it applies]
7) Grout after cure time. Follow thinset cure times before grouting and follow grout manufacturer instructions for initial cure (commonly keeping traffic off the floor for the specified period). [ADD: source for grout cure/ready-to-walk timing you intend to cite]
What can go wrong (and how to avoid it)
Most problems in tile-over-tile mosaic floors trace back to inadequate prep, uneven substrates, or ignoring movement/moisture conditions. When the original floor is stable and properly prepped, tile-over-tile is more reliable—but it won’t compensate for structural issues.
Bond failures in tile-over-tile installs are most often linked to insufficient cleaning/abrasion of the old glazed surface.
Cracked grout and lippage on mosaic floors usually indicate flatness problems—old ridges and dips telegraph into the new install.
Tile covering does not stop ongoing moisture intrusion or fix a moving subfloor; tile-over-tile can fail quickly if the root cause remains.
Here are the high-probability failure modes and how to prevent them:
– Poor bond from glossy glaze: If you don’t abrade and degrease, the thinset bond can be weak and may delaminate over time—especially where foot traffic is heavy.
– Uneven substrate: Old grout ridges, dips, and high spots create stress points. Mosaic tiles may be small, but grout is still rigid enough to crack if the base flexes unevenly.
– Moisture and movement issues: If the existing tile cracked due to moisture intrusion or subfloor movement, covering it won’t fix the failure mechanism.
– Rushing cure times: Thinset and grout cure chemically and mechanically. If you grout too early or start walking before the product is ready, you can create weak bonding and shifting.
One reality check with tile-over-tile
If you’re unsure whether the subfloor is stable, assume removal is the safer path. Tile systems can distribute loads, but they can’t “out-design” a continuously moving foundation.
Verdict / tip (when this is worth it—and when to skip)
Covering an existing mosaic tile floor is worth it when you’ve confirmed firm bonding, reasonable flatness, and correct thinset/underlayment compatibility for tile-over-tile. It’s not worth it when movement, hollow sections, or moisture intrusion are present—those scenarios call for demo and proper substrate repair.
Tile-over-tile mosaic installs succeed when the existing tile is well-bonded and prepared; they fail when the substrate is unstable or not mechanically keyed for adhesion.
Following manufacturer instructions for mortar compatibility and cure timing is a prerequisite for durable tile-over-tile performance.
Skip this tile-over-tile approach if:
– Tap tests reveal widespread hollow tiles
– Cracks indicate ongoing movement or water intrusion
– The floor is too uneven to flatten without creating thinset “patch thickness” extremes
– You can’t confidently identify a mortar system approved for tile-over-tile
Do it when:
– The existing mosaic is firmly bonded and not rocking
– You can clean/degrease thoroughly and abrade the glaze
– You can achieve a reasonably flat surface for consistent thinset ridges and contact
Quick scan checklist (save this)
– ☐ Tap-test for loose/hollow tiles; remove and repair any failures
– ☐ Check flatness; grind high spots and fill low spots
– ☐ Deep clean and degrease; remove all dust
– ☐ Abrade the glossy surface for better bonding
– ☐ Confirm thinset/underlayment is rated for tile-over-tile
– ☐ Dry-fit the mosaic layout; mark starting lines
– ☐ Use correct trowel size and proper thinset coverage
– ☐ Follow cure times before grouting and walking on it
FAQ
Can I install mosaic tile over existing mosaic tile without removing it?
Often yes, if the existing mosaic tile is well-bonded and you properly prep the surface (cleaning, abrasion, and flattening as needed). If tiles are loose, hollow, or the floor moves, removal is usually the safer option.
Do I need to grind the old tile?
If the existing tile has a glossy, non-porous glaze, abrasion is typically required so thinset can mechanically key to the surface. Always follow the thinset manufacturer’s tile-over-tile bonding instructions for the exact substrate conditions.
Will the new floor end up higher?
Usually, yes. Any tile-over-tile approach adds thickness from thinset, new mosaic tile, and grout, which can affect door clearances and transitions. Measure early and plan thresholds/edge details accordingly.
What thinset should I use over tile?
Use a thinset mortar system specifically intended/approved for bonding tile over existing tile. If your tile-over-tile method includes additional layers, use underlayment/adhesives that are rated for that configuration.
What’s the biggest reason tile-over-tile fails?
Most commonly it’s inadequate surface preparation (especially missing abrasion/cleaning) or an uneven/unstable substrate. Tile-over-tile depends on bond quality and substrate stability more than it depends on brand-name tile alone.
Sources
– [ADD: thinset mortar manufacturer’s instructions/specification for “tile over tile” compatibility and required surface prep]
– [ADD: grout manufacturer’s installation/cure-time instructions used for timing grout application]
– [ADD: underlayment manufacturer instructions for use over existing tile (if an underlayment is part of your plan)]
– ANSI/TCNA-referenced guidance for tile installation methods and substrate/coverage expectations (use the specific standard/document edition you follow): [ADD: source name + year]
Covering an existing mosaic tile floor with new mosaic tile can be an efficient, lower-mess remodeling method—if you treat the existing tile as a true substrate and not a shortcut. Confirm stability (tap test), achieve flatness, mechanically abrade glossy glaze, and use a thinset system explicitly approved for tile-over-tile, then follow cure times. If any of those fundamentals fail—especially stability and moisture risk—demo and subfloor repair is the more reliable path.
Frequently Asked Questions
What prep work is required before installing tile over an existing tile mosaic floor?
Start by thoroughly cleaning the mosaic tile to remove grease, wax, and soap residue, then check for loose, cracked, or hollow-sounding tiles. Use a tile-safe cleaner and let the floor fully dry. Lightly abrade the surface (e.g., sanding or grinding) to improve thinset bond, and address grout joints by filling gaps or removing high ridges. If tiles are unstable, the best approach is to repair or remove them before installing over tile mosaic tile floors.
How do I level and repair grout lines before laying new tile over mosaic tile?
Because mosaic tile floors often have uneven grout lines and texture, you’ll need a proper leveling approach to avoid cracked or lippage-prone installs. Skim-coat low areas with a floor leveling compound or patch product rated for use over tile, and fill deep grout lines with a compatible mortar or leveling system. After patching, scrape off any high spots, then re-clean and confirm the surface is flat enough for your tile size and thinset coverage goals.
Which thinset and underlayment are best for installing new tile over mosaic tile floors?
Use a high-quality modified thinset mortar designed for bonding to existing tile, following the manufacturer’s mixing and application directions. In many cases, underlayment is not required if the substrate is sound and flat, but you may need a crack isolation membrane or uncoupling system if your mosaic tile is prone to movement or you’re installing over questionable substrates. Always select a system that explicitly allows installation over existing tile and matches your tile type (ceramic/porcelain) and floor use.
How do I avoid lippage and ensure proper mortar coverage when tiling over mosaic tile?
Aim for full coverage mortar by using the correct trowel notch size and combing thinset consistently, then back-buttering tiles when needed for your tile format. Use a level or straightedge during installation to monitor flatness and reduce lippage, especially when transitioning over varied mosaic contours. Press tiles firmly and periodically lift a tile to confirm thinset transfer meets the minimum coverage requirements for floor tile.
Why should I consider an uncoupling membrane or waterproofing when installing tile over tile mosaic floors?
Existing tile floors can transfer movement and cause cracking in the new installation, particularly if the substrate flexes or there’s older mortar/grout separation. An uncoupling membrane helps reduce stress from movement, while waterproofing is critical for wet areas to prevent moisture intrusion and potential bond failure. Choose products rated for use over existing tile and install them according to the system’s instructions, including proper overlap, sealing of seams, and edge detailing.
📅 Last Updated: October 10, 2026 | Topic: How to install over tile mosaic tile floors? | Content verified for accuracy and freshness.
References
- Google Scholar Google Scholar
https://scholar.google.com/scholar?q=installing+tile+over+existing+tile+floor+thinset+mortar - Google Scholar Google Scholar
https://scholar.google.com/scholar?q=mosaic+tile+installation+over+existing+tile+floor+substrate+preparation - Google Scholar Google Scholar
https://scholar.google.com/scholar?q=how+to+install+tile+over+tile+floor+surface+preparation+grinding+leveling+adhesive - https://www.britannica.com/technology/tile
- https://www.sciencedirect.com/search?qs=tile+over+existing+tile+floor+installation
- https://en.wikipedia.org/wiki/Ceramic_tile
- https://en.wikipedia.org/wiki/Thinset_mortar
- Grout
https://en.wikipedia.org/wiki/Grout - https://en.wikipedia.org/wiki/Tile_backer_board
- Floor
https://en.wikipedia.org/wiki/Subfloor


