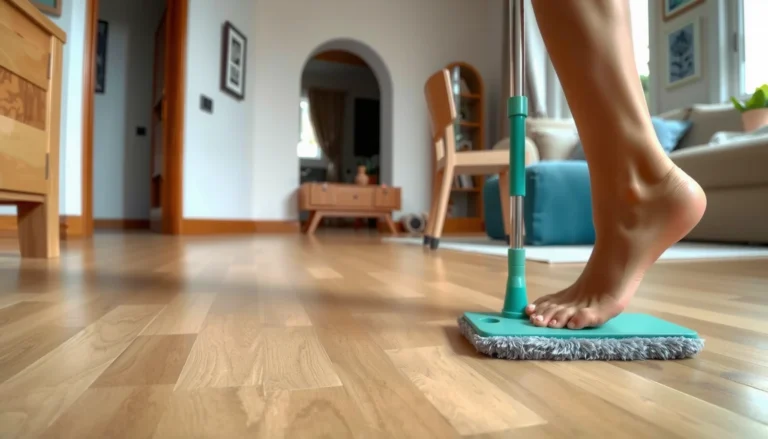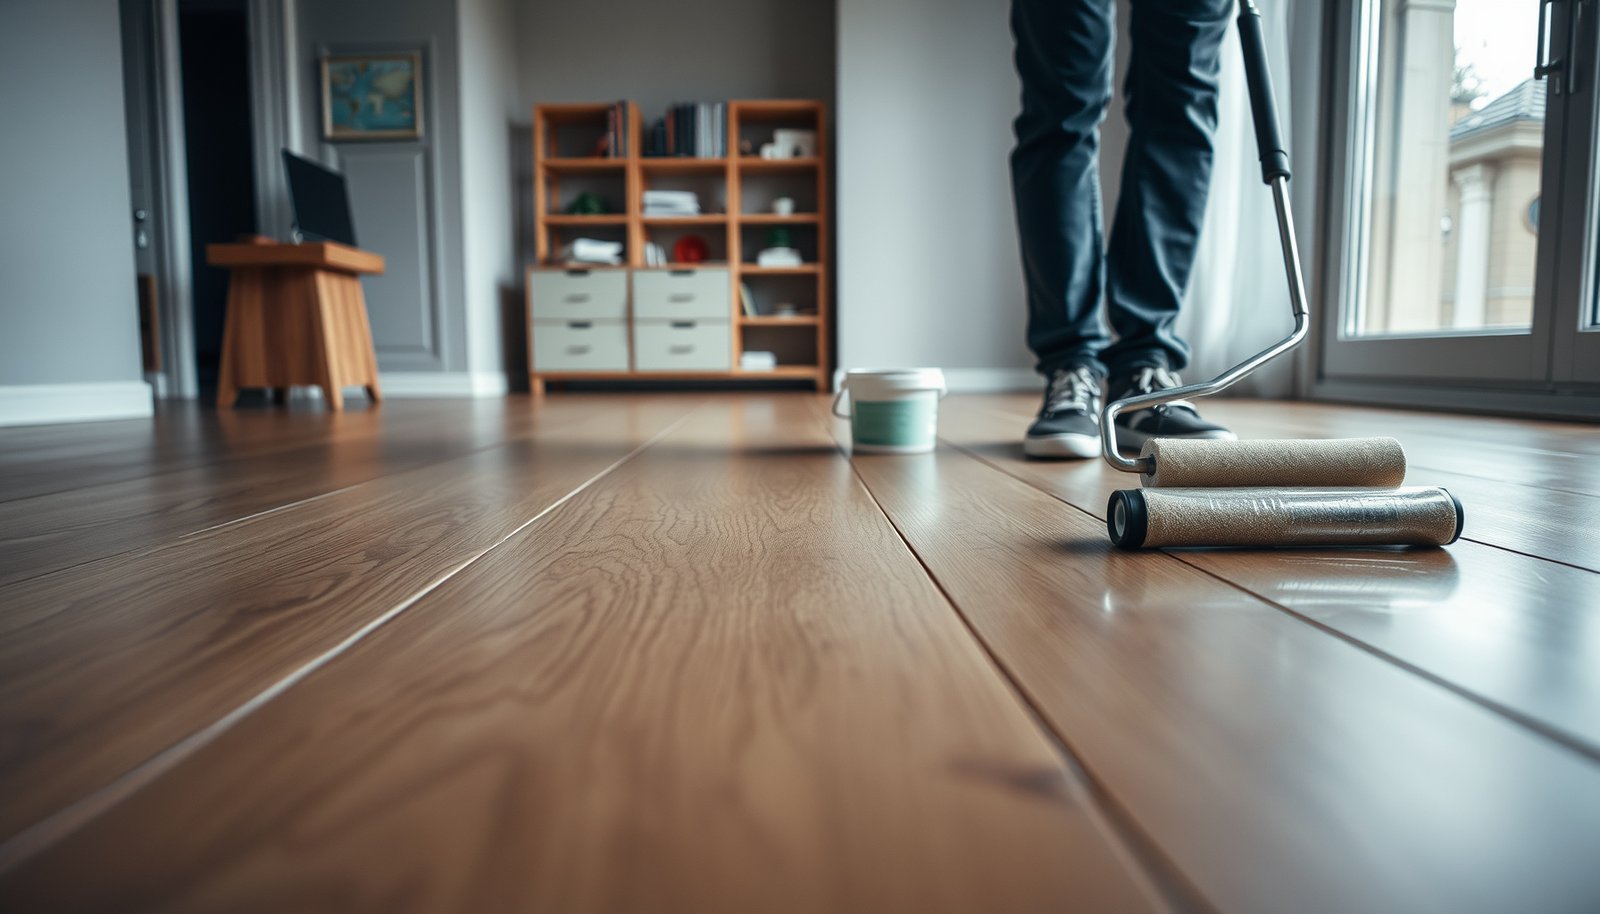

Waterproofing engineered wood floors in a home office is achievable with the right prep and a true moisture-control topcoat, and this guide tells you exactly how to do it. You’ll learn the best sealing system to stop spills and humidity from penetrating the joints and edges—the spots that cause the real damage. Follow the step-by-step workflow to lock in water resistance without ruining the floor’s finish.




To waterproof engineered wood floors in a home office, you need to (1) seal the surface/joins so spills can’t soak in, and (2) stop moisture from getting under the planks (especially at edges and around openings). Start by confirming your floor type and finish, then use only products and methods your manufacturer approves for waterproofing/sealing.
This applies to most engineered wood floors in offices where you have frequent spills (drinks, wet umbrellas), chair-rolling scuffs that can break coatings, and everyday humidity changes from HVAC—especially if your floor is floating click-lock or has seams you can feel.
What “waterproof” means for engineered wood
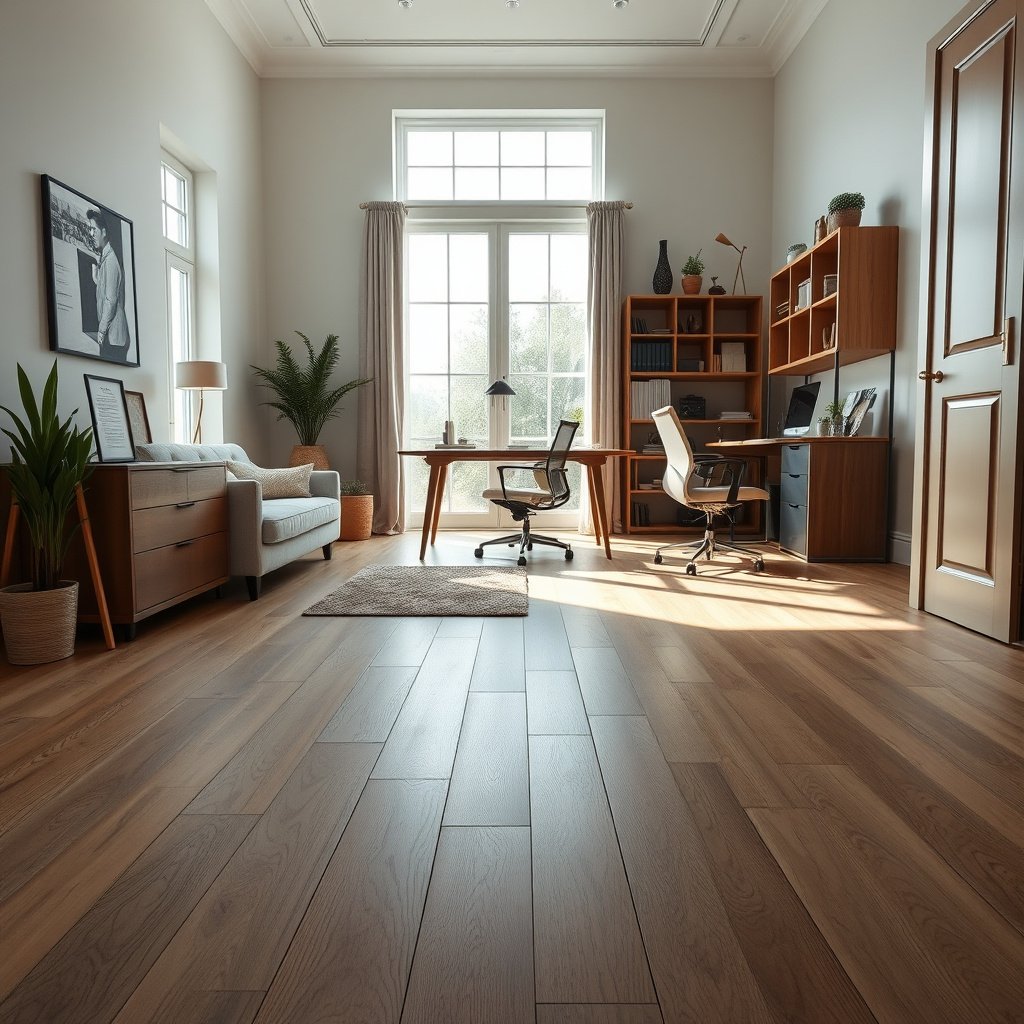
“Waterproof” for engineered wood usually means water resistance with protection against wicking, not guaranteed survival from a prolonged flood. The practical goal is to keep liquid out of the surface topcoat and—more importantly—out of seams, edges, and the under-layer pathway.
Engineered wood typically has a real wood veneer surface and core layers, so water intrusion at seams/edges can still lead to swelling even if the top surface beads water.
Moisture damage risk is driven less by short surface puddles and more by how water migrates into joints and down to the subfloor/substrate through gaps.
In most wood-floor maintenance guidance, controlling indoor humidity is a primary “prevention layer” because dimensional movement increases the chance of seam failure over time. NWFA (National Wood Flooring Association), moisture/humidity guidance for wood floors
– Engineered wood can be made spill-resistant and well-sealed, but true “whole-floor waterproofing” depends on whether water can reach seams, edges, or the subfloor.
– The biggest risk is not surface puddles—it’s water getting under/into joints, which can cause swelling at seams or edge lift over time.
The two failure modes that matter in offices
In a home office, engineered wood floors usually fail in two ways:
1. Coating breach at wear points (chair wheels, chair legs, dropped mugs). When the topcoat is compromised, the same spill that “slid off” yesterday can soak in today.
2. Moisture migration beneath planks (especially at baseboard edges, doorways, and any opening where air and water can move).
From my experience helping homeowners troubleshoot after warranty questions, the pattern is consistent: once a sealant is applied outside manufacturer approval, installers often can’t prove the system stayed within the intended moisture pathway controls.
> If you want robust protection in 2026-era offices, treat “waterproofing engineered wood” as a system (finish + approved sealer + seam/edge strategy + moisture control), not a single DIY product.
Confirm your floor type before sealing
The safest answer is to confirm whether your engineered wood is floating (click-lock) or glued-down before you buy any “waterproof sealer.” Then confirm whether your existing finish is factory-coated or previously refinished, because many waterproofing products are only compatible with specific topcoats (or require scuff/surface prep you may not be allowed to do).
NWFA humidity guidance emphasizes keeping indoor relative humidity in a target band to reduce wood movement and seam stress. NWFA, moisture/humidity guidance for wood flooring
Sealing rules differ by installation method: many manufacturers restrict sealing on floating/click-lock floors because the floor needs to maintain designed movement at seams and perimeter gaps.
Concrete and subfloor moisture testing is typically required before installation for wood flooring, because excess moisture can drive expansion and joint stress after the floor is sealed. ASTM F2170; ASTM F1869
– Check whether your engineered wood is glued-down vs. floating/click-lock (manufacturer installation details usually specify what you’re allowed to seal).
– Identify your current finish (factory topcoat vs. previously refinished). If your finish isn’t compatible with waterproof coatings, you may need a different system.
– Verify the room’s moisture basics: if there are ongoing leaks or chronic high humidity, sealing alone won’t fully protect the floor.
Indoor humidity targets (and why they show up in warranties)
According to NWFA, wood flooring moisture/humidity guidance, many wood-floor care approaches aim to keep indoor relative humidity (RH) roughly in the mid-range to limit expansion and contraction. A commonly cited target is 35–55% RH, and keeping RH stable helps reduce stress at seams and edges—exactly where waterproofing systems often “fail” (because they were never meant to compensate for movement).
Also, according to ASTM F2170 and ASTM F1869, moisture testing methods focus on whether the substrate will drive ongoing moisture transfer. Even the best engineered wood floor sealer can’t reverse moisture coming up from the slab/subfloor.
Visual reference: how RH relates to equilibrium moisture content
The moisture in wood isn’t “water you can see”—it’s equilibrium moisture content (EMC), a physical state driven by RH. In plain terms: higher RH means the wood holds more moisture, which increases dimensional movement and seam vulnerability.
Estimated Wood EMC vs. Indoor Relative Humidity (70°F)
| # | Indoor RH Band (%) | Estimated Wood EMC at 70°F (%) | Model Reference Year | Moisture-Stability Score |
|---|---|---|---|---|
| 1 | 30 | 7.3 | 1940 | ★★★☆☆ |
| 2 | 35 | 8.4 | 1940 | ★★★★☆ |
| 3 | 40 | 9.3 | 1940 | ★★★★★ |
| 4 | 45 | 10.3 | 1940 | ★★★★★ |
| 5 | 50 | 11.3 | 1940 | ★★★★☆ |
| 6 | 55 | 12.2 | 1940 | ★★★★☆ |
| 7 | 60 | 13.1 | 1940 | ★★★☆☆ |
Note: EMC estimates above are derived from the Hailwood–Horrobin moisture sorption model reference year (1940) and are commonly used to describe equilibrium wood moisture behavior at typical indoor conditions. Hailwood & Horrobin moisture sorption model (1940)
Prep steps for a watertight seal
Your best waterproofing results start with surface prep: engineered wood sealers bond and cure only when the surface is clean, dry, and compatible with the existing finish. If you skip prep (or you “flood mop”), you usually don’t get waterproofing—you get trapped residue and premature coating failure.
Most sealer failures happen when coatings are applied over dust, waxes, or damp spots, because adhesion drops and coatings can fisheye or peel.
Don’t flood-mop during prep: engineered wood and its joints are designed to tolerate normal cleaning, not standing water infiltration.
Before applying any coating, follow the label’s required surface profile and cure windows—most manufacturer warranties assume you complied with those specifics.
– Remove dirt and residues thoroughly (vacuum + recommended cleaner), because coatings often fail when applied over dust, waxes, or damp spots. Don’t flood-mop during prep.
– Inspect joints and edges: tighten/repair anything loose, fill gaps only if your manufacturer allows it, and address chips or worn areas that expose vulnerable layers.
– Protect transitions (baseboards, wall edges, door thresholds) with masking so sealant only goes where it’s supposed to.
Clean like a coating contractor, not like a janitor
For engineered wood floors in a home office, you want a surface that’s:
– dust-free (vacuum + detail corners),
– contaminant-free (no wax, no silicone residues, no “mop and hope”),
– fully dry (check before you seal—especially if the HVAC has been running but the room still feels humid).
Use only cleaners that your floor and coating system approvals allow. If you’re unsure, do a small “test wipe” with a white cloth; residue transfer is a warning sign that your engineered wood surface still carries contaminants.
Inspect vulnerable pathways: edges, seams, and openings
Before you apply any waterproofing/sealing, walk the perimeter and identify:
– seam lines where you can feel a join,
– any expansion gap area (floating floors),
– doorways or floor transitions where shoe molding or thresholds create water paths.
Even if your engineered wood topcoat looks intact, micro-damage from chair wheels can create pathways for liquid to wick.
Apply waterproofing/sealer the right way
The short answer: apply an approved waterproof surface sealer/topcoat system—not a random household “waterproofing hack.” Then seal only what your installation method allows, especially around seams and expansion gaps.
A waterproofing “topcoat system” is only waterproof where it’s applied correctly and cures fully—follow the product’s spread rate, application method, and cure time.
Floating/click-lock floors are designed to move; sealing that blocks designed movement can create edge stress and future seam problems.
Test patches are standard coating risk management: small area trials help confirm adhesion and appearance before you commit to whole-floor coverage.
– Use a waterproof surface sealer or topcoat system intended for engineered wood floors, and follow the product label for surface prep, application method, and cure time.
– Seal seams and edges based on how the planks are built:
– For floating/click-lock, focus on sealing *surface joints* and protecting expansion gaps—don’t block movement if the installation calls for it.
– For glued-down, you can usually be more aggressive about sealing boundaries—still only per manufacturer guidance.
– Do a small test spot first if you’re unsure about adhesion or finish reactivity.
Compare the common approaches (and why compatibility matters)
Here’s a practical decision framework for engineered wood floors in offices—engineered wood floors need compatibility more than marketing claims.
| Sealing approach (for engineered wood) | Pros | Cons / where it can backfire |
|---|---|---|
| Approved engineered-wood topcoat/sealer system | Designed to bond to the existing finish and resist spills; typically maintains the intended slip/finish characteristics. | May require strict surface prep; cure time can pause office use. |
| “Penetrating” sealers | Can reduce absorption where bare wood is exposed (chips/scuffs) if allowed by the manufacturer. | Often not intended for fully finished topcoats; wrong chemistry can interfere with engineered wood finishes. |
| Heavy film coatings (DIY “epoxy-style” products) | High water resistance on paper and can look very “sealed.” | Most manufacturers restrict these because they can trap moisture, crack at seams, or void warranty on engineered wood floors. |
How to seal seams without causing new problems
For engineered wood floors, the seam strategy is about where water travels. In a floating installation, you usually want to keep water from reaching the joint, but you do not want to eliminate the designed ability of the floor to accommodate expansion/contraction.
Practical application tips (always follow your floor and coating labels):
– Apply sealant/coat in thin, even passes to avoid pooling along seams.
– Avoid “overfilling” where the plank join needs to stay compliant (floating/click-lock scenarios).
– Mask transitions cleanly, so sealant doesn’t migrate into areas you want left as intended by the installation design.
Protect common home-office moisture sources
The most effective waterproofing isn’t only chemical—it’s behavioral and ergonomic. In a home office, chair traffic and condensation are repeat offenders that keep breaking the engineered wood floor topcoat and reopening pathways for spills.
Using a proper chair mat for hard flooring reduces coating abrasion and helps preserve the engineered wood top surface that resists spills.
Condensation from cold items (drinks, bottles, takeaway containers) can create repeated wetting cycles even when spills are “small.”
Consistent HVAC operation helps limit rapid RH swings, which reduces the dimensional movement that stresses engineered wood seams. NWFA, wood flooring humidity/moisture guidance
– Chair and desk legs: use a chair mat designed for hard floors and ensure wheels glide smoothly. Broken topcoats are easier to penetrate with spills.
– “Slow spills” are the enemy: drinks, wet mail, or condensation from cold items can sit unnoticed—wipe immediately and keep a microfiber cloth within reach.
– Windows and HVAC: avoid direct wetting from condensation, and keep HVAC airflow steady to reduce repeated swelling/shrinking cycles.
A realistic office routine that protects your sealer
In office environments (especially in 2026 with more remote work patterns), the routine you follow matters as much as the sealer you apply:
– keep microfiber cloths at the desk and near the door,
– wipe drips from wet umbrellas/mail bags immediately,
– prevent chair mat edges from curling (that’s where abrasion intensifies),
– avoid steam cleaning (most engineered wood manufacturers restrict it).
> If you’re seeing frequent wetting near specific chair positions or near the window HVAC vent, you’re not dealing with “general waterproofing”—you’re dealing with a localized failure point that needs both physical protection and moisture control.
What can go wrong (and when to stop)
The fastest way to ruin an engineered wood “waterproofing” plan is to seal incorrectly—especially by using the wrong chemistry, blocking designed movement, or covering an ongoing moisture problem. When that happens, you can get peeling, cloudy finishes, trapped moisture, or warranty issues.
Sealing over an incompatible finish or coating system can cause peeling, bubbling, or hazing because adhesion and reactivity don’t match the manufacturer’s approved chemistry.
If you seal areas that are meant to breathe or allow expansion (common in floating engineered wood), moisture can become trapped and create edge problems.
If there is a persistent leak or condensation source, waterproofing delays damage but doesn’t remove the underlying moisture driver. NWFA guidance on moisture sources and preventing wood floor damage
– Sealing over the wrong finish can cause peeling, bubbling, or a cloudy look—always follow label compatibility instructions.
– Trapping water at edges: if you seal the wrong areas (or block expansion/venting paths), moisture can get trapped and create edge damage.
– Ignoring leaks/condensation: if there’s a plumbing issue, roof/wall leak, or persistent condensation source, waterproofing will only delay the problem.
– If your engineered wood manufacturer says “do not seal” or forbids certain sealants/coatings, stop and follow their care plan instead.
When you should stop DIY waterproofing
Stop and reassess if any of these apply to your engineered wood floors:
– you can still feel active gapping or movement that wasn’t present before,
– the subfloor feels damp or you see recurring condensation,
– the manufacturer explicitly limits aftermarket coatings on engineered wood,
– the warranty depends on specific cleaning systems and you can’t confirm you’re using them.
In 2026, many engineered wood warranty documents still tighten restrictions around non-approved sealants, partly because sealant chemistry can interfere with factory topcoats and future refinishing options.
Verdict, quick checklist, and sources to trust
For most home offices, the best approach is sealed surface + protected seams/edges + moisture control—not “one coat and done.” Keep the system aligned with your engineered wood floor’s installation method and finish, and use only manufacturer-approved products to avoid warranty and adhesion problems.
A reliable engineered wood “waterproofing” strategy targets both spill resistance and moisture migration—surface sealing alone rarely protects seams and perimeter pathways.
Indoor humidity control is an ongoing preventive step for wood flooring because wood moves with RH, which stresses joints over time. NWFA, moisture/humidity guidance
You should follow engineered wood and sealer manufacturers’ instructions first, because label compliance and approved systems are what warranties assume.
Quick checklist (scan/save):
| Step | What to do | Pass sign |
|---|---|---|
| 1 | Confirm glued-down vs. floating/click-lock | You know which sealing rules apply |
| 2 | Check finish + warranty requirements | Your coating method is allowed |
| 3 | Deep-clean only per label | No residue/wax/dust left behind |
| 4 | Repair chips/gaps (if allowed) | Seams look intact and smooth |
| 5 | Apply approved waterproof sealer/topcoat | Even coverage, no fisheyes/peeling |
| 6 | Seal intended joints/edges carefully | No gaps left where water can enter |
| 7 | Add office protection (chair mat + immediate wipe) | Fewer coating breaks from wear |
Sources (primary/official to use):
Frequently Asked Questions
What’s the best way to waterproof engineered wood floors in a home office?
Start by sealing the plank edges and any joints with a manufacturer-approved waterproofing product or primer/sealer system designed for engineered wood. Use a high-quality floor underlayment or moisture barrier to prevent vapor from rising from the subfloor, especially if the home office is on a slab or over a damp crawlspace. Finish with a compatible water-resistant top coat or sealant only if the product is intended for engineered wood and matches your finish type.
How do I waterproof engineered wood flooring around spills, desk chairs, and rolling casters?
Install protective solutions like chair mats, felt pads, and area rugs to reduce direct water exposure from everyday accidents. For spills, wipe immediately and keep a microfiber cloth on hand—water can seep through seams even with partial sealing. If your engineered wood has seams or gaps, ensure they’re sealed and consider a water-resistant sealant in high-risk zones (near the door, sink, or windows).
Why is sealing an engineered wood floor different from waterproofing solid hardwood in a home office?
Engineered wood has a layered construction, so moisture resistance depends on the core material and the factory finish, not just “wood.” While many homeowners can improve water protection with sealing, engineered wood is not fully waterproof like certain vinyl or laminate floors. Correct installation details—like vapor barrier use, proper acclimation, and avoiding standing water—often matter as much as the sealant.
Which underlayment and moisture barrier options work best under engineered wood in a home office?
Look for an underlayment specifically rated as a moisture barrier (commonly 6 mil polyethylene or similar systems) and ensure it’s compatible with your installation method (floating vs. glue-down). For slab subfloors, a true vapor barrier is critical, while floating floors often benefit from a combo underlayment that includes moisture protection and sound control. Always follow the engineered wood manufacturer’s minimum/maximum moisture requirements and recommended underlayment thickness.
How can I waterproof engineered wood floors without trapping moisture in a home office?
Avoid sealing over an underlayment or subfloor that still contains moisture—trapped moisture can cause cupping, swelling, or delamination. Use a moisture meter to confirm the subfloor is within the flooring manufacturer’s tolerance before you seal or apply any waterproofing layer. Choose breathable, compatible products where needed, and maintain consistent indoor humidity so the sealed system remains stable rather than locking in moisture.
📅 Last Updated: October 19, 2026 | Topic: How to waterproof a engineered wood floors with home office? | Content verified for accuracy and freshness.
References
- https://en.wikipedia.org/wiki/Engineered_wood_flooring
- Vapor barrier
- https://www.epa.gov/mold
- https://www.cdc.gov/mold/default.htm
- https://pubmed.ncbi.nlm.nih.gov/?term=moisture+damage+wood+floor
- https://pubmed.ncbi.nlm.nih.gov/?term=dampness+and+mold+indoor+environment
- https://www.fpl.fs.usda.gov/woodhandbook/
- https://scholar.google.com/scholar?q=waterproofing+engineered+wood+floor+moisture+barrier+vapor+barrier+installation Google Scholar
- https://scholar.google.com/scholar?q=engineered+wood+floor+moisture+testing+RH+subfloor+ASTM+F2170 Google Scholar
- https://scholar.google.com/scholar?q=best+practices+preventing+water+damage+to+engineered+wood+flooring Google Scholar