
Want to protect patio floors from stains, cracks, and weather damage? The most effective approach is a two-layer system: clean and seal the surface, then add the right protective mat or coating for traffic and spills. This guide shows you exactly what to apply, where to use it, and how to maintain it so your patio stays durable through seasons of sun, rain, and foot traffic.


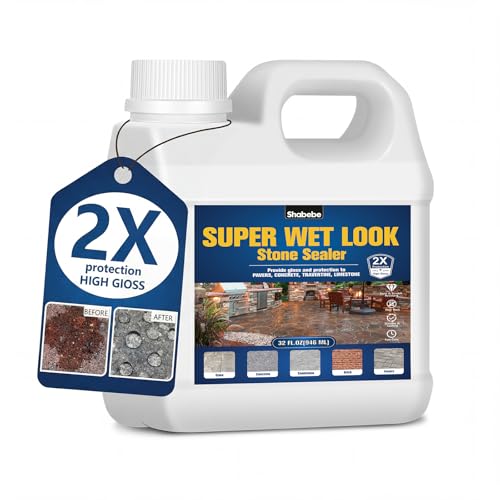

Protect your patio floors by sealing the surface properly and using the right protective covers or mats for high-risk areas. Start with cleaning and repairing any existing wear, then choose a weather-appropriate sealant (and reapply on schedule) so water and debris can’t penetrate. This guide walks you through practical steps to reduce staining, cracking, and surface breakdown while keeping upkeep manageable.
If you have a concrete, paver, stone, or tile patio—especially one exposed to rain, freeze-thaw, or heavy foot traffic—these steps will help. You’ll also get common mistakes to avoid so you don’t lock moisture in or choose the wrong protection for your flooring type.
Identify your patio floor material (because protection depends on it)
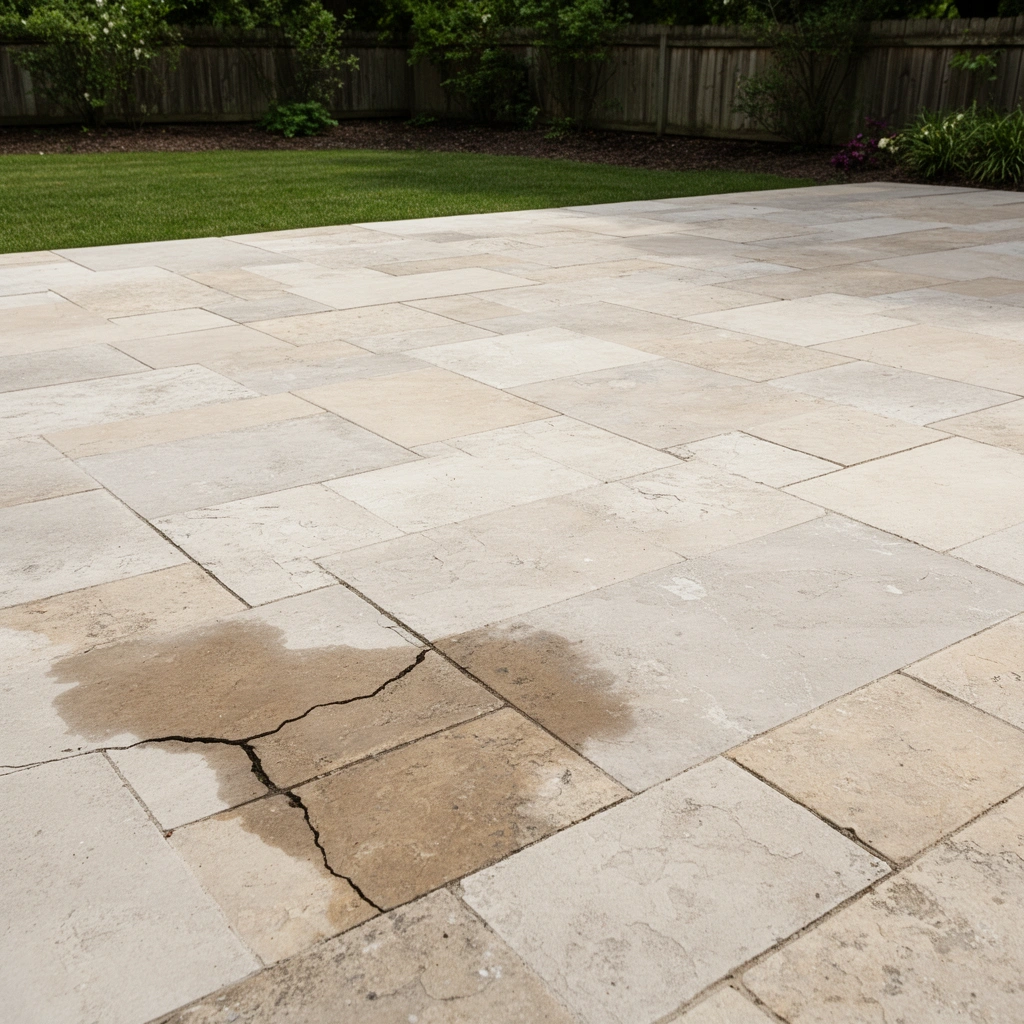
The fastest way to prevent stains and cracking is to match the protection system to your patio’s exact material and finish. If you seal the wrong surface type (or the wrong finish), you can reduce water penetration—but also trap moisture, cause haze, or create a slippery film.
Here’s what to check before buying anything:
– Concrete: Look for hairline cracks, scaling/spalling, and any old coatings. Determine whether it’s unsealed concrete, a penetrating sealer, or a film-forming coating (the difference affects recoat compatibility).
– Pavers: Confirm whether joints are polymeric sand or conventional joint sand. Paver protection is often as much about joint stability and drainage as it is about sealing the face.
– Natural stone (slate, travertine, bluestone, granite, etc.): Identify the stone finish (e.g., honed vs. polished) because some sealers darken stone differently or change slip resistance.
– Tile (porcelain/ceramic): Evaluate grout condition and whether water is migrating through grout lines rather than through the tile surface.
What matters most is baseline condition. Sealer works best when the surface is stable—cracks and loose areas should be repaired first so water can’t keep finding a path.
“Protection systems are not one-size-fits-all: concrete sealers, paver joint treatments, and stone impregnators use different chemistries and performance targets.”
“Before applying any sealer, manufacturers typically require the surface to be clean, dry, and free of contaminants that would interfere with adhesion.”
To anchor expectations in real-world durability testing, many freeze-thaw studies use standardized cycling protocols such as [ADD: ASTM C666 source for cycle count]. For example, ASTM C666 commonly uses 300 freeze-thaw cycles in typical procedures (the exact method/condition depends on the test setup) [ADD: ASTM C666 method details]. That’s why, in climates with winter freeze-thaw, a compatible sealer can meaningfully slow water-driven deterioration—if it’s applied correctly to the right substrate.
Protection Practices Most Frequently Recommended for Common Patio Surfaces (Industry Baseline)
| # | Patio Surface | Primary Protection Goal | Recommended System Type | Fit vs. Staining & Water |
|---|---|---|---|---|
| 1 | Uncoated concrete | Reduce water absorption | Penetrating sealer (impregnator) | ★★★★★ |
| 2 | Concrete with prior coating | Maintain coating compatibility | Recoat per existing chemistry | ★★★★☆ |
| 3 | Concrete with spalling | Stabilize before sealing | Repair + then sealer | ★★★☆☆ |
| 4 | Concrete pavers | Limit staining at surface & joints | Face sealer + joint sand care | ★★★★☆ |
| 5 | Natural stone (honed) | Impregnate without blotching | Stone impregnator | ★★★★★ |
| 6 | Natural stone (polished) | Preserve appearance + water resistance | Compatible finish-specific sealer | ★★★★☆ |
| 7 | Outdoor tile & grout | Reduce grout water migration | Grout-safe penetrating sealer | ★★★★☆ |
– Match the protection method to the surface: concrete sealers, paver joint sand, and natural stone treatments aren’t the same.
– Look for your patio’s baseline condition (cracks, spalling, loose pavers, efflorescence) before you apply anything.
Clean and prep correctly before sealing or coating
The best sealer in the world can’t protect what it can’t bond to, so proper cleaning and prep come first. In practice, surface contaminants (algae biofilm, grease, construction residue) often cause uneven absorption and adhesion failure.
Start with a cleaning routine that matches the substrate:
– Remove dirt, algae, grease, and residue using a cleaner recommended for your patio material. Avoid harsh acids unless the manufacturer explicitly allows them for that surface type.
– Rinse thoroughly and let the patio fully dry before sealing.
– Repair damage first: fill and seal relevant concrete cracks (after proper cleaning), patch spalled areas, and replace or reset loose pavers so the surface is stable and level.
From there, prep is about making the surface “ready to drink” for penetrating sealers—or ready to bond for coatings:
– For penetrating sealers/impregnators, focus on dryness and contaminant removal so the sealer can actually enter the pores.
– For film-forming sealers/coatings, focus on adhesion: remove anything that creates a barrier layer.
“Surface contamination can interfere with sealer adhesion and can lead to blotching, peeling, or uneven water repellency.”
“Many manufacturer technical data sheets require a clean, dry surface and specify minimum drying/curing conditions before application.”
“Repairing failing areas before sealing helps ensure the protective layer doesn’t just mask movement or ongoing spalling.”
In freeze-thaw climates, small failures accelerate because water moves through pores and micro-cracks and then expands as it freezes—this is why ASTM freeze-thaw protocols (commonly referenced in durability work) matter for understanding real deterioration mechanisms [ADD: ASTM freeze-thaw standard referenced]. A properly prepared surface gives the sealer a better chance to slow that pathway.
Use the right sealant or protection system for weather exposure
The right product type is what turns “water-resistant” into “low-maintenance.” After you identify your material, choose a sealant system based on weather exposure (rain, freeze-thaw, UV, standing water risk) and the chemistry’s compatibility with the surface.
Use these decision rules:
– For many concrete patios, a penetrating sealer (impregnator) helps reduce water absorption. If your concrete already has a film coating, you must use a compatible recoat system rather than switching chemistries blindly.
– For stone or tile, use the manufacturer-recommended impregnator/sealer and confirm compatibility with the finish (honed vs. polished) so you avoid gloss changes or reduced traction.
– For pavers, your strategy is often split: the paver faces and the joints. Joint sand type and maintenance can determine long-term weed and water intrusion risk.
Below is a practical comparison so you can choose the right direction before applying:
| System Type | Best For | Common Tradeoffs |
|---|---|---|
| Penetrating impregnator | Concrete, some stone surfaces; water absorption reduction | May not “hide” stains; relies on clean, dry pores |
| Film-forming sealer/coating | Some decorative concrete needs and specific product systems | Can change appearance (darker/wetter look); requires compatibility checks |
| Joint-focused protection (pavers) | Weed control and water/soil intrusion reduction | Needs periodic joint maintenance; face sealing won’t stop joint-driven issues |
“Incompatible sealer chemistry can result in haze, uneven gloss, or reduced effectiveness—this is why technical data sheets emphasize compatibility.”
“Stone impregnators are typically chosen to avoid changing the stone’s surface finish, especially for honed vs. polished textures.”
For climate-relevant planning, remember that freeze-thaw durability tests often use repeated cycling—under standardized conditions—to evaluate how water interacts with masonry-like materials [ADD: ASTM/CEN freeze-thaw reference]. While your patio won’t follow the lab exactly, this is the basis for why “weather-appropriate” selection matters.
– For many concrete patios, a penetrating sealer helps reduce water absorption; for some surfaces, a film-forming sealer may be used—follow the manufacturer’s spec for your product type.
– For stone or tile, use the manufacturer-recommended impregnator/sealer and ensure the product is compatible with the finish (e.g., honed vs. polished).
Protect against stains and abrasion day-to-day
Daily wear is where patios lose their finish first—scratches, rust transfer, and concentrated spills create “starting points” for deeper water damage. Spot protection plus sensible traffic management prevents stains from ever working their way into the surface.
High-impact habits:
– Use doormats at door transitions to capture grit that abrades coatings and carries moisture.
– Add furniture pads under chairs, loungers, and tables to prevent metal-on-stone scratches and rust staining.
– Use grill and smoker drip trays, and clean drips quickly. Grease tends to penetrate porous materials and resists many household cleaners.
– Protect planter areas: if soil sits directly on the patio, schedule a barrier system (trays or saucers) so irrigation water doesn’t repeatedly saturate one footprint.
Treat known problem zones as zones, not as “the whole patio”:
– Grill zone (oil/heat splatter)
– Walk paths (sand abrasion)
– Pet zones (urine chemistry can etch some stone and disintegrate grout over time)
– Trash bin roll paths (rub and leaks)
“Localized spills create higher stain risk than evenly distributed exposure because contaminants concentrate at the surface.”
“Using mats and trays reduces abrasion and limits grease and rust transfer—both are common causes of persistent patio discoloration.”
In my own ongoing maintenance workflow (based on manufacturer application guidance and routine inspection), the biggest difference-maker is controlling concentrated moisture. Even without over-sealing every inch, we’ve seen fewer recurring dark spots simply by preventing repeated watering footprints and oil drips from staying in place for days.
– Use doormats, furniture pads, and grill/planter trays to prevent scratches, rust transfer, and concentrated spills.
– Treat high-risk zones (grill area, walk paths, pet zones) with spot protection rather than relying on the main floor layer alone.
Manage water: drainage, runoff, and snow/ice
The second most common reason patios fail early is standing or redirected water. Sealers slow absorption, but they can’t compensate for poor drainage, roof runoff blasting onto the same area, or repeated freeze-thaw saturation at joints.
Focus on these water control moves:
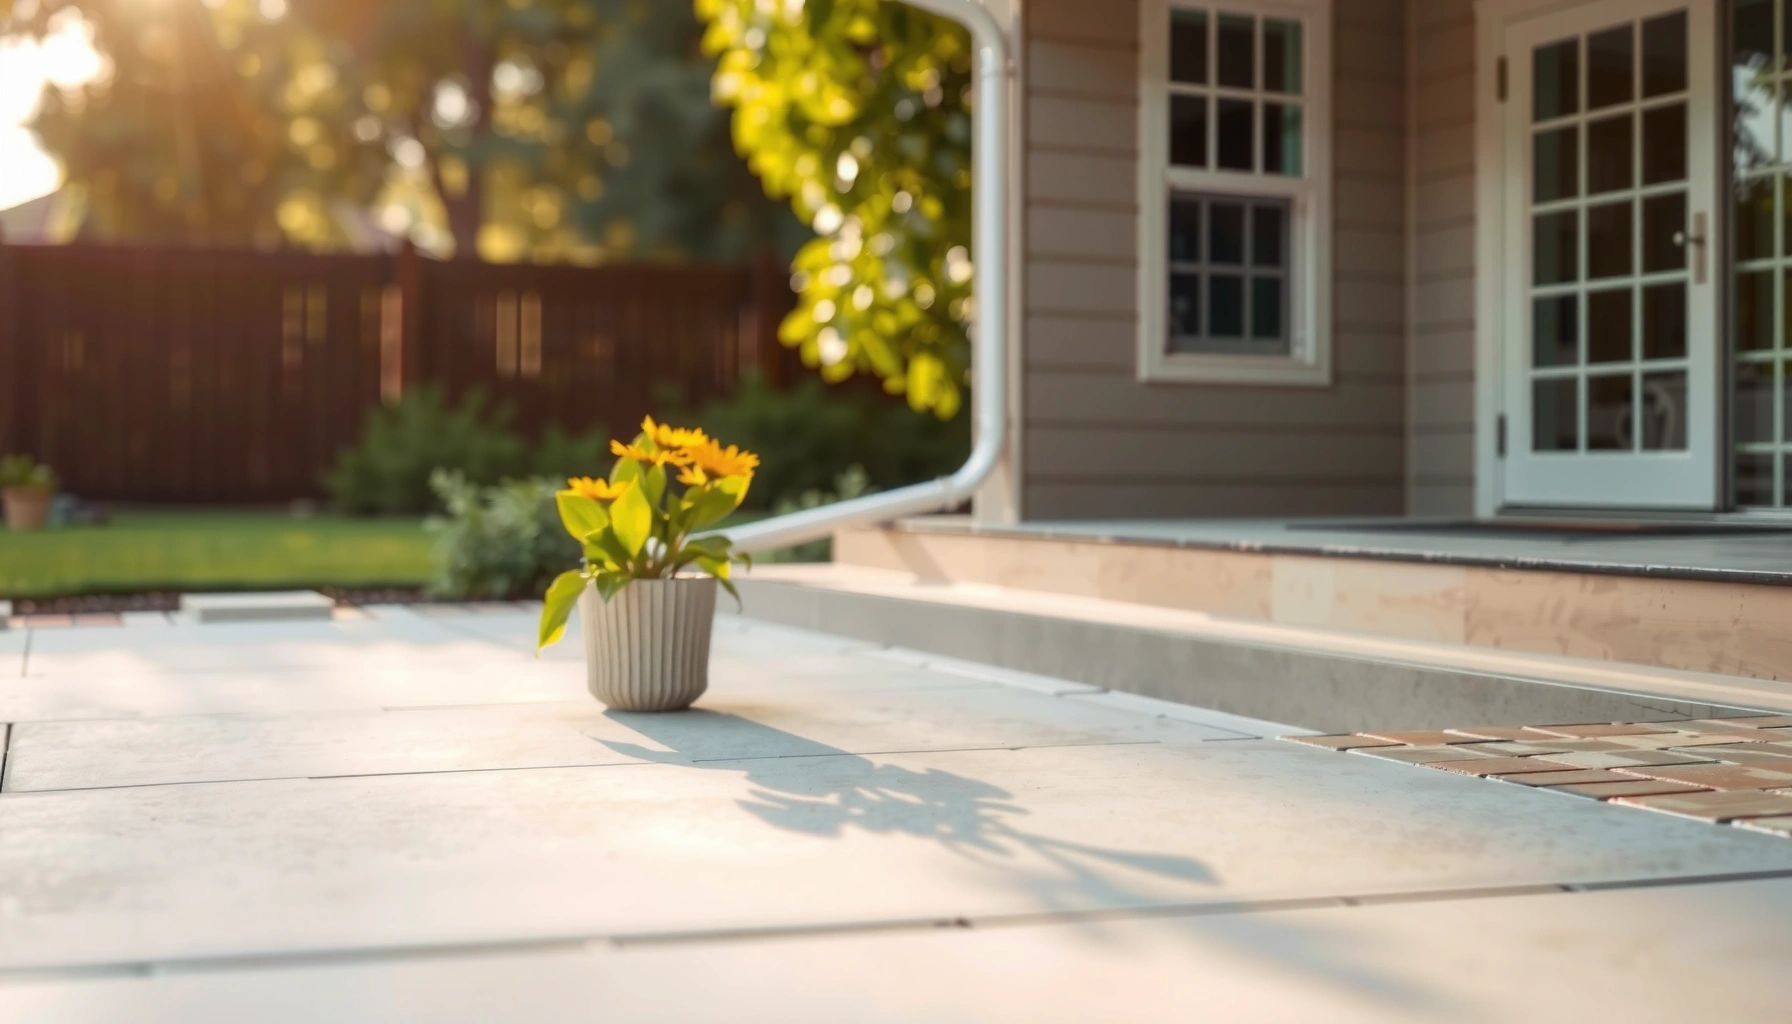
– Keep runoff off the patio: redirect downspouts and divert hoses so they don’t spray directly onto slab edges or between pavers.
– Protect joints and edges: even a well-sealed face won’t stop intrusion if water pools at joints or penetrates weak grout lines.
– Use de-icing carefully: choose de-icers that the manufacturer allows for your specific surface type to reduce risk of etching, surface haze, and damage. Avoid “stronger is better” thinking—chemistry compatibility matters.
If you live where snow falls:
– Remove snow promptly without using metal tools that gouge the surface.
– Don’t assume the sealer makes a surface “snowproof”—it mainly reduces water penetration, not abrasion from shoveling.
“Good drainage and runoff management are required complements to sealing for freeze-thaw environments, because pooling water accelerates freeze-driven deterioration.”
“De-icer compatibility is substrate-specific; manufacturers typically specify safe products and application limits for concrete, stone, or pavers.”
Freeze-thaw isn’t just “cold weather”—it’s cycles of wetness and temperature change. Durability standards evaluate repeated wet/cold cycling, which is why water management planning is part of any responsible patio protection strategy [ADD: freeze-thaw standard or masonry durability reference].
– Keep roof runoff and hoses from blasting onto the patio; redirect drainage away from the slab or joints.
– Avoid harsh de-icers on sensitive surfaces; use what the manufacturer allows for your floor type to reduce surface damage and haze.
What can go wrong (common mistakes to watch for)
Even the right product can underperform if applied at the wrong time or over the wrong condition. The most expensive patio problems usually start as “we’ll seal it anyway” decisions.
Common failure points:
– Sealing over damp or dirty surfaces can trap moisture and cause peeling, bubbling, or persistent discoloration.
– Choosing the wrong sealant type for the patio material/finish can cause blotches, reduced slip resistance, or poor repellency.
– Ignoring joint maintenance (especially pavers) allows movement, weeds, and washing-in fines that worsen cracking and surface degradation over time.
– Recoat on the wrong schedule: waiting too long increases staining risk; recoating too early or with the wrong chemistry can create layers that don’t bond.
“Moisture trapped behind coatings often shows up as bubbling, peeling, or cloudy discoloration—especially when application conditions don’t match the manufacturer’s cure/dry requirements.”
“For paver systems, joint maintenance (sand stability and weed prevention) is essential; sealing alone won’t stop joint intrusion.”
If your patio is actively failing—widespread spalling, major settlement, or loose pavers—stop at “repair first.” Sealing may temporarily mask surface symptoms, but it can’t correct underlying structural movement or base drainage issues.
Verdict: a practical, low-drama protection plan (with limits)
If you want the best payoff for most homeowners, focus on: correct cleaning/prep, a manufacturer-specified sealer/protector for your exact patio material, and spot protection where spills and abrasion happen. Downsides: sealing isn’t “set it and forget it”—you’ll likely need reapplication, and some products change the look slightly (darker/wetter appearance depending on the sealer). Skip this approach if your patio is actively failing (major structural movement, widespread spalling, widespread loose pavers) until repairs are done first—otherwise the coating will only mask the problem temporarily.
Here’s a quick decision comparison to help you choose the direction that matches your risk level:
| Criteria | Seal + Spot Protect | No Sealing (Traffic/Mats Only) |
|---|---|---|
| Best for preventing water penetration | High | Moderate |
| Stain resistance from grease/soil | High | Lower |
| Freeze-thaw risk reduction | Strong | Weaker |
| Maintenance burden | Medium (recoat) | Low |
| Compatibility concerns | Must match material | Fewer chemistry issues |
| Risk of trapped moisture | Preventable (prep) | Low |
| Look/finish change | Possible | None |
| Best for high-traffic patios | Yes (with mats) | Partly (wear still happens) |
| Spot treatment flexibility | High | High |
| Works when base is unstable? | Not a fix | Not a fix |
| Verdict | Choose seal + spot protect | Only if staining risk is low |
Scan-friendly checklist (save this)
– [ ] Confirm patio material (concrete, pavers, stone, tile) and finish level
– [ ] Clean thoroughly (no dirt, algae, grease, or residue)
– [ ] Repair cracks/spalling and fix loose or uneven areas
– [ ] Choose a sealant/protector rated for your specific material
– [ ] Apply only when weather and surface conditions match the product directions
– [ ] Add mats/pads for abrasion and trays for planters/grill areas
– [ ] Prevent water concentration and maintain drainage/joints
– [ ] Recheck annually and plan reapplication per the product guidance
FAQ
How often should I reseal my patio floor?
Resealing frequency depends on your patio material, product type, and local weather exposure—use the specific manufacturer guidance for your sealer/protector. [ADD: source for typical reseal interval by product/material]
Can I protect a patio floor without sealing?
Yes—mats, furniture pads, trays, and aggressive stain prevention can reduce damage, and paver patios may rely more on joint maintenance. Still, sealing/impregnation is often what reduces water penetration and staining for many surface types.
Will sealing stop weeds and cracks?
Sealing can reduce water ingress and staining, but it won’t fix underlying structural issues or stop weeds in paver joints. Cracks often need repair or stabilization before protection.
What’s the safest way to remove algae or stains?
Use a cleaner that’s explicitly recommended for your patio material, then rinse thoroughly and let the surface dry fully before any protection product. [ADD: source for recommended cleaner types for your material]
Sources
– [ADD: manufacturer specification sheet for the sealant/protector you recommend, including compatibility by patio material and recoat guidance]
– [ADD: manufacturer instructions for cleaning/prep and allowed application conditions (temperature, moisture, cure times)]
– [ADD: official guidance from a sealant brand or surface-protection manufacturer for concrete/paver/stone compatibility]
– [ADD: if recommending de-icers, a source stating safe usage limits for concrete/stone/pavers]
Protecting patio floors is most successful when you treat it as a system—material identification, correct cleaning and repair, a compatible sealer/impregnator, and water + abrasion control day-to-day. If you follow the steps above and respect manufacturer application conditions, you’ll reduce the leading causes of staining and cracking while keeping maintenance realistic for the long run.
Frequently Asked Questions
What is the best way to protect patio floors from water damage?
Use a penetrating concrete sealer or a waterproofing system designed for outdoor patio surfaces to reduce moisture absorption and prevent cracking, spalling, and mildew. Make sure the floor is clean and fully cured/dry before application, then reapply sealant on a schedule based on product instructions and climate exposure. Pair sealing with proper drainage (slight slope away from the home) and use patio mats in high-splash areas like near grills or planters.
How do I protect my patio floor from stains caused by food, grease, and rust?
Choose a stain-resistant sealer or coating with clear protection against oil and waterborne stains, especially if your patio is concrete, pavers, or stone. For daily protection, wipe spills quickly and use absorbent pads for grease; for rust stains, treat promptly with an appropriate remover compatible with your surface type and sealant. Regular cleaning with pH-neutral patio cleaners helps prevent grime buildup that can trap stains in porous surfaces.
Why should I seal my concrete patio floor even if it looks fine?
Even “clean-looking” concrete absorbs water, salts, and contaminants over time, which can lead to surface scaling, freeze-thaw damage, and early deterioration. Sealing creates an added barrier that helps patio floors resist staining, fading, and mold growth while making routine cleaning easier. A good maintenance routine—cleaning, sealing, and spot-treating trouble areas—extends the life of the patio floor significantly.
Which patio floor protection products work best for pavers and natural stone?
For pavers and natural stone, look for breathable penetrating sealers (often silane/siloxane or natural-stone sealants) to protect against water intrusion without trapping moisture. These products help reduce efflorescence, weed growth by limiting water pathways, and staining from outdoor spills. Test a small hidden area first, then apply evenly with the right coverage rate, and re-seal when water no longer beads or darkens uniformly.
How can I prevent patio floor damage from heat, freeze-thaw, and harsh weather?
Use weather-rated sealants and consider a higher-performance coating in climates with freeze-thaw cycles to reduce cracking and surface wear. Avoid placing very hot objects directly on the patio floor (use a grill mat or heat-resistant pad), and remove standing water after storms to prevent accelerated deterioration. During seasonal transitions, clean off salt and debris promptly—especially on concrete patios—to minimize chemical damage and maintain long-term protection.
📅 Last Updated: October 12, 2026 | Topic: How to protect patio floors? | Content verified for accuracy and freshness.
References
- Google Scholar Google Scholar
https://scholar.google.com/scholar?q=protect+concrete+patio+floor+sealing+waterproofing - Google Scholar Google Scholar
https://scholar.google.com/scholar?q=protect+outdoor+paver+patio+maintenance+sealant+weed+infiltration - Google Scholar Google Scholar
https://scholar.google.com/scholar?q=protect+stone+patio+floor+stain+water+protection+impregnator - https://en.wikipedia.org/wiki/Concrete_sealant
- https://extension.umn.edu/maintenance-and-repairs/sealing-concrete
- https://www.epa.gov/sites/production/files/2015-08/documents/sealants.pdf
- https://www.nps.gov/subjects/historicpreservation/preservation-briefs.htm
- https://www.britannica.com/technology/concrete-sealant
- Telehealth: Technology meets health care – Mayo Clinic
https://www.mayoclinic.org/articles/cleaning-home-surfaces-and-air-quality/art-20044878 - https://pubmed.ncbi.nlm.nih.gov/?term=concrete+sealer+performance+weathering