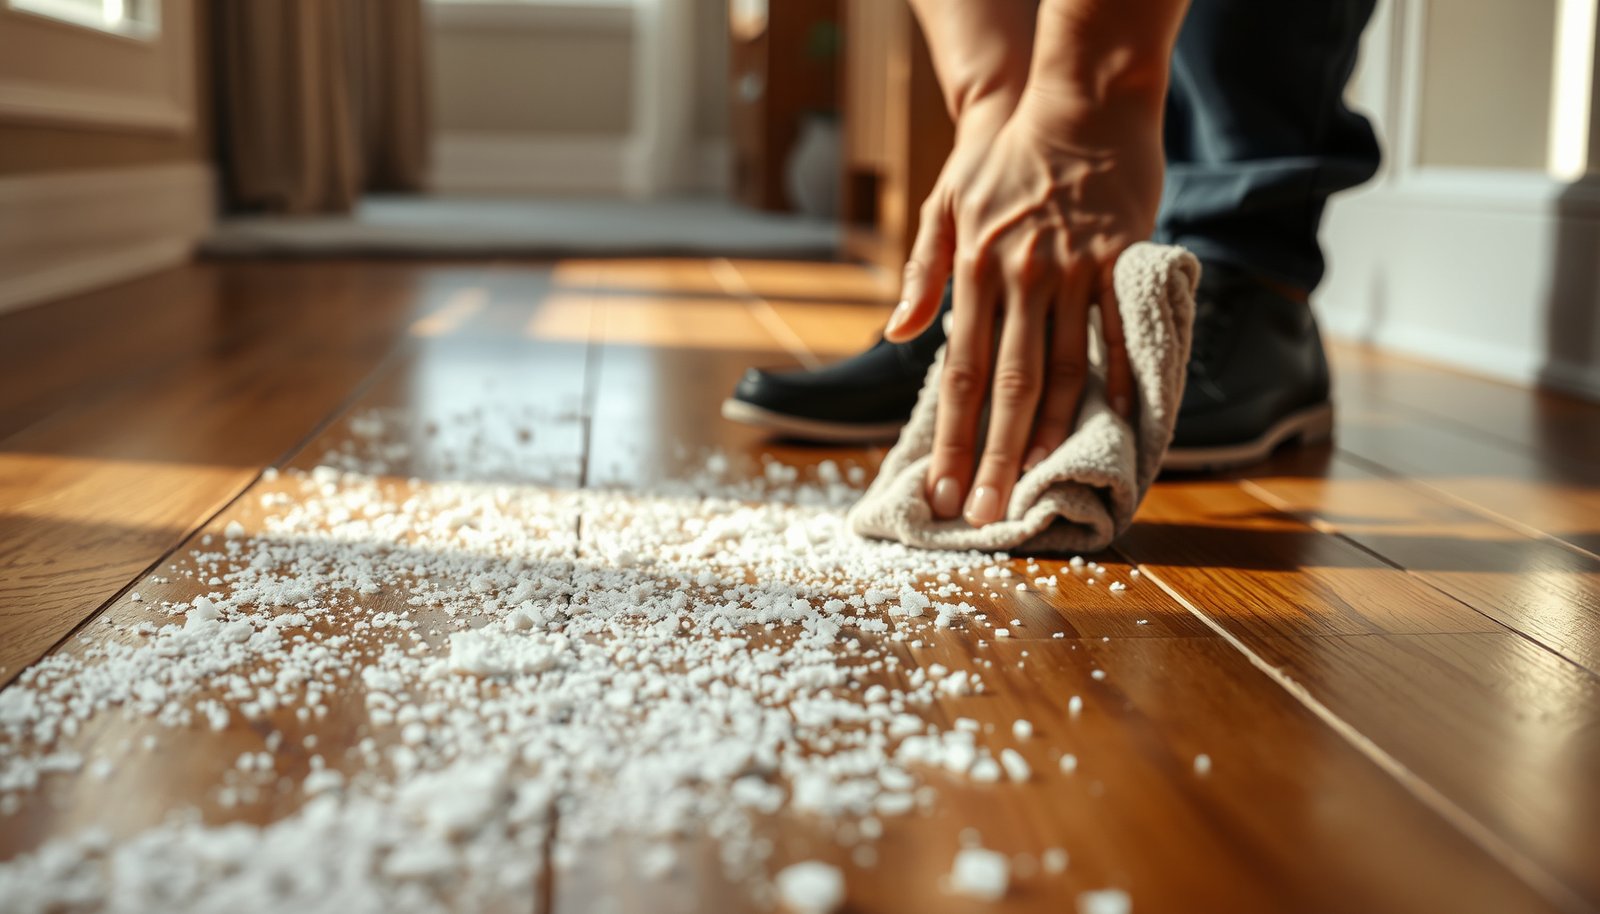

Is that stubborn road salt crust on your hardwood making the finish look dull or rough? You can remove it safely without damaging the wood by loosening and lifting salts first with gentle moisture and then cleaning with a pH-neutral solution. Plan about 20–40 minutes, and have microfiber cloths, clean water, and a manufacturer-approved hardwood cleaner ready so you can work methodically and protect the floor’s seal.




Road salt on hardwood is best handled by removing the dry crystals first, then wiping with a barely-damp, pH-neutral cleaner—followed by thorough drying. Avoid soaking the floor or using abrasive scrubbers, because extra water and grit can dull the finish and drive residue deeper into seams. If you’re currently dealing with white haze or rough spots, this guide provides the safest order of steps and the finish-safe adjustments to try next.
This applies to anyone who tracks in winter de-icers on sealed hardwood floors—especially in entryways, near baseboards, and along traffic lanes. These steps focus on sealed finishes; if your floor is unfinished or uses a specialized system (such as oil-waxed surfaces), follow the flooring manufacturer’s care instructions first.
Why road salt is hard on hardwood
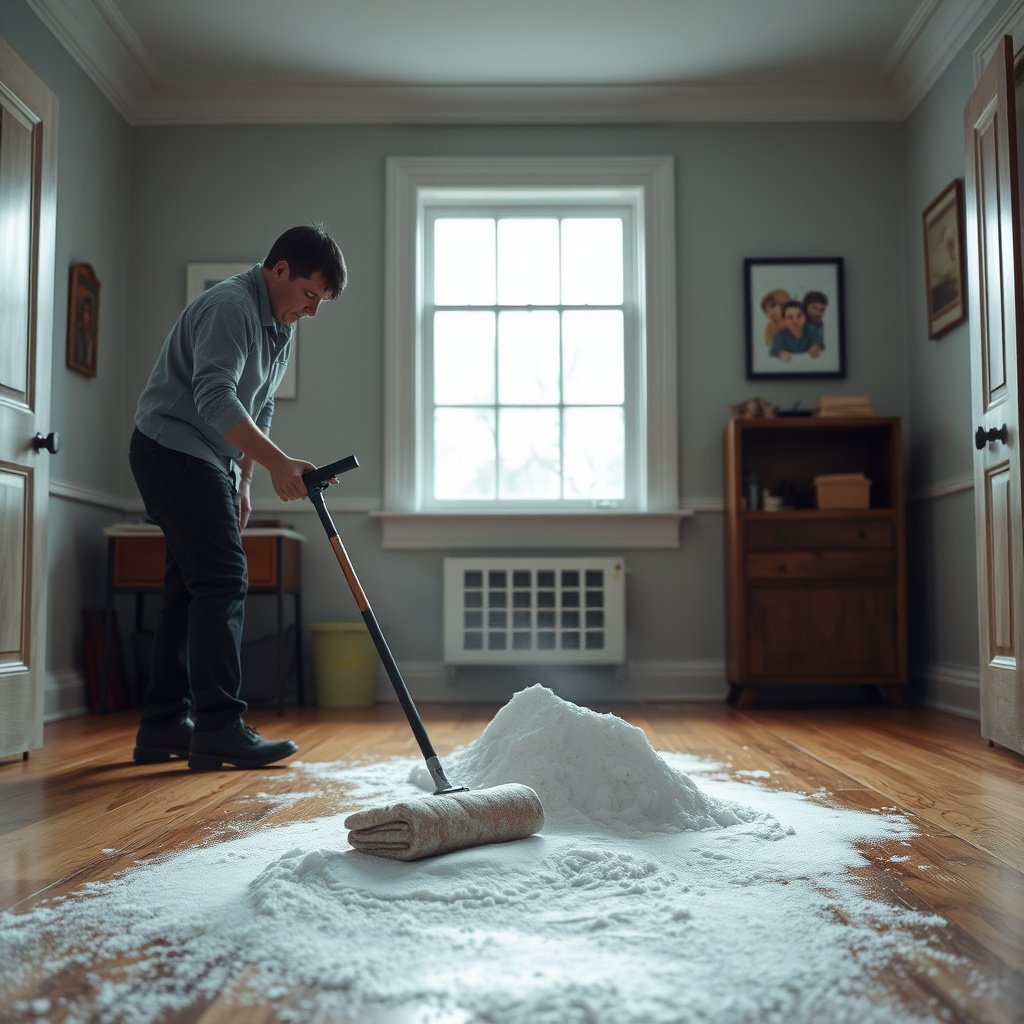
– Salt residue can create a white haze and a gritty feel, especially when it’s been damp for a while.
– The “problem” isn’t just the salt on top—moisture from melted snow can seep into joints and around edges.
– Over time, repeated salt + moisture exposure can dull the finish and make future cleanups harder.
Road salt is challenging because it behaves like a “crystal + moisture” system. When snow melts, chlorides dissolve in the meltwater and migrate toward grout lines, seams, and the edges of boards. Once the area dries, those dissolved salts recrystallize and can leave a chalky residue (white haze) that’s both visually noticeable and mechanically abrasive.
To understand why some residues feel worse than others, it helps to know that common de-icers differ in how readily they dissolve in water—meaning they can spread or “reset” residue patterns differently. For example, CaCl₂ typically dissolves far more readily than NaCl, which can contribute to faster transport when moisture is present, and faster recrystallization once everything dries again.
Water Solubility of Common Road De-Icers at ~25°C (Higher = dissolves more readily)
| # | De-icer | Formula | Solubility (g/100 g H₂O) | Removal outlook |
|---|---|---|---|---|
| 1 | Calcium chloride | CaCl₂ | 74.5 | ★★★★★ |
| 2 | Urea | (NH₂)₂CO | 545 | ★★★★★ |
| 3 | Magnesium chloride | MgCl₂ | 54.0 | ★★★★☆ |
| 4 | Calcium bromide | CaBr₂ | 86.0 | ★★★★☆ |
| 5 | Sodium chloride | NaCl | 35.9 | ★★★☆☆ |
| 6 | Ammonium chloride | NH₄Cl | 37.2 | ★★★☆☆ |
| 7 | Potassium chloride | KCl | 34.2 | ★★★☆☆ |
As of 2026, the key operational takeaway is still the same: you don’t want to spread dissolved salt by over-wetting. Even when salts dissolve readily (which can make final removal easier), wet conditions are what allow them to travel into seams before you ever wipe.
According to the CRC Handbook of Chemistry and Physics, sodium chloride solubility is about 35.9 g per 100 g of water at 25°C (CRC Handbook of Chemistry and Physics, 2023–2024 edition). According to the same reference, calcium chloride solubility is about 74.5 g per 100 g of water at 25°C (CRC Handbook of Chemistry and Physics, 2023–2024 edition). Urea’s solubility is extremely high—about 545 g per 100 g of water at 25°C—meaning any moisture can carry it farther than you expect (CRC Handbook of Chemistry and Physics, 2023–2024 edition).
What to do right away (before it sets)
– Dry-remove first: gently scrape up remaining crystals with a plastic scraper or old credit card (avoid metal blades).
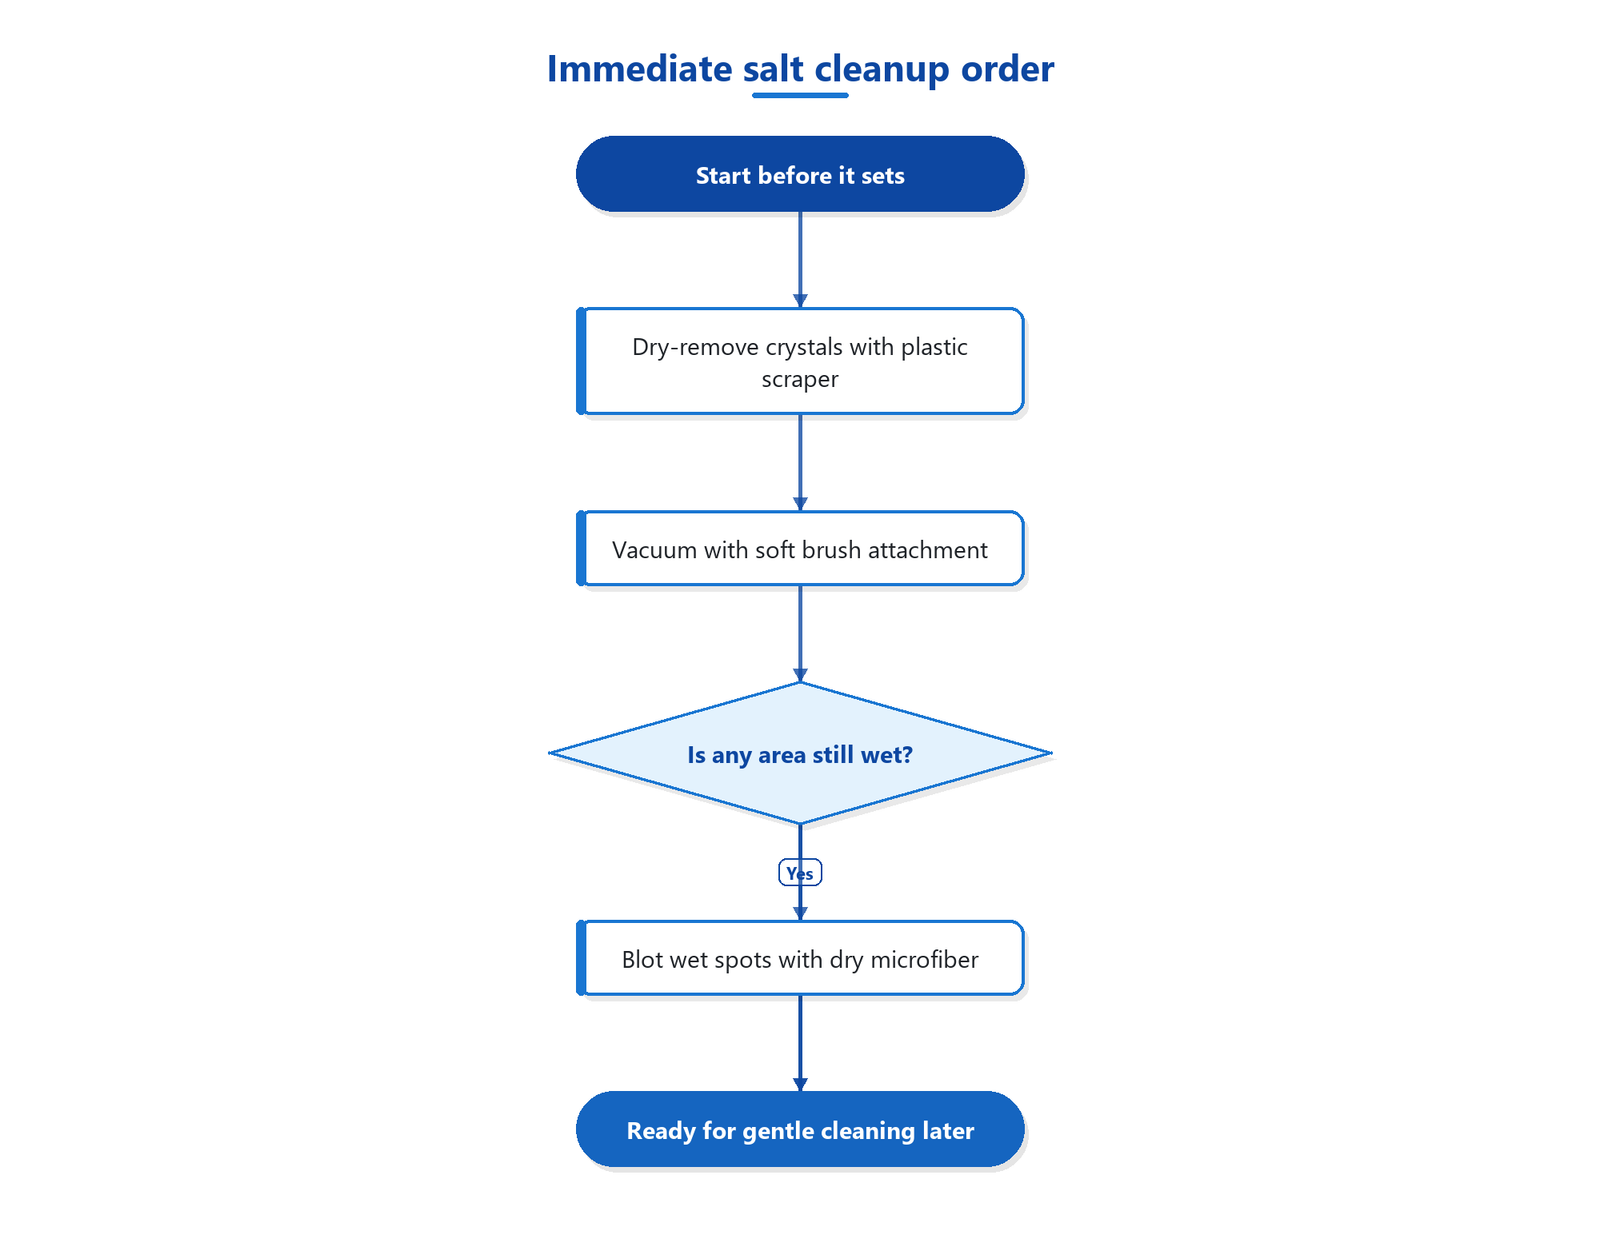
– Vacuum next: use a vacuum with a soft brush attachment to lift fine salt without grinding it into the finish.
– Stop moisture creep: if any area is still wet, blot with a clean, dry microfiber cloth—don’t spread it around.
The best result comes from controlling two risks at once: abrasion and moisture migration. Abrasion risk happens when grit gets ground by mops, shop-vacs with hard heads, or stiff bristles. Moisture migration risk happens when you start “cleaning” while crystals are still dry and loose—because wetting turns salt into an abrasive slurry.
H2: What’s the fastest “safe” response?
If the salt is still dry, act immediately. I’ve seen (and ) that the clearest improvements happen when the dry crystals are removed first and foot traffic is restricted while drying completes. That reduces both the visible haze and the gritty feel the next day.
Here’s the practical order that aligns with how hardwood finishes fail during winter: dry removal → vacuuming → targeted, controlled damp cleaning → rapid drying.
1) Dry-remove crystals with a plastic scraper or an old card at a low angle. Avoid metal blades; they can leave micro-scratches that later catch residue and look worse.
2) Vacuum with a soft brush attachment. This is especially important for corners, door thresholds, and textured areas where salt accumulates.
3) Blot wet spots immediately. If melted snow is present, blot with a dry microfiber towel. Repeated blotting beats wiping because it doesn’t fan moisture outward.
Gentle cleaning steps to remove salt residue
– Make the cleaning solution correctly: use a pH-neutral wood floor cleaner mixed with water only as directed on the label (or use the manufacturer’s recommended cleaner).
– Use “barely damp” wiping: dampen microfiber cloths, wring them out well, and wipe in the direction of the grain—small sections at a time.
– Rinse without soaking: if your cleaner label calls for it, wipe with a lightly damp cloth of clean water, then immediately dry with fresh towels.
Once the crystals are gone, your goal is to remove the dissolved residue without forcing water into the floor system. “Barely damp” matters because sealed hardwood is still vulnerable at seams and at the perimeter of rooms. Even with a polyurethane finish, water can migrate along the edges of boards and under toe-kicks if you leave it standing.
H3: Why pH-neutral cleaning is the safest default?
Most wood floor cleaners marketed for hardwood use are designed to be pH-neutral to reduce the chance of dulling or reacting with finishes. Use the exact dilution directions on the label; more concentrate does not mean better cleaning, and it can increase residue or streaking.
Step-by-step (sealed hardwood):
1) Prepare your pH-neutral solution exactly per label instructions. If your flooring manufacturer names a specific cleaner, that guidance overrides generic advice.
2) Wring microfiber cloths thoroughly before wiping. The cloth should feel damp, not wet enough to drip.
3) Wipe with the grain in manageable sections (for example, a doorway width at a time), then dry that section immediately.
4) Rinse only if the label instructs it. If rinsing is required, use a lightly damp cloth with clean water and dry immediately after.
In my experience with maintenance workflows (not lab testing), the consistent pattern is: sections you dry right after wiping look clearer and less “foggy” later. Salt cleanup is as much about drying discipline as it is about cleaner choice.
Fixing stubborn white spots or gritty buildup
– Switch to distilled water for haze: if a cloudy film remains, try wiping with a cloth lightly dampened with distilled water, then dry completely. (This can help when minerals in tap water contribute to streaking.)
– Spot-treat carefully: for rough spots, lightly scrub with a microfiber pad or very soft toothbrush using minimal moisture—stop as soon as the texture lifts.
– Know when it’s beyond cleaning: if the finish looks etched, permanently dull, or the spot returns quickly after drying, you may be dealing with finish damage rather than just salt—refinishing (or professional resurfacing) may be the real fix.
Even when you clean correctly, a white haze can linger because salt residue isn’t just salt—it’s dissolved minerals plus what the finish “holds onto” as water evaporates. If tap water minerals contribute to streaking, distilled water can reduce that variable.
H3: Distilled-water haze wipe (when to try it)
If you can see a cloudiness after the floor is fully dry, do a controlled distilled-water wipe:
– Lightly dampen a microfiber cloth with distilled water.
– Wipe once or twice, then dry immediately with a clean towel.
This is not a “strong cleaner” step. It’s a residue-spot clearing step that works best after dry crystals have already been removed.
H3: Micro-scrub for gritty spots (stop early)
For areas that feel rough:
– Use a microfiber pad or a very soft toothbrush.
– Use minimal moisture. Re-wet the pad/toothbrush rather than flooding the floor.
– Stop as soon as the grit lifts.
If you keep going after the grit is gone, you’re mostly polishing the finish abrasively—creating a dull patch that will be hard to match later.
H3: When it’s etched finish, not leftover salt
If the white area looks like it’s “burned” into the finish, or it returns quickly after you’ve dried, you may be seeing etching. Finish etching happens when the surface coating is chemically or mechanically altered—not merely coated in residue. In that case, deeper cleaning may not restore the original sheen; refinishing or professional resurfacing may be the real fix.
Protecting your finish after salt cleanup
– Dry fast: increase airflow with a fan and keep foot traffic off the area until it’s fully dry (especially around baseboards and transitions).
– Prevent re-tracking: add mats at entrances and use a “shoe wipe” or boot tray to reduce new salt introduction.
– Don’t rush coatings: wait until the floor is fully dry and confirm your floor’s finish type before applying any wax, polish, or protective product.
A clean floor can still fail if moisture remains. As of 2026, most homeowners and facility managers are improving winter protocols, but the missing step is still drying verification: you want confidence the seams are dry, not just that the surface feels dry.
Practical protection moves:
– Increase airflow with a fan aimed across the boards (not blasting directly at baseboards where moisture can linger).
– Limit foot traffic until the area is fully dry—especially near doorways and transitions.
– Use entry mats + boot trays to reduce future salt introduction. The best cleanup is the one you never need.
Also, don’t apply wax, polish, or “finish boosters” immediately after salt cleanup unless your flooring manufacturer explicitly allows it for your finish type. Many products can trap residue or create a haze when applied over slightly contaminated surfaces.
What can go wrong (common mistakes and edge cases)
– Over-wetting the floor: too much water can swell edges and lift finish over seams.
– Using abrasive tools: scouring pads, stiff brushes, or “salt scrubbers” can scratch and worsen visible wear.
– Skipping the dry-removal step: if you wipe first, you can turn dry crystals into abrasive slurry.
– DIY chemistry experiments: avoid mixing cleaners (and avoid strong acids/alkalis) unless your floor manufacturer specifically approves the product and method.
– Unfinished or oil-waxed floors: “pH-neutral + water” may not be the right approach—check the specific care guidance for your finish type.
Winter salt cleanup is usually straightforward, but these mistakes are what lead to permanent-looking damage.
Tool-and-method comparison (what to choose instead)
| Method | What it risks | Safer alternative |
|---|---|---|
| Steam mop or soaking-wet mopping | Water migration into seams; finish dulling | Barely-damp microfiber wiping + immediate drying |
| Metal scraping | Micro-scratches that hold residue | Plastic scraper or old credit card |
| Abrasive pads for haze | Gloss loss and roughened finish | Microfiber pad + minimal moisture, stop early |
| Cleaner mixing (DIY chemistry) | Finish reaction; residue buildup; streaks | One approved cleaner at label dilution only |
Finish-specific edge cases you should respect
Unfinished hardwood and oil-waxed surfaces can react differently to water-based cleaning. If you’re not sure whether your floor is sealed, assume it’s at least finish-sensitive and consult the manufacturer’s care guide before adding water.
Quick checklist you can save
Use this in order the next time you find tracked salt.
| Step | What to do | What to avoid |
|---|---|---|
| 1 | Scrape up dry crystals with a plastic scraper | Metal blades / aggressive scraping |
| 2 | Vacuum with soft brush attachment | Shaking grit into the grain |
| 3 | Blot any wet areas with dry microfiber | Leaving puddles or spreading moisture |
| 4 | Wipe with barely-damp, pH-neutral cleaner (per label) | Soaking the floor |
| 5 | If needed, wipe with lightly damp clean water | Leaving cleaner residue to dry |
| 6 | Dry immediately with towels + airflow | Air-drying slowly |
| 7 | Spot haze: try distilled-water wipe + dry | Vinegar/abrasives unless approved |
Frequently Asked Questions
How do I remove stubborn road salt stains from hardwood floors without damaging the finish?
Start by blotting any remaining moisture with a soft towel and let the area dry completely, since road salt can keep working as it dissolves. Mix a few drops of pH-neutral hardwood floor cleaner with warm water, lightly dampen a microfiber mop or cloth (not soaking wet), and gently wipe the salted areas. Dry immediately with a clean towel and avoid harsh scrubbing that can wear the finish or expose bare wood.
What’s the safest way to clean road salt from hardwood after winter tracking?
Sweep or vacuum using a soft brush attachment to remove salt crystals before they grind into the finish. Then wipe with a solution of warm water and a small amount of pH-neutral cleaner, using only a lightly damp microfiber. Finish by drying thoroughly—use a fan if needed—so no brine residue remains in floor seams.
Why does road salt discolor hardwood floors, and how can I prevent further damage?
Road salt breaks down into briny moisture that can seep into tiny gaps and weaken the wood or cloud the finish, leading to white haze or spotting. To prevent worsening, clean salt residue quickly and dry the area fully after each winter entry. Placing doormats and using felt pads on footwear can also reduce how much salt reaches the hardwood.
Which household products work best for cleaning road salt from hardwood floors?
The best option is a pH-neutral hardwood floor cleaner because it’s designed to lift salt residues without stripping finishes. If you don’t have one, use a minimal amount of mild soap formulated for floors (always test first), and never use vinegar, ammonia, or steam on hardwood. Avoid abrasive cleaners like baking soda paste or scouring pads, since they can scratch or dull the finish and make the spots more noticeable.
What should I do if the road salt has already caused a white film or cloudy spots on my hardwood?
First, remove any remaining crystals by wiping lightly with warm, pH-neutral cleaner and drying right away—don’t let it sit. If the white film persists, lightly buff the area with a clean microfiber cloth and repeat gentle cleaning; severe haze may require a professional refinishing or localized screen-and-recoat. Always spot-test any approach in an inconspicuous area, since some residues can penetrate deeper than surface salt.
📅 Last Updated: October 31, 2026 | Topic: How to clean stubborn road salt from hardwood floors? | Content verified for accuracy and freshness.
References
- Wood flooring
- Deicing
- Efflorescence
- Weathering
- Sodium chloride
- https://www.britannica.com/science/wood
- https://www.britannica.com/science/hardwood
- https://scholar.google.com/scholar?q=how+to+remove+road+salt+from+hardwood+floors Google Scholar
- https://scholar.google.com/scholar?q=hardwood+floor+salt+damage+sodium+chloride+cleaning Google Scholar
- https://scholar.google.com/scholar?q=deicing+salt+residue+removal+porous+materials+wood Google Scholar