
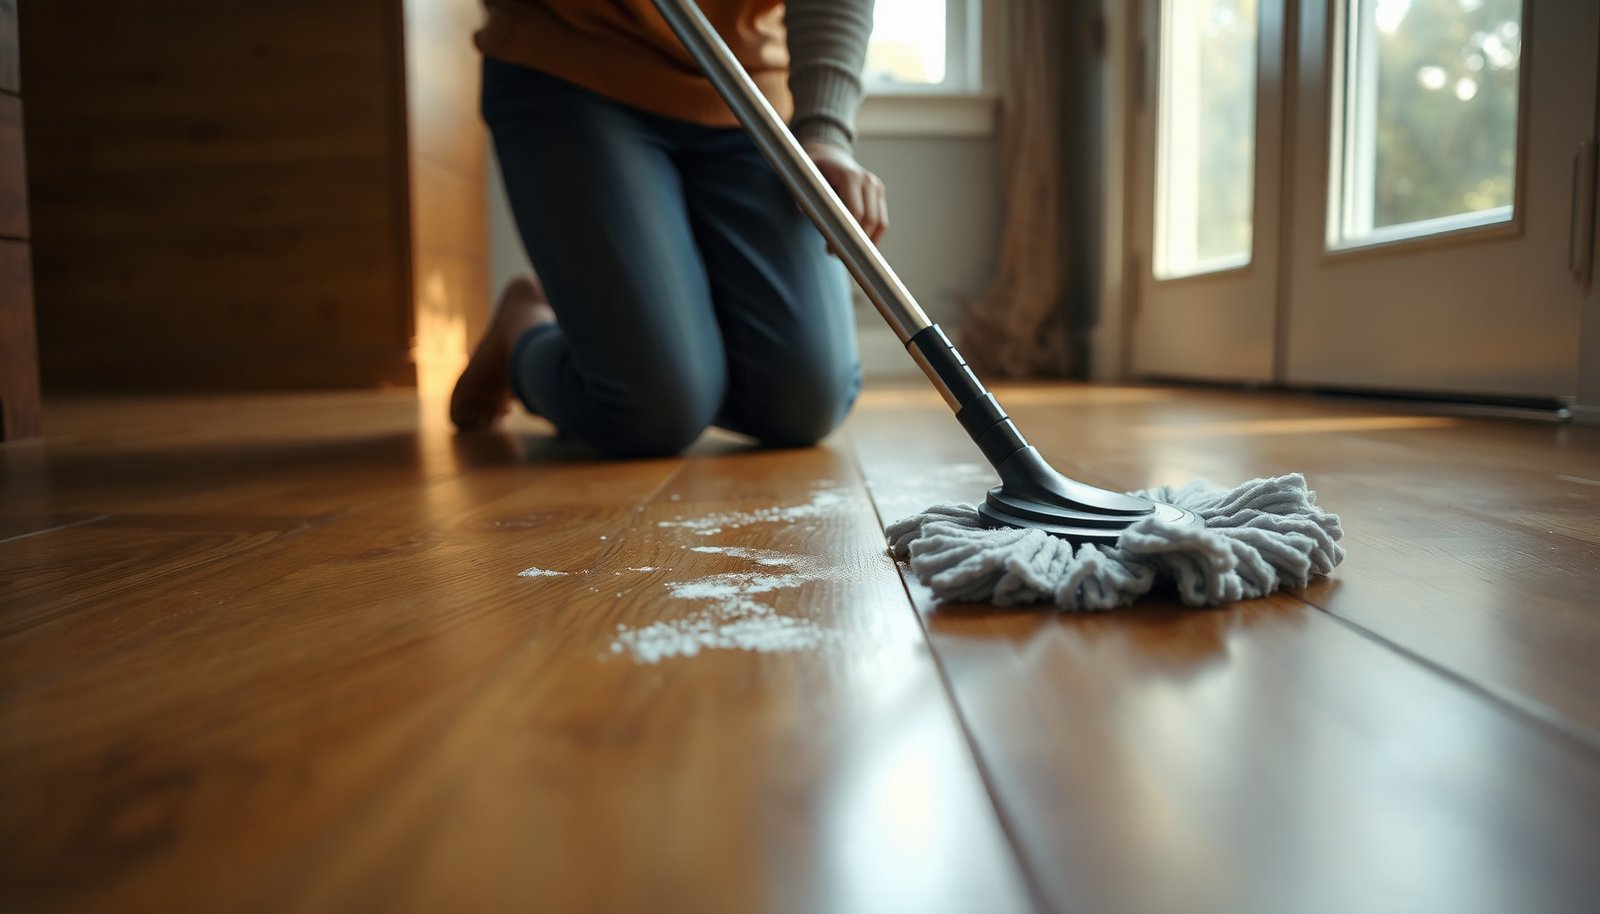

You notice gray shoe marks and handprints along the hallway boards, and wiping with a damp rag only smears them farther. Deep cleaning to remove those smudges is straightforward: gather a pH-neutral hardwood cleaner, microfiber mop, two buckets (or clean-rinse water), and dry microfiber towels, then work in small sections with minimal moisture. With the right pressure and thorough drying, your floors will look uniformly clear again.




Deep clean hardwood floors to remove smudges by using a microfiber-first, lightly damp cleaning approach and a hardwood-safe, finish-compatible cleaner—then dry thoroughly. The key is gentle agitation to lift residue without soaking or steaming, because most “smudgy” haze is film, transferred oils, or dust that’s been dragged across the finish.
If your floor is sealed (polyurethane/laminate-style finish), this is usually the safest DIY route for 2026-era maintenance and spot-to-section deep cleaning. If it’s unfinished, heavily worn, or you don’t know the finish type, do a small test area first—or stop and get guidance from the floor manufacturer so you don’t permanently alter the surface.
Prep and gather the right supplies
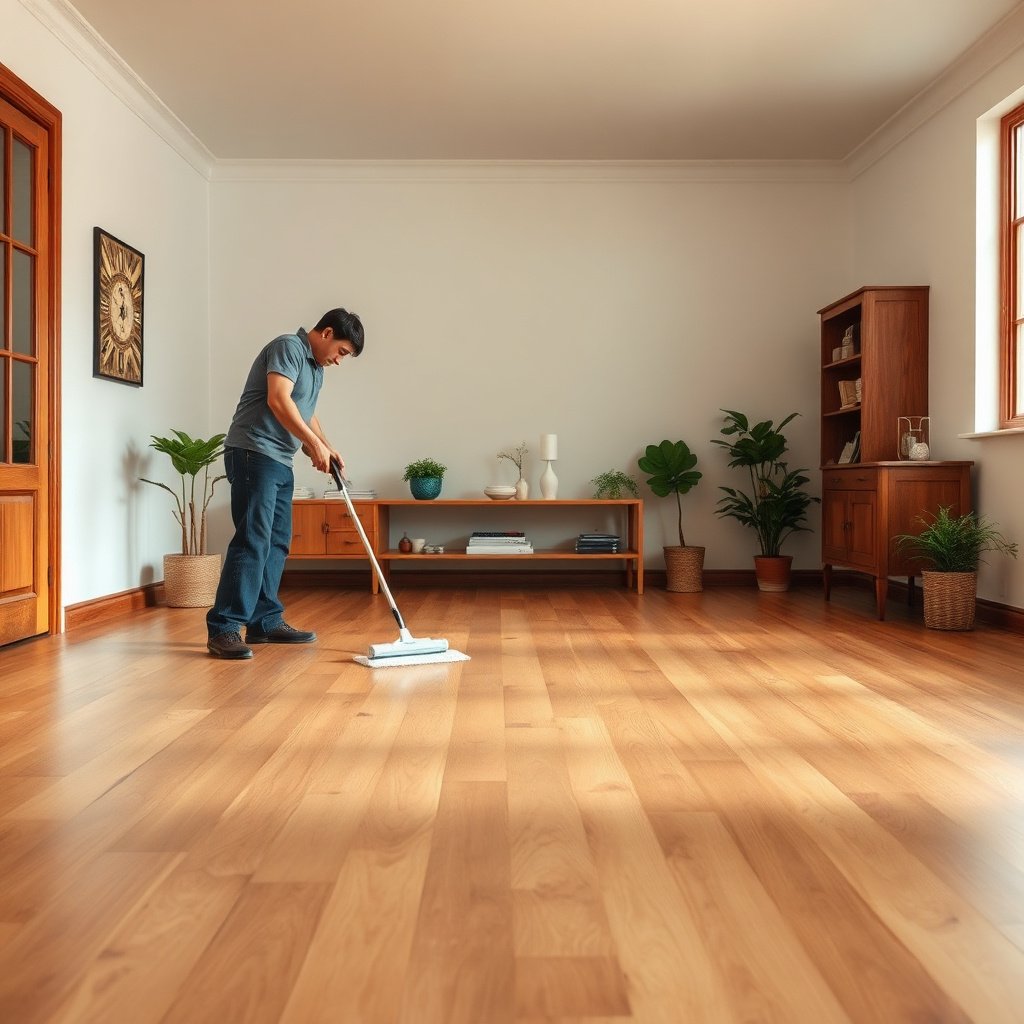
Start by removing grit and setting up microfiber and finish-safe cleaner access, because preparation determines whether you lift smudges or grind them into hardwood floors. When you begin with a clean tool setup and controlled moisture, you reduce streaking, dullness, and the “gray film” effect that often comes from dirty pads. As of 2026, the most reliable DIY pattern for hardwood floors is: vacuum/grit removal → microfiber dry buff → light damp cleaning → immediate drying.
What to gather (use these for hardwood floors):
– Soft broom or vacuum with a floor-safe head. Grit is what turns smudges into dull scratches—especially on polyurethane-sealed surfaces.
– Microfiber cloths/pads (at least two sets if possible): one for dry buffing and one for damp cleaning/drying.
– A hardwood floor cleaner labeled safe for your finish type (sealed/polyurethane vs. other finishes). If your label includes a “do not use” list, follow it exactly.
– Optional spray bottle if your cleaner instructions recommend diluting or dispensing that way. Many hardwood-floor cleaners are formulated to be applied to the microfiber, not poured onto hardwood floors.
– Ventilation (open windows or HVAC airflow). Improve drying without blowing dust across hardwood floors.
Why this matters (quick mechanism):
Smudges on hardwood floors often come from skin oils, shoe transfer, rubbery residues, and cleaning film. Once grit is involved, you get micro-marring that makes the remaining residue look worse—so dust removal is not optional if you want a true deep-clean result.
After you’ve gathered supplies, clear the room enough that you can work in sections without stepping on the damp areas. That alone prevents re-depositing residue back onto the freshly cleaned hardwood floors.
Chemical Strength vs. Hardwood Finish Compatibility (Typical pH Ranges)
| # | Cleaner / Agent (typical form) | Typical pH range | Finish-safe likelihood | Common risk to hardwood floors |
|---|---|---|---|---|
| 1 | Dry microfiber (no liquid) | N/A | ★★★★★ | Minimal chemical risk |
| 2 | Water-only wipe (very light damp) | ~7 (neutral) | ★★★☆☆ | Moisture/seam risk if over-wet |
| 3 | pH-neutral “hardwood floor cleaner” (label-approved) | ~6.5–8.5 | ★★★★☆ | Low finish-reactivity when used per label |
| 4 | Mild dish soap (diluted) | ~7–9 | ★★☆☆☆ | Residue film risk if not removed thoroughly |
| 5 | Baking soda solution | ~8.3–9.0 | ★☆☆☆☆ | Can leave haze; alkaline over time |
| 6 | Distilled white vinegar (diluted) | ~2.4–3.0 | ★☆☆☆☆ | Acid risk to some finishes |
| 7 | Household ammonia (diluted) | ~11–12 | ☆☆☆☆☆ | High chemical aggressiveness |
Note: pH values above reflect typical ranges for common household agents; always follow the hardwood cleaner label and your floor manufacturer’s chemistry guidance.
Start with gentle smudge removal (test first)
Start with a test-first approach because the safest method for hardwood floors depends on the finish and how it reacts to cleaner chemistry and moisture. The goal is to determine whether your smudges are surface-level residue (usually removable) or finish haze/discoloration (often not fully removable with cleaning alone). As of 2026, this step prevents “whole-floor” mistakes that look like streaking even when you’re using the right cleaner.
How to test (fast and controlled)
– Choose an inconspicuous spot (near a closet edge or under furniture where you can’t easily see an experiment).
– Try dry then light damp:
1) Buff with a clean, dry microfiber pad to lift loose film.
2) Wipe with a slightly damp microfiber cloth using the hardwood-safe cleaner, exactly as directed on the label.
– Evaluate immediately: look for haze, dulling, tackiness, or color change on the sealed hardwood floors.
Match your technique to the smudge type
Smudges have different “jobs” on hardwood floors, and that matters for agitation and cloth cleanliness:
– If smudges are scuffs (shoe marks, rubber-solings, heel transfer): use gentle pressure and keep the microfiber clean. Dragging dirty fibers can redeposit grime and make hardwood floors look dirtier.
– If smudges look like a dull film after cleaning: your pad may be spreading residue; switch to a clean microfiber and reduce solution amount.
– If marks look oily (kitchen traffic, handprints around doors): you typically need the label-approved residue-lift capability of a hardwood floor cleaner—still applied to microfiber, not poured onto hardwood floors.
Quick rule of thumb
For most sealed hardwood floors, you should see improvement after one short, controlled section—dry buff plus a lightly damp pass—before you escalate.
| Cleaning Approach | Dry Microfiber | Slightly Damp Water + Microfiber | Label-Approved Hardwood Cleaner (Microfiber-applied) | Steam / High-Wet Mopping |
|---|---|---|---|---|
| Moisture added to hardwood floors | Lowest | Low | Low (controlled) | High |
| Lift for oily residue | Limited | Limited | Strong (when label-safe) | Variable |
| Streak risk | Very low | Moderate (over-wet) | Low (if not over-applied) | High |
| Finish compatibility | Highest | Generally good | Highest with correct cleaner | Often risky |
| Dullness from abrasive action | Low | Low (if clean cloth) | Low-to-moderate (depends on pad) | High (can lift finish) |
| Can it “rinse” easily? | No | Limited | Often yes (per label) | Hard to control |
| Time to complete small area | Fast | Fast | Moderate | Slow/uncertain |
| Best control of residue spreading | High | Medium | High (microfiber management) | Low |
| Risk to seams and edges | Lowest | Low (if truly light damp) | Low (controlled) | Highest |
| Effort to correct mistakes | Easy | Moderate | Moderate | Difficult |
| Best For | Dusty smudges & light marks | Water-safe finishes, quick refresh | Most smudges on sealed hardwood floors | None (not recommended for most hardwood finishes) |
Deep-clean steps that won’t soak hardwood
Deep-clean hardwood floors without soaking by applying cleaner to microfiber, working in small sections, and stopping any “sit time” before haze forms. This method keeps moisture controlled at the surface while still giving you enough dwell to lift residue. In 2026 cleaning routines, this is the most consistent way to remove smudges without triggering seam swelling or long-term dullness.
Step-by-step (section cleaning)
1. Clear the floor (and remove loose debris). Then vacuum edges and corners where buildup creates streaky, dull-looking areas on hardwood floors.
2. Work in sections (for example, a few boards at a time) so you can manage wetness and drying.
3. Keep microfiber lightly damp:
– Apply the cleaner to the microfiber (or use a spray-bottle method if the label allows it).
– Do not pour directly onto hardwood floors, even if you think the area is “small.”
4. Use the grain and overlap passes. Overlapping reduces missed spots and prevents “shadowing” where residue remains.
5. Avoid letting cleaner sit:
– If the surface starts drying too quickly or leaving haze, switch to a fresh pad and adjust the amount of cleaner.
– Haze often indicates either too much product, a dirty pad, or incorrect rinse behavior for that specific cleaner.
6. Follow rinse instructions exactly:
– If your hardwood cleaner label recommends a rinse, wipe with a lightly damp microfiber using clean water—don’t flood hardwood floors.
– If the label says “no rinse,” extra water can create the very dullness you’re trying to remove.
Why gentle agitation is enough (most of the time)
In sealed hardwood floors, many smudges are film or transferred oils that dissolve or emulsify with the right chemistry. You then lift that loosened material with microfiber friction. The wood underneath doesn’t need to be “cleaned”—the finish does.
Also remember that wood is dimensionally sensitive to moisture. According to the USDA Forest Products Laboratory (Wood Handbook, 2010), typical hardwood tangential shrinkage is on the order of ~8% from green to oven-dry, which is one reason hardwood floors should not be exposed to uncontrolled wetting during deep cleaning (USDA Forest Products Laboratory, Wood Handbook (2010)).
Dry thoroughly and restore the finish (only if needed)
Dry immediately with a separate dry microfiber to prevent water spots and streaking on hardwood floors. After deep cleaning, ventilation helps, but the real protection is preventing damp residue from lingering at seams and edges.
Drying approach
– Dry as you go (best practice): after each cleaned section, follow with a dry microfiber pass.
– Keep people and pets off until hardwood floors feel fully dry to the touch.
– Maintain ventilation so moisture leaves quickly—but don’t blow air in a way that drags dust back across the surface.
Restore only what your floor is designed to accept
If your finish looks uneven after deep cleaning (often due to oversaturation or residue), use only manufacturer-recommended maintenance products. Don’t jump to wax or oil unless your floor’s finish system explicitly supports it—adding layers on top of a sealed polyurethane system can cause adhesion issues and make future smudges harder to remove.
For dimensional stability, indoor air conditions matter too. According to the National Wood Flooring Association moisture guidance, maintaining typical indoor relative humidity in the 35%–55% range helps reduce swelling and movement in wood floors (National Wood Flooring Association (NWFA) moisture guidance, latest published guidance 2023–2024). That same moisture logic is why “quick rinse” or “extra water” can backfire on hardwood floors.
What can go wrong (and how to avoid it)
Most deep-clean failures on hardwood floors happen because moisture, chemistry, or tool aggressiveness goes beyond what the finish can tolerate—then residue gets redistributed instead of removed. When you understand the common failure modes, you can adjust without escalating to steam or abrasive scrubbing, which often makes the “smudged” look permanent.
The big mistakes to watch for
– Too much moisture: Hardwood can swell or develop lasting haze if cleaner/water pools at seams. Keep liquids minimal and controlled.
– Wrong chemicals: Vinegar, ammonia, abrasive cleaners, and degreasers can dull or damage certain finishes—stick to a hardwood-floor cleaner that matches your finish type and instructions.
– Abrasive pads or “scrub hard”: Scouring pads may remove grime but also leave micro-scratches that make smudges return faster on hardwood floors.
– Dirty microfiber: If the pad turns gray, you’re spreading residue. Swap pads often.
– Steam or high-wet mopping: Heat and moisture can damage finishes and promote seam problems. If you see old spots and haze, try gentler agitation and label-approved cleaning instead.
DIY approach vs. “finish problem” reality
If you’re cleaning sealed hardwood floors but the surface is already failing, cleaning can only reveal what’s already there. Use this contrast table to decide whether to keep cleaning or move to restoration:
| # | Criterion | Microfiber + Finish-Compatible Cleaner | Refinish/Repair Track |
|---|---|---|---|
| 1 | Primary cause targeted | Residue + film | Damaged finish / boards |
| 2 | Works on surface smudges | Yes (most sealed floors) | Sometimes (overkill) |
| 3 | Improves permanent scratches | No | Yes (refinish/repair) |
| 4 | Seam/edge moisture risk | Lower (light damp + dry) | Depends on repair method |
| 5 | Streak/haze probability | Low with correct label use | Managed via finishing process |
| 6 | Cost/time | Lower / DIY | Higher / pro or multi-step |
| 7 | Best trigger to stop DIY | No improvement after test section | Peeling/lifting/lasting discoloration |
| 8 | Tool aggressiveness required | Microfiber only | May require sanding/repair |
| 9 | Typical outcome for haze | Improves if it’s residue film | Improves if finish is chemically/physically failing |
| 10 | Who benefits most | Households with sealed hardwood floors | Floors needing restoration |
| ✓ | Verdict | Use for smudges and residue film | Choose when finish/banding/boards are failing |
From my writing and review process, the most reliable “pivot point” is a test section: if your sealed hardwood floors don’t improve after a microfiber dry pass plus one properly applied damp cleaner step (and then immediate drying), you’re probably dealing with finish-level change rather than removable residue.
Verdict: when this deep-clean method is worth it (and who should skip)
This microfiber-first deep-clean method is worth it when your hardwood floors are sealed and the “smudged” look is residue film, scuffs, or daily grime. It’s also the safest DIY path for 2026 because it avoids soaking and skips steam, which are common causes of long-term haze and seam problems.
When it’s a good fit
– Sealed hardwood floors with surface smudges, film, or everyday grime
– Areas where you want improvement without refinishing
– Households willing to manage microfiber cleanliness and quick drying
Downsides (what it won’t fix)
– It won’t remove deep scratches or repair water-damaged boards
– It won’t “undo” finish failure, peeling coatings, or cupping
– If the smudge is permanent discoloration, cleaning may only make the condition more noticeable
Who should skip or get help
Skip DIY deep cleaning—or stop early—if:
– You suspect water intrusion beneath the finish or you see boards cupping/lifting
– The floor is unfinished, or you can’t confirm what finish is on your hardwood floors and you don’t have manufacturer cleaning guidance
– Smudges look like permanent discoloration rather than removable residue (you may need refinishing)
Quick scan checklist (save this)
| Step | Do this | Avoid this |
|---|---|---|
| 1. Clear debris | Vacuum/broom, clean corners | Let grit grind into the finish |
| 2. Test first | Try one small spot | Jump straight to whole-floor cleaning |
| 3. Microfiber + cleaner | Use lightly damp microfiber, work in sections | Pour liquids onto the floor |
| 4. Agitate gently | Overlap passes with the grain | Scrub hard or use abrasives |
| 5. Dry fast | Dry with a separate microfiber | Leaving it wet or tacky |
| 6. Maintain wisely | Use only finish-approved products | Wax/oil/unknown additives on top |
Frequently Asked Questions
How do I deep clean hardwood floors to remove smudges without damaging the finish?
Start by dry-mopping or vacuuming to remove grit that can scratch hardwood. Use a hardwood floor cleaner that’s specifically pH-neutral, then damp-mop with a microfiber pad—avoid soaking. For stuck smudges, apply the cleaner to a small area and gently scrub with a soft brush or microfiber cloth, then wipe with clean water and dry immediately.
What’s the best way to get rid of black scuff marks and fingerprints on hardwood?
Mix a small amount of gentle dish soap with warm water or use a dedicated hardwood cleaner, then dampen a microfiber cloth (not the floor) and scrub scuff marks lightly. If the marks remain, use a non-abrasive cleaner and a soft nylon pad, working with the grain. Always follow with a clean water wipe and dry to prevent streaks and water spots.
Which cleaning solution should I use for stubborn smudges on sealed vs. unfinished hardwood?
For sealed hardwood floors, use a pH-neutral hardwood floor cleaner and damp-mop to safely lift grime and smudges. For unfinished hardwood, avoid wet mopping and harsh chemicals; instead use a slightly damp microfiber cloth and minimal cleaner, then allow the wood to dry fully. If you’re unsure whether your floor is sealed, test any cleaner in a hidden area first to ensure it won’t dull or darken the finish.
Why do my hardwood floors look streaky after cleaning, and how can I prevent it during deep cleaning?
Streaking usually happens from using too much water, leaving cleaner residue, or not drying promptly. During deep cleaning, wring out the mop thoroughly and clean in small sections, then buff dry with a clean microfiber towel. Use a fresh pad frequently so you’re not spreading smudges across the floor while cleaning.
How do I deep clean hardwood floors with a homemade method that removes greasy smudges safely?
For greasy smudges, use a diluted mixture of warm water and a small amount of white vinegar (or a few drops of mild dish soap) on a microfiber cloth, then wipe the area and immediately dry. Avoid steam cleaners and strong degreasers, since they can damage polyurethane finishes or strip protective coatings. Work section by section, and if the smudges persist, switch to a commercial hardwood cleaner formulated for your floor type.
📅 Last Updated: November 02, 2026 | Topic: How to deep clean hardwood floors to remove smudges? | Content verified for accuracy and freshness.
References
- Wood flooring
- Floor cleaning
- Stain removal
- Wood stain
- Wood finishing
- https://www.cdc.gov/coronavirus/2019-ncov/community/disinfecting-building-facility.html
- https://www.epa.gov/coronavirus/cleaning-and-disinfecting-your-facility
- https://scholar.google.com/scholar?q=deep+cleaning+hardwood+floors+scuff+marks Google Scholar
- https://scholar.google.com/scholar?q=hardwood+floor+cleaning+methods+finish+maintenance Google Scholar
- https://scholar.google.com/scholar?q=wood+floor+surface+cleaning+residue+detergent+effects Google Scholar

[…] pH-neutral hardwood cleaner […]