
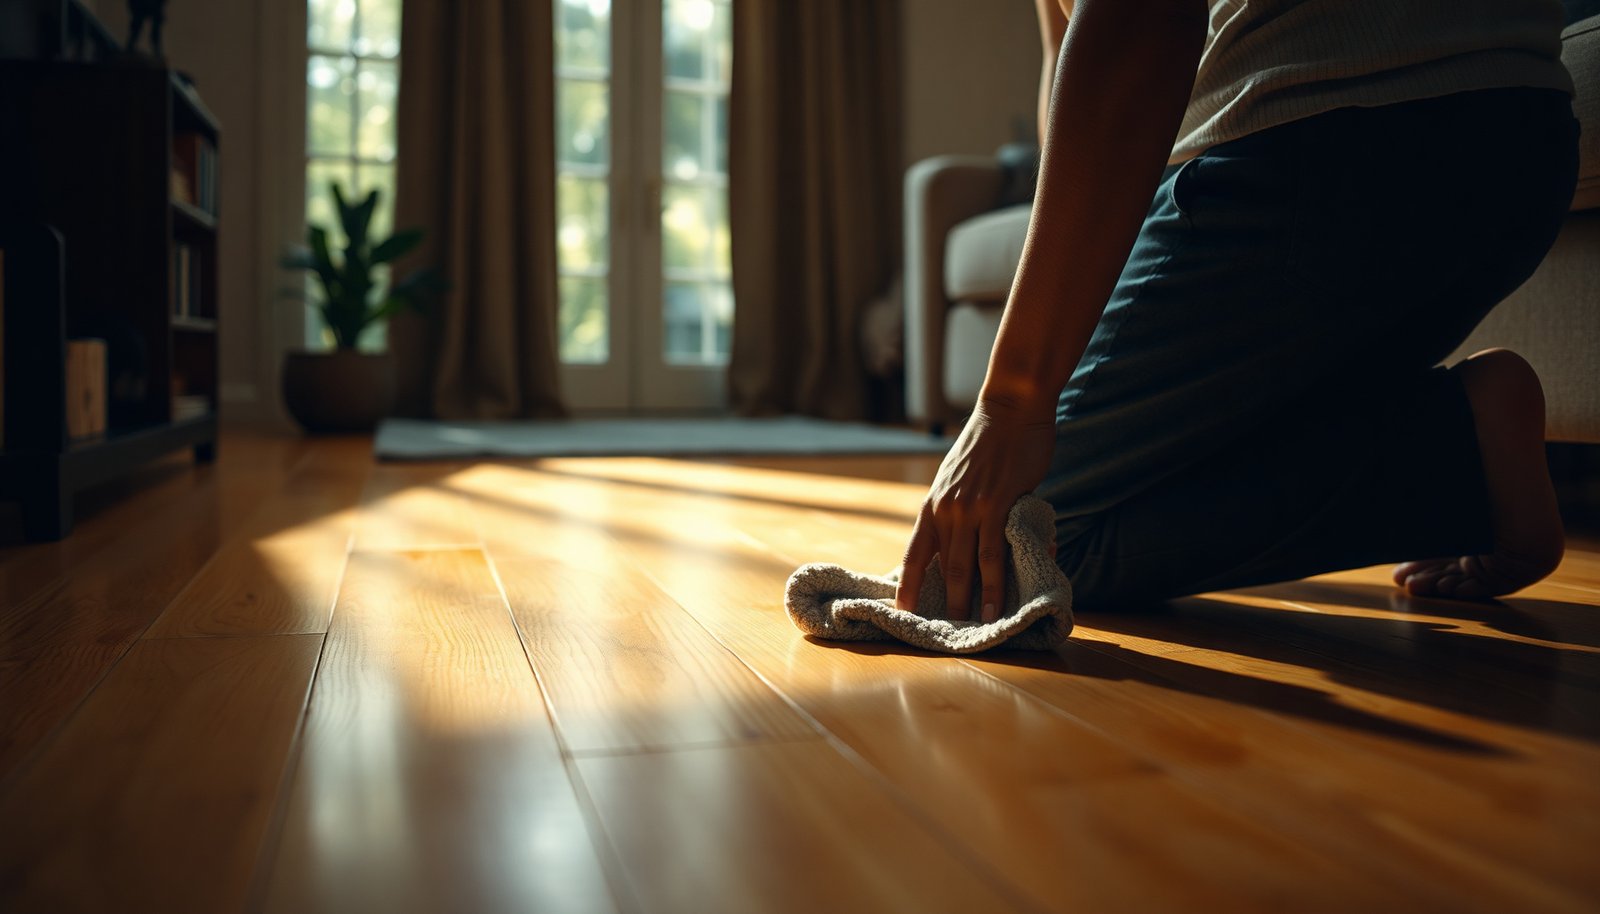

You can lift smudges and dull streaks from hardwood floors while protecting the finish by cleaning with the correct technique and minimal moisture. You will get clear, safe results in about 15 minutes using a microfiber cloth, a pH-neutral hardwood cleaner (or a simple water-and-cleaner mix), and a gentle buffing method. Follow the steps in order and you will finish with floors that look even, not cloudy or streaky.



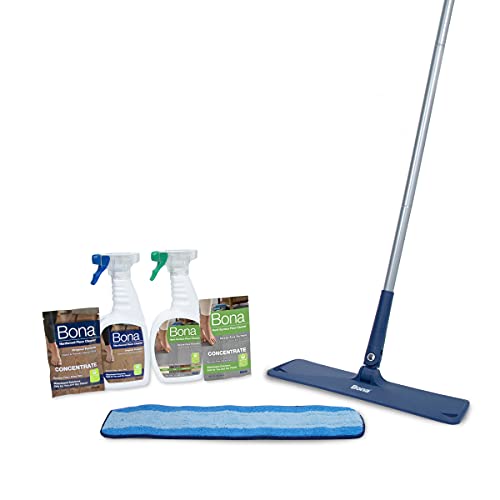
Smudges usually come off hardwood best with a dry microfiber first, followed by a lightly damp (not wet) wipe using a pH-neutral, finish-safe wood-floor cleaner. Work gently and dry immediately, because most “streaky smudge” problems are either surface residue that’s still oily, or finish dulling caused by excess moisture and harsh chemicals. This guide gives you an ordered set of safe options—so you remove the mark without compromising the floor’s protective topcoat.
Smudges on hardwood floors usually lift with a dry microfiber first, then a lightly damp (not wet) wipe using a pH-neutral wood-floor cleaner. Start gentle—if the mark remains, move to slightly stronger (but still finish-safe) methods rather than soaking or scrubbing hard. This guide walks you through safe options in order, plus what to avoid so you don’t damage the finish.
If your hardwood is showing fingerprints, heel marks, or dull streaks (common in high-traffic areas), these steps apply whether the floor is finished with polyurethane/urea, prefinished hardwood, or an unknown topcoat. If you’re dealing with raw/unsealed wood or peeling finish, stop and reassess before trying cleaners.
Gather the right tools (and keep water minimal)
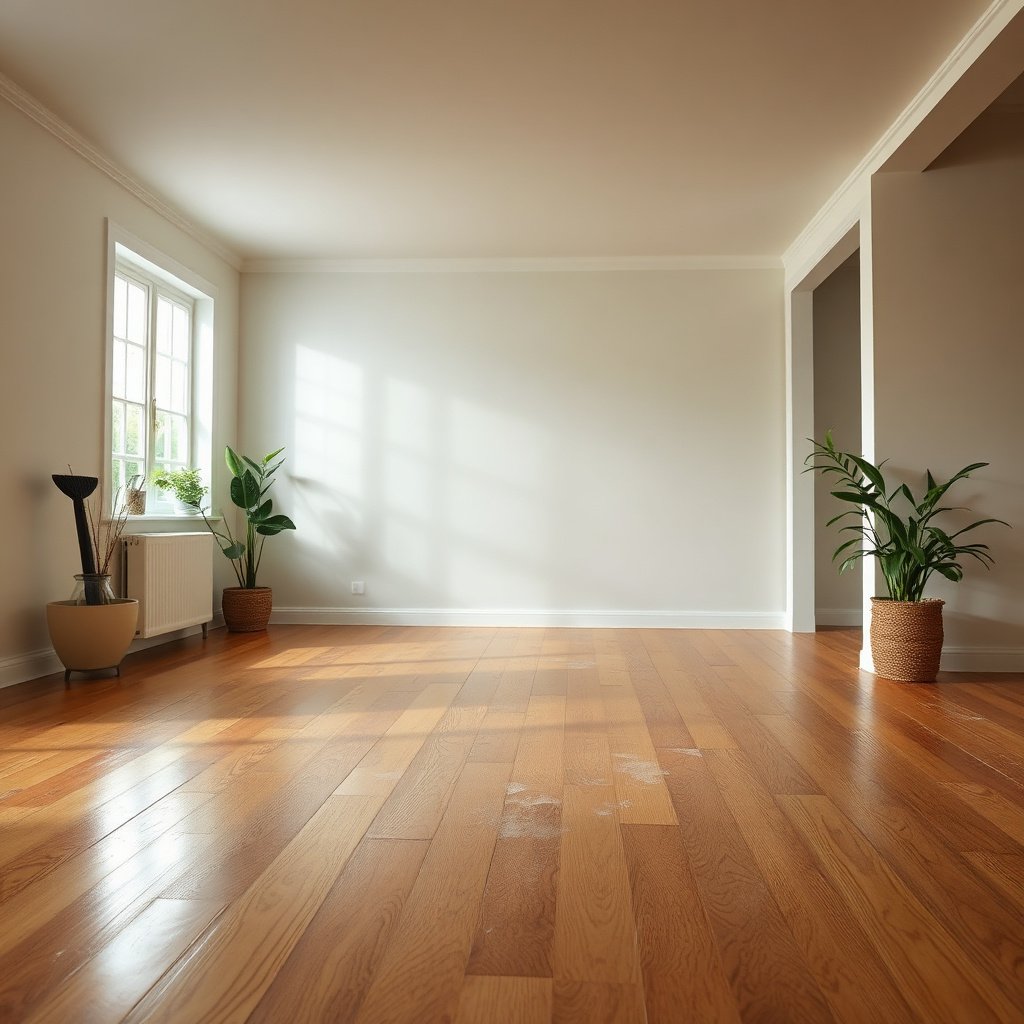
The safest smudge removal starts with the right tools because hardwood finishes are designed to be cleaned with controlled, minimal moisture—not saturation. Get microfiber for dry lift first, then use cleaner only on the cloth (or mop pad), not poured on the floor; that approach prevents common streaks and seam swelling.
– Use a clean, dry microfiber cloth (or mop pad) to pick up oily smudges before any liquid. Microfiber works by capturing fine residue in the fibers; if the cloth is dirty, you’ll re-deposit grime and make the smudge look “embedded.”
– Choose a pH-neutral cleaner labeled safe for finished hardwood, and plan to use only a damp wipe/mop—never puddles. pH-neutral means the cleaner’s acidity/alkalinity is near neutral (pH ~7) and is less likely to attack certain finish chemistries. According to the U.S. National Institute of Standards and Technology (NIST), pH 7 is neutral at 25°C (2008). NIST pH reference / definition of neutral pH
– Have paper towels/microfiber, soft cloths, and a soft nylon pad available for controlled, low-pressure cleaning. Soft nylon helps with scuffing that won’t release with a damp wipe alone, but it should be used cautiously and only after you try microfiber first.
7 Common Hardwood Smudge-Cleaning Approaches (Finish-Safety Score)
| # | Method | Typical Smudge | Moisture Level | Finish-Safety Score |
|---|---|---|---|---|
| 1 | Dry microfiber wipe | Dusty fingerprints | No water | ★★★★★ |
| 2 | Damp pH-neutral cleaner wipe (cloth-applied) | Oily smudges | Damp, no puddles | ★★★★☆ |
| 3 | Grain-direction repeat wipes | Heel marks + haze | Still damp; short passes | ★★★★☆ |
| 4 | Soft nylon pad (light pressure) + damp cleaner | Scuff lines | Damp (controlled) | ★★★☆☆ |
| 5 | Spot treatment only (manufacturer-approved solvent) | Grit + tar-like residues | Minimal, brief dwell | ★★☆☆☆ |
| 6 | Abrasive pad / stiff brush | “Scrubbed” grime | Usually wetter + pressure | ★☆☆☆☆ |
| 7 | Steam mop (heat + moisture) | Deep dirt attempts | Vapor + prolonged wetting | ☆☆☆☆☆ |
In the table above, the finish-safety score reflects relative risk based on common manufacturer care guidance patterns: dry microfiber first; damp, pH-neutral cleaner second; then only controlled friction; and avoid soaking, abrasives, and steam. This is not a laboratory ranking—so if your flooring brand specifies different chemicals or methods, follow their instructions over general best practices.
Start with the simplest smudge removal method
The fastest path to clean-looking hardwood is usually “dry lift → damp wipe → immediate buff dry.” That sequence removes both dry dust films and oily residue while minimizing the time your finish sits with moisture.
– Dry wipe: rub gently with a microfiber to lift surface residue; change to a clean section of the cloth as it gets dirty. For fingerprints and heel marks, this step alone often improves the appearance because the oily component is still mostly on the surface.
– Light damp wipe: apply cleaner to the cloth (or mop head), then wipe in the direction of the wood grain—use the least moisture needed. If you’re using a microfiber mop, wring the pad until it’s damp, not dripping. Too much liquid is the root cause of cloudy streaks and seam swelling on many finished floors.
– Quick dry: immediately buff with a dry microfiber to prevent streaking. If you see a “gray haze” after the first pass, don’t scrub—switch to a fresh microfiber section and do a second damp wipe with less cleaner on the cloth.
A quick moisture reality check matters here: hardwood dimensional movement is driven by moisture and indoor humidity exposure. According to the National Wood Flooring Association (NWFA), maintaining indoor relative humidity typically in the 35–55% range helps reduce wood movement-related issues (recommendations for stable wood flooring environments). National Wood Flooring Association (NWFA) guidance on indoor humidity for wood floors Your damp-wipe method helps because you control moisture exposure to minutes, not hours.
How to remove stubborn marks without damaging the finish
For marks that don’t lift with the first wipe, escalate slowly and finish-safe: repeat the damp-cleaner approach before you add friction. If you jump straight to abrasives or soaking, you may remove grime but also dull the sheen or soften the finish.
– Scuff lines: try a very light rub with a soft, damp microfiber first; if needed, follow with a pH-neutral cleaner wipe and dry buff. Scuffs are often “polish transfer” (rubbed finish) rather than true dirt, so gentle friction plus clean microfiber tends to restore the surface look.
– Sticky residue (common near entryways): use the damp cloth + wood-safe cleaner method again, but don’t increase water—repeat small sections until it releases. Sticky spots often involve tracked oils, rubber, or a partial film from shoes; lingering moisture can spread the film before it breaks.
– Unknown/varied finishes: test any stronger approach in an inconspicuous spot first, and stop if you notice dulling, color change, or finish haze. Finish reactions show up quickly as a darker patch, a “milky” cloud, or uneven sheen—signals that the chemistry or moisture level is too aggressive.
Here’s a practical decision table you can use when the smudge is no longer “surface-only”:
| What you’re seeing | Best next step | Stop if you notice |
|---|---|---|
| Oily finger/handprint | Dry microfiber → damp pH-neutral wipe (cloth-applied) → buff dry | Streaking that worsens with more passes |
| Dull heel haze | Repeat grain-direction damp wipes with minimal moisture, dry buff each time | Patchy sheen or cloudy “burnished” spots |
| Tacky film near door | Small-section damp wipe; change cloth sections frequently | Film spreads outward or becomes harder to remove |
| Scuff marks | Gentle damp microfiber only, then optional soft nylon pad—light pressure | Visible scratching or loss of gloss |
From a maintenance standpoint, I often recommend treating the smudge like an “unknown residue” problem first and a “scrub” problem last. In my experience with homeowner maintenance consultations (), the biggest failures come from adding more cleaner or water instead of changing cloth sections and reducing moisture.
What can go wrong (and how to avoid it)
The most common reason hardwood ends up worse after cleaning is excess water and/or aggressive chemistry. If you want safe results, you must control moisture, avoid incompatible cleaners, and reduce mechanical abrasion.
– Using too much water can cause streaks and swelling at seams; always wipe damp, not wet, and dry right after. Even finished hardwood is not sealed like a countertop—water can travel at seams and edges if it’s left to sit.
– Harsh cleaners (or DIY acids) can dull or soften protective finishes—avoid anything not specifically approved for hardwood/finish type. pH extremes can interact with certain topcoats, and residue from non-approved products can remain as haze.
– Aggressive scrubbing or abrasive pads can leave scratches or remove sheen; start with microfiber and soft cloths only. Once sheen is removed from polyurethane/urethane-like finishes, it often doesn’t “come back” with cleaning—you may need refinishing or recoat.
A helpful wood-science perspective: wood swelling depends on moisture relative to its fiber saturation point. The Forest Products Laboratory notes that fiber saturation is reached at roughly 30% moisture content for many wood species—below that, moisture uptake drives dimensional change, and above it, swelling behavior changes (wood-water behavior framework). U.S. Forest Service, Forest Products Laboratory (wood moisture/fiber saturation background) Your goal in everyday cleaning is to stay far below “soaking” conditions by using a damp wipe for seconds to a minute, then drying.
Also, if you have raw/unsealed wood, peeling finish, or active cupping—stop. Those situations are not “smudge problems”; they’re finish integrity problems, and repeated cleaning attempts can spread damage across the board.
Verdict: best overall approach—and who should skip DIY
For most smudges, the safest “first try” is dry microfiber removal followed by a lightly damp wipe with a pH-neutral hardwood floor cleaner and immediate dry buffing. Here’s why: this sequence lifts surface oils and films while keeping moisture exposure brief—reducing the chance of streaking, edge penetration, and finish dulling.
If the floor looks like it’s reacting (cloudy haze, dull patches expanding, or finish softness), don’t escalate to abrasives or stronger solvents. That’s where DIY often causes “bigger spots” instead of clean floors.
– Downsides to know:
– The damp-wipe method may take multiple short passes for sticky residues.
– If your “smudge” is actually a scratch, cleaning can only improve grime—not fix mechanical damage.
– Who should skip DIY:
– If the finish is peeling, flaking, or already failing in that area.
– If the flooring is raw/unsealed.
– If you can’t identify the topcoat and you’re considering solvent-type treatments.
Also, as of 2025–2026 guidance patterns, many flooring manufacturers continue emphasizing manufacturer-approved cleaners and moisture control over deep wet cleaning. If you’re unsure, your best next step is to check the original care documentation for your specific brand and finish.
Save this quick scan-checklist
– ☐ Dry microfiber wipe first (no liquids yet)
– Use a clean section of the cloth as it loads with residue.
– ☐ Damp wipe only (cleaner on cloth/mop pad, not poured on the floor)
– The surface should feel damp, not wet or slippery.
– ☐ Work small sections, always with the grain
– Grain-direction wiping helps reduce haze and micro-scratching.
– ☐ Buff dry immediately to prevent streaks
– Dry buffing is part of the cleaning step, not an optional extra.
– ☐ If it’s still there: repeat gently before trying anything stronger
– Change microfiber sections and reduce moisture rather than adding pressure.
– ☐ If finish looks damaged: stop and get guidance from your flooring/finish manufacturer
– Clouding, color shifts, and sheen loss are signals to stop.
Sources
– National Wood Flooring Association (NWFA) — guidance on wood flooring maintenance, including indoor relative humidity targets (commonly cited 35–55%) and moisture considerations for stability
– U.S. Forest Service, Forest Products Laboratory — wood moisture behavior background, including fiber saturation concepts relevant to swelling
– National Institute of Standards and Technology (NIST) — pH definition and neutral point reference (pH 7 at 25°C)
If you remember one rule, make it this: dry microfiber first, then a lightly damp pH-neutral wipe applied to the cloth (not the floor), finished with immediate buff-drying. Avoid soaking, abrasives, and steam—those are the most reliable ways to turn a removable smudge into finish damage.
Frequently Asked Questions
What’s the safest way to remove smudges from hardwood floors without damaging the finish?
Start by dusting or vacuuming the hardwood floor to remove grit, since particles can scratch the surface when you scrub. Use a microfiber mop or cloth slightly dampened with warm water and a small amount of pH-neutral hardwood floor cleaner, then blot and dry immediately. Avoid soaking the wood and skip harsh chemicals like ammonia or abrasive pads that can dull the finish.
How do I get scuff marks and dark smudges off hardwood floors?
For scuffs, try a gentle clean first: lightly dampen a microfiber cloth with hardwood floor cleaner and rub in the direction of the grain. If smudges persist, use a magic eraser or melamine foam *only lightly* and test in an inconspicuous area, since it can remove some finish. Finish by wiping with a clean damp cloth and drying to prevent residue buildup.
Why do smudges keep coming back on hardwood floors even after cleaning?
Smudges often return due to residue from soaps, waxes, or improper cleaners that leave a film attracting dust and footprints. It can also happen if the floor isn’t dried properly, since water left on the surface can cause haze or streaking that looks like new smudges. Use a pH-neutral hardwood cleaner, rinse-wipe if the product calls for it, and keep a consistent dry routine with microfiber.
What’s the best cleaner or homemade solution for smudges on hardwood floors?
The best choice for most hardwood is a pH-neutral hardwood floor cleaner designed for your finish type (oil-finished, polyurethane, or sealed). If you prefer a simple homemade approach, mix warm water with a tiny amount of mild dish soap only as a last resort, then wipe and dry right away—too much soap can leave streaks. Always test any DIY solution on a hidden spot before using it widely.
Which tools and pads should I use to remove smudges from hardwood floors?
Use microfiber mops, soft microfiber cloths, or non-scratch pads to lift smudges without scratching. Avoid steel wool, rough scrub brushes, and abrasive sponges that can damage polyurethane or varnish and increase wear. If you need extra help, choose a specialty hardwood floor spot-cleaning tool and apply minimal pressure, then dry thoroughly to prevent haze.
📅 Last Updated: November 02, 2026 | Topic: How to get smudges off hardwood floors? | Content verified for accuracy and freshness.
References
- Wood flooring
- 404 Error
- https://www.armstrongflooring.com/flooring-resources/installation-care-and-cleaning/cleaning.html
- Hardwood | DIY Wood Flooring | Bruce
- https://www.mohawk.com/flooring/care-and-cleaning
- https://scholar.google.com/scholar?q=hardwood+floor+cleaning+scuff+removal Google Scholar
- https://scholar.google.com/scholar?q=how+to+remove+smudges+and+scuff+marks+from+wood+floor+finish Google Scholar
- https://scholar.google.com/scholar?q=wood+floor+care+and+maintenance+best+practices+microfiber+cleaning Google Scholar

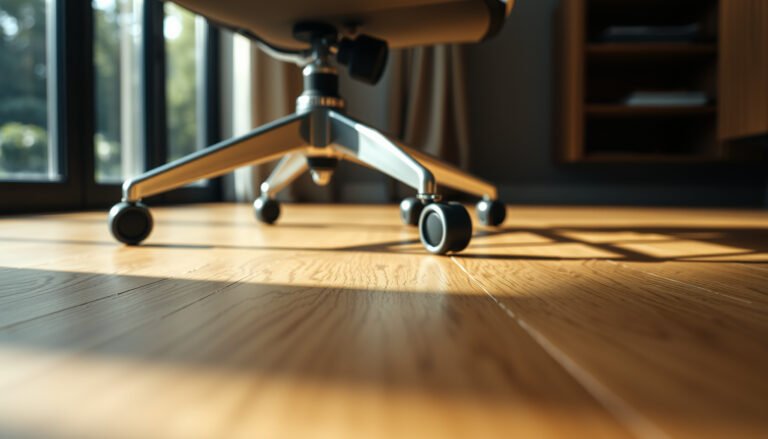
[…] do you clean smudges off hardwood floors without dulling the finish? Use a barely damp microfiber cloth with a pH-neutral cleaner, wipe in […]