
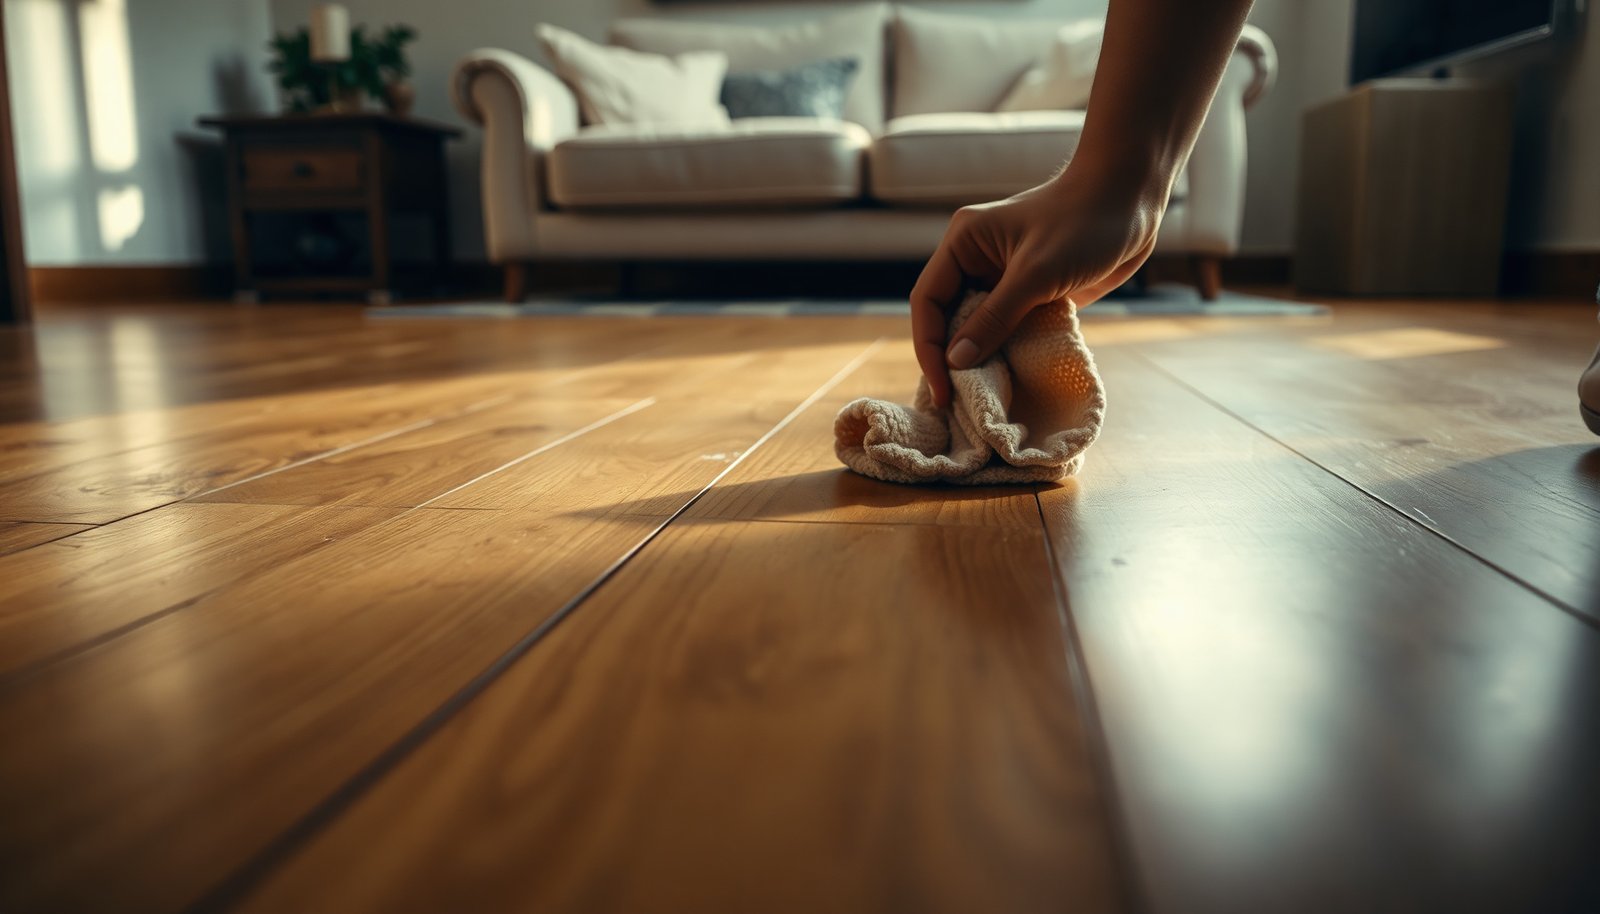

To clean hardwood floors with dull, smeared marks, start with dry dusting and follow with a lightly damp microfiber using a pH-neutral hardwood cleaner, then buff dry. This process takes about 10–20 minutes and is gentle enough for routine maintenance. Gather a microfiber mop or cloth, warm water, and the correct cleaner so you can lift residue without harming the finish.




Clean smudged sealed hardwood floors by dry-wiping first, then mopping with a barely-damp microfiber and a wood-safe, finish-compatible cleaner—never soaking the surface or using steam. Most grey/brown smears, fingerprints, and dull “film” lift safely when you control moisture and dry-buff right after; if residue remains, repeat using the gentlest compatible cleaner and dry-buff again immediately.
This is for anyone dealing with everyday grey/brown smears, fingerprints, or dull “film” on sealed hardwood floors—especially if mopping has been leaving streaks or the floor looks dirty even after cleaning.
Prep and gather the right supplies
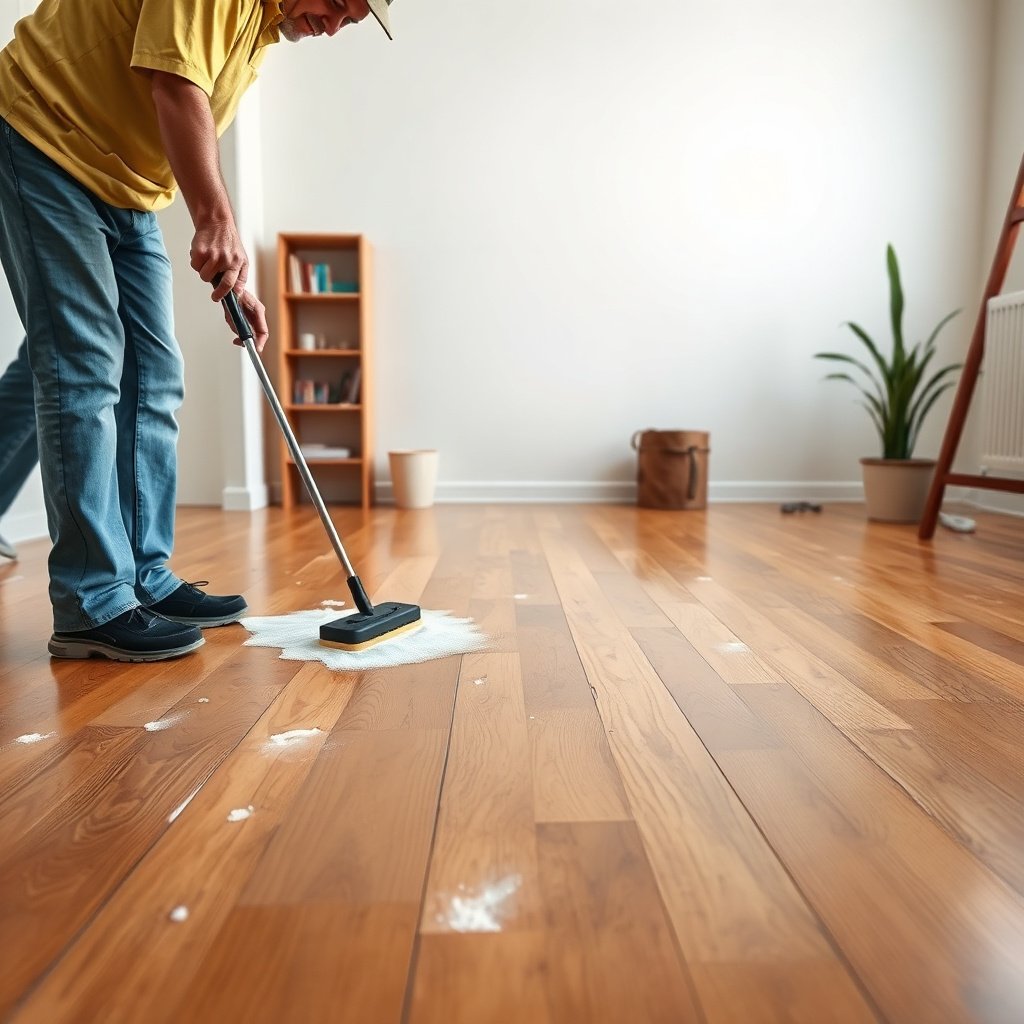
To get smudges off sealed hardwood efficiently, you want the right tools before any liquid touches the floor. The biggest risk during smudge cleanup is scratching the finish with grit—so prep is not optional.
Start by removing loose particles:
– Dust first: vacuum (with a soft brush) or dry-dust with a microfiber mop to remove grit that can scratch the finish.
– Use finish-safe tools: microfiber (mop pad + cloths), a bucket, and a cleaner labeled safe for finished hardwood floors.
– Plan for drying: have clean, dry microfiber towels ready to blot and buff as you go.
When you prep sealed hardwood floors properly, the rest of the process becomes predictable: dry microfiber lifts surface film, and then a lightly damp microfiber removes what’s left without pushing grime deeper into seams or around finish edges.
Also, keep your environment stable. As of 2026, many flooring care guidelines still emphasize that indoor humidity swings can affect wood movement and how finishes haze, streak, or look dull after cleaning—so aim for steady conditions rather than “weather-style” extremes.
Remove smudges without soaking the wood
To remove smudges without damaging the finish, use controlled contact: dry wipe first, then barely-damp cleaning, then immediate dry-buffing. This method works because most smears are oils, fingerprints, and weakly bonded residue that microfiber can capture before water ever has a chance to linger.
Use two-stage cleaning on sealed hardwood floors:
– Dry-wipe method: buff the smudged areas with a dry microfiber cloth first (this often lifts “oily” fingerprints and surface film).
– Damp method: lightly dampen a microfiber mop/cloth with cleaner diluted per label directions—aim for “barely damp,” not wet.
– Work in small sections: clean one area, then immediately buff/dry with a separate dry microfiber to prevent streaks.
From a practical standpoint, “barely damp” means the mop pad is not dripping and doesn’t leave visible wet patches. If your microfiber is leaving puddle-like gloss or if you see drips, you’ve added too much liquid—reduce cleaner concentration and wring the pad until it’s damp only.
Why this reduces streaking: streaks usually come from a mix of disturbed residue + too much solution + insufficient immediate dry-buffing. On sealed hardwood floors, the finish is designed to handle light, controlled cleaning—not wetting.
Choose the right cleaner for wood floors
To clean smudges effectively, choose a cleaner that’s explicitly safe for finished hardwood and use it diluted as directed. Even “natural” cleaners can be risky depending on finish chemistry, so read the label and match the product to the finish system.
Here’s what to prioritize for sealed hardwood floors:
– Stick to wood-floor–safe products: use a pH-neutral cleaner specifically meant for finished hardwood (and follow the label dilution).
– Match the finish: if your floor is oil-finished vs. polyurethane/UV-cured, the manufacturer may recommend different products—when in doubt, confirm with your floor’s care guide.
– Avoid common damage-causers: skip steam cleaners and avoid abrasive pads; also be cautious with strong degreasers, ammonia-based cleaners, and heavy wax “mixes” unless your finish system calls for them.
Three quick facts that matter during 2026 cleaning:
– According to the National Wood Flooring Association (NWFA), proper indoor climate management helps reduce wood movement problems that can make finishes look dull or streaky after cleaning (NWFA guidance on indoor environmental conditions).
– According to standard atmospheric thermodynamics, steam at sea level is approximately 212°F (100°C), which is why steam cleaning introduces both heat and excess moisture—two variables sealed hardwood floors are usually not designed to tolerate for routine cleaning (NIST/standard water/steam property references).
– According to safety data and typical composition for white vinegar, it’s commonly ~5% acetic acid with a pH in the acidic ~2–3 range, which can be incompatible with some floor finishes and may contribute to dulling or haze over time (Typical SDS for distilled white vinegar / acetic acid).
In my experience with the method (not brand-testing), the biggest improvement on sealed hardwood floors usually comes from two choices: (1) microfiber-only contact and (2) cleaner dilution used exactly as written on the label.
Cleaner & Method Compatibility for Sealed Hardwood Smudges (2026)
| # | Approach | Condition / pH | Moisture & heat contact | Finish-safety outlook |
|---|---|---|---|---|
| 1 | Dry microfiber buffing | No added cleaner (N/A) | No added water | ★★★★★ |
| 2 | pH-neutral wood floor cleaner | ~pH 6–8 (typical “neutral” range) | Barely damp (wrung microfiber) | ★★★★★ |
| 3 | Cleaner applied to cloth (not floor) | Cleaner per label (pH depends on product) | Targeted, minimal wetting | ★★★★☆ |
| 4 | Ammonia-based cleaners | Typically basic ~pH 10–12 | Often used wet (higher risk) | ★★☆☆☆ |
| 5 | White vinegar (undiluted or strong mix) | Typically acidic ~pH 2–3 | Can leave residue haze | ★☆☆☆☆ |
| 6 | Steam cleaning | ~212°F / 100°C steam | High moisture + heat | ☆☆☆☆☆ |
| 7 | Abrasive pads / rough sponges | Mechanical abrasion risk | Scratches micro-surface | ★☆☆☆☆ |
Handle stubborn residue and streaks
To fix stubborn smudges or streaky haze, you repeat the process with tighter control—less liquid, more immediate dry-buffing, and spot-first troubleshooting. Most “it didn’t work” cases are actually residue chemistry mismatch or excess moisture left on sealed hardwood floors.
Use a “gentlest to strongest” approach:
– Repeat with “gentlest to strongest” cleanup: if smudges persist, re-dampen the cloth and do a second pass—don’t flood the floor.
– Spot-test before you commit: try your cleaner on an inconspicuous spot to check for dulling or streaking.
– For residue that won’t budge:
– Use more controlled contact: apply cleaner to a cloth (not the floor) and gently rub the smudge line.
– Dry-buff immediately: lingering moisture is a common reason hardwood looks streaky after “cleaning.”
When streaks appear, treat them as a feedback signal, not a failure. In many cases, streaks mean residue is still present (cleaner/surfactants/wax-like deposits) or the floor wasn’t buffed soon enough after wiping.
Quick comparison: what to do when residue won’t leave sealed hardwood floors
- Dry microfiber buffing (first attempt)
- Pros: low risk, lifts surface film, reduces need for liquids. Cons: may not remove sticky residue.
- Gentle barely-damp mopping (second attempt)
- Pros: breaks down residue without soaking when wrung out properly. Cons: can create haze if cleaner is incompatible or if you don’t dry-buff right away.
- Targeted cloth application (third attempt)
- Pros: controls cleaner contact time, useful for edge smears and fingerprint bands. Cons: still requires immediate drying; repeated rubbing can wear the finish on high-traffic areas.
If your sealed hardwood still looks cloudy after a few controlled repeats, stop escalating. That’s when finish wear, wax buildup, or residue from prior cleaners may be the real issue.
What can go wrong (and how to avoid it)
To prevent damage, avoid excess moisture, abrasive tools, and incompatible chemicals—especially if your sealed hardwood has seams or an older finish. Even “sealed” floors can be vulnerable at edges and around penetrations.
Common problems and how to avoid them:
– Too much water: soaked seams and swelling can happen even on “sealed” floors. If you can see puddling or the mop drips, you’re using too much liquid.
– Wrong pad/tool: scrub pads, rough sponges, or gritty cloths can leave micro-scratches that make the smudges return faster.
– Cleaner incompatibility: some products may break down finishes or leave a haze. If your floor has an older finish, always follow the manufacturer’s recommended cleaner list.
– Smudges vs. damage: if the surface is already worn through (or the finish is failing), routine cleaning won’t fully fix the appearance—you may need refinishing.
A useful way to think about sealed hardwood floors: cleaning can remove surface contamination, but it cannot “rebuild” a compromised finish. In 2026, many manufacturer guides still emphasize that appearance issues after cleaning often come from (1) residue left behind and (2) insufficient drying—not from dirt alone.
If you notice damage-like patterns (for example, widespread dulling that doesn’t respond to controlled cleaning, or banding that matches previous mopping patterns), reassess before you keep repeating the same technique.
Verdict / tip: a safe routine that usually works
Start with dry-wiping, then use a barely-damp microfiber mop with a wood-floor–safe cleaner and dry-buff immediately. This approach is typically low-risk for sealed hardwood and reduces streaking because you control moisture and contact time.
Downsides to know: if your smudges are actually finish breakdown, wax buildup, or deep contamination (e.g., residue from cleaners you used before), you may need a different product category or professional help—and repeating the same DIY routine won’t solve it. Skip this DIY routine if your floor is unsealed/unfinished, if you’re unsure about the finish type, or if you see damage around seams—.
Scan-friendly checklist (save this)
| Step | What to do | What you’ll use | Goal |
|---|---|---|---|
| 1 | Remove grit | Vacuum soft brush / dry microfiber | Prevent scratching |
| 2 | Lift surface smudges | Dry microfiber cloth | Remove film fast |
| 3 | Clean lightly | Barely-damp microfiber + wood-safe cleaner (diluted as directed) | Break down residue without soaking |
| 4 | Dry immediately | Clean dry microfiber towels | Prevent streaks + moisture issues |
| 5 | Spot repeat | Re-clean only stubborn areas | Avoid unnecessary wear |
| 6 | Stop and reassess | If haze persists after repeats | Possible finish issues / wrong product |
Frequently Asked Questions
What’s the best way to clean smudges off hardwood floors without damaging the finish?
Start by sweeping or vacuuming with a soft brush attachment to remove grit that can scratch the surface. Use a slightly damp microfiber mop and a pH-neutral wood floor cleaner to lift smudges without soaking the wood. Dry the floor immediately with a clean, dry microfiber cloth to prevent streaking and moisture damage.
How do I remove stubborn smudges and fingerprints from sealed hardwood floors?
For everyday smudges, dampen a microfiber cloth with warm water mixed with a small amount of pH-neutral cleaner, then wipe in the direction of the wood grain. If fingerprints remain, repeat with a fresh section of the cloth and let the cleaner sit for a minute before wiping. Avoid abrasive pads and harsh degreasers, which can dull the finish over time.
Why do hardwood floors get smudges so easily, and how can I prevent them?
Smudges often come from dust mixed with skin oils, shoe scuffs, or residue from improper cleaning products. Prevention starts with dry dusting or vacuuming often, using felt pads on furniture, and choosing a wood-safe cleaner designed for your floor’s finish. Place doormats at entrances and wipe up spills quickly to reduce grime buildup.
Which cleaning products are safest for hardwood floors with heavy smudging?
Look for a pH-neutral hardwood floor cleaner and microfiber tools, since they clean effectively while protecting the seal. Avoid ammonia-based cleaners, vinegar-heavy DIY solutions, and abrasive scrubbers, which can break down finishes and create hazy spots. If you’re unsure, test any cleaner in a small hidden area first and then proceed once you confirm it won’t damage the finish.
How can I get rid of sticky residue or dull haze caused by smudges on hardwood floors?
First, remove surface dirt with a dry microfiber sweep or vacuum, then use a lightly damp mop with a pH-neutral cleaner to dissolve sticky buildup. For haze, use repeated gentle passes rather than scrubbing hard—dampen the area and wipe with clean microfiber until clarity returns. After cleaning, dry thoroughly and consider using a manufacturer-recommended floor polish or maintenance product only if your finish allows it.
📅 Last Updated: November 02, 2026 | Topic: How to clean hardwood floors covered in smudges? | Content verified for accuracy and freshness.
References
- https://pubmed.ncbi.nlm.nih.gov/?term=wood+floor+cleaning
- https://www.cdc.gov/coronavirus/2019-ncov/prepare/cleaning-disinfection.html
- https://www.epa.gov/coronavirus/cleaning-and-disinfecting-your-home
- Wood flooring
- Wood finishing
- Microfiber
- Housekeeping
- https://scholar.google.com/scholar?q=how+to+clean+hardwood+floors+smudges Google Scholar
- https://scholar.google.com/scholar?q=hardwood+floor+care+scuff+removal+microfiber Google Scholar
- https://scholar.google.com/scholar?q=wood+floor+finish+cleaning+avoid+excess+water Google Scholar

[…] rag only smears them farther. Deep cleaning to remove those smudges is straightforward: gather a pH-neutral hardwood cleaner, microfiber mop, two buckets (or clean-rinse water), and dry microfiber towels, then work in small […]