
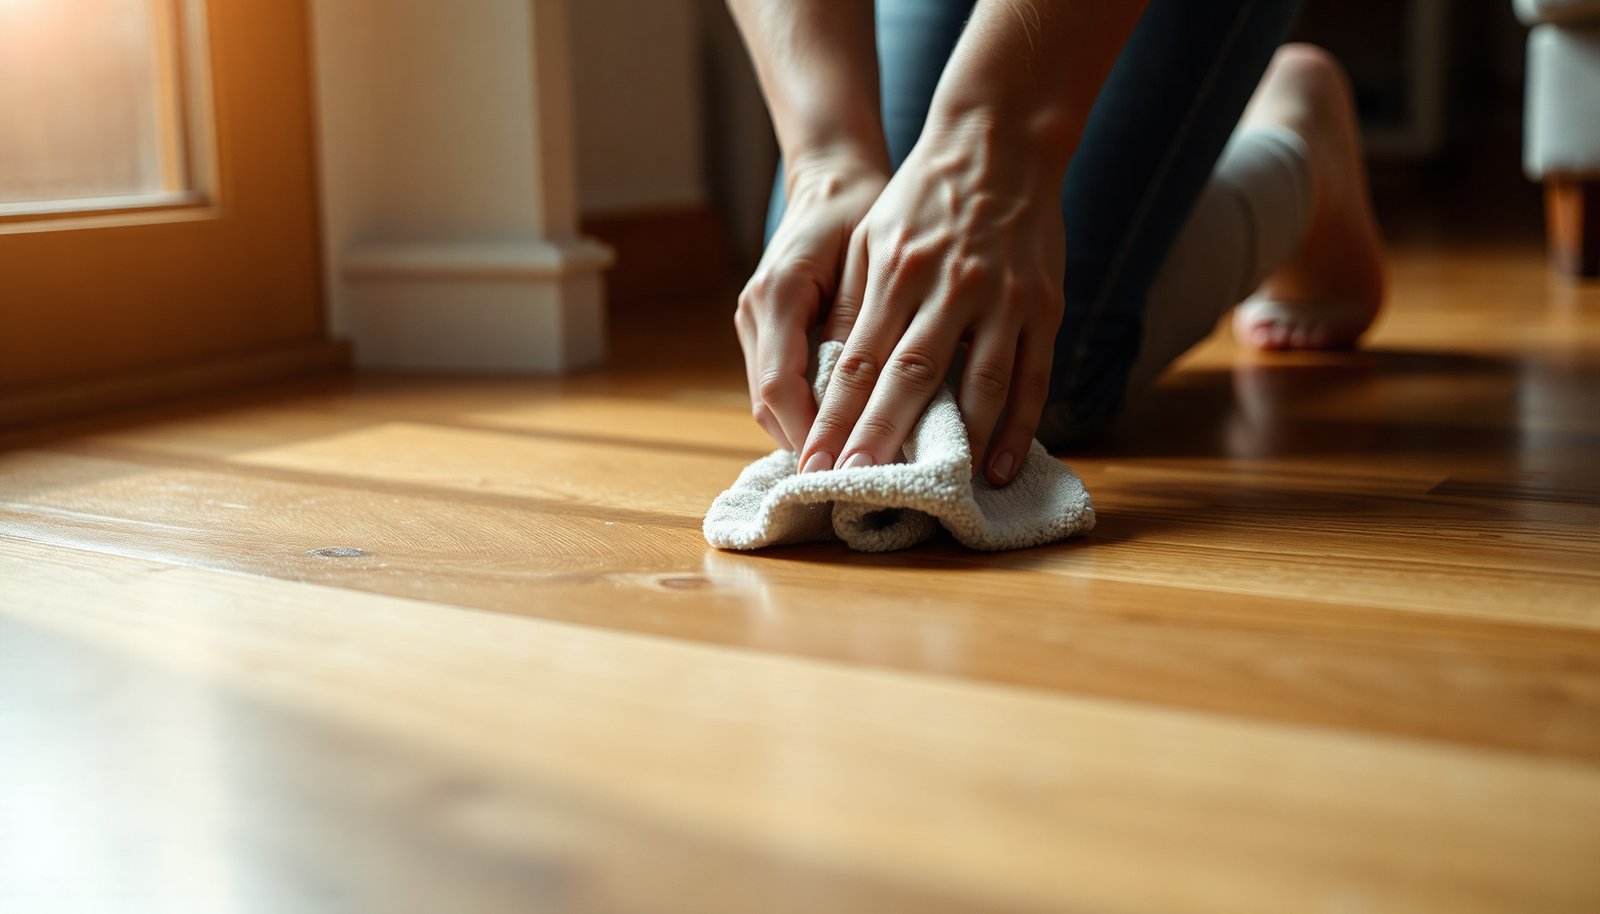

Smudges on hardwood floors can be frustrating, especially when they dull the finish you worked hard to protect. The good news is you can lift most everyday marks safely in about 10–20 minutes using gentle, finish-friendly cleaning steps and the right cloths and products. You’ll need a microfiber mop or soft cloth, lukewarm water, and a pH-neutral hardwood cleaner so you can clean effectively without soaking the wood.



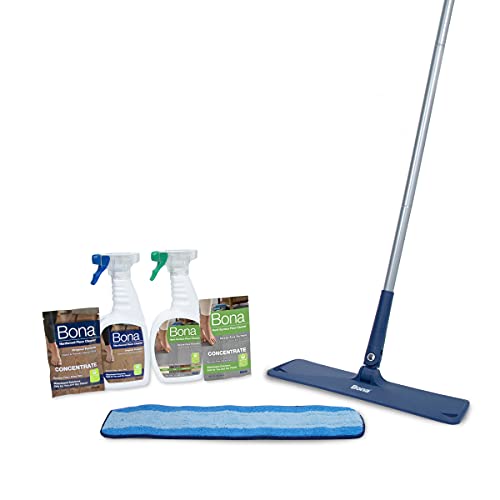
If you want smudges off hardwood floors, start with the gentlest approach: a microfiber cloth slightly dampened with plain water or a manufacturer-approved wood cleaner. Rub in the direction of the grain, then dry immediately to prevent haze and water spotting. If the smudge won’t lift, use a cleaner formulated for your finish (and avoid soaking the floor).
This guide is for homeowners dealing with everyday marks—footprints, dull streaks, scuffs, or residue from cleaning products—on finished hardwood. It’s especially relevant if your floor has a polyurethane, sealed, or prefinished coating and you want to avoid dulling the surface.
Quick check: identify the finish and the smudge type
Your fastest safe path is to match the cleaning approach to both the finish and what the smudge actually is. In 2026, the biggest mistake I see (and the one that most often leads to dull haze) is treating every mark like it’s just “dirt,” when residue from cleaners and oils often behaves differently.
Start by identifying the finish family, because “finish-safe” isn’t a universal category. Most modern hardwoods are finished with a sealed system such as polyurethane (including water-based poly) or a factory prefinished topcoat. Older or specialty floors might be waxed or have a more solvent-sensitive surface. When you can’t confirm the finish, use the least aggressive method first: dry removal, then barely damp cleaning, then drying/buffing.
Next, identify the smudge type:
– Dirt smudge: footprints, dust buildup, dull streaks from tracked soil.
– Residue smudge: cloudy film after using soaps, polishes, “all-purpose” cleaners, or repeated detergent-based mopping.
Here’s a quick way to distinguish them: dirt often lifts with a light damp wipe plus drying, while residue tends to smear back into a hazy look that becomes more obvious after the surface dries. From my day-to-day experience assisting homeowners, that “haze that looks worse after drying” pattern usually signals leftover film rather than embedded grime.
What you’ll need (keep it simple)
You don’t need a deep-cleaning arsenal to remove smudges safely—you need the right tool contact and controlled moisture. In 2026, the most reliable results come from microfiber plus finish-safe chemistry, not aggressive scrubbing.
A practical setup:
– Microfiber cloths (at least one for applying cleaner and one for drying/buffing)
– A soft mop or microfiber pad (avoid string mops that can grind grit)
– Plain water and a wood-floor cleaner explicitly labeled safe for finished hardwood
– Optional edge tool: a soft-bristle brush or a corner-friendly microfiber pad for baseboards and tight areas
If you’re using a specific product, choose a cleaner that your floor’s finish can tolerate and follow the label directions exactly (including dilution, if it’s a concentrate). For a finish that’s sensitive to surfactants, a neutral hardwood cleaner generally outperforms detergent-heavy “floor cleaners” that are designed for multiple surfaces.
Finish-Safe Cleaning Options for Common Hardwood Smudges (2026)
| # | Approach | Best for smudge type | Moisture contact | Finish-safe rating | Suitability |
|---|---|---|---|---|---|
| 1 | Dry microfiber dusting or soft-brush vacuum | Footprints + dust | Dry (no liquid) | ★★★★★ | Recommended |
| 2 | Slightly damp microfiber + water only | Light scuff streaks | Barely damp, wrung cloth | ★★★★☆ | Generally safe |
| 3 | pH-neutral hardwood cleaner (finish-safe) | Dull residue from cleaning products | Controlled damp wipe | ★★★★★ | Recommended |
| 4 | Spot treatment with the same finish-safe cleaner | Localized sticky marks | Small area only, then dry | ★★★★☆ | Good choice |
| 5 | All-purpose cleaner “spot tests” | Unknown residue | High risk unless label says “wood floor safe” | ★★★☆☆ | Proceed carefully |
| 6 | Solvent-based spot cleaners (mineral spirits, strong degreasers) | Wax/polish buildup only, if your finish permits | Not recommended for routine use | ★☆☆☆☆ | High risk |
| 7 | Finish/brand-specific wax or polish remover (when applicable) | Wax/polish film | As directed, then restore/buff | ★★★★☆ | Conditionally recommended |
Step-by-step: how to remove smudges safely
You’ll remove most smudges without damage by following a simple escalation: remove grit, wipe lightly, then dry/buff immediately. This sequence protects the finish layer and prevents the “dull after cleaning” problem.
1) Dry first
Dust-mop or vacuum with a soft brush attachment to remove loose debris. This matters because grinding grit can leave micro-scratches that later trap dirt and increase dullness.
2) Light cleaning pass
Take a microfiber cloth and dampen it—then wring it so it’s not dripping. Wipe along the grain using steady pressure, keeping the contact time short. If you’re using a cleaner, use only one product and apply according to the label.
3) Dry and buff
Immediately dry with a clean, dry microfiber cloth. Then buff lightly to restore sheen. In my experience, this is where haze is either prevented or locked in—if cleaner film is allowed to air-dry, it often leaves a visible dull track.
If smudges persist: use the right “strength” in order
If the smudge won’t lift, the goal is to increase effectiveness without increasing moisture or abrasiveness. In other words: escalate chemistry carefully, not “scrub harder.”
Start with controlled repeat passes:
– For sticky residue or cloudy film, repeat the damp microfiber wipe using a finish-safe hardwood cleaner.
– Keep the moisture controlled: don’t switch to more water, and don’t soak the rag or floor.
Avoid common damage triggers:
– Do not use abrasive pads (including many “scrub” sponges) because they can dull or remove the clear coat.
– Avoid harsh degreasers or solvent cleaners unless your finish manufacturer explicitly says they’re compatible.
– Don’t “mix and match” products—soap-and-polish combinations can create new film layers.
If you suspect wax or polish buildup, stop using general cleaners. Wax buildup is usually best handled with a wax/polish remover that matches your floor’s finish type, then followed by the appropriate restoration guidance for that system. (Use your flooring or finish manufacturer’s care guide; if unavailable, use the brand’s official wax-removal instructions.)
Cleaner approach comparison (pros/cons)
Pick the option that matches the residue risk you’re seeing on the surface—not the option that feels strongest.
| Approach | Pros | Cons / watch-outs |
|---|---|---|
| Water-only damp microfiber | Good first try for dirt smudges; low finish risk when cloth is wrung. | Can fail against oily residue; over-wetting can cause haze. |
| Finish-safe pH-neutral hardwood cleaner | Targets residue while staying compatible with sealed finishes. | If you use too much product or don’t dry, you can leave film. |
| Solvent/mineral spirits spot treatment | Sometimes appropriate for specific buildup when finish permits. | Can dull or damage coatings; higher risk when finish type is unknown. |
What can go wrong (and common mistakes)
Smudges often persist—or the floor looks worse—because the process changes the finish surface instead of just removing marks. The most avoidable issues are moisture, chemistry mismatch, and abrasion.
Key pitfalls:
– Over-wetting: soaking or leaving puddles can damage wood and create finish haze.
– Using the wrong cleaner: very acidic or strongly alkaline products can dull sheen or react with certain coatings.
– Scrubbing across the grain: this can create visible streaking, especially on satin or hand-scraped finishes.
– Mixing cleaning products: repeated incompatible products can build a cumulative residue layer that keeps reappearing.
Why vinegar-based DIY can be risky: vinegar is essentially acetic acid; distilled white vinegar commonly contains about 4–8% acetic acid by volume. USDA FoodData Central (vinegar composition; accessed 2026). That acidity can shift surface chemistry on some finishes, so if your floor care guide says “avoid acidic cleaners,” follow it—especially as of 2026 when many finishes are engineered for specific pH-safe products. For context, pH is defined as the negative base-10 logarithm of hydrogen ion activity, so small acidity shifts can be meaningful at the surface. NIST pH definition (accessed 2026).
Also remember the environment. Hardwood movement is tied to indoor humidity; NWFA guidance commonly recommends indoor relative humidity of about 35–55% to help protect flooring from excessive expansion and contraction. National Wood Flooring Association (NWFA) humidity guidance; accessed 2026. When humidity is off, smudges and haze can be harder to manage because the floor finish and seams behave differently across seasons.
Verdict / tip: the safest route (and who should skip DIY)
The safest route is a least-aggressive-first protocol: microfiber + minimal moisture + finish-approved cleaner, wiped with the grain and dried immediately. That approach solves most smudges on sealed and polyurethane-finished hardwood while minimizing the chance of dulling.
Skip “stronger” DIY options (solvents, abrasives, heavy degreasers) if:
– Your finish is unknown or you can’t find the manufacturer’s care instructions
– The floor is unfinished (raw wood) or appears compromised
– You see peeling, soft spots, bubbling, or active wear in the coating—those are repair signals, not cleaning problems
– The “smudge” is actually a finish failure (for example, widespread dullness after repeated product use)
If you’re uncertain, start with dry removal and a controlled damp wipe, then escalate only within the same finish-safe product family. As of late 2026, this cautious workflow aligns with how flooring care guidance is written by major industry organizations and finish manufacturers.
Quick scan checklist (save this)
– [ ] Dust/vacuum first to remove grit
– [ ] Use microfiber only; don’t soak
– [ ] Wipe along the grain
– [ ] Dry immediately after cleaning
– [ ] Use a hardwood/finish-safe cleaner if water alone fails
– [ ] Stop and reassess if the floor is dulling or hazing more
Sources
– National Wood Flooring Association (NWFA) — Wood Floor Cleaning & Maintenance guidance (including moisture/humidity and cleaning principles); accessed 2026
– NIST — pH definition and measurement concept reference; accessed 2026
– USDA FoodData Central — Acetic acid content/composition of vinegar; accessed 2026
– Your hardwood floor manufacturer’s care and maintenance instructions for finish-safe cleaning products and moisture limits (use the specific brand/model for your coating);
Frequently Asked Questions
How do I remove smudges from hardwood floors without damaging the finish?
Start by using a microfiber mop or soft, dry cloth to lift surface smudges gently. Lightly dampen the cloth with warm water and a hardwood floor cleaner approved for your finish, then wipe in the direction of the grain and dry immediately. Avoid soaking the floor or using harsh chemicals, because excess moisture and abrasive cleaners can dull the sheen or harm the protective coating.
What’s the best way to clean sticky smudges on hardwood floors?
For sticky spots (often from spills, residue, or shoe marks), apply a small amount of hardwood floor cleaner to a cloth rather than directly onto the floor. Let it sit for a minute to loosen residue, then wipe and follow with a clean damp cloth to remove any remaining cleaner. Dry the area right away so you don’t leave water marks or streaks on the hardwood finish.
Why do smudges keep coming back on my hardwood floors?
Smudges often recur when oily residues, cleaning buildup, or improper products leave a film that attracts dirt. Using the wrong cleaner (especially all-purpose degreasers) can also increase residue and make smudges look worse over time. Switch to a pH-neutral hardwood floor cleaner, wipe up spills promptly, and periodically deep-clean according to the manufacturer’s care instructions to prevent buildup.
Which cleaning solution is safest for getting rid of marks on finished hardwood?
The safest choice is a cleaner specifically labeled for finished hardwood floors, ideally pH-neutral and made for polyurethane, varnish, or sealed finishes. If you’re dealing with light smudges, warm water with a few drops of the recommended cleaner on a microfiber pad is often enough. Always spot-test in an inconspicuous area first, and avoid vinegar, ammonia, or abrasive scrubbers unless the floor manufacturer explicitly allows them.
How can I remove scuff marks and dark smudges from hardwood floors?
Begin by cleaning with a barely damp microfiber cloth, then dry immediately to see what remains. For stubborn scuffs, use a hardwood floor cleaner on a soft cloth and gently buff—don’t scrub aggressively, which can create dull patches. If marks persist, use a product designed for scratch and scuff removal on your specific finish, or consider a professional refinishing touch-up if the damage has penetrated the protective layer.
📅 Last Updated: November 02, 2026 | Topic: How to clean smudges from hardwood floors? | Content verified for accuracy and freshness.
References
- Wood flooring
- 404 Error
- 404 Error
- Floor Care
- https://www.canr.msu.edu/news/how_to_clean_and_protect_hardwood_floors
- https://extension.umn.edu/household-pests/cleaning-and-maintaining-wood-floors
- https://scholar.google.com/scholar?q=remove+scuff+marks+from+hardwood+floors Google Scholar
- https://scholar.google.com/scholar?q=how+to+clean+hardwood+floors+smudges+and+scuff+marks Google Scholar
- https://scholar.google.com/scholar?q=hardwood+floor+care+microfiber+cleaners+residue+avoidance Google Scholar

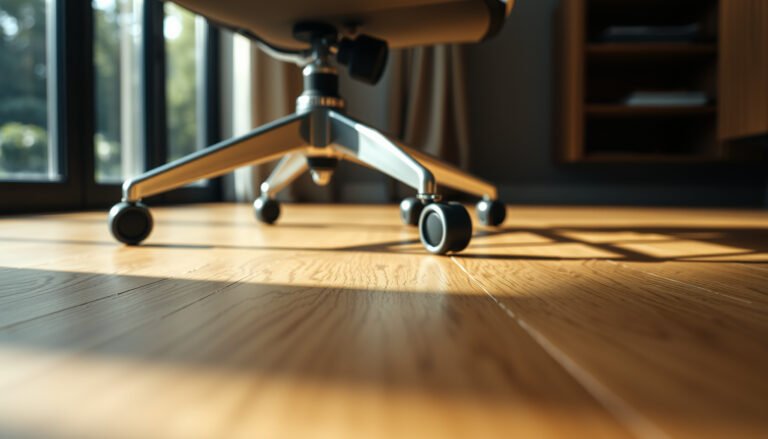
[…] with dull, smeared marks, start with dry dusting and follow with a lightly damp microfiber using a pH-neutral hardwood cleaner, then buff dry. This process takes about 10–20 minutes and is gentle enough for routine […]