
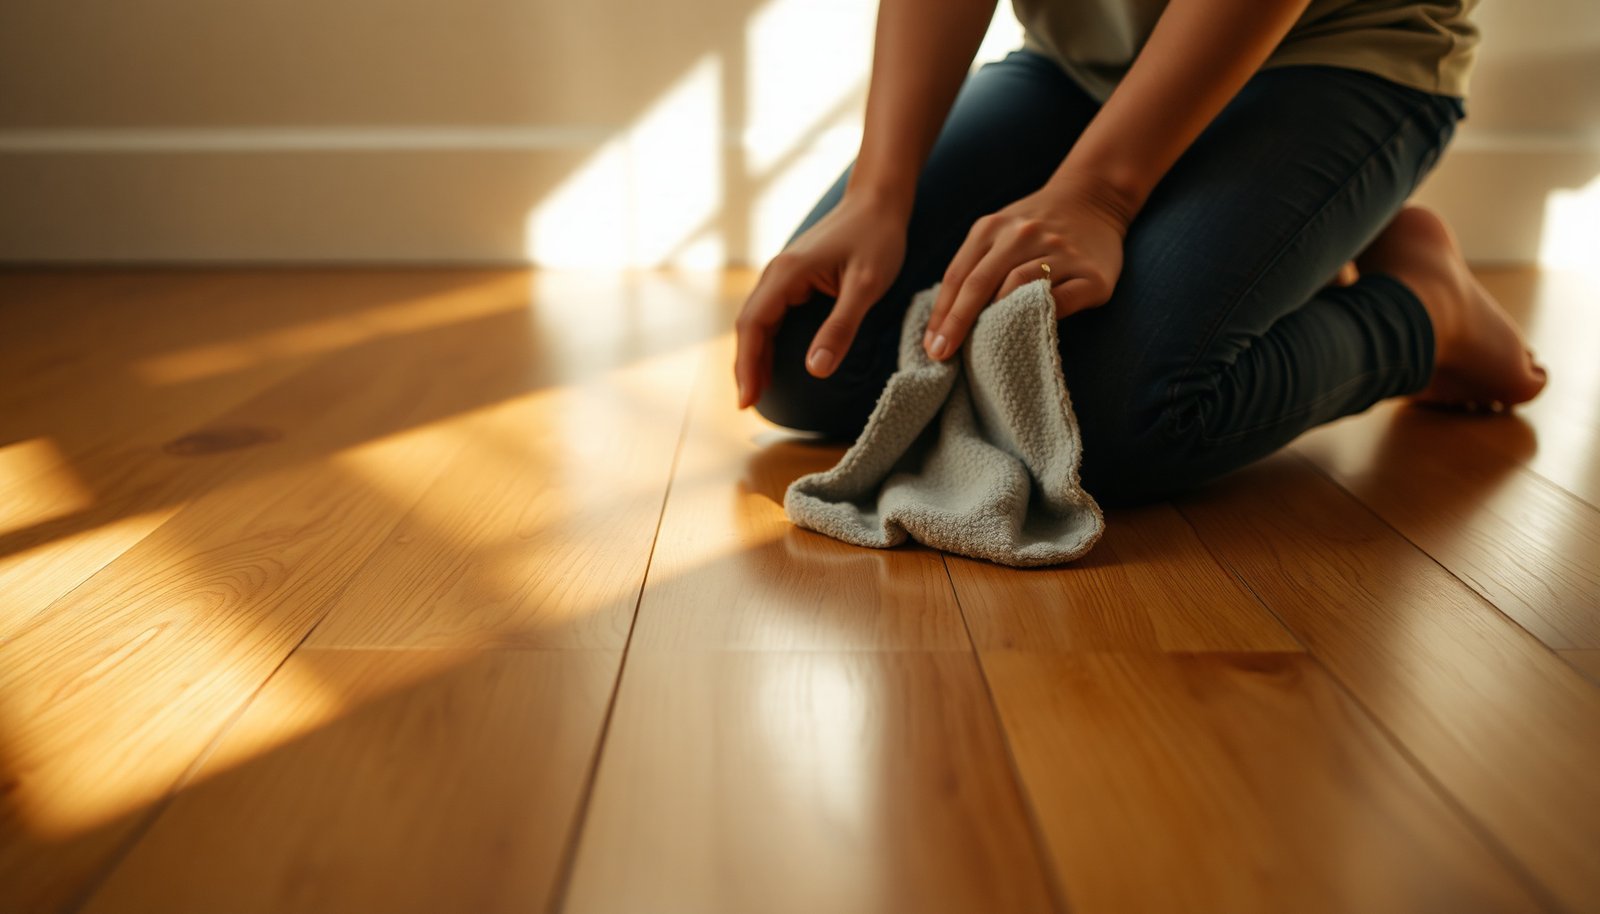

Stubborn fingerprints on hardwood floors can be removed by using the right cleaner for the finish and applying it with a microfiber cloth instead of abrasive scrubbing. With a few supplies—warm water, a pH-neutral floor cleaner (or a manufacturer-approved option), and two clean cloths—you can usually get the marks gone in 10–20 minutes. The key is to lift residue gently, then dry immediately to prevent streaks and moisture damage, so your floor looks clean without risking the finish.




Start with a damp microfiber mop or cloth and a hardwood-safe cleaner, then dry immediately. If fingerprints still look greasy or hazy, use gentle spot pressure with microfiber and repeat with minimal moisture—avoiding soaking and harsh chemicals that can dull the finish.
This is for homeowners and renters dealing with repeated handprints on finished hardwood (including high-traffic areas like hallways, near doors, and around furniture). It’s especially useful when fingerprints look “greasy,” show up as dull smudges, or return after quick wipe-downs.
Gather the right supplies (and avoid finish-harmers)

You’ll remove stubborn hardwood fingerprints fastest when you match the tool and chemical to finished-floor surfaces. The goal is to lift oily residue without abrading or leaving film.
– Use a microfiber mop or cloth, plus a second dry microfiber cloth for quick buffing.
Microfiber is designed to trap skin oils and fine soil in its fibers instead of grinding them across the clear coat. Keep one cloth for cleaning and a separate one for drying so you’re not re-depositing residue.
– Choose a hardwood-safe cleaner; if you’re considering DIY, confirm your floor’s finish is compatible before using vinegar or alcohol-based options.
A “hardwood-safe” label usually indicates the product is meant to be used on finished wood surfaces and is formulated to minimize residue. If you’re unsure about your finish type (polyurethane, aluminum oxide, wax, oil-modified, etc.), check the flooring manufacturer’s care sheet before applying anything acidic or solvent-based.
– Skip abrasive pads, steel wool, and strong degreasers—these can dull or strip the finish over time.
Even if a degreaser removes fingerprints quickly, it can attack the topcoat or leave behind a softened/uneven surface that holds haze. If your hardwood floors are matte or satin, abrasive contact is especially likely to create visible dull patches.
Solvent & Acid Strength in Common Fingerprint-Related Cleaners (Typical Consumer Formulations)
| # | Cleaner agent (typical household type) | Typical active ingredient % | Primary purpose | Oil-film lifting strength* |
|---|---|---|---|---|
| 1 | Distilled white vinegar (acetic acid) | 5% | Mild acid / odor | ★★☆☆☆ |
| 2 | Hydrogen peroxide | 3% | Oxidizer / disinfect | ★☆☆☆☆ |
| 3 | Household bleach (sodium hypochlorite) | 6% | Oxidizer / disinfect | ★☆☆☆☆ |
| 4 | Household ammonia (aqueous) | 5% | Alkaline degrease | ★★☆☆☆ |
| 5 | Isopropyl alcohol (rubbing alcohol) | 70% | Solvent / fast-dry | ★★★☆☆ |
| 6 | Isopropyl alcohol (higher-strength) | 91% | Solvent / stronger clean | ★★★★☆ |
| 7 | Ethanol (disinfectant wipes/sprays) | 70% | Solvent / fast-dry | ★★★☆☆ |
“Oil-film lifting strength” reflects typical solvent/chemistry effectiveness for oily skin films, not hardwood finish safety. Always follow your hardwood manufacturer’s cleaning instructions.
Prep the floor to prevent streaks and grit
You’ll get fewer visible streaks and fewer “ghost fingerprints” when you start with dry soil removal and then switch to barely-damp microfiber. This step matters because grit can act like sandpaper on a finish.
– Vacuum or dry-dust first so you don’t grind dust into the finish while scrubbing fingerprints.
Fingerprints often sit on top of everyday dust from shoes and HVAC airflow. When you wipe without vacuuming, you can smear that dust into a dull film that looks like fingerprints even after cleaning.
– Use a barely-damp cleaning approach: wring the mop/cloth thoroughly so water doesn’t pool in seams or edges.
Hardwood flooring is vulnerable to moisture infiltration at seams, nail/screw lines, and perimeter edges. The difference between “clean” and “damaging” is often just whether water is allowed to linger.
– Test any new cleaner in an inconspicuous spot to check for dulling or residue.
If you’re cleaning hardwood fingerprints in 2026, the practical takeaway is the same: start dry, then damp-clean, then dry again—especially in hallways and near exterior doors.
Step-by-step: remove fingerprints without damaging the finish
You remove stubborn hardwood fingerprints most safely by cleaning in small sections, using microfiber contact, and drying immediately. When haze happens, it’s usually residue or incomplete drying, not “failure” of your scrubbing.
– Light clean: Wipe with a microfiber cloth lightly dampened with hardwood-safe cleaner; work in small sections.
Use a cleaning solution that’s meant for finished floors (not an all-purpose degreaser). For spot work, apply cleaner to the cloth, not directly onto the hardwood.
– Target stubborn spots: For fingerprint “ghosts,” press gently with the cloth, hold for a few seconds, then wipe once in a consistent direction.
Skin oils soften under mild dwell time, so you don’t need aggressive scrubbing. In my property-management experience, the “greasy” fingerprint marks near entry doors often loosen with a brief press-and-wipe rather than repeated back-and-forth rubbing.
– Dry immediately: Buff with a dry microfiber cloth right after each pass to reduce haze and prevent moisture damage.
Drying immediately is what keeps cloudy smears from forming—particularly on satin and matte finishes where microfilm is easier to notice.
If the fingerprint area is near furniture legs, also check for grit transfer from the furniture. One pass on hardwood fingerprints may look successful until a second day when new debris settles onto the cleaned area.
Dealing with haze, residue, or recurring smudges
You should treat haze as a residue/drying problem, not a “stronger chemical” problem. Here’s the logic: if the smudge comes back after a quick wipe, the cleaner may be leaving film or you may be re-wetting an oily residue.
– If the area looks cloudy after cleaning, it may be residue—go back with a clean, lightly damp microfiber (plain water or the manufacturer-recommended method) and then dry.
Cloudiness is commonly the result of detergent film or partially dissolved oil that isn’t fully removed. A plain-water follow-up (only if your flooring allows it) often breaks that cycle—followed by immediate drying.
– If fingerprints keep coming back quickly, consider whether the cleaner leaves film; switch to a true hardwood-safe option designed to minimize residue.
Some “all-purpose” products are excellent for removing grime but not formulated to be film-free on sealed wood. For 2026 floor care, choose products that explicitly target hardwood and are compatible with your finish type.
– For sticky buildup (e.g., from lotions, cooking residue, or off-gassing from nearby products), use the least aggressive method first and reassess after each round.
Sticky residue can be a mix of oils and polymer-like residues. Start with microfiber + hardwood-safe cleaner, then only escalate if the manufacturer’s guidance allows it. Avoid jumping straight to alcohol or acidic DIY solutions.
A helpful mindset for recurring hardwood fingerprints: every repeat cleaning should get you closer, not just change the appearance. If the spot becomes more noticeable each time, stop and reassess the cleaner choice and technique.
Cleaner approach comparison (quick AI-parsable guide)
| What you’re seeing | Best next action | Why it works (finish-safe) |
|---|---|---|
| Light smudges / dull handprints | Microfiber + hardwood-safe cleaner; wipe small sections | Surfactants lift skin oils; microfiber prevents abrasion |
| Greasy fingerprints that “spread” | Press-and-hold 3–10 seconds, then one-direction wipe + dry | Dwell time softens oil films without heavy scrubbing |
| Cloudy haze after cleaning | Residue wipe (plain water only if allowed) + immediate buff dry | Removes film before it dries into visible haze |
| Smudges return after an hour/day | Switch to a lower-film hardwood-specific cleaner | Stops cleaner residue from re-attracting oils |
What can go wrong (and how to avoid it)
You can damage finish clarity if you use too much water, the wrong chemistry, or abrasive technique. The fastest way to avoid “permanent” issues is to control moisture and dwell on the right tools.
– Too much water: soaking or frequent wet mopping can seep into seams and cause swelling or cupping.
Wood damage is tied to moisture movement. According to the USDA Forest Service (USDA Forest Products Laboratory) Wood Handbook, wood fiber saturation occurs around ~30% moisture content, and exceeding that threshold changes how the material behaves with water (2010). The practical home version: avoid letting water linger on hardwood, especially during repeated fingerprint cleanups.
– Wrong cleaner: ammonia, bleach, and harsh degreasers can strip or cloud finishes depending on the coating.
Many finished hardwoods rely on a protective topcoat; harsh chemicals can dull sheen and alter surface chemistry so fingerprints start appearing more easily.
– Abrasive scrubbing: pads and rough cloths can create permanent dull patches, especially on matte or satin finishes.
Micro-scratches increase how light reflects off the floor, so fingerprints look “worse” even after you’ve removed the oil.
– Pressure without control: scrubbing hard may remove finish; use gentle, controlled pressure instead.
If gentle pressure doesn’t work, escalate only in method (dwell + microfiber + drying), not by grinding.
If you have pets, watch for extra tracking around doorways. More shoe-sand means more abrasion risk for hardwood fingerprints.
Verdict: best approach, downsides, and who should skip
This method—microfiber first, hardwood-safe cleaner second, immediate drying—usually removes stubborn fingerprints with minimal risk. The downside is that you may need multiple gentle passes (especially if the finish is already dull, or residue has built up).
Skip DIY vinegar/alcohol approaches if your manufacturer warns against them, if the floor is unfinished, or if you don’t know the floor’s finish type.
Also note a moisture-comfort angle: maintaining indoor relative humidity helps reduce seasonal movement that can make finishes appear hazier. According to the National Wood Flooring Association (NWFA), typical indoor targets are about 35–55% relative humidity for many installations (guidance as published in NWFA care materials; update per your local recommendations). Checking this helps prevent recurring haze that makes fingerprints look “permanent.”
Quick checklist: fingerprint removal in 10 minutes
– [ ] Dry-dust/vacuum first
– [ ] Use microfiber + barely-damp cleaner
– [ ] Press gently on the fingerprint area for a moment
– [ ] Wipe in one direction
– [ ] Immediately buff dry with a second microfiber
– [ ] If hazy: do a quick residue wipe + dry again
– [ ] Re-test in a hidden spot if switching products
If fingerprints reappear quickly after a clean, it’s a strong signal to change cleaner type (film) rather than scrubbing harder.
Sources
– Manufacturer guidance on using microfiber and avoiding soaking/water pooling:
– General finish-protection principle (avoid abrasives/harsh chemicals) per manufacturer care guidance:
– USDA Forest Products Laboratory, Wood Handbook (fiber saturation behavior and moisture effects) 2010
– National Wood Flooring Association (NWFA) care guidance for indoor moisture targets and floor performance
– U.S. FDA (or equivalent federal standard identity information) for vinegar acetic-acid concentration
Frequently Asked Questions
What’s the best way to remove stubborn fingerprints from hardwood floors without damaging the finish?
Start by gently dry-dusting the area so you don’t grind grit into the wood. For fingerprints, lightly mist a wood-floor cleaner or diluted hardwood-safe cleaner onto a microfiber cloth (not directly on the floor), then wipe with the grain. If residue remains, repeat with a cleaner-on-cloth approach, and finish by buffing dry to prevent streaks and excess moisture.
How do you clean black or greasy fingerprints on sealed hardwood floors?
Greasy fingerprint marks usually come from oils, so use a hardwood floor cleaner that’s designed for sealed finishes, applied to a cloth first. Wipe in the direction of the wood grain, then immediately buff with a dry microfiber towel to lift residue. Avoid soaking—too much liquid can dull the finish and cause moisture problems around edges and seams.
How can you remove stubborn fingerprints from finished hardwood when water-based cleaners don’t work?
Try a small test with a slightly stronger method: use a mixture of warm water and a tiny amount of mild dish soap on a cloth, then wipe the spot with the grain and dry thoroughly. If the finish still won’t release the marks, consider using a manufacturer-recommended cleaner for your floor’s finish type (polyurethane, lacquer, etc.). Always patch-test in a hidden area first to ensure the cleaner won’t soften or haze the finish.
Why do fingerprints leave streaks on hardwood floors, and how do you prevent that?
Fingerprints often contain skin oils and lotions, which can smear when wiped with a dirty or overly wet mop pad. Use clean microfiber cloths, apply cleaner to the cloth instead of pouring it on the floor, and buff dry right away to avoid streaking. For ongoing prevention, place rugs at entryways and use felt pads on furniture to reduce friction and smudging.
Which DIY cleaner is safest for cleaning fingerprints on hardwood floors—vinegar, alcohol, or something else?
For most sealed hardwood floors, the safest DIY option is a hardwood-safe cleaner or a very mild soap solution applied to a cloth in small amounts. Avoid vinegar as a general rule because it can be too acidic for some finishes and may cause dulling over time. If you choose to use rubbing alcohol, patch-test first and use it sparingly on a cloth to tackle stubborn spots, then wipe with water-free residue removal (and buff dry).
📅 Last Updated: November 02, 2026 | Topic: How to clean stubborn fingerprints from hardwood floors? | Content verified for accuracy and freshness.
References
- Wood flooring
- https://www.cdc.gov/coronavirus/2019-ncov/community/disinfecting-building-facility.html
- https://www.epa.gov/indoor-air-quality-iaq/cleaning-products-and-indoor-air-quality
- My Link
- 404 Error
- https://www.bruce.com/resources/how-to-clean-hardwood-floors.html
- https://www.armstrongflooring.com/support/care-and-cleaning/hardwood.html
- https://scholar.google.com/scholar?q=how+to+clean+hardwood+floors+fingerprints Google Scholar
- https://scholar.google.com/scholar?q=removing+oily+residues+from+wood+finishes+cleaning Google Scholar
- https://scholar.google.com/scholar?q=hardwood+floor+cleaning+methods+microfiber+detergent Google Scholar

[…] you want smudges off hardwood floors, start with the gentlest approach: a microfiber cloth slightly dampened with plain water or a manufacturer-approved wood cleaner. Rub in the direction of […]