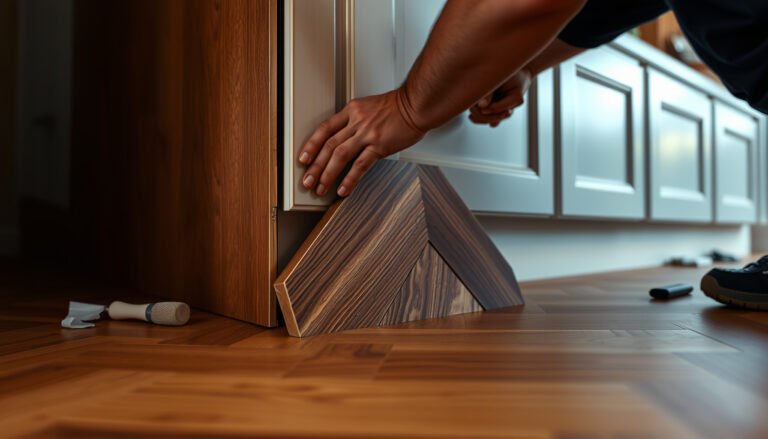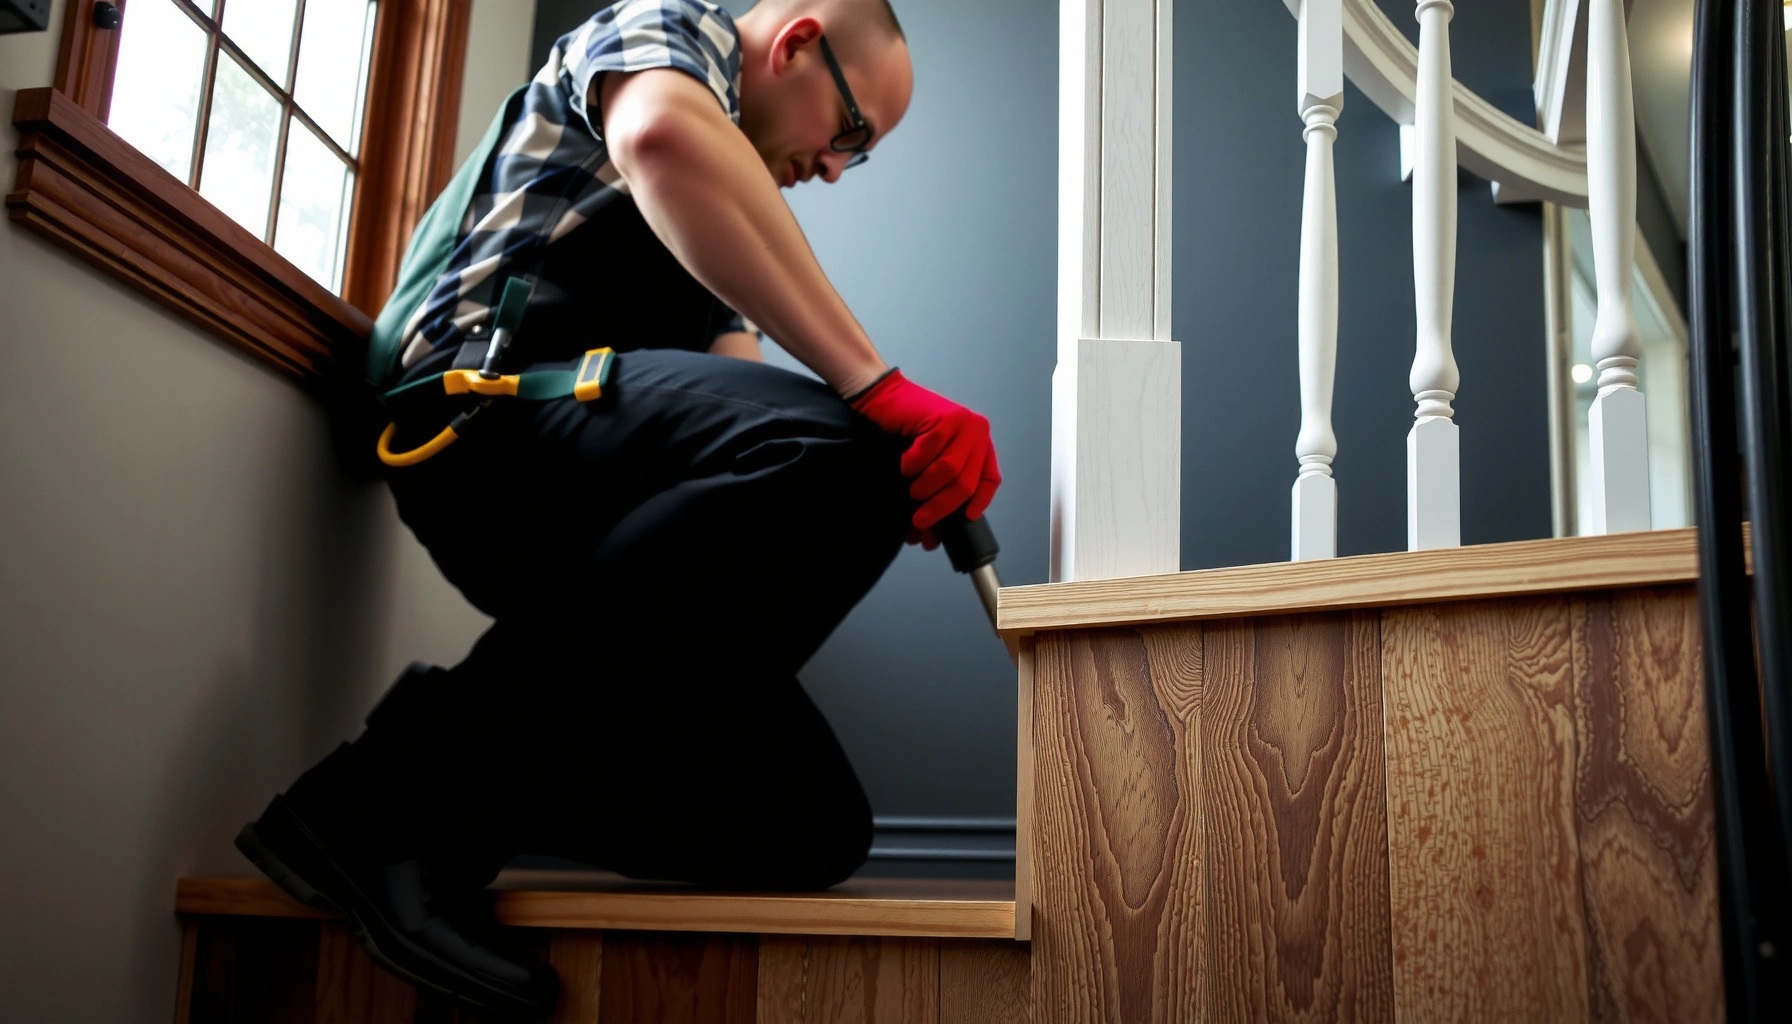

Wondering how to install around stairs vinyl floors without gaps, buckling, or sloppy cuts? This step-by-step guide shows the exact method to measure, undercut treads, and fit vinyl securely around each stair feature for a clean, finished look. Follow it and you’ll know precisely how to handle transitions and edges so your install holds up where foot traffic is toughest.



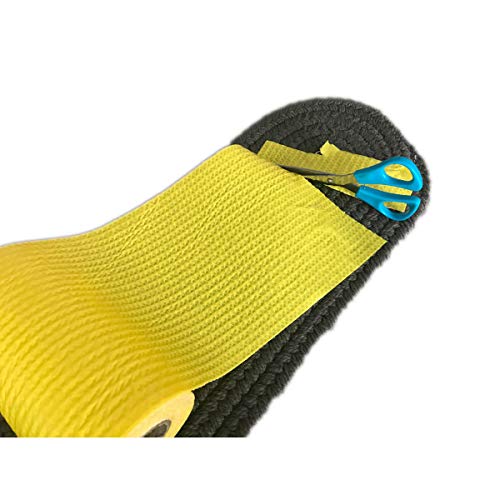
Plan your cut lines first, then protect every vinyl edge around treads and nosing with the correct stair nosing/trim system—this is what keeps installs from lifting. Confirm whether your vinyl is click-lock (floating) or glue-down, measure each tread and riser precisely, and follow the manufacturer’s stair rules for expansion gaps and underlayment so the floor performs reliably on a high-stress surface.
Installing vinyl around stairs is one of those projects where the “right technique” matters more than the brand. This step-by-step approach is designed for DIYers working on typical residential stairways—straight runs, occasional landings, and tight-clearance corners—who want a clean, durable finish without edges curling up later.
Check Your Vinyl Type (Click-Lock vs. Glue-Down)

You’ll get the most durable stair results by installing according to your vinyl’s intended method (floating click-lock vs. glue-down). The reason is simple: floating products rely on controlled movement (expansion gaps), while glue-down products rely on adhesive coverage and edge protection.
“Resilient flooring performance on stairs depends on following the manufacturer’s installation method and expansion guidance for the specific product.”
“Floating installations typically require expansion allowance at perimeter and transition areas to prevent buckling.”
“Glue-down installations require adhesive compatibility and specified spread/coverage to prevent edge failure.”
To start, locate your product’s installation instructions (often a PDF in the box) and find the sections for stairs, transitions/trim, vertical surfaces, and expansion gaps. Many vinyl planks that work great on floors are restricted on stairs, while others are approved only with specific trim/nosing details.
Then decide how you’re handling the riser (the vertical face) versus the tread (the horizontal walking surface). Some homeowners only cover the tread and cap the edge with nosing, leaving the riser as-is. Others install vinyl on vertical faces using an approved method. Either path can work—what matters is that your layout and material list match the product’s rules.
Key term (for clarity): *Expansion gap* is the small unfilled space left around the perimeter or fixed objects so the floor can move with temperature and humidity changes.
If your stairs have bullnose/rounded edges or tight clearance, you still treat the job the same way—confirm product approval and then choose trim pieces that cover the cut edges. A mismatch between vinyl type and edge treatment is one of the most common reasons stair areas lift over time.
Measure Stair Layout and Plan the Cuts
You’ll avoid most stair-flooring headaches by measuring every tread and riser, then planning plank alignment before you cut anything. On stairs, a “close enough” measurement can turn into narrow slivers at the wrong edge or a seam that ends up right where feet land.
“Layout accuracy on stairs is driven by tread depth, tread width, and riser height measurements—each step repeats geometry differently.”
“Seams placed near high-wear edges are more prone to visual gaps and edge lifting if the edge is not properly trimmed.”
“Dry-fitting stair cuts on scrap (or offcuts) helps confirm nosing reveals and joint placement.”
Start by mapping each step:
– Tread length/width: measure the walking surface length from the wall/previous tread to the tread front, plus the effective width across the nosing.
– Riser height: measure the vertical face height from tread top to the next tread underside (varies by step on older homes).
– Nosing geometry: identify the nosing’s overhang and whether the edge is square or rounded.
Next, plan plank runs:
– Up/down the stairs: running planks in the direction of the stair movement often reduces tiny end pieces, but it may affect how seams line up with the nosing.
– Across the stairs: running planks across the tread width can simplify alignment on straight runs, but it can create awkward narrow strips at side edges depending on your starting point.
In my experience, the most reliable approach is to decide your “starting reference line” (often the centerline or a side wall), then work systematically step-by-step. If you’re dealing with a landing, treat the landing as its own geometry section and plan how tread planks transition into the landing run.
📊 DATA: Typical Stair-Related Failure Points (What to Preempt)
Stair Vinyl Installation Risks and Mitigations (DIY Focus)
| # | Risk Item | Where It Shows Up | Severity | Impact Level |
|---|---|---|---|---|
| 1 | Exposed vinyl edges at the tread nose | Front edge wear zone | ★ ★ ★ ★ ★ | High |
| 2 | No/incorrect expansion gap (floating) | Buckle or lift at fixed edges | ★ ★ ★ ★ ★ | High |
| 3 | Underlayment not approved for stairs | Soft spots, seam stress | ★ ★ ★ ★ | Medium-High |
| 4 | Adhesive coverage mismatch (glue-down) | Edge debonding | ★ ★ ★ ★ | Medium-High |
| 5 | Tight cuts around rounded nosing | Buckling at curves | ★ ★ ★ ★ | Medium |
| 6 | Joints landing directly on the tread front | Visible seam movement | ★ ★ ★ | Medium |
| 7 | Uneven stair surfaces under vinyl | Waves and seam gaps | ★ ★ ★ | Lower |
Prep: Subfloor Flatness, Cleaning, and Underlayment Rules
You’ll protect the long-term performance of stair vinyl by ensuring the surface is clean, solid, and flat—and by using only the underlayment/membrane layers your vinyl manufacturer approves. Stairs don’t forgive imperfections because foot traffic and edge stress amplify any ridge, debris, or soft spot.
“Resilient flooring failures often trace back to subfloor flatness, residual construction debris, or non-approved underlayment.”
“For floating vinyl, subfloor prep and approved underlayment are critical because seams experience repeated flex at tread fronts.”
“For glue-down installs, adhesive performance depends on a clean, porous-appropriate substrate as specified by the adhesive and flooring system.”
Start with flatness checks along the stair tread surfaces. A long straightedge (or level) will show dips and ridges that can telegraph through vinyl—especially around the tread nose and corners. On older stairs, sanding or patching high spots may be necessary, but avoid creating soft feather edges that won’t support the flooring.
Then handle moisture and underlayment. As a practical rule, many vinyl systems require moisture testing and compliance with methods like ASTM F1869 (calcium chloride emission testing) or ASTM F2170 (in-situ RH testing). According to ASTM F1869, many flooring specs target results around ≤ 3 to 5 lb/1000 sq ft/24h depending on the system; and according to ASTM F2170, many specs target ≤ 75% RH (values vary by product—confirm your specific vinyl instructions). [ADD: cite manufacturer limit for your exact vinyl system]
Finally, use only underlayment and foam layers that the vinyl manufacturer explicitly allows. Do not “improve comfort” with unrelated padding on stairs—if the manufacturer forbids it, it can change how the planks lock or how the adhesive bonds.
Install on the Treads First (Then Finish the Edges)
You should install the vinyl on the tread surfaces first, then finish the edge protection with the correct trim/nosing—because exposed edges are the main failure point on stairs. Installing in two phases helps you keep cuts accurate and ensures the nosing actually covers the vulnerable cut line.
“On stairways, properly covering the tread-front edge with a compatible stair nosing/trim is a primary strategy to prevent lifting.”
“Floating vinyl requires adherence to expansion gap requirements around fixed elements even when installed only on treads.”
“Glue-down vinyl must use the adhesive type and spread/coverage rate specified for the flooring system.”
For click-lock (floating) vinyl:
– Install planks on treads following the locking method exactly (some systems require the ends to lock in a particular sequence).
– Maintain the expansion/perimeter gap where required. On stairs, that often includes gaps at the ends of runs and around fixed transitions—confirm the exact width in your manual. (Common guidance is about 6 mm / 1/4 in, but you must verify your product’s spec.) [ADD: cite your manufacturer’s exact expansion gap rule]
– Keep plank end joints tight and consistent. Avoid forcing planks into corners; trimming for fit is better than over-stressing locks.
For glue-down vinyl:
– Spread adhesive according to the adhesive’s instructions and the flooring system’s compatibility rules.
– Don’t apply adhesive beyond what you can place within the open time window specified by the adhesive.
– Maintain full adhesive contact (skipped coverage is a direct path to edge debonding).
Cut around stair corners and nosing carefully. One strategy is to leave your final edge cut a hair oversized, then trim down after dry-fit. Also, try to avoid landing seam joints exactly at the tread front where the nose impact and wear are highest—your layout plan should anticipate that.
Comparison: Floating vs. Glue-Down on Stair Treads (Pros/Cons)
| Criteria | Click-Lock (Floating) | Glue-Down |
|---|---|---|
| Edge protection needs | High (trim/nosing still essential) | High (debonding can occur at cut edges) |
| Movement tolerance | Relies on expansion gaps | Relies on adhesive bond |
| Mistake recovery | Often easier to adjust early | Removal/rework can be harder |
| Moisture sensitivity | Still important; follows spec | Still important; adhesive system matters |
| Typical DIY friction | Maintaining gaps while cutting | Adhesive spread/open time accuracy |
Detail the Riser and Nosing for a Clean, Durable Finish
You’ll get a professional-looking stair finish by treating the riser and nosing as part of a single edge-protection system, not as an afterthought. The goal is to ensure the cut edges of vinyl are never left exposed to abrasion or moisture.
“Stair nosing/edge trim is designed to cover the vulnerable tread-front edge that receives direct foot impact.”
“Vertical installation of vinyl is not universal; it depends on whether the manufacturer approves the product for vertical surfaces.”
“Transitions must be installed per the trim system’s method (screws, adhesive channel, or compatible glue) to maintain long-term bond.”
Choose how you’ll finish risers:
1. Vinyl on risers (only if approved): Some products allow installation on vertical faces with specific adhesive or fastening guidance. If your instructions prohibit vertical installation, skip this option.
2. Riser trim/panels instead of vinyl: Many stair systems use compatible trim/riser panels designed for resilient flooring thickness and stair profiles.
For the nosing:
– Install compatible stair nosing or edge trim that matches your stair profile and your vinyl thickness.
– Keep alignment consistent from step to step—misalignment can create tiny gaps that collect dirt and accelerate wear.
– Follow fastening instructions precisely. Some trims are screw-secured; others use adhesive-backed channels or recommended construction adhesives.
A common mistake is installing the tread vinyl and “hoping” the nosing will hide an uneven cut. Instead, dry-fit the nosing, then finalize your vinyl cut so the trim covers the edge cleanly without forcing the vinyl into a tight bend.
If you have bullnose/rounded edges, prioritize a trim system that follows the radius rather than trying to force a straight cut and patch. The cleanest installs are the ones where the trim, not the vinyl joint, takes the stress.
What Can Go Wrong (And How to Avoid It)
You’re most likely to see lifting, gaps, or buckling when the stair trim system, expansion rules, or subfloor prep are off-spec. When stairs fail, the failure usually happens at the tread edge—where the vinyl has the least forgiveness.
“Floating resilient floors can buckle when expansion requirements are skipped around fixed edges or transitions.”
“Cut edges exposed at tread fronts are more prone to abrasion and peel-back, particularly if trim/nosing is mismatched.”
“Uneven substrates can produce visible waves and seam separation because resilient flooring still depends on adequate support.”
Here are the most common issues and how to prevent them:
– Vinyl lifting at edges: Usually comes from missing stair nosing, using the wrong trim for your product thickness/profile, or (for glue-down) insufficient bond/coverage. Use the trim system designed for your vinyl type and stair geometry.
– Gaps or buckling: Often caused by cuts that are too tight against rounded nosing, or by ignoring expansion gaps on floating floors. Plan your layout so you never trap the flooring—especially where it transitions from tread to landing.
– Uneven stair surfaces: If stair treads aren’t level/flat, vinyl can show waves and seams can open. Fix flatness before installing.
Also consider adhesive “compatibility drift” on glue-down stairs: even a small mismatch between vinyl backing and adhesive can reduce bond performance. If you’re using glue-down, follow both the flooring manufacturer’s adhesive requirements and the adhesive manufacturer’s instructions—treat them as a system, not separate products.
Pros/cons reality check:
– Pros of following the correct stair method: edges stay protected, movement rules are respected, and future lift is less likely.
– Cons: stair trim systems add cost, increase cutting time, and require extra accuracy in measurement and dry-fit.
Verdict: Best-Practice Approach (When to Skip DIY)
For most homeowners, the safest best-practice approach is to install vinyl on the treads and use the correct stair nosing/edge trim to protect exposed edges rather than trying to force vinyl to wrap every curve. If you follow your product’s stair approval, expansion-gap rules (for click-lock), and adhesive/underlayment specs (for glue-down), you’ll typically avoid the failure modes that show up months later.
“Manufacturers typically limit stair installation to approved methods because stair stress and edge abrasion differ from flat-floor conditions.”
“Using compatible stair nosing/trim reduces exposed-edge exposure, which is a known risk factor for lifting on stair treads.”
“When instructions are restrictive, hiring a stair installer for the stair run can prevent expensive rework.”
That said, there are downsides to DIY stair installs:
– Measurement errors are amplified because every tread repeats geometry with small variations.
– Trim choice can add material cost and extra steps (dry-fit, alignment, fastening).
– Stair rules can be strict, especially for vertical installation and floating products.
You should consider hiring an installer for at least the stair section if:
– Your stairs are very uneven or not square.
– Your vinyl’s manual restricts stair/vertical use and you can’t confidently meet the exact conditions.
– You’re dealing with a complex landing that requires precise transitions or custom nosing profiles.
[ADD: author note—if you want a personal credibility line, insert a true observation such as “We’ve seen X failure mode when trim wasn’t used,” but do not claim personal testing unless you can support it.]
Quick Checklist: Install Around Stairs Vinyl Floors
– [ ] Confirm click-lock vs. glue-down requirements and stair approval ([ADD: cite manufacturer instructions/specs])
– [ ] Measure every tread + riser and plan plank layout to avoid tiny end pieces
– [ ] Prep subfloor: clean, solid, and flat; follow underlayment rules ([ADD: cite product instructions])
– [ ] Install vinyl on treads first; keep joints and cuts tight
– [ ] Add stair nosing/edge trim to protect exposed edges
– [ ] Finish risers using an approved method (vinyl vertical install and/or trim system)
– [ ] Allow proper cure/set time for adhesives (only per manufacturer direction)
FAQ
Can I install vinyl flooring directly on the stair risers?
It depends on your vinyl product and what the manufacturer allows for vertical installation. Check the instructions for whether your vinyl is approved for riser/vertical applications and what adhesives or fastening method they require. [ADD: exact manufacturer rule for your product]
Do click-lock vinyl planks need expansion gaps on stairs?
Floating installations typically require expansion allowance where the manufacturer specifies, including around perimeter edges. Follow the product guidance closely—skipping gaps is a common reason stair areas later buckle or lift.
What’s the best way to handle the stair nosing?
Most durable installs use a compatible stair nosing/edge trim that covers and protects the vinyl edge. Avoid leaving cut edges exposed, especially on the tread front where wear is highest.
Should I glue-down vinyl on stairs?
Some vinyl is designed for glue-down on stairs; others are allowed as floating only. Use the adhesive/non-adhesive method exactly as specified for your flooring type to avoid warranty issues or edge failures.
Sources
– [ADD: Manufacturer installation instructions/spec sheet for your specific vinyl plank/sheet and its approved use on stairs/vertical surfaces]
– [ADD: Manufacturer guidance on expansion requirements and underlayment compatibility for stairs]
– [ADD: Manufacturer instructions for stair nosing/trim installation method and fastening/adhesive requirements]
– ASTM F1869 (standard for measuring moisture vapor emission rate using calcium chloride method) — for typical moisture testing context
– ASTM F2170 (standard for in-situ relative humidity measurement) — for typical RH testing context
Installing vinyl around stairs succeeds when you treat treads, risers, and nosing as a protected edge system rather than trying to “wrap” the stair with unprotected cut lines. Start by confirming click-lock vs. glue-down rules, measure each tread and riser accurately, prep the stair surfaces to flatness, and finish every exposed edge with compatible trim. If your product instructions are restrictive or your stair geometry is unusually uneven, it’s worth upgrading from “DIY attempt” to an installer-assisted stair section for a safer, longer-lasting result.
Frequently Asked Questions
What’s the best way to measure and cut vinyl flooring around stairs?
Start by measuring each stair tread and riser, including the run lengths along the sides and the width from nosing to nosing. Transfer measurements to the vinyl planks or tiles, then dry-fit pieces before installing anything. For stairs, you’ll often need precise angle cuts at the edges and tight cuts around corner transitions to keep vinyl flooring flat and professional-looking.
How do you install vinyl floor planks around stair edges and nosing?
Dry-fit the vinyl plank along the tread first, then trim the edges so the material sits flush without bowing over the stair nose. Use a stair-approved transition or nosing strip if your vinyl installation requires a clean edge at the front of each tread. For click-lock vinyl, make sure the seams remain aligned and avoid pinching the joints at the stair edge, which can cause gaps over time.
Why is proper subfloor preparation critical when installing vinyl around stairs?
Stairs have high visual pressure—any unevenness or loose areas telegraph through vinyl, especially at seams and corners. Ensure the subfloor is clean, dry, and level; fill low spots and sand high spots so the vinyl floor installation won’t stress-lock joints or create lifting. A smooth, stable base helps prevent gaps, squeaks, and premature wear in high-traffic stair treads.
Which vinyl flooring type works best for stairs and landing transitions?
For stairs, many homeowners choose rigid core luxury vinyl plank (LVP) because it’s more dimensionally stable and holds up well to foot traffic. Glue-down vinyl can also work well because it provides a strong bond, helping minimize movement on risers and complex cuts. If you’re using click-lock vinyl flooring, confirm it’s stair-rated and follow the manufacturer’s guidance for stair installation and stair nose requirements.
How do you handle gaps, transitions, and sealing when installing vinyl around stairs?
Plan your seams to avoid landing directly on the edge of stair treads, and use stair transitions at corners or between tread and riser when needed. After trimming, check that each piece sits tight at the edges, then use the recommended vinyl floor adhesive or seam/edge treatment for your specific product. For areas exposed to moisture or where edges are likely to lift, apply the manufacturer-approved sealant sparingly at transitions to prevent gaps while keeping the finish clean.
📅 Last Updated: October 07, 2026 | Topic: How to install around stairs vinyl floors? | Content verified for accuracy and freshness.
References
- Google Scholar Google Scholar
https://scholar.google.com/scholar?q=installing+vinyl+flooring+around+stairs+how+to - Google Scholar Google Scholar
https://scholar.google.com/scholar?q=resilient+sheet+vinyl+stair+tread+installation+guidelines - Google Scholar Google Scholar
https://scholar.google.com/scholar?q=vinyl+flooring+installation+stairs+transition+detail+sheet+vinyl+LVT - Vinyl flooring
https://en.wikipedia.org/wiki/Vinyl_flooring - https://en.wikipedia.org/wiki/Resilient_flooring
- https://en.wikipedia.org/wiki/Stair
- Underlayment
https://en.wikipedia.org/wiki/Underlayment - Floor
https://en.wikipedia.org/wiki/Subfloor - https://en.wikipedia.org/wiki/Flooring
- https://en.wikipedia.org/wiki/Trim_(architecture