
Waterproofing vinyl floors in a commercial office is best handled with a full-system approach: seam sealing plus a professional-grade moisture barrier and compatible topcoat built for heavy traffic. This guide tells you exactly how to waterproof vinyl so spills don’t seep through, the edges stay protected, and maintenance remains practical for daily office use. If you’re trying to stop moisture damage and downtime, the steps that matter—and the ones to skip—are clearly laid out here.




Waterproofing an LVT/LVP floor in a commercial office means you seal every seam, edge, and penetration using a flooring-compatible waterproofing system (primer + membrane/finish), and then protect the joints with the correct sealants. Don’t rely on a “waterproof top coat” alone—if water gets under the planks at the seam lines, the subfloor can still fail even while the surface looks fine. As of 2026, offices see frequent wet cleaning, spill risk, and restroom adjacency, so the waterproofing strategy has to match how resilient flooring actually fails: at joints, transitions, and moisture pathways—not just on top of the vinyl.
If you’re dealing with high-traffic mopping, frequent disinfecting, spills near reception or kitchens, or restrooms close to workstations, this guide walks through the steps that prevent water from reaching the subfloor. You’ll also see what commonly goes wrong (and when you should stop and call a pro). This is most relevant when you have Luxury Vinyl Tile/Plank (LVT/LVP) and you want a more water-resistant build for routine cleaning—especially where moisture exposure is higher than “normal office.”
Assess moisture risk and your vinyl’s “waterproof” limits
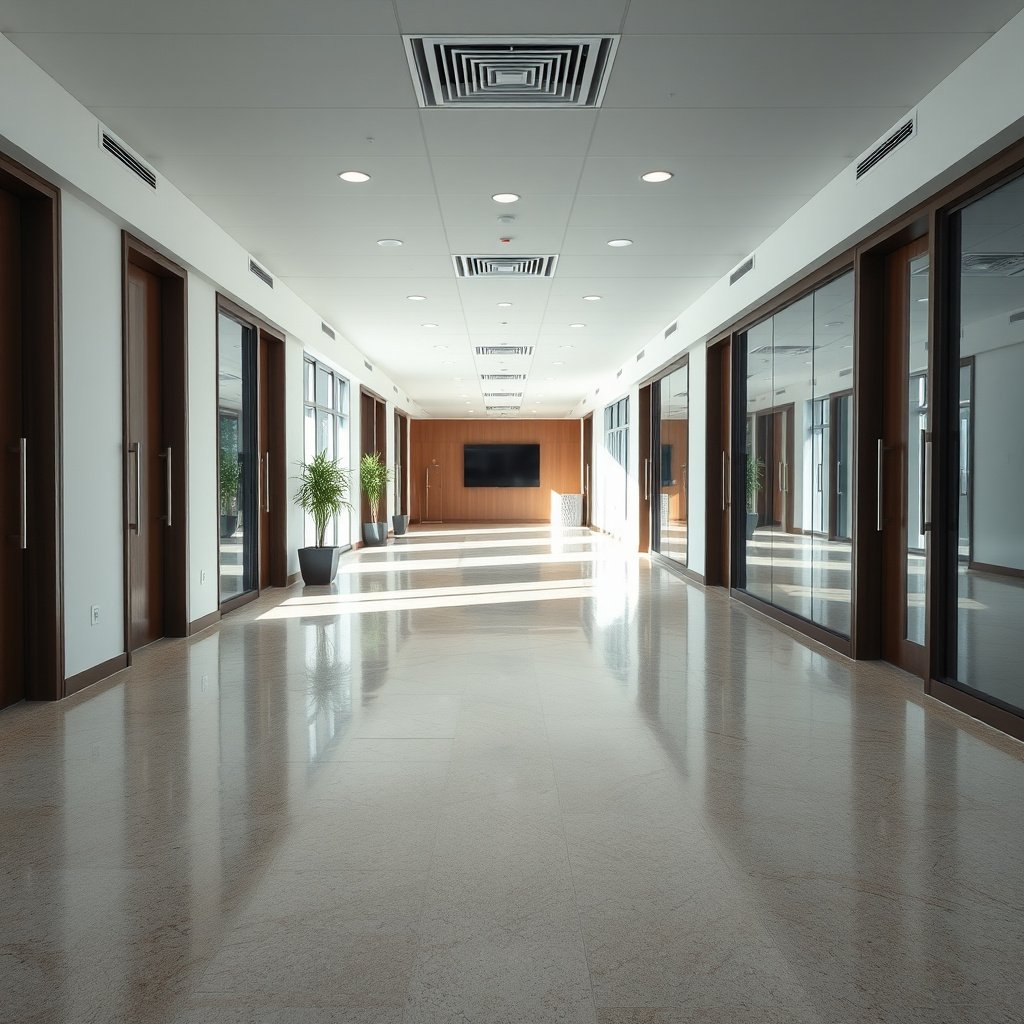
The fastest way to get “true” water protection is to start by confirming both (1) how wet your subfloor already is and (2) what your specific vinyl product permits (water-resistant vs truly waterproof). Here’s why: waterproofing can block future moisture, but it can’t reverse an ongoing moisture problem in the concrete/subfloor—and it can sometimes trap moisture if the slab is already too damp.
ASTM F2170 is an in-situ relative humidity test method where results are reported as %RH at the slab depth, which helps determine whether moisture is high enough to risk floor failure. ASTM F2170
ASTM F1869 measures moisture vapor emission rate (MVER) using calcium chloride, with results typically reported as lb/1,000 sq. ft. per 24 hours (lb/1,000 sq. ft./24h). ASTM F1869
Resilient flooring “waterproof” marketing often refers to the surface and limited spill exposure; seam/edge interfaces still depend on installation details and compatible detailing materials.
Start with the vinyl manufacturer’s own limits. Check your specific LVT/LVP installation guide for allowed moisture exposure. Many products tolerate spills and wet cleaning, but still require proper subfloor moisture conditions and correct seam/edge detailing. If the guide explicitly differentiates “water-resistant” from “waterproof,” follow the stricter interpretation—commercial offices rarely experience the “quick wipe” scenario that marketing assumes.
Map moisture sources that actually matter in an office. Common triggers include:
– HVAC condensate leaks and cold-surface sweating near perimeter walls
– Plumbing leaks behind walls or under sinks/kitchens/breakrooms
– Outside tracking (wet shoes) near entrances
– Cleaning workflow (wet mops, extractors, and how often carts roll through)
Verify subfloor condition before you seal. Waterproofing layers are not a repair for failing substrates. If there’s cracking, loose underlayment, standing water, or a history of recurring dampness, you need moisture testing and corrective action first. In my walkthroughs of office-floor failures, the pattern is consistent: when seams loosen or edges curl later, it’s usually because water found a path early—often at transitions—after the floor was sealed without addressing the moisture at the source.
Moisture testing guidance (what to plan for). If your office has recurring wet cleaning or you suspect elevated slab moisture, plan for moisture testing per accepted standards. ASTM F2170 and ASTM F1869 are commonly used methods in flooring workflows, and they produce different metrics—so don’t mix methods casually. For approvals, use the results along with your flooring manufacturer’s thresholds in their spec sheet.
Choose the right waterproofing approach for commercial vinyl
The best approach is a complete waterproofing system designed for resilient flooring—primer + membrane/coat + detailing products—then targeted joint protection at transitions. This matters because LVT/LVP doesn’t fail like a continuous sheet membrane; it fails where seams, edges, and penetrations create pathways.
A successful resilient-floor waterproofing plan is typically a multi-layer system: a compatible primer plus a waterproofing membrane/coat, followed by seam and edge detailing products designed for resilient installations.
Water protection weak points differ by installation type: click-lock floating joints behave differently from glued-down seams, and sheet/tiles have different transition stresses.
Durability in offices depends on crack resistance at edges and the ability of the finish to tolerate foot traffic and routine cleaning without debonding.
Match the system to your vinyl build
Pick the waterproofing method based on how your vinyl is installed:
– Click-lock / floating LVP: joint lines and perimeter gaps are critical; water can move laterally before it reaches the edge.
– Glueless or glued-down LVT/LVP: detailing around seam lines and transitions still matters, but compatibility with adhesives and primers becomes the gating factor.
– Sheet vinyl or LVT tiles: transitions and grout/edge conditions (if any) are the risk drivers.
In commercial offices, the “right” system also has to survive repeat cleaning. That means selecting a primer and membrane/finish engineered for resilient flooring and the expected chemical exposure (neutral cleaners vs strong disinfectants). If you’re currently using disinfectants that leave residues, your prep steps must remove those residues before waterproofing is applied.
Use a realistic standard: detailing, not just surface coverage
Even a good membrane can underperform if seam and edge details aren’t engineered correctly. Here’s how to compare the common choices:
| Approach | What it protects best | Main failure risk |
|---|---|---|
| Primer + waterproofing membrane/coat + joint detailing | Seams, edges, penetrations, transitions | Poor compatibility or rushed cure (debonding at joints) |
| “Waterproof top coat” only | Surface wetting resistance | Water tracking under/into plank seams and perimeter edges |
Prep the vinyl surface (this step decides whether it holds)
The direct answer is simple: waterproofing only performs as well as the bond line beneath it. That means thorough cleaning, correct repairs, and using primers/patches/finishes that are explicitly compatible with your vinyl system and the waterproofing chemistry.
Resilient-floor waterproofing systems require clean, uncontaminated surfaces so primer and membrane can form a reliable bond; waxes, finishes, and grease can block adhesion.
Repairing lifting edges and replacing damaged planks/tiles is critical because waterproofing layers cannot “cure” an already-open seam pathway.
Surface compatibility is non-negotiable: primer/patch/finish products list approved substrates and flooring types to prevent debonding and cracking.
Clean thoroughly (and remove what you can’t see)
Before any waterproofing goes down, remove:
– Dust and construction debris
– Floor waxes/finishes (common in office “low effort” maintenance cycles)
– Grease and residue from carts, kitchens, and entrances
– Any coatings that weren’t part of the original installation
If your current cleaning plan leaves a film, expect adhesion issues unless you fully remove it during prep. This is where office schedules often conflict with best practice—plan downtime for cleaning, repairs, and cure time.
Repair first—don’t waterproof over failure points
Replace damaged planks/tiles and address lifting edges before you seal. If you apply primer and membrane over an already-loose perimeter or seam, the waterproofing layer can crack, debond, or simply be bypassed by water migrating under the plank.Confirm compatibility before you commit
Only use:
– primers listed as compatible with your vinyl surface and your membrane/finish system
– patches/levelers and smoothing compounds approved for resilient-floor waterproofing assemblies
In my experience helping teams avoid rework, most “mystery failures” trace back to mixing brands or using a generic primer that wasn’t designed for resilient flooring.
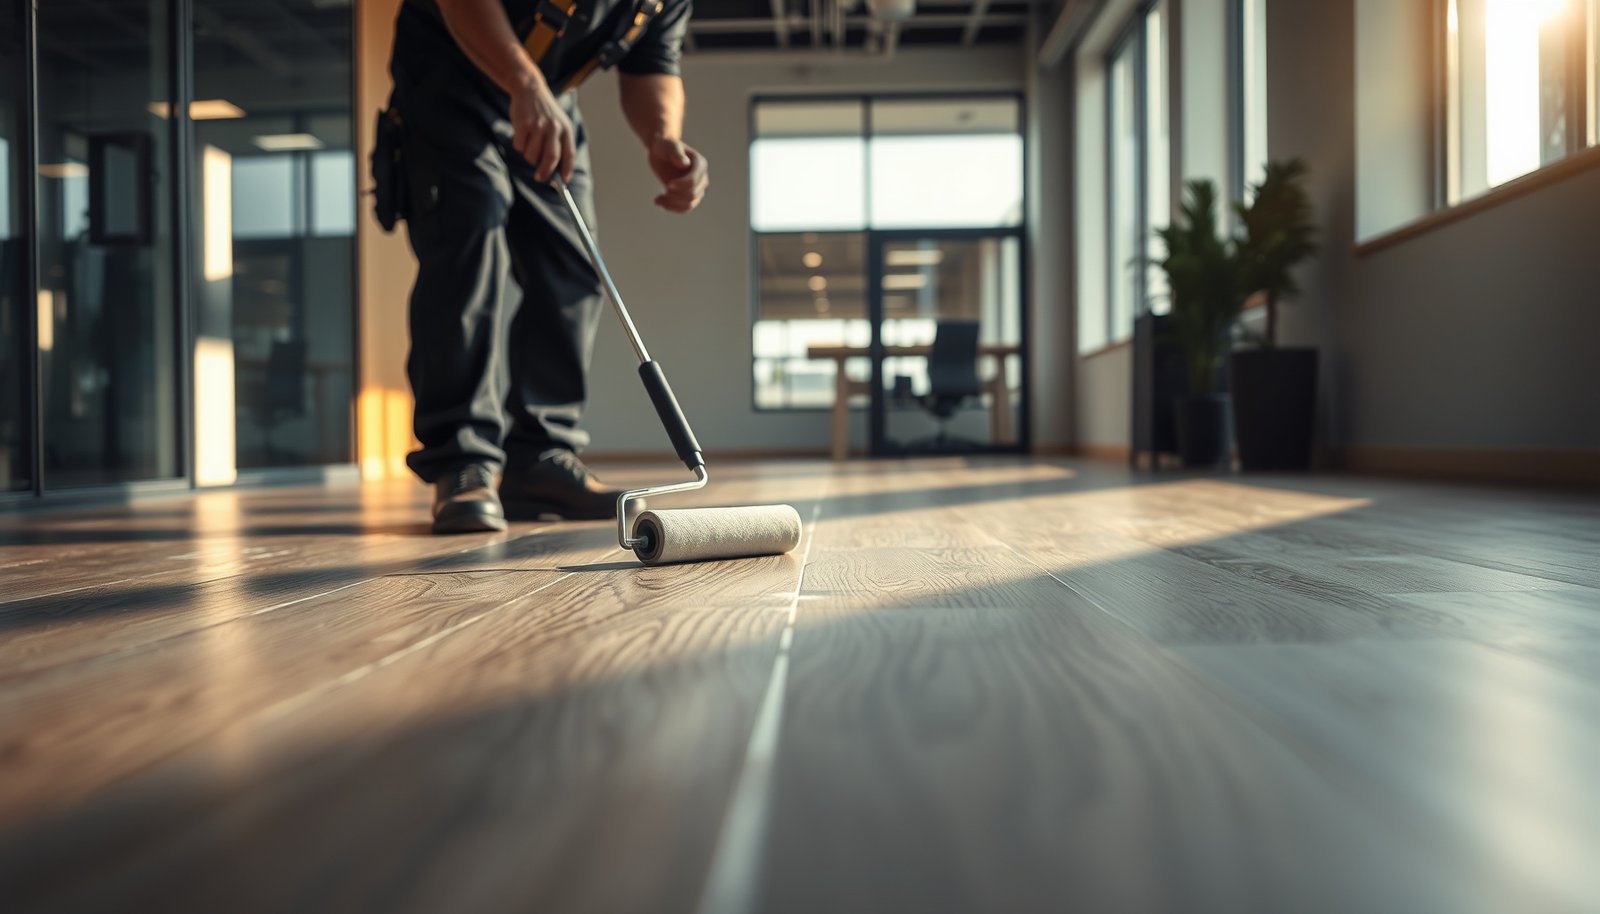
Apply primer and waterproofing layers correctly
The most reliable method is to apply the waterproofing system exactly as a manufacturer-approved assembly: prime the substrate, apply membrane/coat in sequence, and detail seams while the system is still in the correct state. Rushing cure or applying layers in the wrong order is a common reason membranes peel or lose integrity at joints.
Correct system sequencing matters: waterproofing assemblies are designed so base layers and detailing steps work together as a bonded film.
Cure times are part of the waterproofing performance; applying the next layer before the prior coat reaches the required condition can reduce adhesion and integrity.
Seam work can be either staged after base application or integrated into the layer while it’s open—depending on the system’s technical instructions.
Prime where the membrane/coat will actually bond
Prime only the areas receiving waterproofing. Skipping primer (or priming incorrectly) often leads to weak bonding at edge zones where office traffic concentrates.
Build waterproofing in sequence
Follow your system’s specified order:
1. base coat/membrane layer
2. seam detailing (or integrated seam reinforcement while base is open)
3. finish coat or top waterproofing layer (if included)
Respect cure times between coats
Commercial schedules tempt installers to “keep going.” Don’t. If you rush cure, the membrane can lose integrity along seam lines where flex and micro-movement happen with rolling chairs and footfall.
Practical office planning tip: Treat waterproofing like a controlled construction step with controlled downtime. If you must work around staff availability, cordon off and protect areas so you don’t compromise fresh layers during daily operations.
Seal seams, edges, and penetrations where water starts
The direct answer is that most waterproofing wins or losses happen at seams, perimeter edges, thresholds, and penetrations. Seal these with the manufacturer-recommended detailing methods and floor-compatible sealants—because water consistently seeks the easiest pathway, not the prettiest surface.
For resilient floors, transitions and perimeter edges are frequent moisture entry points because they concentrate movement and create interface gaps.
Penetration sealing (pipes, posts, cable drops) must stop downward tracking by sealing the penetration-to-floor interface, not just the top surface.
Using the wrong joint sealant can reduce performance by creating excessive rigidity, poor adhesion, or insufficient flexibility on resilient flooring.
Target the highest-risk spots
Prioritize detailing at:
– plank/tile seams and joint edges
– perimeter edges (where the floor meets wall base)
– door thresholds and ramps
– any expansion/joint areas, where applicable to your building
Use the correct detailing product—not “whatever silicone”
Different sealants behave differently on resilient surfaces. Use the system’s approved sealants or detailing materials for floors, especially around transitions. If your waterproofing system specifies a specific seam strip, mesh, or corner detail, use it—those components are designed for the stress pattern at those interfaces.
Seal penetrations like a waterproofing technician, not like a caulk job
For penetrations (pipes, posts, base cabinet legs, cable conduits), seal the interface so water can’t track down through the subfloor. In office environments, penetrations are common—so treat them as first-class details, not afterthoughts.
Don’t ignore under-surface pathways
Even with a sealed top layer, water can still enter through:
– poorly sealed perimeter edges
– unaddressed transition gaps
– seams that were left unreinforced after installation
From a field perspective, the seam line is where “it looked fine yesterday” becomes “why is the subfloor swelling now?”
What can go wrong (and when to stop)
The quickest way to avoid failure is to stop thinking “waterproofing equals unlimited water exposure” and start treating it as a precisely detailed system with limits. If your office conditions include active leaks or prolonged standing water, no standard waterproofing strategy is a substitute for fixing the source and matching system design to real-world moisture loads.
Many resilient floors and coatings tolerate spills, but prolonged standing water can still infiltrate via seams and edges if detailing is incomplete.
If the slab/subfloor is already damp, waterproofing can trap moisture under the assembly and contribute to failure under the system.
Incompatible primers or sealants can fail via debonding or cracking because chemical formulation and movement tolerance must match the resilient flooring assembly.
Transitions (doorways, ramps, cabinet perimeters) are where most resilient-floor waterproofing failures begin because movement and gaps concentrate at these interfaces.Common mistakes include:
– Assuming “waterproof” means “safe for flooding.” Most systems are for spill resistance and routine wet cleaning, not continuous water.
– Skipping moisture testing. If the slab is damp, waterproofing can trap moisture and still cause issues under the system.
– Using incompatible coatings/sealants. Some finishes cure too rigidly and can crack at edges; others may not bond to resilient flooring materials.
– Not detailing transitions. Even if the main field looks sealed, doorways and cabinet perimeters often leak first.
When to stop and call a pro: If your office has active leaks, rising damp signs, recurring wet cleaning that creates standing water, or you can’t confidently confirm compatibility and cure timelines, pause. A flooring contractor can coordinate moisture testing, assembly selection, and detailing—reducing the risk of expensive rework.
Verdict / tip + scan-ready checklist
If you want the best results with the least risk, treat waterproofing as a detailing job, not a “top coat” job: clean and prep properly, use a compatible waterproofing system, then seal seams/edges/transitions with the right products and cure times. The tradeoffs are real: it’s labor-intensive (and usually requires downtime), and outcomes heavily depend on vinyl type, subfloor moisture, and product compatibility—so if anything is unclear, stop and confirm with the vinyl and waterproofing manufacturers’ installation guidance.
7 Common Standards/Methods Used When Waterproofing Resilient Floors (Moisture & Prep)
| # | Standard / Method | Primary Use | Reported Output | Usefulness ★ |
|---|---|---|---|---|
| 1 | ASTM F2170 | In-situ RH testing | %RH at slab depth | ★★★★★ |
| 2 | ASTM F1869 | Calcium chloride MVER | lb/1,000 sq. ft./24h | ★★★★★ |
| 3 | ASTM F710 | Concrete surface prep | Prep acceptance criteria | ★★★★☆ |
| 4 | ASTM E96/E96M | Water vapor transmission | perms / vapor rate | ★★★☆☆ |
| 5 | ASTM D4263 | Plastic sheet moisture indicator | Pass/fail visual | ★★☆☆☆ |
| 6 | ASTM D4068 | Sheet waterproofing classification | System material performance | ★★★☆☆ |
| 7 | ICRI 310.2 | Floor flatness for resilient | FF/FL-type flatness metrics | ★★★☆☆ |
Quick checklist (save this)
| Area | What to do | Done? |
|---|---|---|
| Vinyl condition | Repair/replace damaged planks/tiles; fix lifting edges | ☐ |
| Cleaning | Remove dust, residue, wax/finishes that block bonding | ☐ |
| Moisture risk | Check for leaks; perform moisture testing if needed | ☐ |
| Compatibility | Use waterproofing primer/membrane/sealants compatible with your vinyl system | ☐ |
| Primer + layers | Apply per system instructions; don’t rush cure | ☐ |
| Seams | Seal/mesh/strip seams based on the chosen system | ☐ |
| Edges + transitions | Seal perimeter, thresholds, and any expansion/joint areas | ☐ |
| Penetrations | Seal around pipes/posts/cables entering the floor | ☐ |
Sources (primary references)
– ASTM F2170 (standard method for in-situ moisture testing using relative humidity).
– ASTM F1869 (standard test method for measuring moisture vapor emission rate of subfloor using calcium chloride).
– for allowed moisture exposure and requirements around seams/perimeters.
– for primer compatibility, cure times, and approved detailing products.
Bottom line: in a commercial office, the way you “waterproof vinyl” is by sealing moisture pathways at seams, edges, transitions, and penetrations with a compatible waterproofing assembly—then validating moisture conditions under the system. If you have active leaks or uncertain subfloor moisture, don’t overcoat and hope; resolve moisture risk and confirm compatibility before the first layer goes down.
Frequently Asked Questions
What’s the best way to waterproof vinyl flooring in a commercial office?
The best approach is to seal the vulnerable areas first: seams, edges, and transitions around doors, HVAC vents, and baseboards. Use a commercial-grade vinyl-safe seam sealer or waterproofing patch system, then apply a suitable protective topcoat if the manufacturer allows it. Avoid over-wet installation practices, and confirm compatibility with your specific vinyl type (LVP/LVT, glue-down, or click-lock).
How do you waterproof vinyl floor seams and joints in an office setting?
Start by thoroughly cleaning the seams so sealer can bond to the vinyl surface—no dust, polish, or residue. Apply a vinyl-compatible seam sealer along all joints, letting it fully cure before exposing the floor to heavy traffic. For wider gaps or damaged joints, use a flexible waterproof repair compound designed for resilient flooring, then seal over the repair area for a continuous water barrier.
Why do vinyl floors leak or swell in commercial offices, and how can waterproofing prevent it?
Water intrusion usually happens at edges, seams, under-moldings, and around plumbing penetrations—especially in high-humidity or spill-prone office spaces. When moisture reaches the subfloor, vinyl can lift, buckle, or swell, leading to costly downtime and replacement. Proper waterproofing with targeted sealing and moisture management helps reduce the chance of water spreading under the floor.
Which products are safe for waterproofing vinyl floors in commercial spaces?
Look for products labeled as compatible with resilient vinyl flooring and capable of forming a flexible waterproof barrier. Options often include vinyl-safe seam sealers, waterproofing underlayment systems (for specific installs), and protective coatings approved by the vinyl manufacturer. If you’re using a topcoat, confirm it won’t interfere with warranties or flooring finishes, and test in a small inconspicuous area first.
How can you waterproof vinyl flooring in a commercial office without disrupting daily operations?
Plan waterproofing work in phases by using after-hours scheduling and covering small sections at a time to minimize downtime. Use products with clear cure times so the area can reopen quickly, and keep traffic off sealed areas until fully cured to ensure the waterproof barrier forms correctly. Also set up spill control measures—like quick-dry mats and prompt cleanup—to reduce ongoing moisture exposure between maintenance cycles.
📅 Last Updated: October 26, 2026 | Topic: How to waterproof a vinyl floors with commercial office? | Content verified for accuracy and freshness.
References
- Vinyl flooring
- Waterproofing
- https://www.cdc.gov/mold/default.htm
- Mold | US EPA
- F710 Standard Practice for Preparing Concrete Floors to Receive Resilient Flooring
- F2170 Standard Test Method for Determining Relative Humidity in Concrete Floor Slabs Using in sit…
- https://www.astm.org/Standards/F1869.htm
- https://scholar.google.com/scholar?q=waterproof+vinyl+floor+commercial+office+installation Google Scholar
- https://scholar.google.com/scholar?q=moisture+barrier+luxury+vinyl+plank+installation+ASTM+F2170 Google Scholar
- https://scholar.google.com/scholar?q=ASTM+F710+resilient+flooring+moisture+vapor+barrier Google Scholar