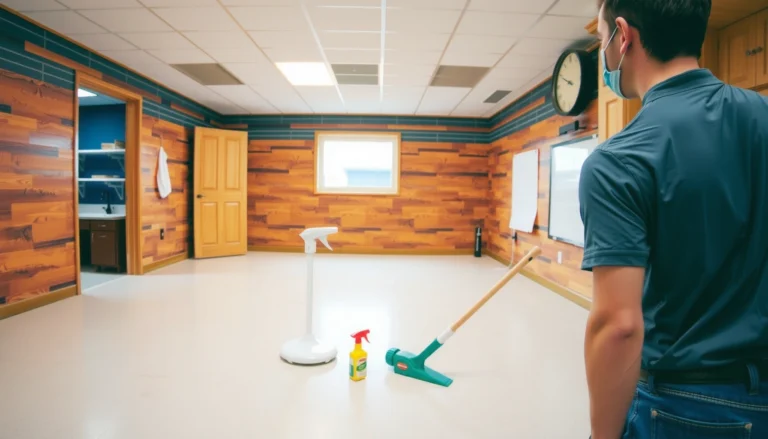

Fixing damaged laminate kitchen floors is faster and more reliable when you follow the right step-by-step repair route for the specific problem—chips, lifting planks, gaps, or water swelling. This guide tells you exactly what to inspect, what to replace or re-lock, and how to seal the area so the repair holds under daily kitchen traffic. If you want a practical, DIY-ready answer to “how to repair laminate floors in a kitchen,” start here.




Repair laminate kitchen floors by matching the fix to the damage: chips/scratches are often fill-and-touch-up jobs, while swollen or lifting boards usually require plank replacement (after you correct the moisture problem). Start by identifying the cause—spills, leaks, or failed sealing at seams—then dry/repair and protect the area so the damage doesn’t repeat. In this guide, you’ll learn how to assess damage, make minor repairs, and replace affected planks safely.
This is for homeowners dealing with common kitchen laminate issues like scraped edges, gapped seams, or boards that popped up near sinks and dishwashers. It’s also helpful if your floor is “floating” (click-lock) rather than glued down—because the repair steps differ.
Assess the damage and find the moisture source
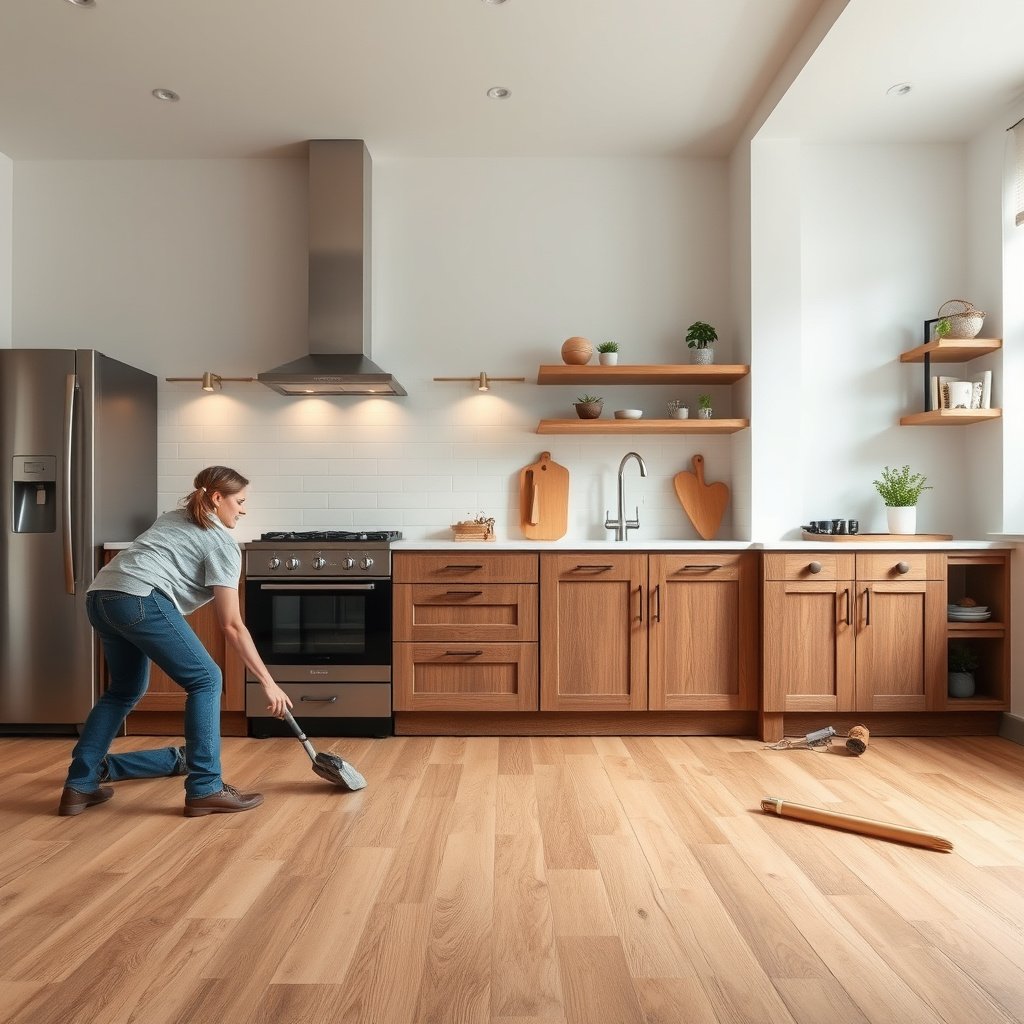
The fastest way to stop laminate kitchen floor damage is to confirm whether the problem is only surface wear or ongoing water intrusion. If water reached the core (the fiberboard inside the plank), the right laminate floor repair plan is different—and “fixing the look” alone won’t hold.
Laminate planks typically fail from the inside out: swelling, crowning, and seam separation usually mean moisture reached the core, not just the top wear layer.
If boards feel loose at the edges or the click joints won’t stay engaged, the issue is often structural movement driven by subfloor moisture or movement—not only cosmetic damage.
– Check where the problem starts (near sink, dishwasher, refrigerator, or under a chair leg) to pinpoint the leak/spill route. Kitchen laminate repairs often trace back to the “wet zone,” where drips travel along cabinet toes, supply lines, and appliance edges.
– Press gently on affected boards and edges: if they feel loose, you’re dealing with a structural problem (not just surface damage). In laminate kitchen floor repair, looseness suggests a compromised click-lock fit or a subfloor that is no longer flat.
– Look for signs of swelling/dulling, crowning, or separating seams—these typically mean water reached the core. Common tells include raised edges, a “puffy” feel, or darkened wood-fiber areas under the wear layer.
Moisture source triage that works in real kitchens:
Start at the highest-probability points (sink supply lines and dishwasher hoses), then work outward. If you can’t see an active leak, inspect for “chronic” causes: inadequate caulk at the sink flange, worn water-resistant mats that trap moisture, or a missing/failed seam sealant at transitions.
Anchoring facts you can use while assessing:
According to ASTM F2170, in-situ relative humidity (RH) testing measures slab RH using probes placed at depth, helping you confirm whether a subfloor is still moisture-active ASTM F2170 ().
For kitchens, you should also assume the damaged area needs true dry time—surface dryness is not the same as core dryness; as a practical target, many drying workflows use 24–48 hours of controlled drying before re-assembling or replacing laminate ().
Also, floating laminate typically relies on a perimeter expansion gap (often around 6–10 mm, depending on product guidance) so swelling has space to occur .
Fix minor chips, scratches, and small gaps
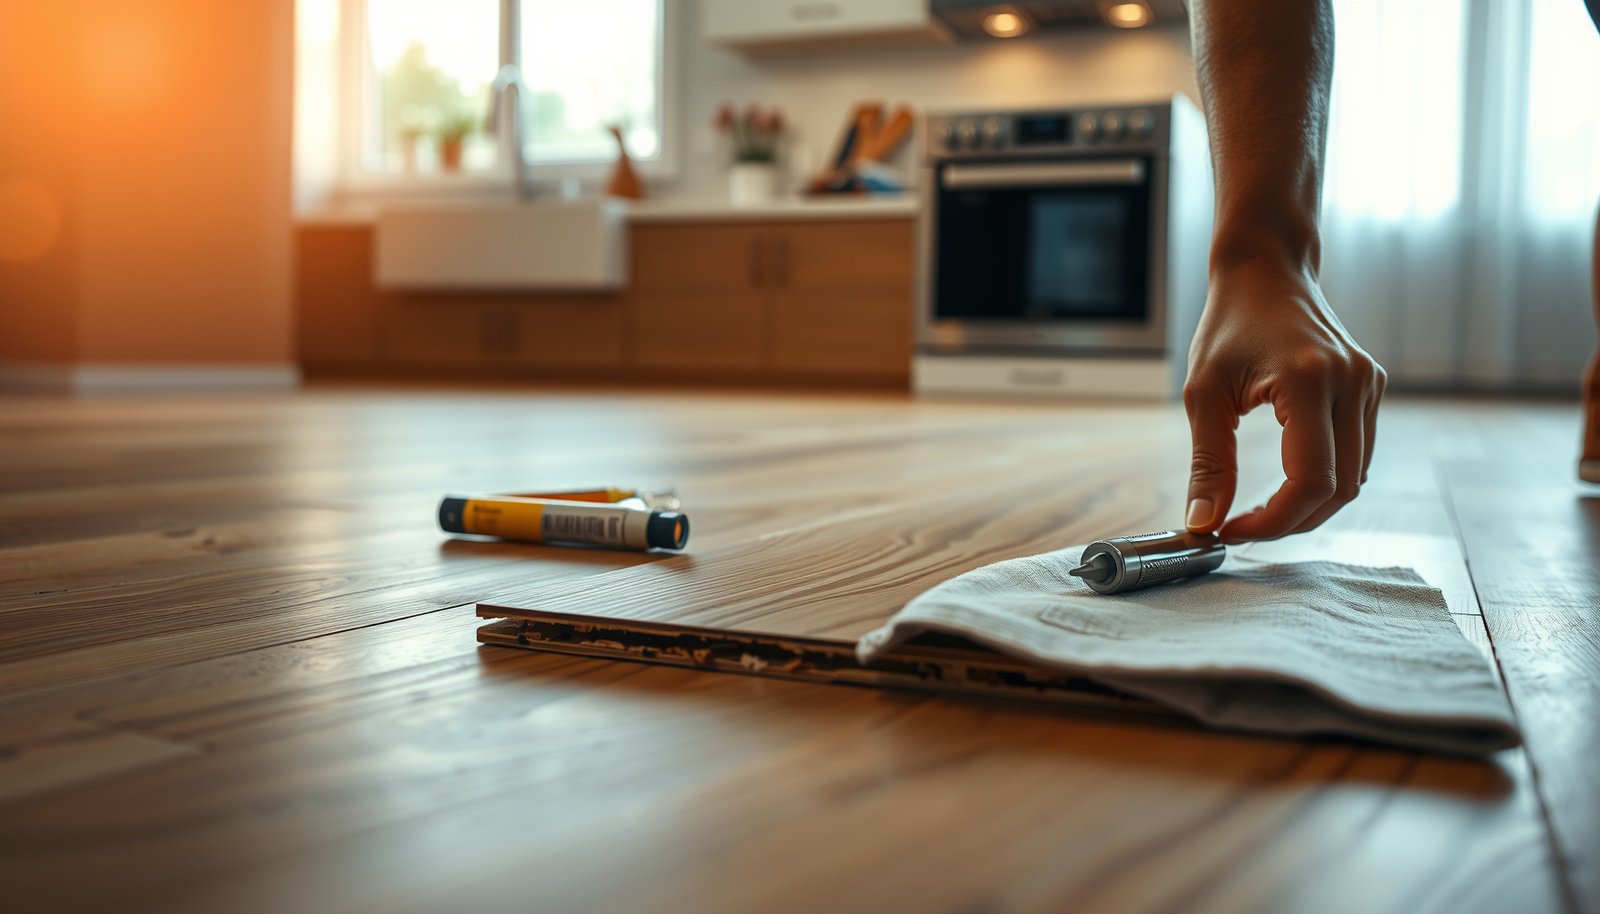
The quickest laminate kitchen floor repair for small damage is a clean, color-matched filler repair—only if the plank is still flat and seated firmly. If a seam is gapped because the plank isn’t seated (or the edge is already swollen), filler won’t solve the movement.
A laminate repair filler or wax marker only restores the surface appearance; it does not re-compress swelling or repair a wet core.
For the filler to bond, the scratch or chip must be free of dust and grit, because loose debris prevents proper adhesion and increases the chance of premature wear.
– Clean the area first (remove dust/grit from the scratch or chip) so filler actually bonds. Use a microfiber cloth and, if needed, a gentle cleaner that won’t leave residue; let it fully dry before applying any compound.
– Use a laminate repair filler/wax marker or a color-matched putty kit designed for laminate—then wipe off excess before it fully cures. Work slowly: overfilled repairs often smear during curing and become harder to sand level.
– For small seam gaps, check whether the board is still seated firmly; if it’s not, don’t just fill—plan to address underlying movement or moisture. A “cosmetic gap” that reopens within days usually means the click joint is out of plane or the subfloor has a moisture gradient.
Quick decision lens for minor laminate kitchen floor repair (pros/cons):
| Approach | Pros | Cons | Best when… |
|---|---|---|---|
| Fill + touch-up | Fast, low mess, preserves most of the existing floor | Doesn’t stop swelling or movement; can crack if the board edge is moving | Damage is only on the top surface wear layer |
| Re-seat a board and re-lock | Fixes the structural seam if the subfloor is dry | Requires partial disassembly; may still need board replacement | Click-lock seam doesn’t stay engaged because of installation/movement |
📊 DATA — Moisture checks that guide laminate repair choices (kitchen-relevant)
Moisture Tests Used Before Laminate Floor Repair
| # | Moisture check | What it measures | Typical decision | Time to result | Confidence |
|---|---|---|---|---|---|
| 1 | ASTM F2170 (RH probes) | Slab RH (%) at depth | <= 75% RH is a common laminate target (verify brand) | Same day to 24h | ★★★★★ |
| 2 | ASTM F1869 (calcium chloride) | MVER (lbs/1000 ft²/24h) | Often ≤ 3.0 (verify laminate spec) | ~24–72h | ★★★★☆ |
| 3 | Plastic sheet test (visual) | Condensation/appearance change | No condensation after dwell period | 16–24h | ★★★☆☆ |
| 4 | Pinless meter (surface) | Approx. surface moisture condition | Only spot-check; confirm with spec test | Minutes | ★★☆☆☆ |
| 5 | Underlayment feel check | Presence of residual dampness | Replace if it stays cool/damp | 15–30m (local removal) | ★★★☆☆ |
| 6 | IR camera scan (cold spots) | Temperature anomalies | Cool areas can indicate moisture path | Minutes | ★★★★☆ |
| 7 | Moisture map via serial checks | Pattern over the affected zone | Confirm drying trend across seams | 1–3 days | ★★★★☆ |
(Thresholds vary by laminate product; always follow your brand’s written moisture guidance.)
Repair water-damaged or swollen laminate (when not to force it)
The safest laminate kitchen floor repair is to stop trying to “flatten” swollen planks and instead dry and replace when the core has expanded. If boards won’t sit flush or click-lock joints won’t engage, forcing the fit usually creates permanent gaps and future failure.
Swollen or crowned laminate indicates core expansion, and the expansion often doesn’t fully reverse after the plank takes on moisture.
If the plank edges remain raised after drying, replacement is usually more reliable than re-seating and hoping the seam heals.
– If boards are swollen or have visible edge “lifting,” stop trying to flatten them—core expansion often won’t fully reverse. Pressing down can crack edges or distort the click-lock tongue/slot.
– Dry the area thoroughly and confirm the subfloor is dry before attempting any re-seating. For laminate kitchen floor repair, think “dry to the subfloor/underlayment,” not “dry on top.”
– If the plank won’t sit flush or the click joints don’t lock cleanly, replacement is usually the correct repair.
What to do step-by-step when you suspect water reached the core
1. Remove the damaged area’s toe-kick/base trim as needed so you can access the plank edges without breaking adjacent pieces.
2. Lift a few boards around the damaged spot to confirm underlayment condition (stays cool/damp = moisture still present).
3. Dry with fans and dehumidification targeted at the affected zone, then confirm dryness before reinstalling—especially in kitchens where humidity is cyclical (2025–2026 seasons tend to be variable in many regions).
Replace damaged planks (typical floating click-lock laminate)
The most dependable laminate kitchen floor repair for swollen or non-locking boards is plank replacement—after you correct the moisture source and restore flatness. For floating (click-lock) laminate, the reinstall quality hinges on how well the locking joints engage and how you manage the expansion gap.
Click-lock laminate repairs succeed when the surrounding floor is dry and the locking joints fully engage without forcing misaligned tongues or grooves.
After replacement, laminate needs time to acclimate and “settle” so seams don’t reopen as humidity shifts.
– Remove the baseboards/shoe trim carefully (or only as needed) to create room to lift and remove boards without breaking adjacent pieces. Cut or release fasteners methodically so you can re-install trim cleanly.
– Unhook the damaged plank(s) and replace with matching thickness/design; then reinstall so the locking joints fully engage. Pay close attention to locking direction relative to the plank “click” path—reinstalling backwards can prevent full engagement.
– Let the floor “settle” according to your flooring manufacturer’s guidance before re-trimming—kitchen floors can shift with humidity. In 2026, it’s common to see seasonal humidity swings; a correct settle interval helps seams stay tight.
If you’re matching replacements
– Use the same product/collection and thickness from your original purchase when possible.
– If you must blend slightly different patterns, keep the repair area away from the brightest sight line (often the walkway from the kitchen entry).
Table: Minor repair vs plank replacement (quick comparison)
| Criterion | Minor chips/scratch fill | Replace swollen/non-locking planks |
|---|---|---|
| Fixes cosmetic top layer | ✅ | — |
| Corrects core expansion | ❌ | ✅ |
| Stops recurring seam gaps | Only if no moisture remains | ✅ (when moisture is corrected) |
| Time to complete | 1–4 hours typical | 1–2 days (including drying) |
| Risk of hidden failure | Medium if moisture was present | Lower when underlayment/subfloor is confirmed dry |
| Skill level | DIY-friendly | Moderate DIY if you’re careful with trim/locking joints |
Prevent kitchen water damage from coming back
The best laminate kitchen floor repair is prevention: seal seams properly, eliminate standing-water exposure, and manage humidity at the wet zone. If moisture returns, even a perfectly installed replacement plank can fail again.
Sealing around sink edges and plumbing penetrations protects laminate repairs because it blocks the water route before it reaches the core.
Standing water at seams is more damaging than occasional splashes, because it gives time for moisture to migrate through joints and underlayment.
– Re-seal common weak spots (around plumbing penetrations, sink edges, and transitions) using an application method approved for your laminate type. The “approved” part matters because some sealants can haze floors or interfere with expansion space.
– Avoid standing-water exposure: wipe spills promptly and keep wet mops from pooling at seams. In kitchens, a damp mop left too long behaves like a slow leak.
– Use felt pads under chairs/appliances and consider water-resistant mats in high-risk zones (sink/dishwasher), while still preventing standing puddles. Mats help, but they must dry and should not trap water against the floor.
If your laminate is click-lock floating, prevention should also respect the expansion gap strategy—don’t clamp the perimeter with rigid sealants that can trap expansion.
What can go wrong (common mistakes and edge cases)
The biggest DIY failure mode in laminate kitchen floor repair is treating symptoms while the underlying moisture path remains active. Once water continues to migrate, even “correct” repairs can reopen seams or re-swelling the replacement boards.
Filling over active swelling can hide the damage temporarily, but it doesn’t stop the core from expanding again.
Ignoring underlayment or subfloor moisture is a common reason laminate repairs fail within weeks, because the floor stays moisture-active underneath.
– Filling over active swelling: if the core is wet, filler can hide the damage temporarily but it won’t stop further warping.
– Ignoring underlayment/subfloor moisture: laminate can look “okay” on top while the base remains damp.
– Using the wrong repair color or product type: off-color fillers and non-laminate-safe adhesives can worsen staining or cause uneven wear.
– Skipping manufacturer steps: some laminates (especially glueless vs. glue-down) require different approaches—using the wrong method can void warranty.
Edge cases to watch in real kitchens
– Dishwasher leaks that run slowly: the floor may look fine for weeks, then seams open suddenly.
– Standing water under an appliance: even if the surface doesn’t bubble, seam edges can swell from below.
– Floors with damaged underlayment: the visible plank might not be the only failure point; underlayment replacement may be required.
VS: When to repair surface damage vs replace planks
| Criteria | Minor fill/touch-up | Replace planks |
|---|---|---|
| Visible chips/scratches only | Strong fit | Overkill |
| Seam gap caused by movement | Often fails | Reliable when joints lock |
| Core swelling/crowning present | Likely fails | Correct solution |
| Click-lock engagement returns | Not guaranteed | Can restore full locking |
| Moisture source corrected | Must be confirmed | Must be confirmed |
| Durability expectation | Shorter in wet conditions | Longer when dried and sealed |
| Labor/time | Lowest | Moderate to high |
| Risk of repeat failure | Medium to high if moisture persists | Low (if dryness is verified) |
| Best DIY candidate | Yes | Only if you can carefully remove/replace |
| Verdict | — | **Replace (when swollen or not locking flat again)** |
Verdict: DIY repair works for some damage—skip it for structural failures
DIY laminate floor repair is a good choice when the damage is limited to the surface (chips/scratches) or when one or two boards can be removed and replaced cleanly. Don’t DIY if the affected area is widespread, the core is significantly swollen, you find persistent moisture, or you’re unsure whether your floor is click-lock “floating” versus glue-down—those cases often require a flooring pro to diagnose moisture and prevent repeat failure.
If you can’t confirm that the subfloor/underlayment is dry, the smartest DIY step is to pause—because re-installing over active moisture usually leads to recurrence.
Surface repairs (filler and touch-up) are appropriate for wear damage, but structural repairs (replacement) are the correct path when seams won’t stay locked or boards crown.
Scan/Save Checklist | Quick pass
| Scan/Save Checklist | Quick pass |
|---|---|
| Identify where water likely came from (sink/dishwasher/plumbing) | ☐ |
| Check if boards lift or move at seams | ☐ |
| Surface damage only? (chip/scratch) | ☐ |
| Swelling/warping present? | ☐ |
| Subfloor feels dry under/around the area | ☐ |
| Plan matches floor type (click-lock vs glue-down) | ☐ |
| After repair: protect seams and prevent repeat spills | ☐ |
Sources
– ASTM F2170 — Standard Test Method for Determining Relative Humidity in Concrete Floor Slabs Using In Situ Probes ASTM F2170
– ASTM F1869 — Standard Test Method for Measuring Moisture Vapor Emission Rate of Concrete Subfloor Using Anhydrous Calcium Chloride ASTM F1869
Start by locating the kitchen moisture source, then choose the repair method based on damage type: use laminate filler for minor surface issues, but replace boards that are swollen or not locking flat again. Dry the subfloor/underlayment properly, reinstall matching planks correctly, and protect seams around sinks and plumbing so the problem doesn’t return. If you find persistent dampness or widespread warping, pause the DIY approach and get advice before the damage spreads.
Frequently Asked Questions
How do I repair a water-damaged laminate floor in my kitchen?
First, stop the source of moisture and remove the affected laminate boards before the damage spreads. Use a utility knife to carefully cut out the damaged planks, then inspect the subfloor for swelling or mold; replace any compromised underlayment or damaged plywood/OSB. Dry the area thoroughly for at least 24–48 hours, then install replacement laminate planks using the manufacturer’s locking system or tongue-and-groove method, and reattach any trim to seal edges. Finally, use a laminate floor repair kit or touch-up wax for visible chips and make sure transitions near sinks and dishwashers are properly sealed.
What’s the best way to fix lifting or buckling laminate flooring in a kitchen?
Kitchen laminate often lifts due to poor acclimation, moisture exposure, or missing expansion gaps around cabinets and walls. Check for swelling by pressing down on lifted seams; if the floor feels spongy or water-stained, you may need to remove affected sections and replace underlayment. If it’s a minor lift, remove baseboards, reinstall planks correctly, and ensure a consistent expansion gap (typically 1/4 inch) along all fixed surfaces. After repairs, avoid mopping with excess water and use a damp microfiber mop with a laminate-safe cleaner to prevent repeat issues.
How do I repair scratched or gouged laminate boards in a kitchen?
Clean the area, then remove any dirt from the scratch so the repair material bonds well. For small scratches, use a laminate floor scratch repair kit with matching color filler or wax sticks, then buff gently until the surface blends. For deeper gouges, apply filler in thin layers and let it cure fully before sanding lightly with fine-grit paper. If the plank is cracked or the damage is severe, replacing the affected laminate board is the most durable kitchen flooring repair option.
Why do laminate floor seams open in kitchens, and how can I fix them?
Seams can open due to seasonal expansion/contraction, improper installation, or underlayment that doesn’t provide enough support—common in busy kitchen areas near doors and appliances. Start by checking that the floor has adequate expansion gaps and that cabinets aren’t trapping the floating floor; adjust or trim as needed. If the gap is small, you may be able to realign and lock the planks back together after gently lifting them and correcting the fit. For recurring seam gaps, remove the affected section, verify subfloor flatness, replace damaged underlayment, and reinstall laminate planks to restore a tight, water-resistant joint.
Which laminate floor repair products should I use for kitchen floors?
Use manufacturer-recommended laminate repair products when possible, especially for matching color filler, repair putty, and seam repair solutions. For minor damage, a scratch repair kit (color-matched wax or paste) works well for scratches and small chips, while a laminate floor repair kit with tools helps for larger dings. If boards are water-damaged or warped, avoid trying to “seal over” the problem—use replacement laminate boards and underlayment repair to address the moisture source. For prevention, apply a laminate-safe cleaner and consider using manufacturer-approved sealant only for appropriate edges or transitions where water commonly spills.
📅 Last Updated: October 20, 2026 | Topic: How to repair laminate floors in a kitchen? | Content verified for accuracy and freshness.
References
- Laminate flooring
- https://www.cdc.gov/mold/default.htm
- https://www.epa.gov/mold
- https://www.epa.gov/mold/mold-remediation-guidance
- Mold | National Institute of Environmental Health Sciences
- https://www.sciencedirect.com/search?qs=laminate%20flooring%20moisture%20swelling
- https://www.sciencedirect.com/search?qs=laminate%20flooring%20damage%20repair%20replacement
- https://scholar.google.com/scholar?q=laminate+floor+repair+replacement+damaged+planks Google Scholar
- https://scholar.google.com/scholar?q=laminate+flooring+kitchen+water+damage+repair+moisture+swelling Google Scholar
- https://scholar.google.com/scholar?q=click-lock+laminate+flooring+repair+and+performance+under+moisture Google Scholar