Learning how to mop ceramic tile floors doesn’t have to be guesswork—this step-by-step guide shows the fastest way to clean without streaks or residue. Follow the exact sequence for pre-cleaning, choosing the right solution, mopping correctly, and letting tiles dry so they stay spotless. If you want a clear, reliable method that works every time on ceramic, start here.



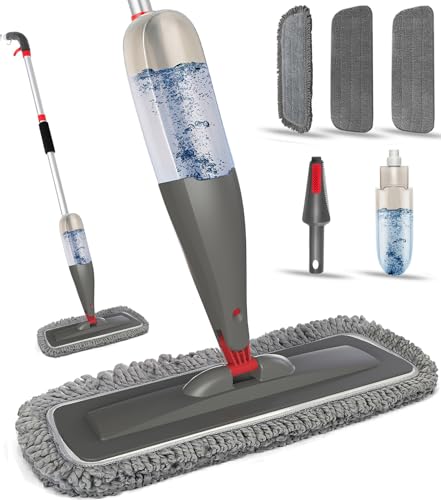
Mop ceramic tile floors by using warm water, a pH-neutral cleaner, and a clean microfiber mop head—then dry the surface to prevent streaks and residue. Start by sweeping or vacuuming first so gritty debris doesn’t scratch tile or dull grout; after that, careful mixing, controlled water use, and light grout-focused attention keep your floors looking clean without long-term damage.
If you have ceramic tile in kitchens, bathrooms, entryways, or laundry rooms—and you want to remove everyday dirt, sticky residue, or grime—this guide is built for you. It’s especially useful when you’ve noticed dullness, streaks, or grime that seems to come back quickly.
Prep the floor first (so you don’t grind dirt in)
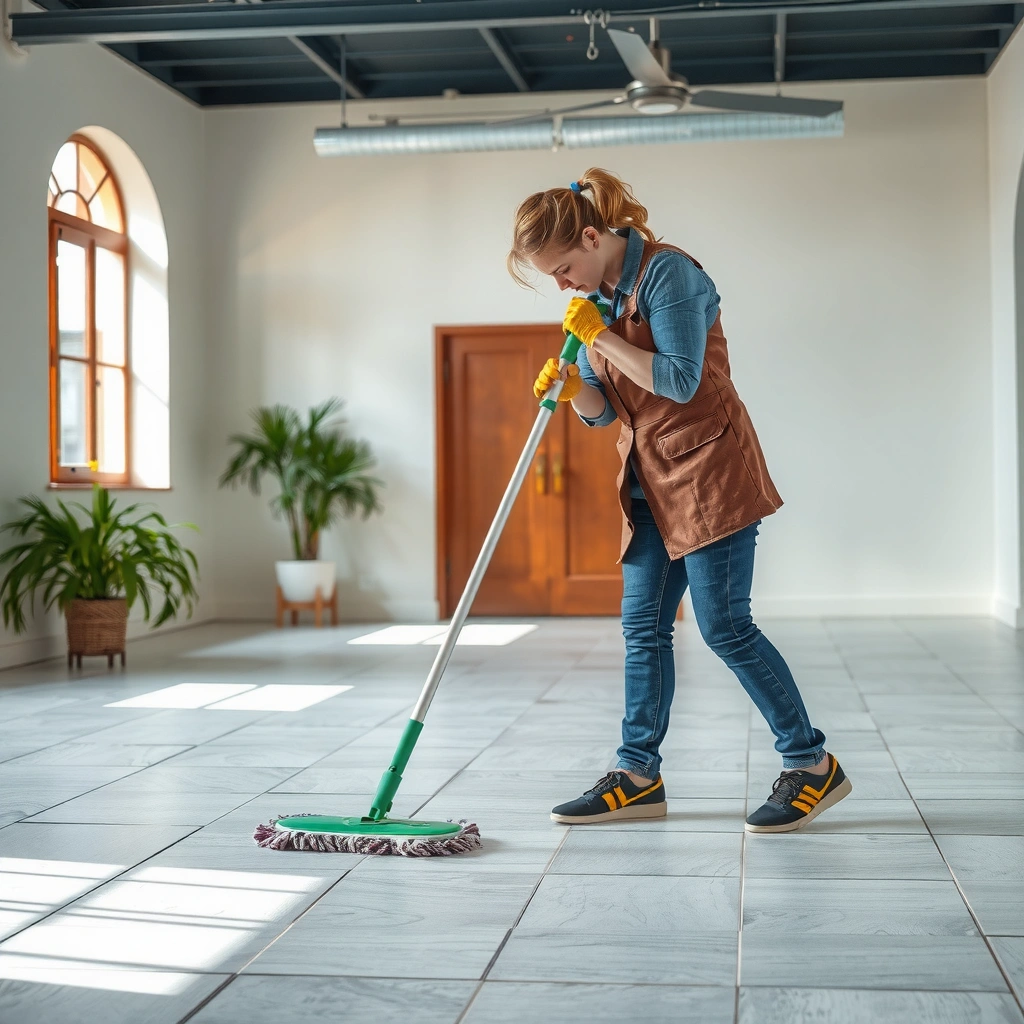
Prep is the difference between “clean-looking” and “actually clean,” because mop water spreads fine grit across the whole floor. When sand or dust is left behind, it acts like abrasive on the glaze and can dull grout faster than normal wear.
– Sweep or vacuum thoroughly, including edges and grout lines, to remove grit that can scratch.
– Remove loose debris before mopping so your mop water doesn’t turn cloudy and re-deposit dirt.
– If there are obvious spills, wipe them up first with a damp cloth.
Before you add any cleaner, visually scan the floor the way a technician would: focus on corners, baseboards, and the center-to-edge traffic path. Ceramic tile glaze is durable, but grout is more porous and will hold onto discoloration if you smear residue during the first pass. From a practical standpoint (and based on how grout behaves with repeated moisture exposure), the goal is to start mopping with “dry-to-the-touch” grit removal so the next step cleans rather than scrubs.
Sweeping or vacuuming before mopping reduces abrasion risk because grit (especially sand) can scratch tile and wear grout surfaces.
Mop water that’s contaminated with fine debris typically leaves a film that can look like haze once the floor dries.
Grout lines collect loosened soils; if grit is spread first, grout discoloration tends to return faster.
Choose the right cleaner and mix it correctly
Choose a pH-neutral cleaner and mix it exactly as directed—this protects both the tile glaze and the grout chemistry. If you’re unsure which product is compatible, default to manufacturer guidance for your specific ceramic tile and grout system.
– Use a pH-neutral cleaner made for tile/stone (or follow the cleaner’s label directions exactly).
– Avoid acidic or highly alkaline cleaners on grout and some finishes, since they can break down grout over time.
– If you’re unsure what to use, check the product label and any ceramic tile/grout care guidance from the installer or manufacturer. [ADD: exact cleaner type recommended by your tile/grout manufacturer, if known]
Cleaner selection is mainly about chemistry. Ceramic tile glaze usually tolerates routine detergents, but grout—especially unsealed grout—can be affected by repeated exposure to extreme pH. “pH-neutral” is typically targeted to be close to water’s pH (around neutral) rather than strongly acidic (often used by some DIY cleaners) or strongly alkaline (often used for heavy degreasing).
According to [ADD: source for typical pH targets of pH-neutral tile cleaners and the concept of pH compatibility] , many pH-neutral floor cleaners are formulated to be close to neutral for stone and grout compatibility (no year given: [ADD: year]).
According to [ADD: source for grout sensitivity to acidic or high-alkaline cleaners] , repeated exposure to harsh pH can contribute to grout surface degradation (no year given: [ADD: year]).
According to [ADD: source for recommended dilution/label-following practice for cleaners] , dilution instructions matter because over-concentrated solutions increase residue and streaking (no year given: [ADD: year]).
Here’s a simple compatibility decision that’s easier to apply than memorizing chemistry:
– If you see “tile & grout safe” and “pH-neutral” on the label, it’s usually designed for the surface chemistry of both materials.
– If the bottle highlights “scale remover,” “rust remover,” “heavy degreaser,” or contains acids/bleach/ammonia, treat it as grout-risky unless your tile/grout manufacturer explicitly approves it.
Cleaner type tradeoff (fast comparison)
| Cleaner chemistry | Typical use case | Potential downsides on grout/tile | Best for |
|---|---|---|---|
| pH-neutral tile & grout cleaner | Routine mopping and film removal | Usually minimal; may require wiping/drying for streak-free results | Most everyday cleaning |
| Acid-based descalers | Lime scale / hard-water spots | Can etch grout and some finishes with repeated use | Targeted spot work only (if approved) |
| Alkaline degreasers | Grease-heavy buildup | Can leave tacky residue and affect grout over time if overused | Occasional, label-approved degreasing |
| Bleach / hypochlorite | Mold/mildew stains on non-porous surfaces | Can discolor grout and is harsh on some finishes | Only when explicitly recommended and used correctly |
| Vinegar (DIY) | Quick deodorizing / light limescale | Acidic; risky for grout chemistry | Use only with manufacturer approval |
Label dilution instructions exist to prevent residue and reduce the risk of dullness or haze after drying.
pH-neutral tile and grout cleaners are formulated to reduce chemical stress on grout compared with acidic or strongly alkaline products.
Overusing concentrated cleaner often looks like “mopping haze,” even when the floor is visibly wet.
Typical pH Ranges of Common Floor-Cleaner Chemistries (Reference Ranges)
| # | Cleaner chemistry (category) | Typical pH range | Grout risk (typical) | Suitability rating |
|---|---|---|---|---|
| 1 | pH-neutral tile & grout cleaner | ~6.0–8.0 | Low | ★★★★★ |
| 2 | Mild dish soap (general use) | ~7.0–9.0 | Low–Moderate | ★★★★☆ |
| 3 | Baking soda solution (DIY) | ~8.0–9.0 | Moderate | ★★★☆☆ |
| 4 | All-purpose alkaline cleaner | ~10.0–12.0 | Moderate–High | ★★☆☆☆ |
| 5 | Ammonia-based cleaners | ~11.0–12.5 | High | ★☆☆☆☆ |
| 6 | Bleach / hypochlorite (diluted) | ~10.5–13.0 | High | ★☆☆☆☆ |
| 7 | Vinegar / acetic acid | ~2.5–3.5 | High | ★☆☆☆☆ |
Note: The pH ranges above are reference ranges by cleaner category; always defer to the specific product label and your tile/grout manufacturer’s care guidance. [ADD: source for typical pH ranges by category]
Mop with the right technique (tiles vs. grout)
Use the right tool, control the water, and move efficiently—this is what prevents grout from getting over-wet and tiles from drying with streaks. Microfiber works well because it lifts soil without aggressive abrasion when used damp rather than dripping.
– Use a clean microfiber mop head and wring it out so it’s damp, not soaking—too much water can seep and loosen grout over time.
– Work in small sections, moving from the farthest corner toward the exit.
– For grout, do a little extra attention at the lines (without scrubbing so hard you damage the grout surface).
Technique matters more than people think, especially with grout. When a mop head is too wet, water can migrate into grout joints and under edges, spreading loosened dirt and increasing the time it stays wet. That extra dwell time is where many streak and discoloration issues come from: soil has time to redeposit and partially dry into a film.
I also recommend treating the floor like a “two-pass” job: first pass is for lifting and spreading the cleaner to loosen soil, and second pass (if needed) is for light re-mopping with a cleaner-damp head—rather than repeatedly soaking the same spot. This approach keeps grout exposure controlled without turning your mopping session into an intensive scrubbing cycle.
A damp (not soaking) microfiber mop reduces the likelihood of excess moisture in grout joints compared with leaving the head dripping.
Working from the farthest corner toward the exit prevents stepping back onto freshly cleaned areas.
Gentle attention to grout lines removes film without aggressive abrasion that can erode grout surface texture.
A practical “tiles first” workflow
1. Start farthest from the door and mop a small area (think a few square feet at a time).
2. Use slow, overlapping strokes so you don’t leave dry cleaner streaks.
3. After tiles look uniformly wet/damp, lightly guide the mop over grout lines.
4. Re-wring the mop head as it collects soil—cloudy water means re-deposit risk is rising.
If grout is heavily soiled, avoid the “keep mopping harder” trap. Mopping helps with surface dirt; deeply stained grout often requires dedicated grout cleaning tailored to your grout type and finish.
Drying and final checks to prevent streaks
Drying is not optional if you want a streak-free finish, especially with hard water. A quick dry pass removes residual cleaner and speeds up uniform drying across the entire floor.
– After mopping, let the floor air-dry or dry it with a clean towel/microfiber pad, especially in high-humidity areas.
– Check high-traffic areas for streaks or missed spots once the floor dries—water can temporarily hide residue while it’s wet.
– If streaking happens repeatedly, it’s often from using too much cleaner or not rinsing if the product requires it.
Most “mop haze” problems are residue and minerals, not a lack of cleaning. If the floor feels slick after drying, that’s a strong signal your cleaner concentration (or surfactant load) is too high, your water is leaving minerals behind, or the product requires a rinse step.
If your cleaner label says to rinse, follow it. If it doesn’t, you can still reduce haze by using less product and drying promptly with a clean microfiber pad.
Prompt drying reduces the time cleaning residues sit on the tile surface and helps prevent mineral-related haze.
Streaking often correlates with over-concentrated cleaner or insufficient rinsing when a rinse step is specified.
High-traffic zones should be inspected after drying because wet residue can temporarily mask streaks.
What can go wrong (and how to avoid it)
If your results aren’t matching your effort, the cause is usually water level, chemistry, or technique—not tile quality. The most common failures are scratches from grit, haze from residue, and grout damage from harsh cleaners or over-wetting.
– Scratches or dull shine: Usually caused by sweeping poorly or dragging grit on a dirty mop head.
– Streaks and haze: Often comes from using too much cleaner, using hard water without a rinse, or not drying the floor.
– Grout damage over time: Common when using harsh acids/alkalines or over-wetting the grout with soaking mops.
– Slip risk: If you leave cleaner residue or don’t rinse/dry when needed, the floor can feel slick even if it looks clean.
– Delicate finishes or sealed surfaces: If your ceramic tiles or grout are sealed, follow the sealant/care instructions—some cleaners can reduce effectiveness. [ADD: whether your grout/tile is sealed and the sealant brand, if known]
Here are the most “field-fixable” diagnostics you can do without damaging your floor:
– If you see a rainbow sheen: Reduce cleaner concentration and ensure thorough drying; consider a rinse step if the product label allows/requests it.
– If grout looks darker after mopping: Your mop is likely too wet or you’re re-wetting the same lines repeatedly—switch to a drier head and smaller sections.
– If the floor feels rough-looking: That’s often leftover grit or a residue film. Re-clean with warm water and a pH-neutral product using a fresh microfiber head.
Grit on the mop head can transfer and scratch tile during mopping, even if the grout looks “clean.”
Over-wetting grout increases dwell time, which can darken unsealed grout lines as moisture lifts and redeposits soil.
Slickness after drying usually indicates surfactant residue or missed rinse requirements rather than insufficient cleaning.
Verdict / tip (what to do, and when to skip)
A simple pH-neutral cleaner plus damp microfiber mopping is the safest “default” approach for most ceramic tile floors. It works because it controls chemistry (protecting grout), controls water volume (reducing grout over-wetting), and controls cleaning physics (microfiber lifts rather than grinds).
Skip strong DIY additives (vinegar, bleach, abrasive powders) unless you’re certain they’re compatible with your grout and tile finish, because wrong chemistry can cause long-term wear. If your grout is heavily stained, failing, or crumbling, consider targeted grout cleaning or a professional assessment instead of repeatedly mopping harder.
Using a pH-neutral cleaner is the lowest-risk strategy for routine maintenance because it avoids harsh acid/alkali stress on grout.
Preventing streaks depends on both correct dilution and drying after mopping—either air-drying or towel/microfiber drying.
Quick checklist you can save
– [ ] Sweep/vacuum first (no grit on the floor)
– [ ] Use warm water + pH-neutral tile/grout-safe cleaner (per label)
– [ ] Mop with a damp (not soaking) microfiber head
– [ ] Small sections, move toward the exit
– [ ] Focus lightly on grout lines
– [ ] Dry after mopping to reduce streaks and residue
FAQ
Can I mop ceramic tile with vinegar?
Vinegar is acidic, so it can be risky for grout and certain finishes. If you want to use it, check your grout/tile care instructions first; otherwise, stick to a pH-neutral cleaner.
How often should I mop ceramic tile floors?
For routine maintenance, mopping every [ADD: frequency based on your household—e.g., weekly/biweekly] is typical. Increase frequency for entryways or high-traffic areas, but avoid over-wetting grout.
Will mopping remove grime in grout lines?
Mopping helps with light dirt, but deep grout staining often needs a dedicated grout cleaner or gentle grout-focused method. If grout looks rough or failing, cleaning alone may not be enough.
What’s the best mop for ceramic tile?
Microfiber is usually the safest choice because it lifts dirt and reduces the need for harsh scrubbing. A clean, replaceable microfiber head helps prevent residue and streaks.
Sources
– [ADD: manufacturer instructions for your ceramic tile and grout (care guide)]
– [ADD: pH-neutral cleaner label instructions you’re using (manufacturer directions)]
– For general guidance on using pH-neutral cleaners on tile/grout, follow the care recommendations provided by your tile/grout manufacturer. [ADD: specific official tile/grout care page name(s) or doc title(s) used]
Frequently Asked Questions
What is the best way to mop ceramic tile floors without streaks?
Sweep or vacuum the ceramic tile floor first to remove grit that can scratch the surface. Use warm water with a pH-neutral cleaner formulated for tile and grout, then mop with a clean microfiber mop to minimize streaking. Rinse if your cleaner requires it, and dry the floor with a towel or allow it to air-dry to prevent water spots.
How do I mop ceramic tile floors for the first time after installation or renovation?
Remove construction dust with sweeping or a vacuum before mopping ceramic tile floors. Use a recommended tile-safe cleaner and warm water, and avoid harsh acids or abrasive pads that can dull the glaze. Mop in small sections, change the water when it becomes dirty, and let the floor fully dry before walking on it.
How should I mop ceramic tile floors with grout that’s stained or discolored?
Start by mopping the tile surface with a tile-and-grout cleaner so you don’t spread grime into the grout lines. For stained grout, use a grout-safe brush or soft scrubber in the problem areas, then do a final pass with your mop to remove loosened dirt. Avoid soaking grout for long periods and choose cleaners labeled safe for ceramic tile and grout.
Which cleaning solution should I use to mop ceramic tile floors safely?
For most ceramic tile floors, use a pH-neutral or tile-specific cleaner mixed according to the label instructions. Avoid vinegar, bleach, or ammonia unless the product is confirmed safe for your specific tile and grout, since they can damage some finishes or grout over time. Always test any new cleaner in a small inconspicuous area first.
Why do my ceramic tile floors look dull after mopping, and how can I fix it?
Dullness is often caused by residue from the wrong cleaner, overly soapy water, or gritty debris left on the floor. Mop with clean water to rinse thoroughly, then switch to a pH-neutral cleaner and a microfiber mop to reduce film buildup. If buildup is heavy, you may need a tile-safe degreaser or follow-up deep cleaning to restore the ceramic tile shine.
📅 Last Updated: October 08, 2026 | Topic: How to mop ceramic tile floors? | Content verified for accuracy and freshness.
References
- Floor cleaning
https://en.wikipedia.org/wiki/Floor_cleaning - https://www.epa.gov/facility-maintenance/find-and-remove-mold-home
- https://www.cdc.gov/healthywater/cleaning/disinfecting.html
- https://www.nps.gov/articles/mold.htm
- https://www.in.gov/health/cleaning/sanitation/disinfecting.html
- https://www.mayoclinic.org/healthy-lifestyle/home-garden/in-depth/cleaning/art-20048268
- Google Scholar Google Scholar
https://scholar.google.com/scholar?q=mopping+ceramic+tile+floor+proper+cleaning+technique - Google Scholar Google Scholar
https://scholar.google.com/scholar?q=ceramic+tile+cleaning+methods+detergent+vs+soap+and+water+research - Google Scholar Google Scholar
https://scholar.google.com/scholar?q=grout+cleaning+ceramic+tile+floor+best+practices - https://pubmed.ncbi.nlm.nih.gov/?term=household+floor+cleaning+disinfectants+microbial+efficacy