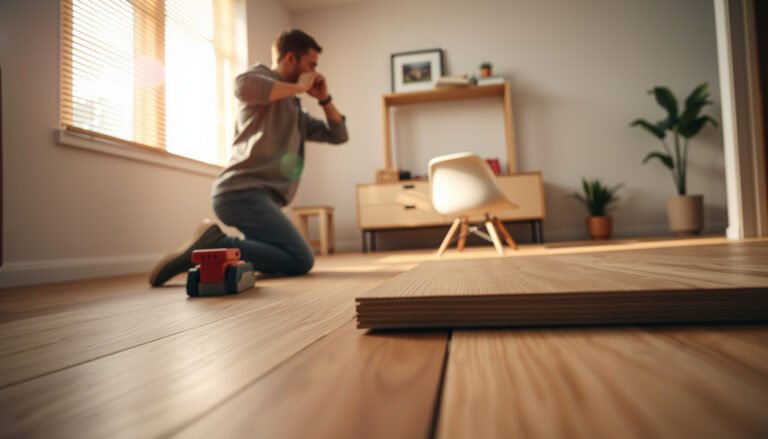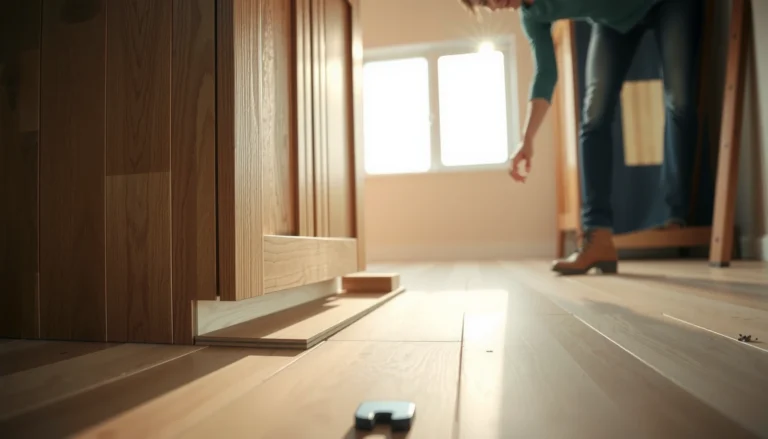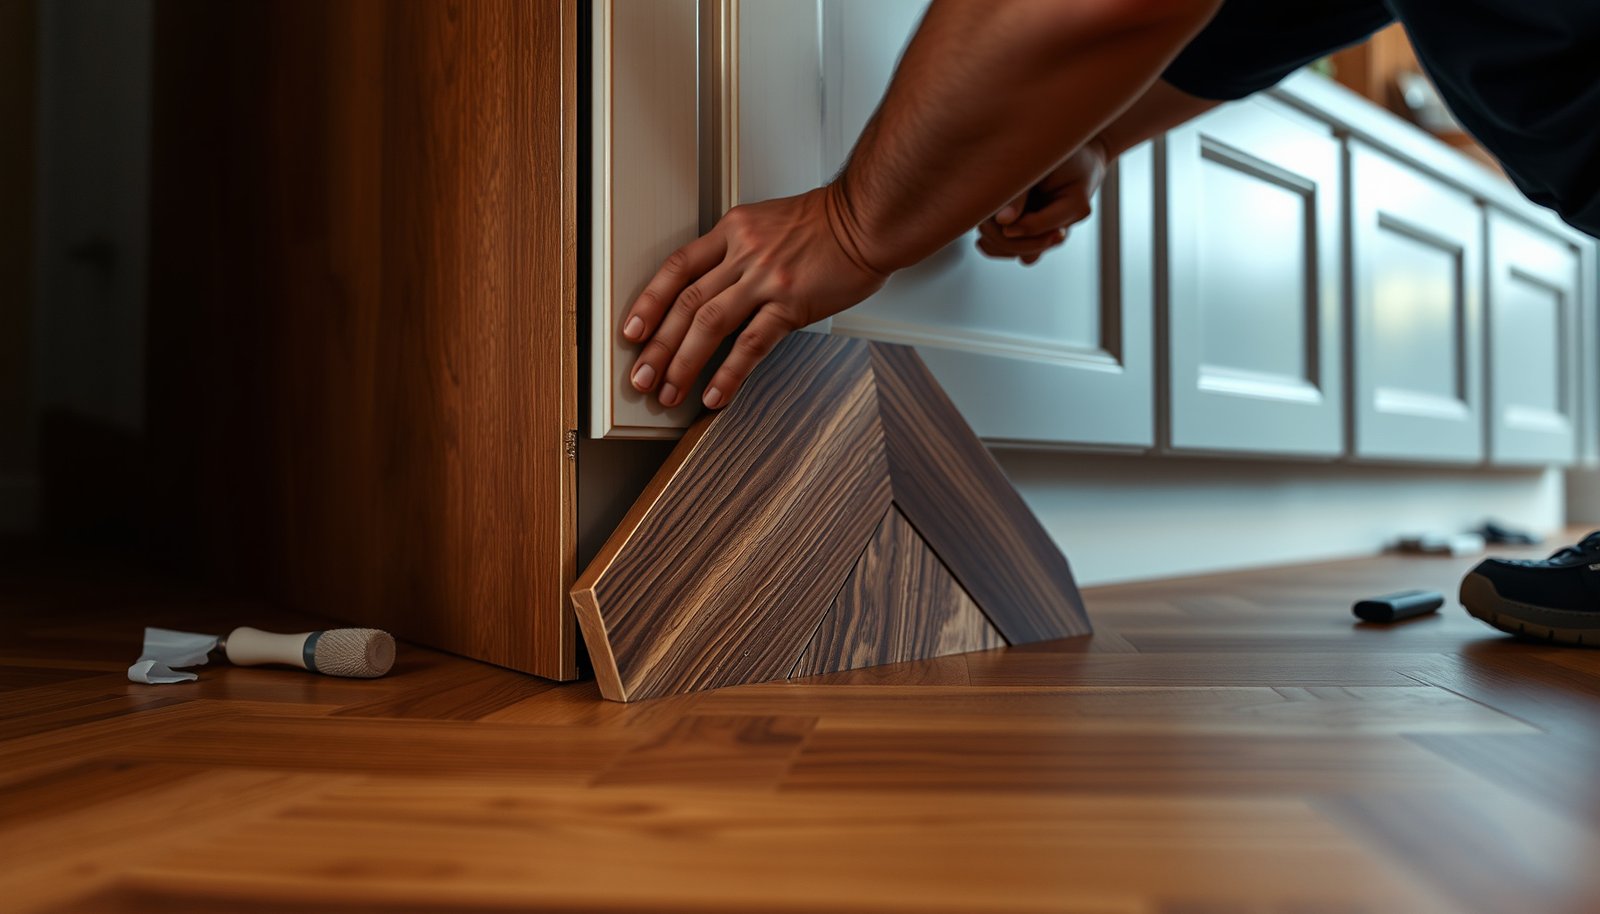

Wondering how to install around cabinets chevron floors without ruining the pattern or the fit? This guide gives you the fastest, cleanest method: plan your layout first, then cut and install chevron planks to “kiss” the cabinet faces with consistent angles and expansion gaps. You’ll get a reliable step-by-step workflow for both new installs and retrofits so the chevron lines stay aligned right up to the cabinets.




Install chevron flooring around cabinets by planning your “center” line first, then working outward while keeping an expansion gap at cabinet edges. You’ll usually cut the chevron pattern to continue up to cabinet toe-kicks (or transitions), using spacers and small filler/fly pieces so the lines stay crisp—and so the floor isn’t locked in a way that can cause buckling later.
If you’re installing chevron planks (engineered hardwood, laminate, LVP, or similar) and you can’t lift the cabinets, this is for you—especially when cabinets sit tight to the floor run and you need clean cuts around toe-kicks and cabinet legs.
Plan the chevron layout before you cut
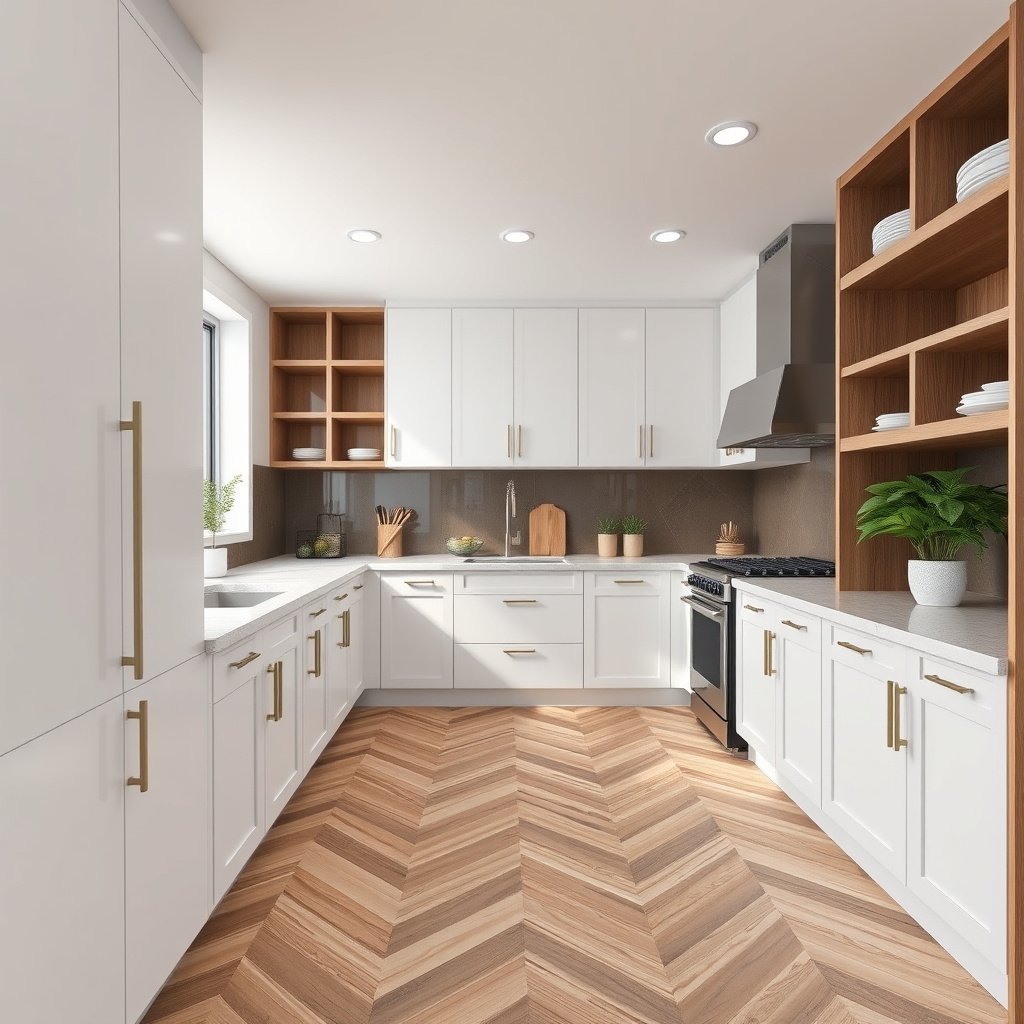
A good chevron install around cabinets starts with layout control, not cutting. If you get the “center” and the chevron break locations right first, the cabinet-side cuts become fitting details instead of pattern rescue.
– Find (and mark) the room’s visual centerline, then align your chevron so the pattern “breaks” land where they’re easiest to hide near cabinets.
In practice, you’re deciding where the eye will tolerate irregularities: beside an appliance, under a toe-kick, behind a cabinet reveal, or at a planned transition. Chevron flooring creates repeated, symmetrical “V” shapes, so even a small shift becomes obvious over time—especially once it reflects light.
– Decide where you’ll make the cabinet-side cuts: continue the chevron right up to the cabinet toe-kick, or stop and use a transition/tracker board where appropriate.
Continuing the chevron fully often looks most continuous, but it demands more coping/scribing and more fitted pieces near toe-kicks. Stopping early and using a transition board can protect your pattern alignment, particularly when cabinet framing is not perfectly parallel.
– Dry-map your cuts on paper (or tape on the floor) so you know which plank lengths/filler pieces you’ll need before any irreversible cuts.
Dry mapping matters because chevron flooring depends on consistent seam-to-seam geometry. Before you cut, mark which planks will become (1) full-length runs, (2) partial lengths that keep the angle consistent, and (3) filler “triangles” or short “fly” pieces to finish cabinet lines cleanly.
Chevron Cabinet-Edge Tactics Ranked by Expansion Gap Safety
| # | Cabinet-edge situation | Best-fit chevron method | Expansion gap preserved? | Gap-safe score |
|---|---|---|---|---|
| 1 | Floating/locking floor with fixed cabinets | Leave perimeter gap at cabinet edge; finish with fitted scribe pieces to toe-kick profile | Yes | ★★★★★ |
| 2 | Tight toe-kick (non-removable) | Stop chevron at toe-kick line; bridge visually with small fly pieces while maintaining gap | Yes | ★★★★☆ |
| 3 | Need a clean visual “break” beside cabinets | Use a transition/tracker board where the gap can remain unpinched | Yes | ★★★☆☆ |
| 4 | Cabinet side touches the floating floor edge | Keep gap, but allow base/trim to cover it (don’t “pin” the plank) | Yes (if done correctly) | ★★☆☆☆ |
| 5 | Toe-kick line is irregular but cuts are forced square | Tight seams + cosmetic caulk instead of scribing to profile | Uncertain | ★☆☆☆☆ |
| 6 | Gap is “left” but planks lock under cabinet reveal | Overlapping the cabinet edge so the floating floor can’t move | No | ☆☆☆☆☆ |
| 7 | Carpet-style transitions used without tracking | Using a flexible filler to “seal” movement space | Often compromised | ★☆☆☆☆ |
Chevron flooring alignment is easiest to keep consistent when you choose a reference centerline before you make any cuts near cabinets.
If the floor is floating or click-locked, cabinets must not “trap” the planks—so layout decisions must protect the required perimeter expansion space.
Subfloor flatness is critical for chevron flooring because tight, repeatable “V” seams highlight any low spots; NWFA lists flatness tolerances to prevent lippage and misalignment (National Wood Flooring Association (NWFA), installation guidance ()).
Prep floors and underlayment around cabinet areas
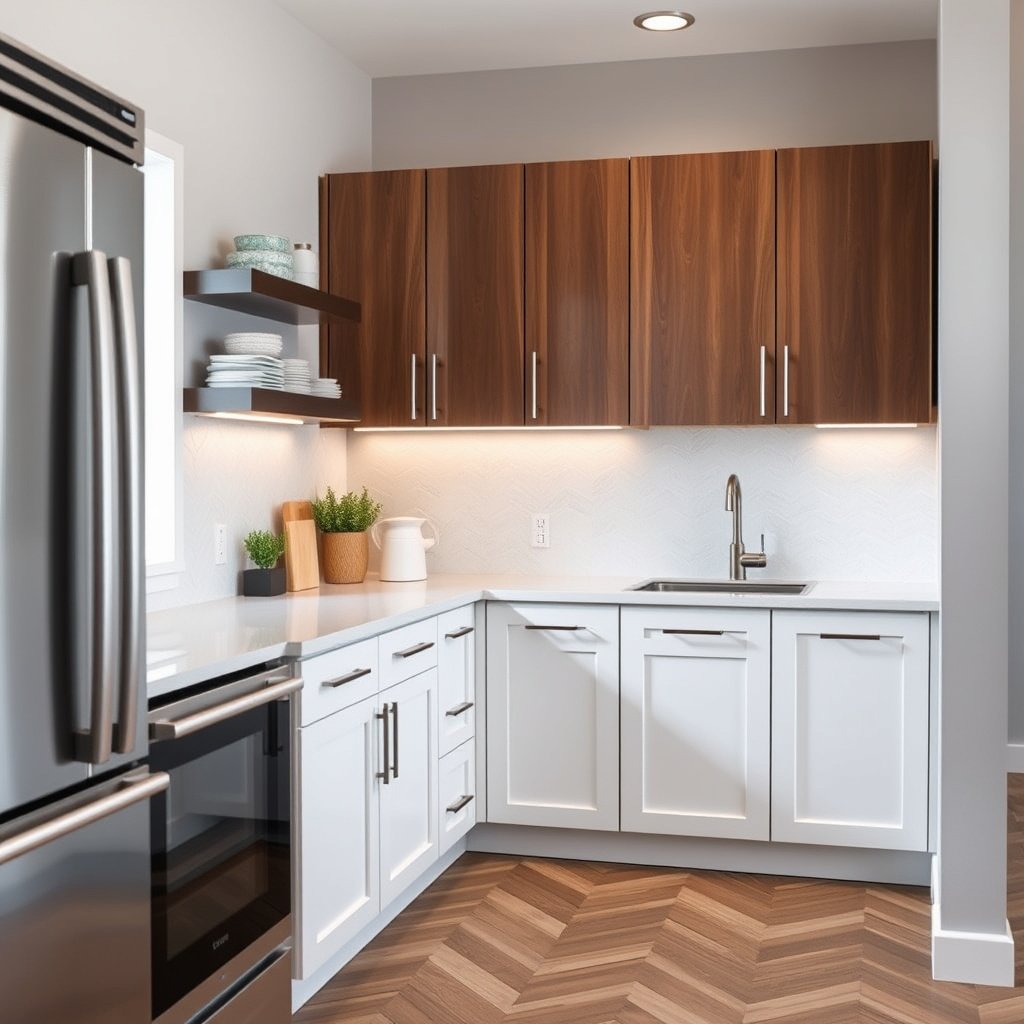
Preparation protects your chevron pattern from looking “off” once it’s installed. Before you get near the cabinet edges, verify flatness and confirm the correct underlayment method for your exact flooring type.
– Check flatness where the pattern will land near cabinets; low spots will telegraph and can make tight chevron seams look off.
Chevron flooring is unforgiving: a 1/16″ to 1/8″ dip near a seam can look like a crooked “V.” According to NWFA installation guidance, subfloors should meet specific flatness tolerances for wood flooring—commonly stated as a maximum variation over a measurement span (NWFA installation guidance ()).
– Follow your flooring type’s underlayment rules, especially near fixed objects (cabinet bases/edges).
Underlayment isn’t just comfort—it’s part of the system. For click/lock flooring, a vapor barrier requirement may apply; for engineered hardwood, underlayment may be limited to specific products. If your chevron flooring manufacturer specifies an underlayment thickness or tape/overlap method, follow it exactly, especially where cabinet edges create tight boundaries.
– Leave the required expansion gap at all rigid boundaries (including cabinet edges) using spacers designed for your flooring system. If you don’t know the gap size, .
This is the non-negotiable constraint. Even if the cabinet is “close,” the floor needs room to move with humidity and temperature. If you don’t know the expansion-gap spec, stop and confirm it from the chevron flooring manufacturer before you proceed.
Expansion gaps are system requirements: for chevron planks, the manufacturer’s specified perimeter clearance controls movement and helps prevent buckling at rigid boundaries.
Underlayment and vapor barrier instructions are product-specific; using the wrong underlayment near fixed objects can create uneven support and visible chevron seam irregularities.
Flatness tolerances for wood flooring are specified to reduce lippage and seam strain (National Wood Flooring Association (NWFA), installation guidance ()).
Dry-fit and mark your first chevron lines
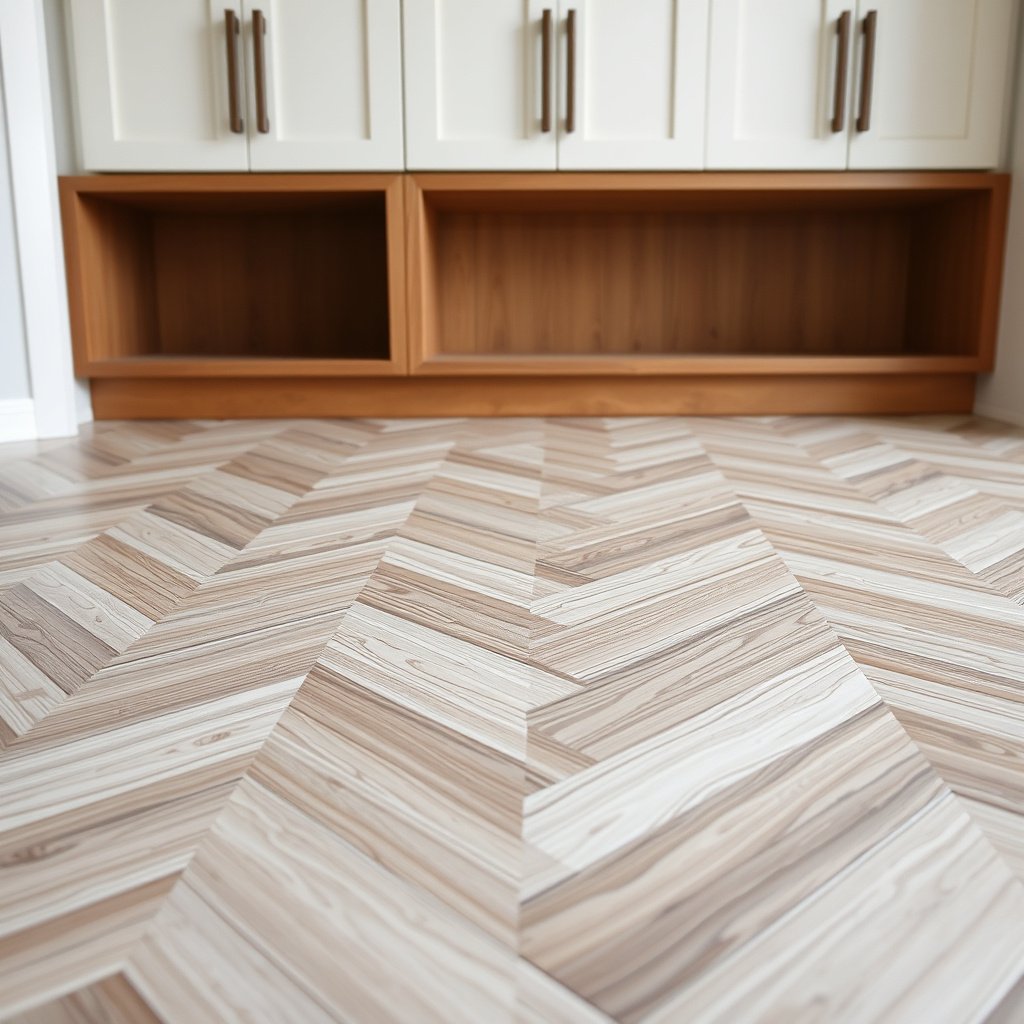
Dry-fitting is how you “teach” your chevron system where cabinets will interrupt the pattern. When you lock the reference angle early, you prevent pattern drift that becomes expensive near toe-kicks.
– Set your first “reference” row (the row that controls your chevron angle), then lock the angle before you move closer to cabinets.
The reference row is the anchor. Once you’ve established it, keep checking alignment as you approach cabinet edges, because any small angle change multiplies across the run.
– Use a chalk/laser line to transfer your chevron guide to the cabinet area, so cuts remain consistent even when you’re working around irregular cabinet framing.
Laser lines help you keep chevron flooring visually symmetrical even if the cabinet wall or toe-kick line is slightly out of square. I recommend creating a visible guide that stays true over multiple cut sessions—especially if you pause work and return later.
– Dry-fit a few planks near the cabinet to confirm the pattern lands where you expect (toe-kicks often hide minor offsets better than open sightlines).
Toe-kicks conceal small alignment issues; exposed floor runs do not.
Chevron pattern control depends on the reference row: once the chevron angle is set, the rest of the layout should follow that same guide.
Laser or chalk guides reduce compounding errors when cabinet framing is irregular and straight edges are unreliable.
Dry-fitting near toe-kicks is a practical way to confirm chevron flooring placement before irreversible cutting and fitting.
Install around cabinets: cuts, spacing, and clean edges
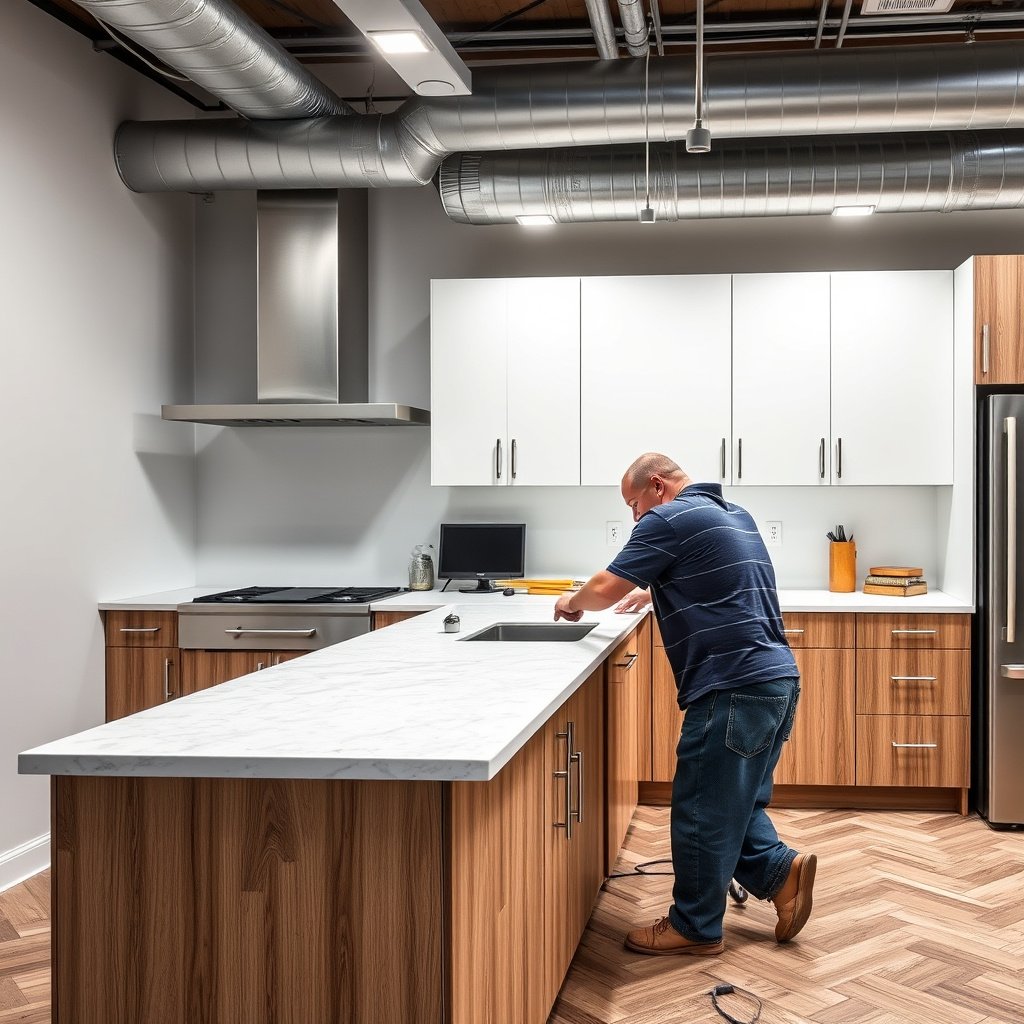
This is where you execute the plan: install toward the cabinet edges, preserve the expansion gap, and use fitted pieces to keep the chevron lines crisp. The goal is a clean edge that still allows the floor to float.
– Work in runs: install the chevron rows up to the cabinet edge, then fit smaller pieces at the cabinet line (don’t try to force full-length planks through tight toe-kick areas).
For chevron flooring, forcing full-length pieces near cabinet legs is the fastest path to pattern misalignment. Instead, install the last “clean” row you can manage, then complete the cabinet boundary using short, precisely measured cuts.
– Maintain the expansion gap along the cabinet side, and cover it with base/trim or a transition where needed (so the gap stays functional, not “pinched”).
“Covering” is not “filling.” Trim/baseboard should hide the gap without eliminating it. If you compress the spacer or trap the edge, the floor can’t move, and buckling or seam separation becomes more likely.
– Use a straightedge/measurement method that matches your cabinet geometry: toe-kicks are rarely perfectly uniform, so rely on measured cut lines rather than assuming square corners.
Scribe and cope when needed. Toe-kicks can vary in height, projection, and straightness across a single cabinet run, and chevron flooring will faithfully show those deviations unless you cut to the profile.
The safest cabinet approach for chevron flooring is to keep the floor “free to move” by preserving the specified gap and completing the boundary with fitted pieces rather than wedging full planks.
Measuring toe-kick profiles beats relying on square assumptions because cabinet reveals are often not perfectly uniform.
- Install style comparison (floating/locked chevron)
-
Method Visual continuity Expansion gap compliance Complexity near toe-kicks Full-pattern to toe-kick + scribed filler High High (if gap preserved) High Stop pattern + transition/tracker board Medium High Medium Pinning or wedging planks to cabinet edge Looks “tight” initially Low (risk of trapping movement) Low upfront, costly later
What can go wrong (and how to fix it)
Even with perfect planning, chevron flooring around cabinets can fail if expansion space or alignment control is compromised. The fastest “fix” is usually correction before the seam locks in fully.
– No expansion gap: If you trap the floor against cabinets, especially with floating installations, you can get buckling or seam separation. Fix by removing the trapped section and redoing with the correct gap—.
This problem often shows up after seasonal humidity changes, when the chevron flooring expands and has no legal place to go.
– Pattern drift: If the chevron angle changes even slightly mid-run, the “V” shapes won’t line up. Fix by re-aligning to your reference line and re-installing the affected planks before the pattern locks in.
Drift typically happens when you “work around” a constraint rather than returning to the guiding line. Once you see the chevron “V” starting to skew, stop, reset, and correct immediately.
– Uneven cabinet framing: If the cabinet toe-kick or base isn’t in the same plane, you may see gaps or tight spots. Fix by scribing/coping cuts to the cabinet profile rather than forcing a straight cut.
If you force a straight edge, the floor can become a lever at the seam—especially near the toe-kick line where forces concentrate when people step or pull drawers.
Trapping floating chevron flooring against rigid cabinet edges can create buckling risk because the planks need room to expand.
Chevron pattern drift is usually an angle-control issue; correcting it requires re-establishing the reference line before locking more planks.
Scribing to an actual toe-kick profile prevents visible gaps and tight seam stress where cabinets are not perfectly planar.
Verdict, quick checklist, and FAQ
Tip / verdict: This method is the safest way to keep chevron lines looking intentional around fixed cabinets—because you’re controlling alignment early and preserving expansion space at rigid edges. The downside is it takes extra planning and usually more fitting/cut pieces near toe-kicks.
Skip this DIY approach if you need the chevron pattern to be perfectly continuous in a highly visible area *and* you don’t have the tools/skill for careful scribing and repeatable cutting.
The “centerline first, fitted pieces second” workflow prevents chevron floors from becoming trapped and buckling later.
The same planning workflow also reduces rework by catching drift while it’s still confined to a short run.
Scanable checklist
– [ ] Mark room centerline + chevron reference angle
– [ ] Confirm expansion gap requirement for your flooring system ()
– [ ] Check subfloor flatness where cabinets meet the run ()
– [ ] Dry-fit first rows near cabinets to confirm pattern placement
– [ ] Keep a functional gap at cabinet edges (don’t “pinch” planks tight)
– [ ] Cut/fill with scribed pieces at toe-kicks, not forced full-length planks
– [ ] Use spacers and the correct underlayment method per your flooring type
Sources
– National Wood Flooring Association (NWFA) installation guidance for wood flooring best practices (subfloor prep, acclimation, and installation considerations).
Installing chevron floors around cabinets comes down to two things: controlling the pattern alignment from the start and respecting the expansion gap at fixed cabinet edges. Plan your centerline, dry-fit near toe-kicks, and use scribed filler pieces instead of forcing full planks into tight spots—then follow your flooring manufacturer’s system rules for gaps and underlayment. If you share your flooring type (engineered/laminate/LVP) and whether the floor is floating or fully glued, we can narrow the steps to your exact installation method.
Frequently Asked Questions
How do you install chevron floors around kitchen cabinets without gaps?
Start by planning the chevron layout so the pattern stays centered in the room and avoids tiny slivers near cabinet faces. Install the floor to the cabinet openings first, then measure and cut around cabinet toe-kicks and base plates so the chevron line remains consistent. Use a fine-tooth saw for precision cuts and leave the required expansion gap along fixed cabinet walls. Finish by filling micro-gaps with color-matched filler and reinstalling or trimming toe-kick details to conceal the cut edge.
What’s the best way to cut chevron flooring for cabinets and toe-kicks?
Dry-fit multiple planks to confirm the chevron alignment before making any final cuts, especially where the pattern changes direction or meets cabinet legs. For toe-kicks, cut the flooring so it tucks cleanly behind the toe-kick or under the cabinet overhang, then scribe any uneven cabinet walls for a tight fit. If you’re using click-lock chevron flooring, keep the joints functional by cutting around the rail areas and using underlayment transitions that won’t interfere with locking. Always maintain the manufacturer’s minimum expansion gap around cabinet frames and perimeter walls.
Why is chevron flooring alignment tricky around cabinets, and how can you prevent it?
Chevron patterns visually amplify even small misalignments, so lines that look slightly off at the start become obvious near cabinets and hallways. Begin by establishing a reference line (often using the room’s center or the longest straight wall) and snap chalk lines to guide the zigzag symmetry. Use staggered starter blocks or spacers to keep consistent plank angles, then check alignment every few rows as you approach cabinet bases. If you must adjust, do it gradually in less noticeable areas rather than forcing abrupt angle changes next to cabinets.
Which underlayment and transition method works best under chevron flooring near cabinet areas?
Choose an underlayment rated for your chevron floor type (engineered wood, laminate, or LVP) and thickness that won’t interfere with click joints. Near cabinets, keep the underlayment continuous only where permitted, then trim it back under fixed cabinet zones if needed to prevent height inconsistencies. Use proper transitions at cabinet-heavy areas—like between rooms or where cabinets meet tile—to manage movement and avoid buckling. Follow the flooring manufacturer’s guidance on vapor barriers, moisture protection, and expansion gaps, particularly in kitchens.
How do you handle expansion gaps and floating floor movement around fixed cabinets?
Even though cabinets are fixed, the chevron floor needs room to expand, so never fully lock flooring tight against cabinet frames or walls. Use spacers along the perimeter until the floor is set, then remove spacers before installing trim or toe-kick coverings that hide the gap. If you’re installing a floating chevron floor, leave the required gap at fixed cabinet edges and consider silicone at perimeter corners only if the manufacturer allows it. This prevents floor cupping or lifting and keeps the chevron pattern stable as temperature and humidity change.
📅 Last Updated: October 15, 2026 | Topic: How to install around cabinets chevron floors? | Content verified for accuracy and freshness.
References
- https://en.wikipedia.org/wiki/Chevron_parquet
- https://www.britannica.com/technology/parquet
- Resources | NWFA
- https://www.armstrongflooring.com/en-us/support/install-guides.html
- https://www.pergofloors.com/en-us/support/installation
- MohawkFlooring
- https://scholar.google.com/scholar?q=how+to+install+chevron+flooring+around+cabinets Google Scholar
- https://scholar.google.com/scholar?q=chevron+parquet+installation+undercutting+door+casings+expansion+gap Google Scholar
- https://scholar.google.com/scholar?q=herringbone+vinyl+plank+installation+instructions+around+cabinets+transition Google Scholar