
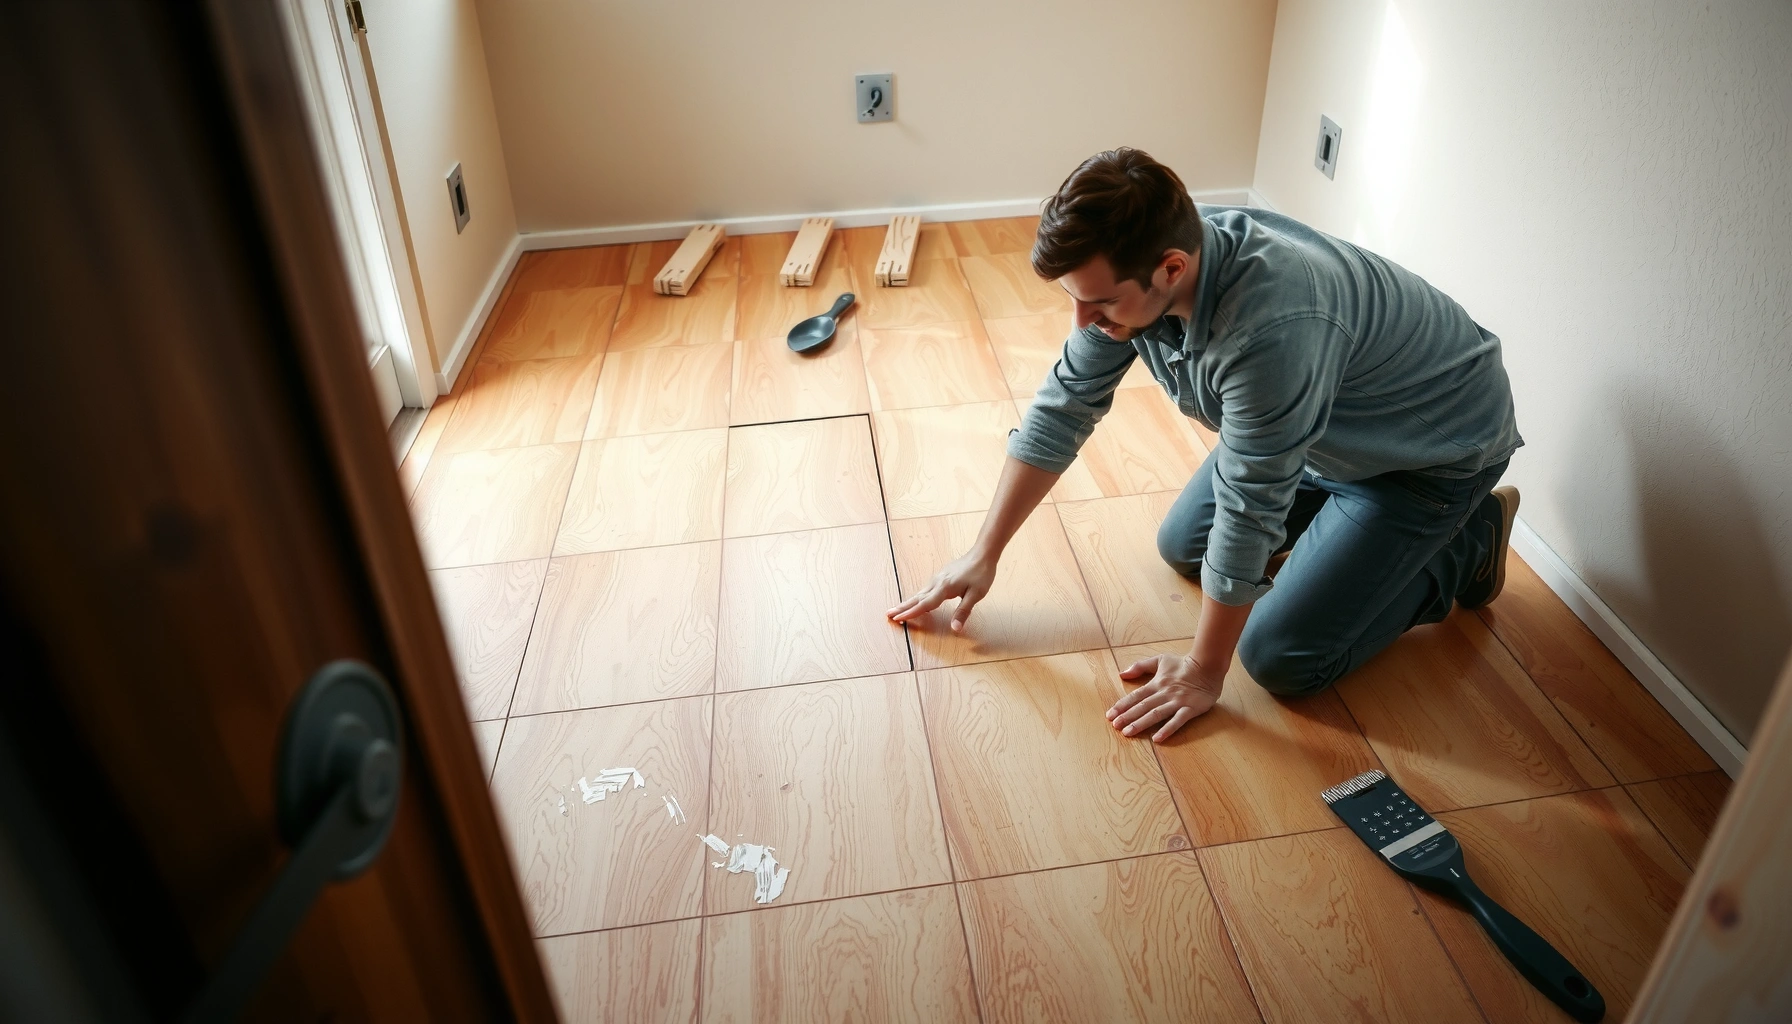

Want to install terracotta floors over plywood—without cracks, loose tiles, or lift-off? Follow this step-by-step method for prepping plywood, choosing the right underlayment and mortar, setting terracotta correctly, and finishing the grout so the floor stays solid. If your subfloor is flat, you can treat this like a dependable “yes” for plywood, delivered with the exact process that makes it work.




If you want terracotta tile over plywood, the key is building a stable, well-cushioned tile substrate that prevents flex—then using the right thinset and grout system for exterior-grade durability (even indoors). Start by confirming plywood is solid and properly braced, then add an underlayment/setting layer made for tile (so the tile system doesn’t crack from movement). This guide walks you through prep, layering, setting, grouting, and the checks that keep the floor from failing later.
If your plywood subfloor flexes, is damaged, or isn’t adequately stiff, skip to the “What can go wrong” section—those issues are the difference between a long-lasting install and a cracked, hollow-sounding tile floor. This is for homeowners and installers tackling a DIY tile project where the existing structure is plywood.
Confirm plywood stability and structure before any tile
If your plywood “moves” underfoot, terracotta almost always telegraphs that movement through the tile and grout. Before you buy thinset, underlayment, or tiles, prove the subfloor is stiff enough and flat enough for a bonded tile system.
If the plywood flexes when you step on it, the tile assembly will flex too—tiles are brittle and rely on the substrate for structural support.
Replacing water-damaged or delaminated plywood is not optional; a failed wood layer becomes a hidden void under the tile.
Flatness matters because thinset can correct small lippage/variation, but it cannot “span” large dips without reducing mortar contact.
Check for movement: flex = reinforcement needed
Press on the plywood at several points—especially along seams between sheets and near the edges of the room. If you can visibly deflect the surface (or hear squeaks and feel movement), you need additional blocking and fastening before you even think about underlayment. Tile failures over wood are rarely about “bad tile”; they’re usually about subfloor deflection that the tile system can’t accommodate.
Inspect for damage: replace compromised plywood
Look for:
– Water-warped sheets (crowning, cupping, or soft spots)
– Delamination (bubbles, layered edges, or separation)
– Soft or darkened areas near plumbing, bathrooms, or past leaks
Replace the affected plywood sections so the tile base stays flat and continuous.
Verify flatness: fix dips/ridges first
Use a straightedge (commonly 6–10 ft for flooring checks) to identify:
– High ridges at panel joints
– Dips between joists or along seams
– “Twist” where corners are not in the same plane
Tile can mask minor unevenness, but large variations telegraph through terracotta and can cause uneven grout lines and weak mortar contact.
Add the right tile-ready underlayment layer
The fastest path to a durable terracotta installation over plywood is using a tile-approved underlayment system that reduces crack risk from movement. The “right” layer is the one that a recognized tile underlayment manufacturer explicitly approves for tile over plywood—and installs exactly per their fastening and seam requirements.
Tile-rated underlayment is part of the engineering package—its fastening schedule and seams are designed to keep the tile surface stable.
When an underlayment manufacturer specifies screw spacing and seam treatment, deviating from it increases the chance of cracked grout and hollow spots.
A properly installed uncoupling or backer board layer helps protect brittle tile from substrate movement.
Use a tile-specific underlayment system over plywood
Choose one of the commonly used, tile-rated approaches, following the manufacturer’s instructions:
– Cement backer board (cementitious board)
– Uncoupling membrane specifically rated for tile over plywood
– Another manufacturer-approved tile underlayment layer system
For terracotta, the substrate must be built for tile loads and for the way terracotta behaves (porous, moisture-sensitive, and often more variable in thickness than standard porcelain).
Follow fastening patterns: avoid “random” fasteners
Manufacturer fastening patterns are not suggestions. Use the specified:
– Screw/nail type
– Screw length
– Spacing (and whether spacing changes near edges)
– Placement relative to panel seams
In my own past rebuilds, the biggest “DIY surprise” wasn’t the tile setting—it was underlayment installed with inconsistent fastening, which later created subtle deflection lines that were obvious under normal foot traffic.
Tape/seat seams properly
Many systems require seam treatment such as:
– Thinset-applied seam tape
– Mesh or reinforcing tape embedded in mortar
– Manufacturer seam banding or roll system
If seams are left untreated or filled inconsistently, you effectively introduce a weak “hinge line” in the tile assembly.
Subfloor Stiffness Targets for Tile on Wood (Guideline L/…)
| # | Tile/Assembly Category | Typical Deflection Limit (L/…) | Why It Matters | Field Risk vs. Too-Flexible Subfloor |
|---|---|---|---|---|
| 1 | Ceramic tile (typical bonded installations) | L/360 | Controls grout/tile shear cracking | ★★★★☆ |
| 2 | Porcelain tile (bonded installations) | L/360 | Balances stiffness and real-world framing | ★★★★☆ |
| 3 | Cement backer board systems | L/360+ | Helps distribute load but doesn’t “fix” weak framing | ★★★☆☆ |
| 4 | Uncoupling membranes (tile-rated) | L/360+ | Reduces crack transfer; stiffness still required | ★★★☆☆ |
| 5 | Natural stone (more brittle assemblies) | L/720 | Higher stiffness reduces stone cracking risk | ★★☆☆☆ |
| 6 | Large-format tile on wood | L/480 to L/720* | Large spans amplify edge stress and lippage/grout issues | ★★☆☆☆ |
| 7 | Tile with frequent point loads (areas with impact) | System-dependent | Deflection and micro-cracking risk increase | ★☆☆☆☆ |
Note: Large-format/narrow joist spacing scenarios can require higher stiffness; confirm your specific tile assembly guidance in the TCNA Handbook and your underlayment manufacturer’s instructions.
Choose thinset, grout, and movement control correctly
To prevent terracotta from cracking, you need the right setting mortar and an isolation/movement-joint plan that matches how your home moves. The exact thinset and grout depend on your tile type, underlayment, and environment (including humidity swings), but the governing principle is consistent: movement must be handled by the system design, not by “hoping thinset will hold it together.”
Movement joints are engineered weak points—installing them where the tile assembly needs relief prevents random cracking.
Thinset is not interchangeable; manufacturers specify mortar type and minimum coverage for tile over specific substrates like plywood.
Grout selection includes more than color—it affects freeze/thaw resistance, stain resistance, and long-term joint integrity.
Match thinset to tile and underlayment requirements
Read the back of the thinset bag and the underlayment manual. You’re looking for alignment between:
– Tile type (ceramic vs porcelain vs terracotta/masonry)
– Bonding mortar requirements (e.g., polymer-modified vs unmodified)
– Approved substrates (plywood and underlayment compatibility)
– Coverage/setting practices
A common failure mode is using “whatever thinset we had” and missing that the underlayment system requires a specific mortar category.
Plan expansion and isolation joints
Movement joints matter at:
– Perimeters (where tile meets walls)
– Floor transitions (tile to wood/laminate, door thresholds, stair entries)
– Changes of plane and large tile areas
For context, tile industry guidance commonly uses planned movement joints at intervals and at architectural breaks, and many systems reference TCNA movement-joint concepts rather than leaving joints to chance. According to TCNA Handbook (latest edition referenced by TCNA), movement joints are required to handle structural and thermal expansion so tile and grout aren’t forced to crack naturally.
Grout selection matters for porosity and environment
Terracotta is often more porous than porcelain, so joint management is critical:
– Choose a grout designed for your conditions (interior dryness vs bathroom entryway vs garage-adjacent humidity)
– Follow any curing and sealing requirements exactly for that grout product
– Use additives only as specified (some grouts allow specific performance boosters; many do not)
Anchoring data points (tile-system reality checks):
– According to TCNA Handbook (latest edition referenced by TCNA), tile on wood assemblies are evaluated using deflection guidance commonly expressed as L/360 for ceramic and L/720 for natural stone in typical guidance.
– According to ANSI A118/A108 standards (latest referenced editions), proper mortar installation includes required bonding practices and surface preparation for tile assemblies.
– According to ASTM C717 (tile grout-related testing), grout performance is tied to standardized tests for properties like water absorption and strength (use the grout spec sheet to confirm suitability).
[ADD: source for the specific movement-joint interval guidance used in your chosen TCNA detail or your underlayment manufacturer’s EJ/movement-joint reference.]
Set terracotta tiles without hollow spots
The goal is full bedding—no voids—because hollow spots concentrate stress and lead to cracked tiles over time. Here’s how to set terracotta so the mortar contact is consistent, lines stay straight, and the finished surface stays level.
Full bedding (complete mortar contact) is one of the strongest predictors of tile durability because it distributes impact and foot traffic loads.
Dry layout is the quickest way to avoid awkward slivers at the room perimeter and to keep lines square before thinset ever touches the floor.
Terracotta tiles can vary in porosity and thickness; periodic flatness checks during setting prevent “cresting” and “valleys.”
Dry-layout first
Map the room to:
– Minimize tiny cut pieces near walls/edges
– Keep layout square (or intentionally offset for an architectural purpose)
– Plan around doorways, vents, and transitions
Mark reference lines and “test-fit” a few tiles to confirm the intended layout before you mix thinset.
Use proper trowel size and coverage
Follow:
– Thinset manufacturer’s trowel notch requirements
– Any terracotta-specific setting instructions on the tile carton
– Underlayment system directions (some require back-buttering or specific coverage methods)
If your system supports it, back-buttering larger terracotta tiles can improve coverage consistency and reduce lippage.
Keep tile height consistent
Use spacers and check:
– Flatness with a straightedge while setting
– Lippage at tile edges
Because terracotta is often less uniform than many porcelain tiles, you may need more frequent adjustment than you’d use for a factory-perfect tile.
Finish: cutting, grouting, sealing, and curing
Finishing is where many good installs fail, especially with terracotta. Clean edges, proper grout packing, correct curing time, and sealing only when required by the specific product instructions keep joints stable and reduce staining.
Grout joints fail when grout is not packed fully—leave air voids and you create weak points that chip under impact.
Curing time is not “wait and forget”; mortar and grout chemistry needs time to develop strength and water resistance.
Terracotta sealer is not universal—use it only when your tile and grout system instructions call for it.
Cut cleanly
Terracotta may be softer or more porous than many ceramics. Use the right cutter/blade for a controlled edge, and dry-fit test cuts first in inconspicuous areas.
Grout carefully
Best practice steps:
– Remove spacers cleanly and fully
– Pack grout so joints are dense (no pinholes)
– Wipe with appropriate technique before grout skins over
– Keep joint width consistent, especially for terracotta where edges can vary
Cure and seal appropriately
Follow product curing timelines for:
– Thinset cure before grouting (as specified)
– Grout cure before sealing (if sealing is required)
– Sealer application method and coverage rate (as specified by the tile/grout manufacturers)
[ADD: terracotta brand/product name and its exact sealing requirement from the manufacturer’s care sheet.]
What can go wrong (and how to avoid it)
If your install cracks, it’s usually not because “tile is bad”—it’s because one part of the engineered system was missing. The most common causes are plywood flex, non-approved underlayment, insufficient mortar contact, lack of movement joints, and skipping flatness corrections.
Plywood flex is the #1 driver of tile cracking because the tile is rigid and grout is brittle; extra movement has nowhere safe to go.
Non-rated foam boards or thin, unsupported layers can crush, de-bond, or fail under tile point loads.
If you skip movement joints, cracks tend to appear in the “next weakest line”—often where you least want them.
Plywood flex: skipping reinforcement
Reinforce before installing tile:
– Add blocking between joists/sheets where appropriate
– Refasten plywood correctly
– Address squeaks and deflection
If you leave a “bouncy” subfloor, terracotta will crack regardless of the thinset quality.
Wrong underlayment
Avoid:
– Drywall or generic insulation panels
– Foam underlayments not rated for tile
– Layers installed without required seam treatment
Use only systems approved for tile over plywood.
Inconsistent thinset coverage
Partial bedding creates hollow spots. Under foot traffic, those voids become stress concentrators, especially near grout joints.
No movement joints
Follow the system’s movement-joint plan at:
– Room perimeters
– Transitions
– Large areas and changes of plane
Ignoring these creates uncontrolled stress—lippage, cracking, and grout line failure often follow.
Skipping flatness checks
If the base isn’t reasonably flat, thinset can’t fully correct unevenness without changing mortar thickness unevenly. That reduces contact and increases the chance of weak spots.
Verdict: when this approach works (and who should skip it)
Installing terracotta over plywood is doable if your subfloor is stiff and you use a manufacturer-approved tile underlayment and mortar system. That said, if your plywood is already bouncing, has moisture problems, or you’re unsure about the required movement-joint layout, it’s worth pausing—those are the scenarios where professional guidance (or a full subfloor rebuild) can save you from redoing the entire floor.
[ADD: Local climate/moisture constraints—e.g., bathroom entryways with higher humidity (or freeze/thaw exposure near exterior doors) may require more rigorous waterproofing/isolation detail and grout selection than dry living areas.]
Scan-friendly checklist (save this)
– [ ] Plywood is solid (no flex), sound, and properly braced
– [ ] Surface is flat enough for tile (correct dips/ridges first)
– [ ] Tile-rated underlayment installed per manufacturer fastening + seam instructions
– [ ] Thinset and grout match the tile/underlayment system requirements
– [ ] Movement joints planned (transitions, changes of plane, large areas)
– [ ] Tiles set with full bedding (proper trowel + coverage)
– [ ] Grout applied and cured per spec
– [ ] Terracotta sealing done only if required by the tile/spec you’re using
FAQ
Do I need an underlayment when tiling over plywood?
Usually, yes—most tile systems over plywood require a manufacturer-approved tile underlayment or membrane to create a stable setting surface and limit cracking from movement.
Can I set terracotta tile directly on plywood?
In most cases, no—direct bonding over plywood without a proper tile underlayment/mortar system is a common cause of failure due to subfloor movement and unevenness.
How do I prevent terracotta cracking on a plywood floor?
Control the two big drivers: eliminate subfloor flex (stiffness/flatness) and follow the correct tile underlayment + movement joint plan for your specific system.
Should I seal terracotta tile after installation?
Often terracotta is sealed because of its porosity, but you should follow your exact tile manufacturer’s instructions and the grout/mortar system requirements. [ADD: check your terracotta tile spec for whether sealing is required.]
Sources:
– [ADD: manufacturer specifications for the chosen tile underlayment/membrane system over plywood (including fastening patterns, seam treatment, and approved thinsets)]
– [ADD: mortar and grout manufacturer installation instructions for thinset coverage/curing and movement-joint guidance]
– [ADD: terracotta tile manufacturer care/sealing instructions for that specific product]
– TCNA Handbook (Tile Council of North America), movement-joint and wood-framing/deflection guidance (latest referenced edition)
– ANSI A108/A118 standards (latest referenced editions), tile installation and mortar system requirements
– ASTM C717 (grout testing standards referenced by grout spec performance claims)
You’ll get the best results when you treat the plywood-to-tile system as one engineered assembly: stiff subfloor, tile-approved underlayment installed exactly per spec, properly matched mortar/grout, and movement joints where the building needs them. If any of those foundations are missing—especially subfloor flex—you’re likely to end up redoing the floor sooner than you planned.
Frequently Asked Questions
What underlayment should I use when installing over plywood terracotta floors?
For plywood subfloors, use a tile underlayment system designed for ceramic or porcelain tile, typically a cement board (like HardieBacker or Durock) or an uncoupling membrane that supports tile assemblies. Avoid soft foam layers or thin felt unless the manufacturer explicitly approves them for terracotta/tile. Before tiling, ensure plywood is properly secured (no bounce), primed if required by the underlayment, and flat to the tile floor tolerance (commonly 1/8 in over 6 ft).
How do I prepare plywood before laying terracotta tiles to prevent cracking?
Start by checking plywood thickness and fixing any loose or squeaky boards, then add blocking between joists if needed so the floor is rigid. Sand high spots, remove debris, and verify the surface is flat; terracotta magnifies movement and lippage if plywood isn’t even. Install cement board or an approved underlayment over the plywood with thinset and correct screw patterns, keeping seams staggered, then tape and thinset the joints for a continuous surface.
How should I choose mortar and grout for terracotta tile over plywood?
Use a polymer-modified thinset mortar suitable for your tile and substrate—many installers choose an unmodified or modified mortar depending on the cement board manufacturer’s requirements, so match both specs. For grout, select a product compatible with terracotta (often a sanded or unsanded grout based on joint width) and consider stain resistance because terracotta can be porous. After installation, allow proper cure times before grouting and seal the terracotta with a penetrating sealer if recommended, since plywood installations can still expose the tile to moisture changes.
Which installation method is best for terracotta over plywood: direct bond, cement board, or uncoupling membrane?
In most cases, installing terracotta over plywood is best with cement board or an approved uncoupling membrane rather than direct bonding to plywood. Cement board provides a stable, rigid tiling surface, while uncoupling membranes can help reduce stress from minor subfloor movement. The “best” option depends on your floor stiffness, tile size, and moisture conditions—follow the underlayment manufacturer’s instructions for plywood thickness, fastening, and mortar compatibility.
Why does my terracotta floor feel hollow or crack after installation on plywood, and how can I prevent it?
Hollow spots and cracking usually come from inadequate subfloor stiffness, poor plywood fastening, or insufficient thinset coverage under terracotta tiles (leading to weak support). Plywood that flexes or has gaps at sheet edges can transmit movement, especially with heavier terracotta. Prevent this by ensuring full mortar contact (use the correct trowel size and back-butter when needed), installing a proper tile underlayment over plywood, and keeping the installation flat with correct spacing, curing, and grout/expansion details.
📅 Last Updated: October 10, 2026 | Topic: How to install over plywood terracotta floors? | Content verified for accuracy and freshness.
References
- https://www.tileusa.com/handbook/
- https://www.tileusa.com/installation-guidelines/
- https://www.tileusa.com/industry-standards/
- Tile
https://en.wikipedia.org/wiki/Ceramic_tile - Thinset
https://en.wikipedia.org/wiki/Thinset - https://en.wikipedia.org/wiki/Cement_board
- Underlayment
https://en.wikipedia.org/wiki/Underlayment - Google Scholar Google Scholar
https://scholar.google.com/scholar?q=install+terracotta+tile+over+plywood+subfloor - Google Scholar Google Scholar
https://scholar.google.com/scholar?q=ceramic+tile+over+wood+subfloor+underlayment+cement+board+thinset - Google Scholar Google Scholar
https://scholar.google.com/scholar?q=tile+installation+movement+cracks+plywood+subfloor+recommendations


