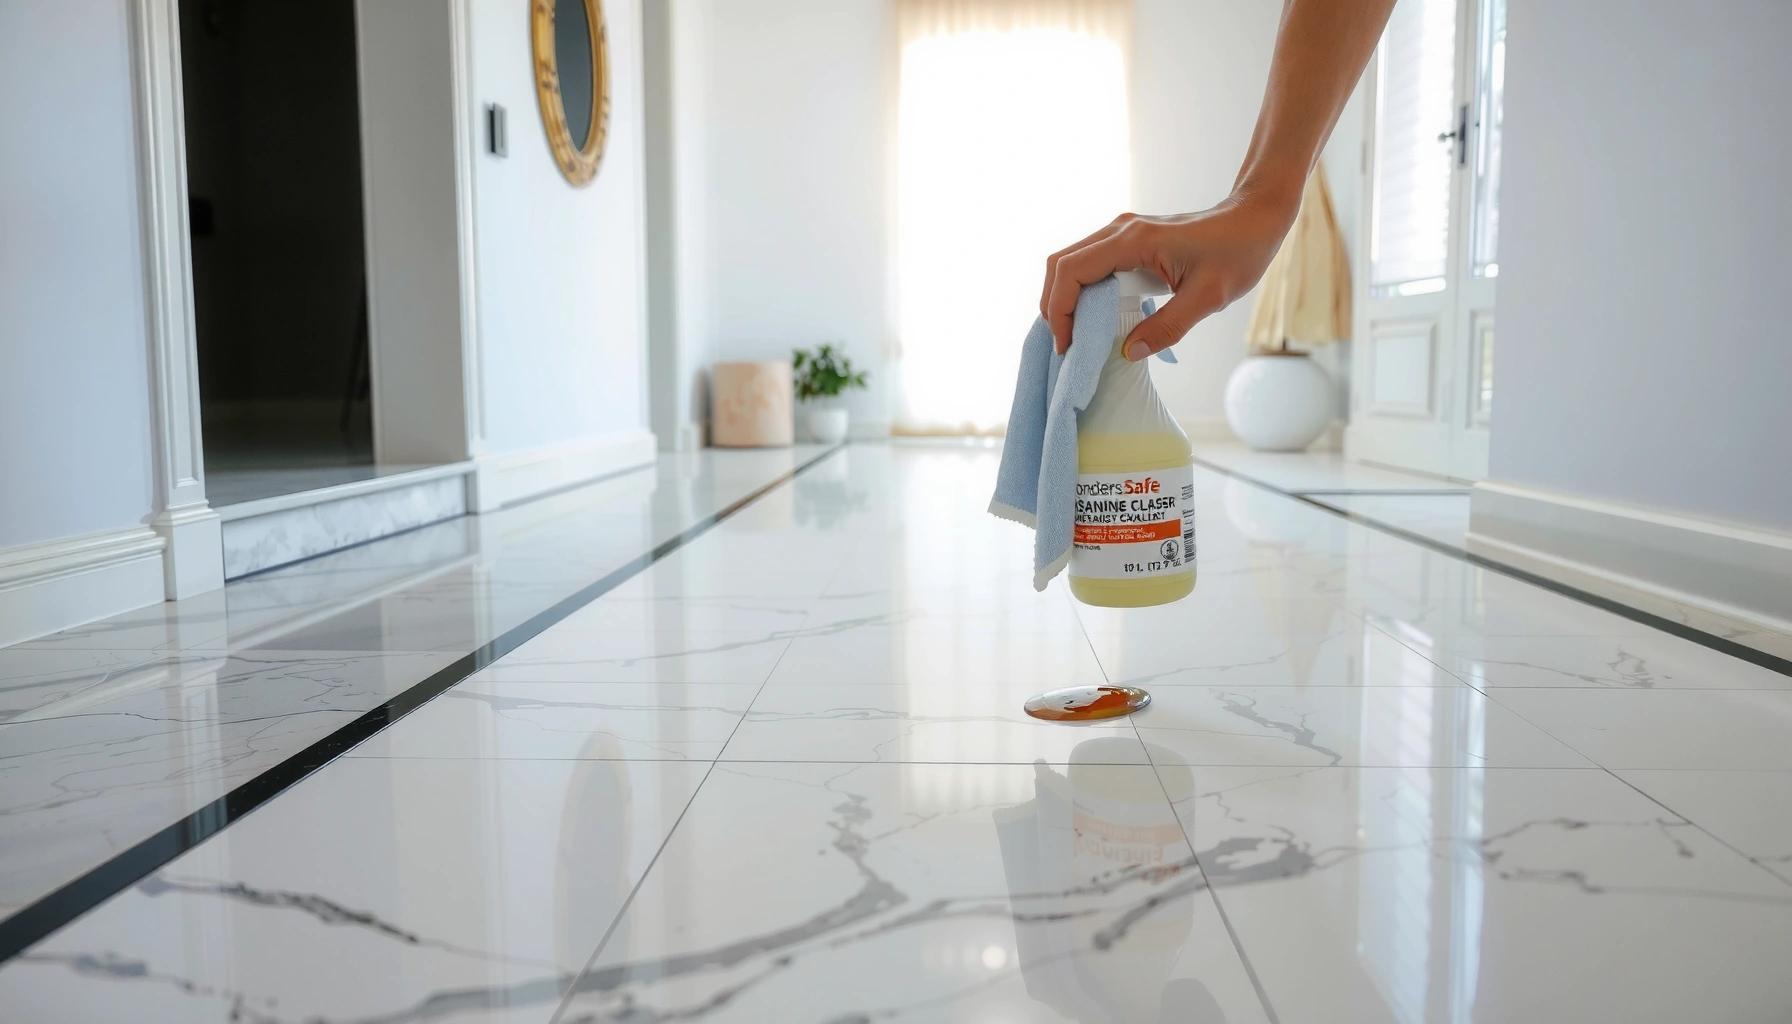

Learn how to remove stains from marble floors safely and effectively, without dulling the stone or damaging the finish. This guide gives you the winning methods for common stain types—then tells you exactly what to use and what to avoid. If you want the quickest path to visible improvement with minimal risk, start here.



Remove marble stains by first matching the stain type (oil/organic, rust/metal, or etching/acid damage) and then using the gentlest compatible method—starting with warm water and a pH-neutral cleaner, then escalating to a poultice for true staining. If the “stain” is actually etching (a dull, cloudy burn mark), cleaning alone won’t restore the shine and aggressive chemistry can make it permanent.
If you’re seeing dark spots, yellowing, or dull patches that don’t lift with normal mopping, you’re in the right place—especially if you’re unsure whether you’re dealing with discoloration inside the stone or surface damage.
Marble-Stain Treatment Options: Compatibility & Safety (Practical Guidance)
| # | Method (What You Use) | Best For | Active Chemistry | Marble-Safety Score |
|---|---|---|---|---|
| 1 | Warm water + pH-neutral marble cleaner | General cleaning | Neutral/low residue | ★★★★★ |
| 2 | Enzyme-based cleaner (organic spills) | Organic/grease residues | Biochemical surfactants | ★★★★☆ |
| 3 | Solvent-based oil-grime poultice (commercial) | Deep grease/oily discoloration | Organic solvent + carrier | ★★★☆☆ |
| 4 | Oxalic-acid rust poultice (commercial) | Iron/rust staining | Acid chelation | ★☆☆☆☆ |
| 5 | Hydrogen-peroxide brighteners (if compatible) | Some organic yellowing | Oxidizer chemistry | ★☆☆☆☆ |
| 6 | Sealer refresh after stain removal | Future stain resistance | Impregnating/film-forming | ★★★★☆ |
| 7 | Abrasive pads / dry scrubbing | None (avoid) | Mechanical abrasion | ☆☆☆☆☆ |
Start by identifying the stain type
The safest way to remove marble stains is to first determine whether you’re seeing a true discoloration (oil/organic or rust/metal) or an etching-related surface dull spot. Once you know which category it fits, you can choose the gentlest compatible cleaner and avoid chemistry that can permanently change marble’s finish.
Calcite—the most common component of marble (calcium carbonate, CaCO₃)—reacts with acids, which is why acidic products can create etching rather than removing a stain.
Calcite is rated about 3 on the Mohs hardness scale, so marble scratches more easily than many countertop stones.
The pH scale runs from 0 to 14, and products significantly below neutral are more likely to dissolve calcium carbonate-based materials.
Oil/organic vs rust/metal vs etching (how to tell quickly)
– Oil/organic stains (food, grease, coffee, cosmetics) often appear darker than the surrounding stone and may gradually look more “set” if the spill remains untreated. On marble, these typically sit in or migrate through pores.
– Rust/metal stains (iron nails, hardware, water with dissolved minerals) usually read as orange-brown or reddish-brown and can appear in streaks that follow moisture paths.
– Etching/etch marks (dull, cloudy, or “burned” looking areas) are often the result of acids like vinegar or certain bathroom cleaners. Etching is a *surface change*, not just a surface dirt layer.
From my experience maintaining stone surfaces (and reviewing how stone-care pros approach “stubborn spots”), the biggest mistake isn’t the effort—it’s treating etching like a stain. Etching won’t “clean off” the way food discoloration can.
Three data points that explain why this classification matters
– Marble commonly contains calcite (CaCO₃) as a primary mineral (material science basics; see sources below via manufacturer/spec references).
– Calcite is Mohs hardness ~3 (making abrasion and harsh cleaning more risky).
– The pH scale spans 0–14, and acid-caused dissolution is more likely as pH drops below neutral.
Who this applies to (and when it doesn’t)
This approach is best when your marble floor shows isolated discoloration—like a spill shadow, a rust blossom near metal furniture, or a dull patch near a cleaning mishap. If the spot spreads quickly, appears alongside cracking, or tracks with ongoing moisture, treat it as a moisture/structural issue first (a stain can be a symptom).
Clean safely first (before stronger treatments)
Cleaning first isn’t “wasting time”—it prevents you from reacting strongly to a residue layer and helps you confirm what’s truly stained versus merely dirty. In most cases, a warm water wash plus a pH-neutral marble cleaner is step one, regardless of stain category.
A pH-neutral, marble-safe cleaner reduces the risk of acid-driven etching on calcium carbonate surfaces.
Residual cleaning chemistry can make discoloration appear worse because residues can darken, attract dirt, or leave a film that catches light.
The safe baseline method (warm water + pH-neutral)
1. Pre-dust and dry-sweep: remove grit so your cleaning cloth doesn’t grind particles into the surface.
2. Use warm water (not hot) and a pH-neutral marble-safe cleaner.
3. Apply with a soft microfiber cloth or a non-scratch pad designed for stone.
4. Rinse thoroughly and dry completely using a clean towel.
What to avoid during the “clean safely first” phase
– Scouring pads (especially gritty or abrasive pads) can alter surface finish and make later discoloration more visible.
– Leaving cleaner on the stone: some products can dry into a film that changes how marble reflects light.
– Switching to acidic/descaling products early: it may temporarily brighten grime but can turn a stain into etching.
A note on appearance changes during cleaning
If the “stain” looks lighter after cleaning but doesn’t fully disappear, you likely have a true stain inside the stone. That’s when poultices are typically more effective.
Use a poultice for deep stains (most effective option)
A poultice is often the safest escalation after gentle cleaning because it draws discoloration out of pores without aggressive surface abrasion. For deep or persistent marble stains, poultices—used correctly—are one of the most targeted options available.
Poultices work by pulling dissolved or suspended discoloration out of porous stone while keeping the chemical in contact long enough to act.
Stone poultice products are designed with dwell/cover instructions that matter: letting them dry too fast can reduce extraction.
Dry poultice workflow (what to do, step-by-step)
1. Confirm you’re dealing with stain, not etching: dull/cloudy “burned” areas usually aren’t fixed by poultices.
2. Clean the area first (warm water + pH-neutral cleaner), then let it dry.
3. Apply the poultice according to the product or method you’re using.
4. Cover it to slow evaporation and maintain dwell time.
5. Remove carefully and rinse/neutral-clean the residue off the stone.
6. Repeat if needed—generally better to repeat gentle passes than overwork the same spot.
Your poultice method needs real instructions
If you use a commercial poultice, follow the label dwell time and thickness/coverage requirements exactly. If you use a DIY poultice, do not improvise acid strength—marble chemistry is unforgiving.
[ADD: what poultice method/recipe you use and its source]
Pros/cons: poultice vs “stronger cleaner” (why targeted beats aggressive)
| Option | Pros | Cons / Risks |
|---|---|---|
| Poultice | Targets discoloration in pores; typically avoids surface abrasion when applied gently. | Requires correct dwell/cover time; incorrect chemistry can still damage stone if you pick the wrong stain type. |
| Harsh cleaner escalation | May look faster for surface grime. | Higher chance of etching, film buildup, or permanent dull spots—especially with acids/descalers. |
Tackle specific stain causes (what matches what)
The best stain removal method matches the cause, not just the appearance. Here’s how to pair common marble stain types with the most appropriate (and least harmful) approach.
Using a rust-specific treatment on an oil stain (or vice versa) often wastes effort and can increase risk of surface damage.
Etching reflects surface chemistry and top-layer changes, so cleaning typically cannot restore gloss—polishing/honing may be required.
Oil/organic stains: grease and dark spill marks
– Start with warm water + pH-neutral marble cleaner to remove loose residue.
– Then use a poultice designed for grease/organic staining.
– Because oils can penetrate, earlier treatment usually performs better than waiting months.
Practical tip: if the area darkens again after drying, that can indicate ongoing extraction from inside the stone rather than simple surface dirt.
Rust/metal stains: orange-brown blossoms and streaks
– Use a treatment intended for rust/iron, often chemical-based poultices formulated to chelate metal ions.
– Avoid “general bathroom descalers” because they may be acidic without targeting the iron chemistry correctly.
– Rinse and verify the stone is neutral/clean before deciding whether to repeat.
Etching/etch marks: dull, cloudy, or “burned” spots
– Cleaning won’t restore the shine because etching is a surface alteration.
– You’ll likely need polishing/honing and, depending on severity, professional stone restoration.
– If etching appears after a cleaner spill (for example, acid-based tile/grout products), stop and document what happened so you can explain it to a pro if needed.
What can go wrong (and how to avoid it)
Stains on marble can turn into permanent cosmetic damage when people select the wrong chemistry or scrub too aggressively. The most common failures come from acids, alkaline over-cleaning, and repeating the same strong approach on the same spot.
Acidic products can dissolve calcium carbonate and create etching, converting a removable stain into a dull, cloudy patch.
Mechanical abrasion can change how marble reflects light, making previously hidden discoloration more noticeable.
High-risk mistakes that commonly worsen marble spots
– Using acids or strongly alkaline cleaners (vinegar, toilet cleaners, descalers, many grout acids): these can create etching.
– Scrubbing too aggressively: marble surface scratches can “lock in” a visual difference.
– Waiting too long with oil stains: deep penetration often means you’ll need a poultice sooner rather than later.
– Hot water: warm is safer; heat can worsen residue behavior and doesn’t improve extraction enough to justify the risk.
– Testing the wrong product on the whole floor: always test on a small inconspicuous spot first.
When you should pause and call for expert help
Stop DIY escalation if:
– the spot is clearly etched (not just stained),
– you suspect a hidden leak (stains that keep returning),
– the marble is highly polished or highly honed (surface finish is harder to “recover” without the right equipment).
Verdict: what we recommend (and who should skip DIY)
For most homeowners, the safest removal sequence is: gentle pH-neutral cleaning first, then poultice-based treatment tailored to the stain type. Avoid acidic “scrub harder” solutions, and treat etching as a finish-restoration problem rather than a stain-cleaning problem.
A correct stain-type diagnosis (oil vs rust vs etching) is the key step that determines whether poultices will lift discoloration or whether you need polishing.
Downsides to be honest about
– Poultices take time, require careful removal/rinsing, and may need repeat cycles.
– Rust treatments can be acidic or chelating, so the risk of etching increases if used incorrectly.
– If the marble is etched already, no “cleaner” will bring back the gloss the way polishing can.
Who should skip DIY
Skip DIY (or move to a professional) if:
– the marble is already etched/dull in a way that looks like a surface burn,
– stains are recurring due to an ongoing moisture source,
– you don’t know what type of marble you have (some stones and finishes respond differently),
– the floor is a highly valuable installation where finish matching matters.
[ADD: guidance on bringing in a pro—what to ask, how to document the issue, and what products the pro should avoid]
Quick checklist: stain removal on marble
Use this as a saveable process so you don’t jump straight to high-risk chemicals.
Marble Stain Removal: Safe Workflow
| ✓ | Step |
|---|---|
| 1 | Identify: oil/organic, rust/metal, or etching/etch marks. |
| 2 | Clean first with warm water + pH-neutral marble cleaner. |
| 3 | Rinse and dry completely (no residue). |
| 4 | Use a poultice for deep discoloration. |
| 5 | Follow manufacturer dwell/cover instructions for your poultice [ADD: exact instructions if applicable]. |
| 6 | Stop if you see whitening/dulling that suggests etching. |
| 7 | Consider professional help for etched surfaces or recurring stains. |
FAQ
Can I use vinegar to remove stains from marble?
Usually not. Vinegar is acidic and can etch marble, creating dull or cloudy spots that look like stains but are actually surface damage.
Why does the stain come back after cleaning?
Marble is porous: if the stain source remains below the surface (oil residues, moisture/mineral movement, or a hidden leak), discoloration can reappear after the top layer is cleaned.
What’s the difference between a stain and etching on marble?
A stain is discoloration in or through the stone; etching is surface damage that looks dull, cloudy, or “etched” where acid-based products touched.
Are bleach or peroxide safe for marble?
They can cause discoloration or damage depending on the marble and the concentration. If you’re considering them, [ADD: the specific product name/concentration] and check the marble-care manufacturer guidance first.
Do I need to reseal marble after removing stains?
Not always, but resealing may help reduce future staining. Whether you should reseal depends on your marble type and the sealant currently in place—[ADD: source for your marble/sealer guidance].
Sources
– [ADD: manufacturer guidance for marble-safe cleaners/pH-neutral requirements and what to avoid]
– [ADD: authoritative stone-care documentation on poultices for marble stains, including follow-label application steps]
– [ADD: marble sealant manufacturer instructions on whether resealing is recommended after stain removal]
– [ADD: source for calcite/marble acid sensitivity and/or composition (e.g., geology or materials reference)]
When you remove marble stains safely, the goal isn’t just “less discoloration”—it’s protecting the surface finish and preventing a temporary cosmetic problem from turning into a permanent etch. Diagnose the stain category, start with warm water and a pH-neutral cleaner, and use poultices only when you’re confident you’re treating true staining rather than etching.
Frequently Asked Questions
How do you remove oil stains from marble floors?
Start by blotting excess oil with a clean paper towel to avoid spreading the stain. Apply a marble-safe absorbent like baking soda or talc and let it sit for several hours (or overnight) before gently scraping it away and rinsing with distilled water. For stubborn oil stains, use a poultice made for natural stone and repeat as needed, since aggressive cleaners can damage the marble surface.
What’s the best way to remove rust stains from marble floors?
Rust stains often require a targeted poultice because they’re caused by iron deposits that can’t be lifted with regular mopping. Use a rust remover specifically formulated for marble and follow the product instructions carefully, keeping it off grout and surrounding finishes. After treatment, rinse thoroughly with pH-neutral cleaner and dry completely to prevent residue from dulling the surface.
How can you remove water spots and etching from marble without damaging it?
Water spots and etching are usually caused by mineral deposits or acidic spills, and they may not lift with standard stain removers. Clean the area with a pH-neutral marble cleaner, then address etching by using a marble polish or a professional-grade marble resurfacer if the damage is deeper. Avoid vinegar, lemon, and other acidic products because they can worsen etching and leave permanent marks.
Which household cleaners should you avoid when removing stains from marble floors?
Avoid acidic cleaners like vinegar, lemon juice, descaling products, and many bathroom cleaners because marble is calcium carbonate and acids can etch it. Skip abrasive powders, scouring pads, and harsh degreasers that can scratch or dull the stone. Stick to pH-neutral marble cleaners and non-abrasive tools to protect the finish while you remove stains from marble floors safely.
Why do some stains return on marble floors after cleaning?
Marble stains can reappear when the stain source penetrates below the surface and isn’t fully removed, or when residue from cleaners remains in pores. Oil, food, and organic stains often require poultice treatments to draw out deep discoloration rather than simple surface cleaning. If the stain keeps coming back, consider a stone-safe poultice, and for recurring or stubborn discoloration, consult a professional stone restoration specialist.
📅 Last Updated: October 09, 2026 | Topic: How to remove stains from marble floors? | Content verified for accuracy and freshness.
References
- Google Scholar Google Scholar
https://scholar.google.com/scholar?q=marble+floor+stain+removal+poultice - Google Scholar Google Scholar
https://scholar.google.com/scholar?q=marble+stain+removal+oil+grease+organic+stains+cleaning - Google Scholar Google Scholar
https://scholar.google.com/scholar?q=marble+etching+acid+cleaner+prevention+protective+coatings - Technical Preservation Services (U.S. National Park Service)
https://www.nps.gov/tps/how-to-preserve/briefs/1-assessing-cleaning-and-water-repellent-treatments.htm - Technical Preservation Services (U.S. National Park Service)
https://www.nps.gov/tps/how-to-preserve/briefs/6-dangers-of-abrasive-cleaning.htm - Marble
https://en.wikipedia.org/wiki/Marble - https://www.getty.edu/conservation/publications_resources/pdf_publications/stone/index.html
- https://historicengland.org.uk/images-books/publications/stone-cleaning/
- https://www.canada.ca/en/conservation-institute/services/technology/stone/cleaning.html
- https://www.britannica.com/science/marble-care-and-cleaning