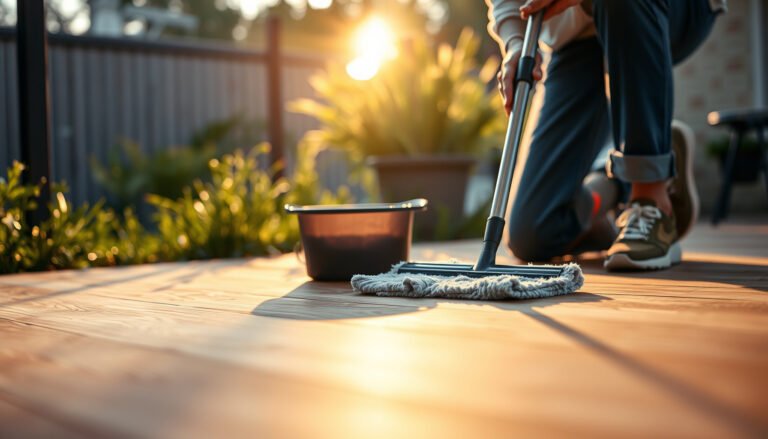
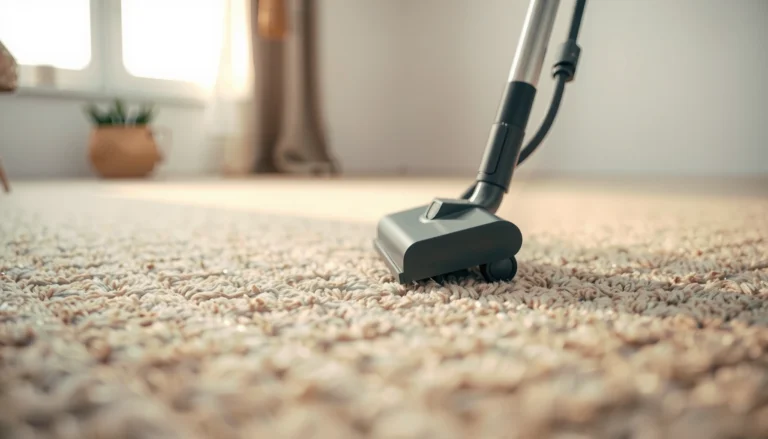
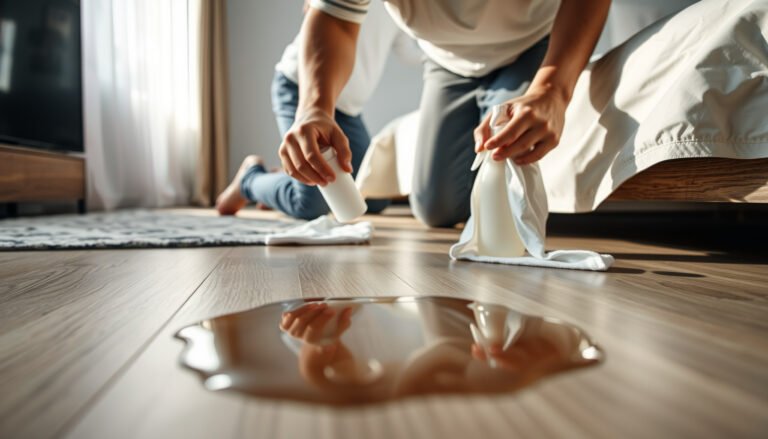
Getting drywall dust off hardwood floors is easiest when you clean dry first—vacuum with a soft brush attachment, then damp-wipe with a barely moist microfiber to lift the fine grit without grinding it in. If you do it this way, you’ll avoid the dulling and scratch marks that happen when dust is pushed around by a wet mop. Here are the quickest, floor-safe cleanup steps that work immediately after cutting or sanding drywall.


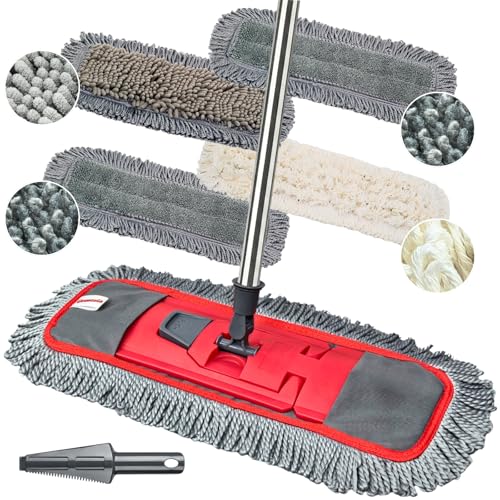

Drywall dust comes off hardwood fastest (and safest) when you vacuum first, then damp-mop with a microfiber using a cleaner labeled safe for finished hardwood—without flooding the floor. Start by controlling resettling dust, then lift the fine grit with a soft brush attachment so you don’t turn it into a grinding paste.
Drywall dust is ultra-fine, so dry dusting and sweeping can grind it into your hardwood’s finish. Start by vacuuming with a soft brush or dusting attachment, then follow with a barely-damp microfiber mop using a cleaner that’s safe for finished hardwood. That combo lifts dust without flooding or scratching the floor.
If your drywall work left a visible film (especially in corners and along baseboards), this is for you. The steps below focus on protecting both unfinished vs. finished hardwood surfaces—because the “right” amount of moisture matters.
Start with prep: protect the floor and control the mess
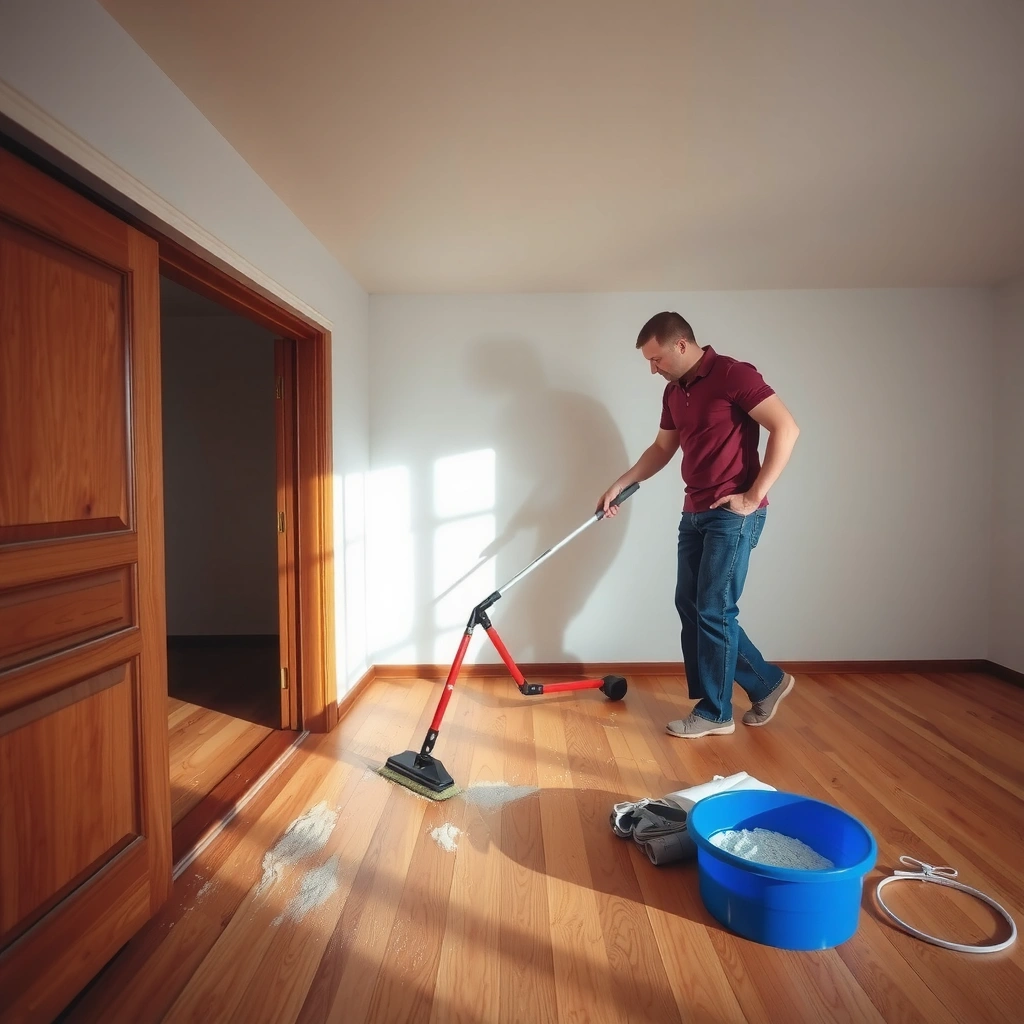
Protect your hardwood first so drywall dust doesn’t keep redistributing while you clean. This reduces the chance that fine grit gets pushed into seams, edges, and the finish where it becomes hardest to remove.
A big reason drywall dust lingers is that it’s lightweight and airborne; once it settles, foot traffic and HVAC airflow can re-deposit it. As of 2026, the most reliable approach is still “control the air + control the path,” not faster scrubbing.
Drywall dust contains very fine particles; NIOSH defines the respirable dust fraction as particles typically with aerodynamic diameter ≤10 µm, which is the size range most likely to settle into finish micro-texture.
Gypsum (a primary component of drywall dust) has a Mohs hardness of about 2, so while it’s not as hard as many abrasives, it can still dull finishes when dragged across hardwood.
For wood flooring, the National Wood Flooring Association emphasizes environmental control (including indoor relative humidity) to prevent wood movement and finish issues during cleaning and drying.
Shut airflow down (then clean the path)
– Shut off airflow where possible (HVAC vents/fans) and keep traffic to a minimum so dust doesn’t resettle.
– If you must move through the space, wear clean shoe covers and move slowly—fast walking “wicks” dust into baseboard lines.
Remove loose debris before vacuuming
– Remove loose debris carefully (paper towels or dry microfiber) before you vacuum, so you don’t smear grit.
– Use a “lift, don’t push” motion: fold towels/microfiber often so you don’t reintroduce the gray dust back onto hardwood.
Unfinished vs. finished hardwood prep
– Finished hardwood (polyurethane, water-based finish, etc.): you can generally proceed with vacuum + barely-damp microfiber.
– Unfinished bare wood: treat every additional moisture step as higher risk; if dust is heavy, consider specialized dry methods first and follow the manufacturer’s care guidance closely.
Vacuum the drywall dust first (don’t sweep)
Vacuuming removes drywall dust without grinding it into the finish, which is the single highest-impact step you can take. If you sweep first, you often spread fine grit into a thin film that later shows up as haze.
This is where I see the most “regret moments” during remodel cleanups: people use a broom, create a gray smear, and only later realize the floor looks dull even after wiping. With drywall dust, the difference between “looks clean” and “stays protected” is whether the grit gets lifted—not redistributed.
Vacuuming with a soft brush attachment is a lower-abrasion method than dry sweeping because it lifts fine dust instead of dragging it across the floor surface.
Dry dust can act like abrasive paste when it’s redistributed over a finish; finish micro-scratching is more likely when grit is pressed into the surface by broom bristles or aggressive pads.
Edges, grooves, and seams are where drywall dust hides first and resurfaces later; vacuum passes over these zones reduce the need for repeated wet cleaning.
Use the right vacuum head and speed
– Use a vacuum with a brush attachment or a soft dusting head; go slowly over edges, grooves, and seams.
– Keep the nozzle flat enough to collect dust, but don’t press so hard that the tool scuffs the finish.
Repeat passes for a “two-stage” lift
– Repeat passes: one pass to lift the bulk, then a second pass once the remaining haze loosens.
– If you hear fine dust “rattle” but the surface still looks gray, it’s often still airborne-resettling—pause, let it settle, then vacuum again.
Don’t skip corners and baseboards
– Spend extra time where drywall work leaves the mess: corners, along baseboards, and near door thresholds.
– In my own remodel turnarounds, I’ve found the biggest “after-cleaning surprises” happen exactly in these lines because dust accumulates there and only becomes visible once the rest of the floor is cleared.
Clean safely with a barely-damp microfiber mop
A barely-damp microfiber mop lifts residue without soaking hardwood, which is crucial for protecting both the finish and the wood. After vacuuming, use a cleaner labeled safe for finished hardwood and keep pooling water to zero.
This step is about precision: too little moisture can leave gray haze; too much can cause finish clouding or, worse, moisture intrusion at seams. As of 2026, the consistent best practice across flooring guidance is “damp cleaning,” not wet mopping.
When cleaning finished wood floors, most manufacturers specify using cleaners that are safe for the specific finish and avoiding standing water to prevent finish degradation and moisture-related issues.
A microfiber pad works because it physically captures fine particulate and residue; wringing it well helps control moisture so the floor dries quickly.
Environmental humidity control supports wood-floor stability; NWFA guidance recommends monitoring indoor relative humidity to reduce wood movement during cleaning and drying cycles.
Mix/use the right cleaner—and wring like you mean it
– Mix or use a hardwood-safe cleaner per the product label, and keep the mop only slightly damp (wring it well).
– Work in small sections and change/flip the microfiber frequently if it picks up gray residue.
Small sections prevent re-depositing
– Use the “clean ahead, rinse-less approach”: mop forward in tight sections, then immediately move on.
– If the microfiber becomes gray, swap it—don’t keep spreading that slurry across the floor.
Moisture targets: finished vs. unfinished
– Finished hardwood: the goal is a uniform clean look with no visible wet streaking and no pooled cleaner in seams.
– Unfinished hardwood: damp-mopping can raise the grain and may darken or leave uneven tones; prioritize manufacturer-approved methods.
What can go wrong (and how to avoid it)
Problems usually happen when drywall dust gets turned into an abrasive slurry or when cleaning water lingers. The fix is to match method to finish type and strictly control both abrasion and moisture.
Below are the most common failure modes I see in real cleanup scenarios—along with how to prevent them before you do any “second-round” damage control.
Sweeping can redistribute drywall dust into the finish, increasing the risk of dullness and micro-scratches because grit is pressed and dragged across the surface.
Excess moisture can dull or cloud some finishes and can contribute to wood movement; most guidance stresses avoiding standing water and allowing thorough drying.
Cleaning chemistry matters: harsh degreasers, ammonia-based products, and abrasive scrubs are commonly discouraged unless the product label explicitly permits use on the specific wood finish.
Common mistakes—and what to do instead
– Sanding/grinding from sweeping: dry brooms and aggressive pads can turn dust into abrasive paste—vacuum first to reduce scratching risk.
– Too much water: soaking hardwood (or letting cleaner pool in seams) can cause dulling, swelling, or finish cloudiness.
– Using the wrong cleaner: avoid harsh degreasers, ammonia, and abrasive “scrub” powders unless the label explicitly allows them for your floor finish.
Quick comparison: what NOT to do vs. what to do
| Approach | Main risk | Safer alternative |
|---|---|---|
| Dry sweeping first | Grinds drywall dust into finish | Vacuum with soft brush attachment |
| Soaking/mopping wet | Finish dulling + moisture exposure | Barely-damp microfiber + quick dry |
| Steam mops (unless approved) | Heat/moisture can damage finishes | Use finish-approved cleaner method |
Verdict / tip: the most reliable approach (with downsides)
Best overall: vacuum thoroughly, then damp-mop with a microfiber and a cleaner approved for finished hardwood. This is the lowest-risk way to remove drywall dust film without turning it into an abrasive haze.
The downside is that stubborn corners, textured finishes, or wax/oil buildup can require a second damp-mop session. If you’re dealing with unfinished bare wood—or you’re not sure what finish is on top—skip aggressive DIY steps and follow the floor manufacturer’s care instructions.
The safest workflow for drywall dust removal on finished hardwood is typically “vacuum first, then damp clean,” because it reduces both abrasive grinding and standing-water exposure.
Microfiber cleaning works best when the pad is kept clean (changed or flipped), which prevents re-depositing gray residue left behind by drywall dust.
If a floor is cloudy after cleaning, the cause is often moisture left behind or residue from an incompatible cleaner; re-cleaning with a finish-safe product and avoiding soaking usually resolves it.
Finish-Safety Ranking for Drywall Dust Cleanup Methods (Practical Use, 2026)
| # | Method | Best for | Moisture level | Finish-safety |
|---|---|---|---|---|
| 1 | HEPA shop vac + soft brush head | Bulk drywall dust removal | None (dry) | ★★★★★ |
| 2 | Dry microfiber lift (lint-free) before vacuum | Loose crumbs / chunks | None (dry) | ★★★★☆ |
| 3 | Barely-damp microfiber mop + wood-safe cleaner | Gray film / residue cleanup | Damp (wrung-out) | ★★★★★ |
| 4 | Spot-clean edges with damp cloth (no pooling) | Baseboards + seams | Damp (localized) | ★★★★☆ |
| 5 | Dry broom after vacuum (light touch) | Last specks (optional) | None (dry) | ★★★☆☆ |
| 6 | Dry sweeping before vacuum | Not recommended | None (dry) | ★☆☆☆☆ |
| 7 | Steam mop / heavy wet mopping | Avoid unless manufacturer-approved | Wet / heat | ☆☆☆☆☆ |
– Best overall: vacuum thoroughly, then damp-mop with a microfiber and a cleaner approved for finished hardwood.
– Downside: if the dust has had time to dry onto wax/oil buildup or a very textured finish, you may need a second damp-mop session (and possibly a finish-safe spot treatment).
– Skip the DIY route if: your floor is unfinished bare wood, you suspect water intrusion underneath, or you’re unsure what finish is on top—use the manufacturer’s care instructions or a flooring pro.
Quick checklist (save this for the next job)
| Step | What to do | Goal |
|---|---|---|
| 1 | Vacuum with soft brush/dusting attachment | Lift fine dust without grinding |
| 2 | Small sections, edges + seams | Remove haze where dust hides |
| 3 | Barely-damp microfiber mop + wood-safe cleaner | Clean residue without pooling water |
| 4 | Change/flip pad often | Prevent re-depositing gray film |
| 5 | Let dry fully | Avoid dulling/finish haze from moisture |
Frequently Asked Questions
What’s the best way to remove drywall dust from hardwood floors without scratching them?
Start by dry-removing the bulk drywall dust using a vacuum with a soft floor brush attachment or a vacuum designed for fine dust. Avoid abrasive tools like a stiff broom, which can grind dust into the finish. After vacuuming, use a microfiber mop lightly dampened with clean water (or a hardwood floor cleaner) to pick up remaining powder, then dry promptly to prevent moisture damage.
How do you get fine drywall dust out of hardwood floor grooves and corners?
Use the vacuum’s crevice tool to reach edges, baseboards, and corners where drywall dust collects. For grooves and textured areas, follow up with a microfiber cloth wrapped around a putty knife or the edge of a damp mop pad—light pressure only. Finish with a second pass using a barely damp microfiber mop to lift residue, then buff dry with a clean, dry cloth.
How can you clean drywall dust off hardwood floors after sanding or renovation work?
Begin with thorough dry vacuuming first—dry dust removal is crucial before using any liquid. If dust is heavy, dampen a microfiber cloth slightly and wipe small sections at a time so you don’t spread the dust. For stubborn residue, use a hardwood floor cleaner in a spray-and-wipe method, then immediately buff dry to avoid streaks and water spots.
Why does drywall dust leave a haze on hardwood floors, and how do you fix it?
Drywall dust is extremely fine and can act like abrasive powder, dulling the finish or creating a dusty haze if it’s not fully removed. To fix it, vacuum completely, then clean with a pH-neutral cleaner made for hardwood floors and wipe in the direction of the grain. If haze persists, you may need a second cleaning pass or a manufacturer-recommended floor polish to restore clarity.
Which cleaning solution is safest for hardwood floors when removing drywall dust?
Use a pH-neutral cleaner specifically labeled for hardwood floors to safely lift drywall dust without harming the finish. Avoid harsh degreasers, ammonia-based cleaners, and strong solvents, which can damage polyurethane coatings or strip oils in unfinished wood. For best results, use minimal water, apply the cleaner to the mop/cloth (not directly onto the floor), and dry the area right after cleaning.
📅 Last Updated: October 29, 2026 | Topic: How to get drywall dust off hardwood floors? | Content verified for accuracy and freshness.
References
- Silica, Crystalline – Overview | Occupational Safety and Health Administration
- Silica, Crystalline – Overview | Occupational Safety and Health Administration
- https://www.cdc.gov/niosh/topics/silica/default.html
- Lead Renovation, Repair and Painting Program | US EPA
- https://www.epa.gov/lead/dust-lead-hazards
- https://www.cdc.gov/lead/prevention/renovation.htm
- HEPA
- https://scholar.google.com/scholar?q=drywall+dust+removal+hardwood+floor Google Scholar
- https://scholar.google.com/scholar?q=hepa+vacuuming+fine+dust+cleanup+construction+renovation Google Scholar
- https://scholar.google.com/scholar?q=lead+hazard+cleanup+hepa+vacuum+wet+wiping+floors Google Scholar