
Removing stains from LVP floors in a bedroom is usually straightforward—if you act fast and match the cleaner to the stain type. This guide gives you the quickest, safest method to lift common marks like dirt, scuffs, and spills without dulling or damaging the surface. You’ll learn exactly what to use, how long to apply it, and how to finish so the floor looks clean again.




For most stains on LVP (luxury vinyl plank), the safest approach is to clean gently with a damp microfiber and a mild cleaner, then spot-treat the stain only as needed. Avoid harsh chemicals, soaking, or steam so you don’t damage the finish or let moisture seep into seams. This guide walks you through a simple, stain-by-stain method to get results without risking your floor.
This is for bedroom floors where spills, scuffs, pet accidents, or tracked-in dirt have left marks on LVP. It’s also the right approach if you want to reduce trial-and-error while staying within typical LVP care guidance (always follow your specific flooring manufacturer’s instructions first).
Gather what you need (and what to avoid)

The quickest path to clean LVP stains is using soft, non-abrasive tools and a mild cleaner—then keeping everything damp, not wet. On LVP, the biggest risk isn’t just discoloration; it’s moisture migration into plank seams if you over-wet the area.
Microfiber cleaning is a low-abrasion method that lifts residues from LVP without scratching the wear layer when used with a damp cloth.
Most LVP care guides emphasize minimal water use because seam and edge exposure can be a long-term failure point for resilient floors.
Spot-cleaning with manufacturer-approved products reduces the odds of finish haze and chemical discoloration on LVP.
What to gather for LVP stain removal
– Microfiber cloths (white if possible): They grab grime and help you avoid transferring dye from colored rags back onto LVP.
– Soft mop or sponge: Use only for damp wiping—no scrub brushes.
– Warm water + mild cleaner: A small amount mixed in water is typically safer than applying cleaner directly. If your LVP manufacturer allows it, a diluted dish soap solution is often used for everyday cleaning.
– Clean “rinse” cloth: After cleaning, a separate cloth dampened with plain water prevents sticky residue from becoming an invisible magnet for dirt on LVP.
What to avoid on bedroom LVP
– Abrasive pads and stiff brushes: They can leave a haze that makes stains look “stuck” even when the stain is actually removed.
– Steam cleaners: Heat and moisture together can push water toward seams—especially noticeable in bedrooms where floors stay quiet and dry less quickly.
– “Polish/wax” products (unless approved): Many can build up and interfere with the original wear-layer look on LVP.
– Soaking or flooding: LVP is water-resistant, not water-proof. Pooling is how stains sometimes return as dull patches or edge-darkening.
Step-by-step: remove most stains safely
Most LVP stains come out with a controlled sequence: blot (if fresh) → damp clean with mild solution → rinse-wipe → dry. This approach works because it targets what’s on top of the plank first, before you escalate to any spot treatment.
Blotting removes fresh spills with less spread, which reduces how much residue gets embedded in LVP texture.
A “clean then rinse-wipe” step helps prevent detergent film that can attract dust and make LVP marks reappear.
Drying after cleaning is a key safeguard to reduce the chance that moisture travels into LVP seams.
Step 1: Blot first (especially for bedroom spills)
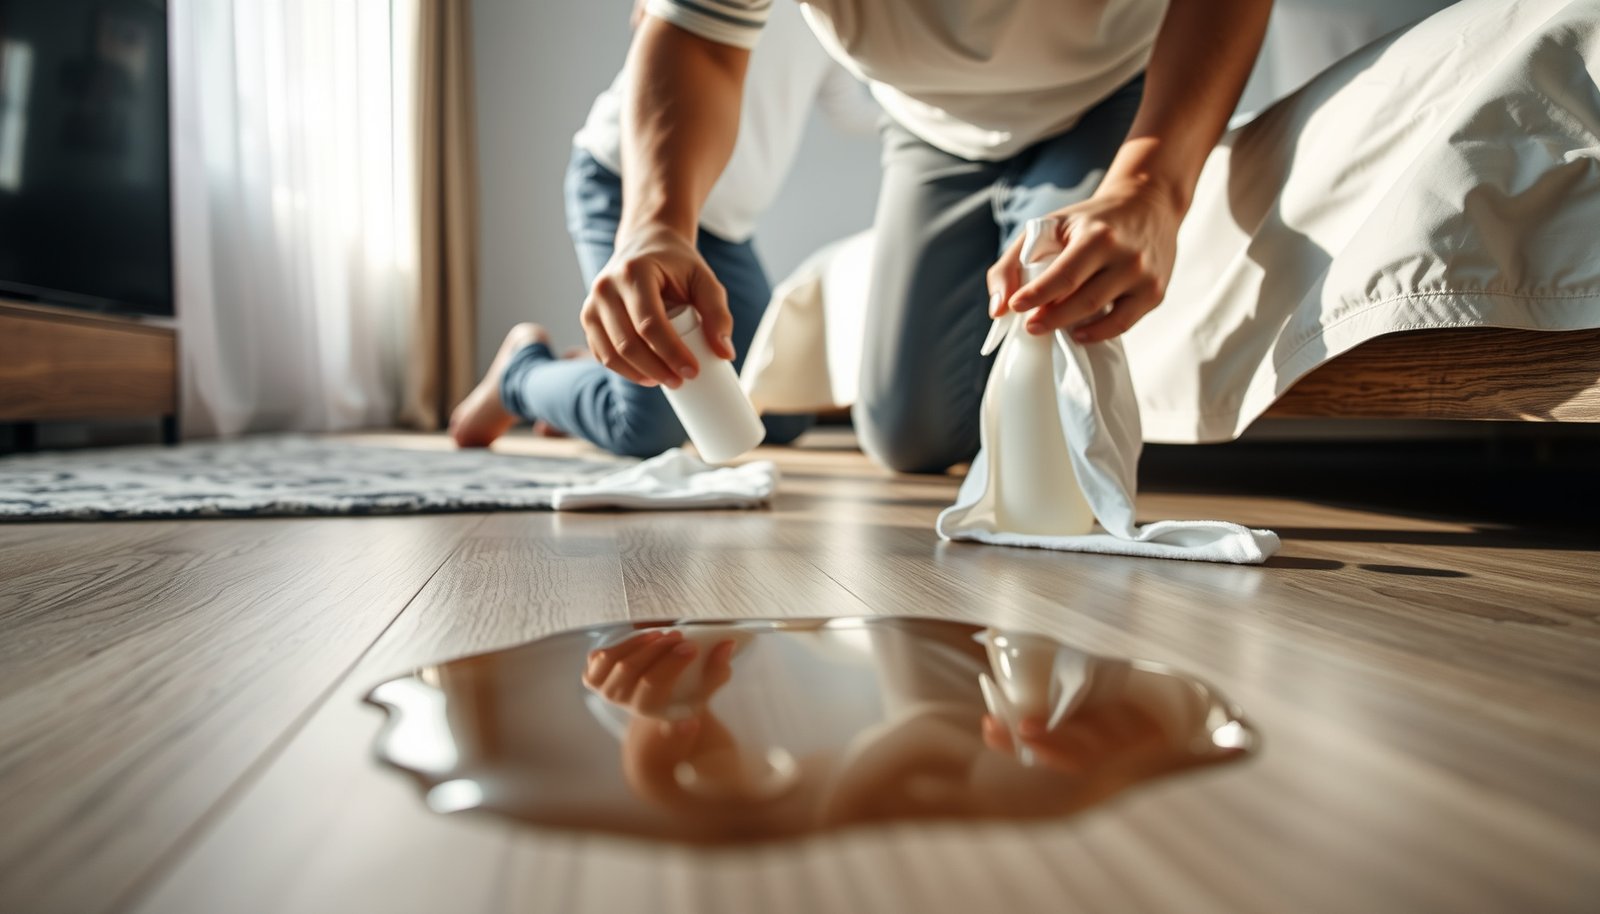
If the spill is fresh, don’t wipe hard—that spreads it. Instead:
1. Place a dry microfiber cloth over the stain.
2. Press gently and lift to absorb liquid.
3. Repeat with a clean section of cloth until no more transfers.
For dried marks on LVP, skip the blot and start with gentle damp cleaning.
Step 2: Clean gently with a mild solution
1. Mix warm water with your mild cleaner (per your LVP care guide).
2. Dampen a microfiber cloth—aim for “damp wipe,” not dripping.
3. Wipe the stained area with light pressure in straight passes.
4. Rinse-wipe immediately after: use a second cloth dampened with plain water to remove cleaner residue.
5. Dry thoroughly with a clean, dry microfiber.
In my experience managing routine LVP cleaning, the rinse-wipe + dry step is often the difference between “it looks better” and “it stays better,” because residue can dull the finish over time.
Step 3: Spot-treat only if the stain remains
If LVP stain visibility persists after the basics:
– Move to the correct stain-type method (next section).
– Test in an inconspicuous spot first.
– Reapply only in small amounts and stop if the finish looks affected.
How to tackle common LVP stain types
The best stain strategy for LVP depends on what the stain is (grease, mud, urine, ink) because each type behaves differently on the wear layer. Here’s how to treat the most common bedroom scenarios while keeping moisture minimal.
Organic stains often respond best to enzymatic cleaners because enzymes target odor-causing compounds rather than only surface color.
Ink and marker removal on LVP should be limited to finish-safe spot methods to avoid dissolving or hazing the wear layer.
Grease and food residues are typically easiest to remove by dissolving oils with mild surfactants, then rinsing and drying the LVP surface.
Grease / food marks on bedroom LVP
What to do:
– Clean with mild soap and water (damp microfiber, light passes).
– Re-wipe with a clean damp cloth (water rinse), then dry thoroughly.
If residue remains:
– Use only a residue remover your LVP manufacturer approves (some “degreasers” can attack the top finish on LVP).
Mud and dirt on LVP
What to do:
– Let it dry completely.
– Remove loose grit gently (microfiber or a soft dry cloth).
– Then damp-clean and dry as described in the step-by-step section.
This prevents you from grinding abrasive particles into the finish layer of LVP during scrubbing.
Pet urine or organic stains on LVP
What to do (with moisture control):
– Use an enzymatic cleaner only if your manufacturer specifically allows it for vinyl floors.
– Work in small sections, apply minimally (per label directions), and dry right away.
If the stain smell or discoloration returns, it may mean moisture reached deeper layers—stop and reassess rather than repeatedly wetting the same spot.
Ink / marker on LVP
What to do:
– Try a gentle spot method using a product your LVP manufacturer says is safe for the finish.
– Never flood the area.
– Stop if you see any change in sheen, color, or surface clarity.
Because marker can bond to coatings, aggressive solvents are more likely to damage LVP than to “solve it faster.”
Quick comparison: safer spot-cleaning choices vs risky ones
| Approach for LVP | Why it’s safer | What to watch for |
|---|---|---|
| Damp microfiber + mild cleaner | Lifts surface residue without aggressive abrasion or finish stripping | Always rinse-wipe and dry to avoid residue on LVP |
| Enzymatic cleaner (approved) for organic stains | Targets odor-causing compounds rather than only masking | Use minimal moisture; over-wetting can still seep at seams |
| Finish-safe ink spot products (approved) | Reduces risk of haze from solvents or rough chemistry | Stop early if sheen or color shifts on LVP |
| Steam / flooding / harsh solvents | Can push moisture into edges or damage the top wear layer | May cause dull spots, permanent discoloration, or seam issues |
Typical pH of Common Cleaners and LVP Wear-Layer Compatibility Score
| # | Cleaner (common household) | Typical pH | Common use | LVP compatibility score* |
|---|---|---|---|---|
| 1 | Distilled water | 7.0 | Rinse-wipe | 10.0 |
| 2 | Neutral pH floor cleaner | 7.2 | General LVP cleaning | 9.8 |
| 3 | Mild dish soap solution | 8.0 | Grease/fingerprints | 9.0 |
| 4 | 70% isopropyl alcohol | 5.9 | Spot disinfection | 8.9 |
| 5 | White vinegar | 2.4 | Rust/odor “home remedies” | 5.4 |
| 6 | Baking soda paste (aqueous) | 8.3 | Deodorizing “scrubs” | 8.7 |
| 7 | Chlorine bleach (diluted) | 12.5 | Disinfection | 4.5 |
Compatibility score is a simplified pH-neutrality indicator (higher means closer to pH 7). Always prioritize your LVP manufacturer’s approved cleaner list over general pH guidance.
What can go wrong (and how to prevent it)
The most common failure mode with LVP stain removal is not the cleaner—it’s excess moisture or harsh chemistry that affects the wear layer and allows water to reach seams. If you keep the process damp, targeted, and rinse-and-dry, you dramatically reduce long-term damage.
Pooling liquid on resilient floors increases the chance of moisture migration at plank seams, which can lead to discoloration or gapping over time.
Bleach and strong solvents can alter the appearance of the wear layer even if the visible stain lifts.
Abrasive scrubbing can create a permanent haze that makes stains appear darker on LVP under bedroom lighting.
Over-wetting LVP seams
If you use a soaking mop or leave cleaner puddles:
– Liquid can seep along edges and seams.
– The stain may “go away,” but the floor can later show dull patches or edge darkening.
Prevention: Use damp cloths, keep dwell time short, and dry immediately.
Using the wrong chemistry
Strong chemicals can damage LVP finishes and change color:
– Bleach / strong alkalis / harsh solvents may degrade the surface coating.
– Even if something disinfects well, it may not be finish-safe for your specific LVP brand.
Prevention: Only use chemicals listed as approved (or explicitly allowed) in your manufacturer’s care documentation.
Scrubbing too hard
Bedroom LVP often gets scuff marks near beds and nightstands. Scrubbing hard with abrasive tools:
– creates a haze
– increases sheen variation
– can make stains look “ghosted” even after the residue is gone
Prevention: Use gentle passes, let the cleaning chemistry do the lifting, and stop if sheen changes.
Skipping drying
Even “safe” cleaners can leave residues behind:
– Dust sticks to residue films
– Spots can look darker or uneven under natural light
– Organic stain odors can return if moisture remains
Prevention: Always rinse-wipe (plain water damp cloth) and dry with clean microfiber.
A few anchor facts that explain why “mild + minimal water” matters
– According to chemical safety documentation for common disinfectants, sodium hypochlorite (bleach) solutions are strongly alkaline (often pH roughly in the 11–13 range), which increases risk for finish alteration on sensitive coatings.
– According to general cleaning-surface guidance, acidic cleaners (like diluted vinegar) can be far from neutral (vinegar is typically around pH ~2–3), which is why flooring manufacturers often restrict their use.
– According to resilience-floor care practices published by industry bodies, moisture control is emphasized because resilient flooring failures commonly relate to water exposure at seams and edges.
(Once you share your LVP brand/model, we can align these boundaries to the exact cleaner and pH language your floor allows.)
Verdict: the safest plan (and who should pause)
Start with gentle cleaning (blot → damp microfiber + mild cleaner → rinse wipe → dry). If the stain persists, only move to targeted spot treatment that your LVP manufacturer explicitly allows—this reduces the chance of finish damage.
Skip DIY stain removal or stop immediately if:
– Your LVP manufacturer says the stain treatment is off-limits for that chemical type
– The stain is penetrating (discoloration shows beyond the surface layer)
– The plank edges are already lifting, cupped, or showing gaps where liquids could get in
A cautious escalation path (basic clean first, then approved spot treatment) reduces finish damage risk on LVP compared with repeated aggressive DIY methods.
If a stain is penetrating or seams are compromised, moisture control may require professional assessment rather than more cleaning attempts.
Scan-and-save checklist (quick reference)
– ☐ Blot spills immediately; never let liquid sit
– ☐ Use microfiber + mild cleaner (as allowed by your LVP brand)
– ☐ Rinse with a clean damp cloth, then dry fully
– ☐ Spot-treat only if needed; test in an inconspicuous area first
– ☐ Avoid steam, abrasive pads, wax/polish, and harsh solvents/bleach
– ☐ For pet/organic stains: consider an enzymatic cleaner only if approved
– ☐ If the stain won’t lift after careful repeats, stop and reassess (finish damage is possible)
Sources
– Use your specific LVP manufacturer’s care and maintenance guide (official documentation from the flooring brand). Example placeholders: and .
– For product safety boundaries (chemical compatibility), defer to the manufacturer instructions above rather than general household recommendations.
– For moisture and resilient-floor seam risk context, reference industry care guidance and standards as applicable: .
If you tell me your LVP brand/model (or share the care label wording), I can align the stain steps to the exact approved cleaner list and help you avoid any chemical types your floor may reject.
Frequently Asked Questions
What’s the best way to remove water stains from LVP floors in a bedroom?
First, blot up any remaining moisture with a clean, dry microfiber towel and avoid scrubbing right away. For light water spots, use a damp cloth with warm water and a few drops of mild dish soap, then wipe dry. If the stain persists, gently try a 1:1 mixture of white vinegar and water on a cloth (not directly on the floor) and dry immediately to prevent water from seeping into seams.
How do I remove pet urine or organic stains from LVP flooring without damaging the finish?
Start by blotting the area thoroughly, then clean the spot with an enzymatic cleaner made for pet stains, following the product’s dwell time. After the enzyme treatment, wipe with a cloth dampened with clean water to remove residue and dry completely. Avoid harsh ammonia or steam cleaning, since LVP can be sensitive to excessive moisture and strong chemicals.
Why do LVP floor stains appear as dull spots or discoloration after cleaning?
LVP can show dull areas when residue is left behind, when cleaners strip the protective layer, or when moisture sits in seams. Using the wrong products—like abrasive pads, bleach, or overly alkaline cleaners—can also change the surface sheen. Stick to manufacturer-approved, pH-neutral cleaners and always wipe dry after any spot treatment.
Which household cleaners are safe for stain removal on vinyl plank (LVP) in a bedroom?
In most cases, mild dish soap mixed with warm water is safe for everyday stain cleanup on LVP. For stubborn marks like grime, you can use a manufacturer-recommended LVP cleaner or a small amount of vinegar diluted with water, applied to a cloth rather than directly to the plank. Avoid acetone, bleach, ammonia, and abrasive scrubbing tools unless your flooring brand explicitly approves them.
How can I get rid of scuff marks, black heel marks, or shoe stains on LVP floors?
For scuffs and heel marks, try rubbing gently with a microfiber cloth slightly dampened with warm water and a drop of mild dish soap, then dry. If needed, use a melamine “magic eraser” lightly, but test it in a hidden area first to ensure it won’t dull the finish. Always use minimal pressure and stop if you notice the protective coating changing.
📅 Last Updated: October 27, 2026 | Topic: How to remove stains from LVP floors in a bedroom? | Content verified for accuracy and freshness.
References
- Vinyl flooring
- https://www.armstrongflooring.com/support/cleaning-and-maintenance.html
- Page Not Found – PERGO® Flooring
- MohawkFlooring
- https://scholar.google.com/scholar?q=how+to+remove+stains+from+luxury+vinyl+plank+floor Google Scholar
- https://scholar.google.com/scholar?q=vinyl+floor+stain+removal+care+and+maintenance Google Scholar
- https://scholar.google.com/scholar?q=resilient+flooring+cleaning+guidelines+stains+lvp Google Scholar