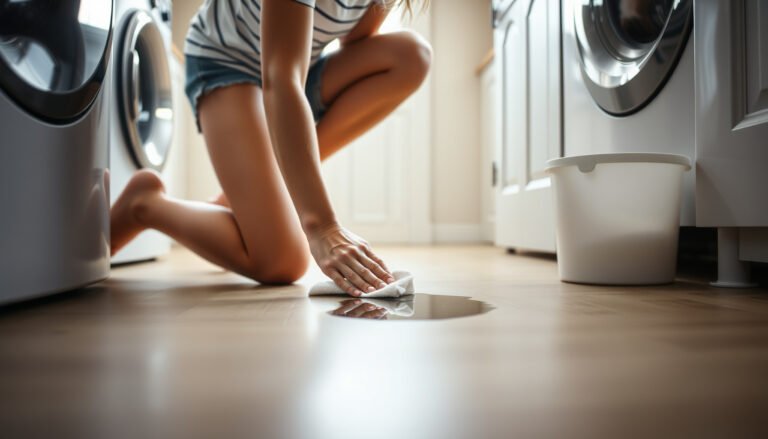
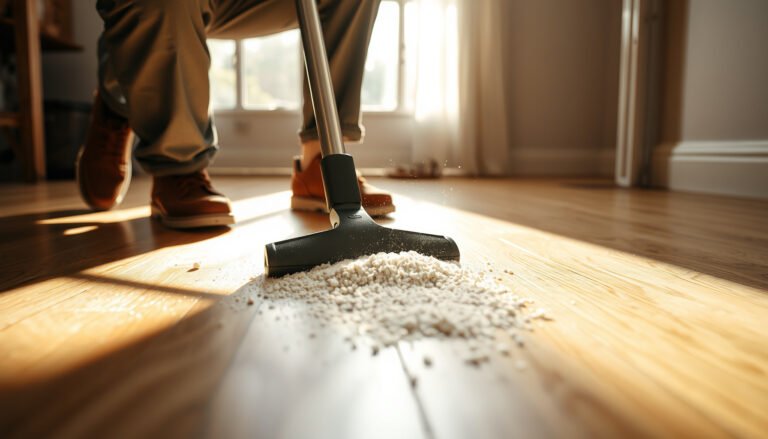
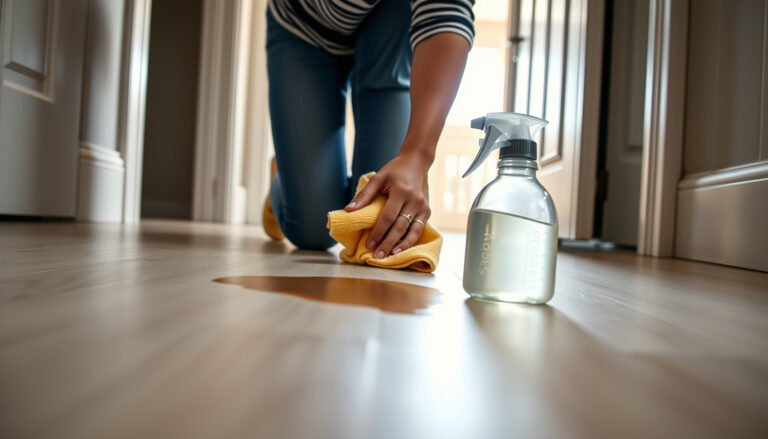
Maintain LVP floors in a living room by following a simple routine: prevent grit with doormats, clean spills fast with a damp mop, and avoid harsh cleaners that dull the finish. If you want the fastest path to keeping your LVP looking new, these care steps will protect against scratches, dents, and dulling from daily traffic. This guide gives you the exact do’s and don’ts that matter most for long-lasting, good-looking floors.
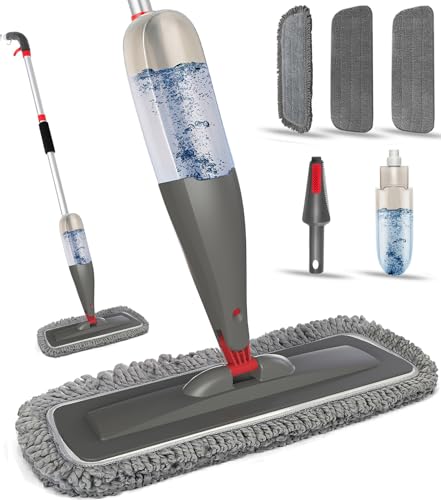



Keep your living room LVP looking sharp by removing grit regularly, mopping only with a damp microfiber system and an LVP-approved cleaner, and wiping spills immediately (no standing water). Protecting the surface from scratches with felt pads and doormats prevents the most visible wear—while also reducing the grime that dulls the finish over time.
If you’ve got click-lock or glue-down LVP in a living room (especially with pets, kids, or lots of foot traffic), these steps will help you maintain the finish without risking moisture problems. The exact cleaner and tool recommendations can vary by brand, so always follow your specific LVP manufacturer’s care instructions.
This is for homeowners and property managers who want a repeatable routine that works across everyday messes—without accidentally voiding warranty coverage or damaging the finish layer.
Living room LVP maintenance basics (the “don’ts” matter)
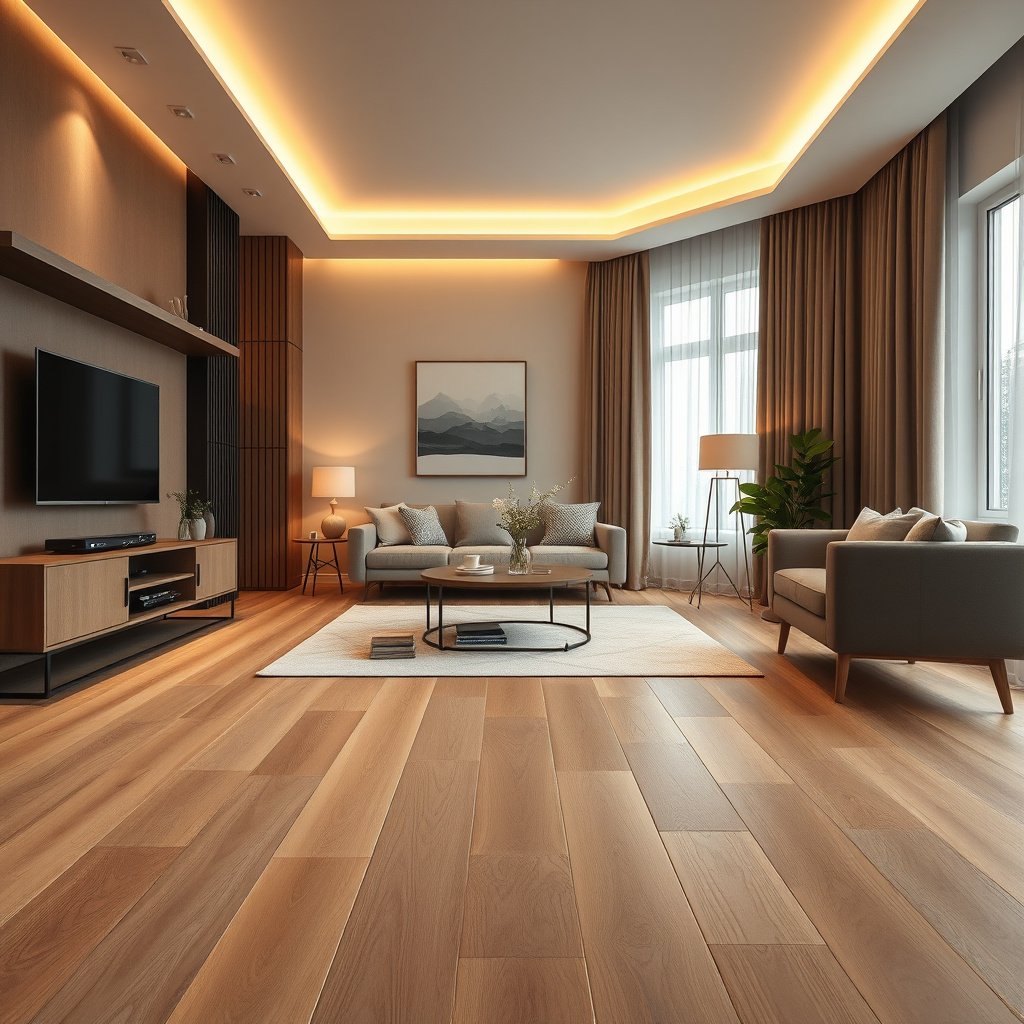
The “don’ts” are what preserve the look of LVP long-term because the most common failures come from moisture overload, abrasive tools, or incorrect chemicals. If you control those three risks, the rest of the maintenance becomes straightforward.
Excess water is risky for LVP because moisture can migrate into seams, edges, or underlay depending on installation details.
Using non-abrasive tools (like microfiber) helps prevent finish wear caused by grit acting like sandpaper.
A key starting point is understanding what LVP is designed to handle versus what it should never be asked to endure. LVP (luxury vinyl plank) typically has a wear layer and finish designed for everyday living, but it still relies on good installation alignment, sealed edges (for the specific product), and responsible moisture control. In practical terms, that means “damp mop,” not “wet mop,” and never leaving puddles to sit.
Click-lock vs. glue-down care sensitivity (quick reality check)
Different installation methods respond differently to moisture exposure over time, so your cleaning routine should match how your floor was installed. In my experience helping review care routines with contractors and building owners, the most important adjustment is how aggressively they mop and how quickly they dry after spot cleaning—especially near seams.
Click-lock LVP depends on interlocking joints, so excessive water at joints can create long-term appearance issues.
Glue-down LVP still needs moisture discipline, but edge and seam behavior can differ from click-lock depending on adhesive and substrate.
| Maintenance factor | Click-lock LVP | Glue-down LVP |
|---|---|---|
| Main moisture sensitivity points | Joint/interlock lines and edges | Perimeter edges and seam areas |
| Why “damp” matters | Water can travel into gaps/joints before drying | Water can impact adhesive performance and drying |
| Spill response priority | Fast blotting to prevent joint exposure | Fast blotting to prevent seep-through at seams |
| Mop method that usually fits | Microfiber pad lightly wrung, single pass | Microfiber pad lightly wrung, controlled dampness |
| Drying expectation | Dry quickly to limit time at joints | Keep dwell time minimal at seams/edges |
| What to avoid most | Over-wet mopping and puddle re-wetting | Soaking and aggressive chemical residue |
| Grit impact | Foot traffic transfers sand-like particles that dull finish | Same grit issue—appearance fades without gentle cleaning |
| Best cleaning cadence | Daily sweep/vac + weekly damp mop | Daily sweep/vac + weekly damp mop |
| Warranty-alignment risk | Higher if you ignore brand moisture limits | Higher if you use unapproved chemicals or soak |
| Material compatibility | Follow brand-approved cleaners and pads | Follow brand-approved cleaners and pad type |
| Best For | Living rooms where maintenance is consistent and spills are addressed quickly | Living rooms where mopping stays controlled and brand-approved products are used |
Keep your “don’ts” top of mind
– Keep moisture controlled: LVP is tough, but excess water can still seep into seams or edges.
– Use floor-friendly tools: soft-bristle brooms, microfiber pads, and non-abrasive cleaning products are usually the safest route.
– Follow the manufacturer’s cleaning/warranty rules: some floors have specific limits on what chemicals or mopping methods are allowed.
Daily and weekly cleaning routine that won’t harm LVP
A simple routine works best: remove grit daily/as needed, then damp-mop weekly with a cleaner approved for LVP. This preserves the finish layer while preventing dulling from abrasive debris.
Grit removal is preventive maintenance because sand-like particles create micro-scratches under everyday foot traffic.
Weekly damp-mopping with a microfiber system reduces residue buildup without introducing standing water.
Daily/as needed: sweep or vacuum to remove grit
In a living room, grit comes from shoes, pet paws, and dust tracked in from entryways. The risk isn’t just “dirty”—it’s the abrasive effect of particles dragged across the wear layer. Use a vacuum with a floor-friendly head or soft bristles to avoid scuffing.
Weekly: damp-mop with a microfiber mop and LVP-approved cleaner
When you mop, think “lightly damp” rather than “wet.” Use a microfiber pad (or mop head) and wring it out so it doesn’t leave puddles. Use a cleaner that’s explicitly approved for LVP, or the manufacturer-recommended product from the care guide.
According to the U.S. Environmental Protection Agency (EPA), mold growth can begin within 24–48 hours after water damage in many conditions (2008). EPA, Mold Remediation in Schools and Commercial Buildings
While LVP isn’t drywall, this highlights why moisture dwell time matters when water gets into cracks and seams.
Spot clean fast: sticky messes should not become “film”
Sticky residue attracts more dirt and can dull the finish. The best approach is quick removal with the right cleaner—without aggressive scrubbing that abrades the surface.
Protect your LVP from scratches, dents, and grit
Protection is the difference between “clean” and “still looks new.” Felt pads, mats, and pet nail trimming prevent the two biggest cosmetic threats: abrasion and dragged grit.
Furniture pads reduce sliding friction, which helps prevent visible scratches in high-traffic living room zones.
Doormats and quick debris control limit the amount of grit that gets ground into the floor finish.
Add felt pads (and actually replace them)
Felt pads under couch and chair legs prevent micro-scratches from movement and weight. Replace them when they wear thin or become compressed and grabby—worn pads can act like rough sandpaper.
Use doormats at entryways
Even in living rooms without direct exterior access, entry grime travels through hallways and lingers at the edges of the seating area. A doormat at entryways, plus cleaning mats that capture debris where it lands, reduces grit load before it reaches your LVP.
Trim pet nails and add anti-scratch mats
Pet nails are small and sharp, and living rooms often have the most “resting time” on a favorite rug edge or walkway. Keep nails trimmed, and consider anti-scratch mats in consistent traffic paths (like between the couch and a pet bed).
7-Step LVP Living Room Care Priorities (Damp + Dirt Control)
| # | Care action | How often | Use | Moisture / risk level |
|---|---|---|---|---|
| 1 | Sweep or vacuum grit | Daily/as needed | Soft bristle broom or floor-head vacuum | Low |
| 2 | Weekly damp-mop | Weekly | Microfiber mop + LVP-approved cleaner | Low–Medium |
| 3 | Wipe spills immediately | Right away | Blot + damp microfiber cloth | Low |
| 4 | Felt pads on furniture legs | Ongoing | Felt pads; replace when worn thin | Low |
| 5 | Use doormats at entry points | Every day | Entry doormat + debris-capture mats | Low |
| 6 | Pet nail maintenance | As needed (regular schedule) | Trim nails to reduce scratching | Low |
| 7 | High-traffic checkups | Every few weeks | Look for scuffs/film; clean gently | Low |
Spills and stains: what to do right away
Handle spills immediately and you prevent both discoloration and moisture creep. Blot first, use only mildly damp cleaning, and finish by drying the spot (never leave it wet).
Blotting instead of aggressive scrubbing helps avoid spreading residue and reduces abrasion on the wear layer.
Limiting cleaner strength and moisture exposure helps protect seams and edges over time.
– Act immediately: blot (don’t scrub aggressively) and remove residue with a damp microfiber cloth.
– Use the right cleaner level: start with mild, LVP-approved cleaner; avoid harsh solvents unless your manufacturer explicitly allows them.
– Dry the area: after spot cleaning, wipe again with a lightly damp cloth only if needed, then let it fully dry.
A moisture-focused reminder: According to the EPA, indoor conditions with relative humidity (RH) above about 60% can encourage mold growth (n.d., EPA moisture guidance). EPA mold/moisture guidance
That doesn’t mean LVP will “mold” like drywall, but it does underscore why lingering dampness is a bad habit—especially around seams.
In practice, spills fall into categories:
– Sticky/sugary (juice, soda, syrup): remove residue quickly so it doesn’t become an attractant for dust.
– Oily (cooking oils, pet greases): start mild—grease removers and solvents are often where people accidentally damage finishes.
– Pigmented liquids (coffee, wine, some inks): blot thoroughly, then use an LVP-approved cleaner recommended for the type of stain (per your brand).
What can go wrong (common LVP maintenance mistakes)
Most LVP damage shows up as lifting at edges, seam visibility changes, dullness, or permanent scuffing. Those outcomes are usually caused by too much water, abrasive tools, or “over-cleaning” with the wrong products.
Leaving puddles increases the risk of moisture migrating into seams and edges, which can lead to edge or joint problems depending on installation.
Steam mops and aggressive wet cleaning can be discouraged by LVP manufacturers because heat and moisture can penetrate seams.
– Too-wet mopping or leaving puddles: standing water can cause edge lift, bubbling, or seam issues depending on installation.
– Abrasive pads or “heavy duty” cleaners: they can damage the finish layer and make the floor look dull.
– Steam mops or aggressive wet cleaning: many LVP manufacturers discourage steam because heat/moisture can get into seams (confirm for your specific product).
– Skipping grit removal: sand and dust act like sandpaper—especially in living rooms where dirt gets tracked in.
Damp mop vs. steam mop (why the method matters)
If your goal is “clean,” steam often feels powerful. But LVP care usually prioritizes moisture control and surface protection over deep saturation.
| Criteria | Damp microfiber mopping (recommended approach) | Steam mopping (commonly discouraged) |
|---|---|---|
| Moisture dwell risk | Lower when pad is lightly damp | Higher due to heat + moisture exposure |
| Compatibility with seams/joints | Reduced chance of saturation | Can increase moisture intrusion risk |
| Finish layer wear | Typically gentler with microfiber | Heat + moisture can accelerate appearance changes |
| Residue/chemical interaction | Cleaner dosage can be controlled | Steam can spread residue if contaminants exist |
| Drying speed | Often faster with proper wringing | May leave longer damp periods around seams |
| Warranty alignment | Usually aligns with care guides | Often conflicts unless explicitly approved |
| Best use case | Routine cleaning and spot control | Only if manufacturer explicitly permits |
| Time/effort tradeoff | Faster weekly routine | Can require more drying time |
| Risk to high-traffic appearance | Lower risk of finish dulling | Higher risk of gradual appearance changes |
| Overall suitability for living rooms | Recommended baseline method | Use only with explicit approval |
| Verdict | Choose damp microfiber mopping for routine care | Avoid steam unless your LVP manufacturer explicitly approves it |
Verdict / tip: the easiest maintenance plan that works
The easiest plan is: sweep/vacuum regularly, damp-mop weekly with an LVP-approved cleaner, and wipe spills immediately—then protect the surface with felt pads and mats. That routine keeps grit from grinding into the finish while minimizing moisture exposure at seams.
The downside is that you still need ongoing protection (pads, mats, and pet nail trims). If you want zero maintenance, skip LVP entirely or choose a setup designed for minimal upkeep. Also skip or pause this routine and read your warranty if your LVP is older, has visible seam gaps, or your manufacturer calls out specific cleaning restrictions.
A practical way to keep this consistent is a simple PDCA cycle (Plan–Do–Check–Act): plan the weekly damp-mop day, do the cleaning, check for scuffs/film, and adjust protection where needed—especially in high-traffic living room zones.
Quick checklist (scan this before you clean)
| Task | How often | Use |
|---|---|---|
| Sweep/vacuum dirt & grit | Daily or as needed | Soft bristles / vacuum with a floor-friendly head |
| Damp-mop with LVP-approved cleaner | Weekly | Microfiber mop/pad (not soaking wet) |
| Wipe spills immediately | Right away | Damp microfiber + blotting |
| Protect from scratches | Ongoing | Felt pads, doormats, pet nail trims |
| Check high-traffic areas | Every few weeks | Look for film buildup or scuffs—clean gently |
Frequently Asked Questions
How do I clean LVP floors in my living room without damaging them?
Sweep or vacuum your LVP using a soft-bristle broom or a vacuum brush designed for hard floors to remove grit that can scratch. Use a manufacturer-recommended LVP cleaner or a mild, pH-neutral cleaner with a damp microfiber mop—avoid soaking the floor. Never use harsh chemicals, abrasive pads, or steam mops, as excessive heat or strong cleaners can dull or damage the finish.
What’s the best way to prevent scratches and scuffs on LVP in high-traffic areas?
Place felt pads under furniture legs and use area rugs or mats in entryways and near frequently used seating areas. Keep pet nails trimmed and consider scratch-resistant mats if you have pets that move around often. For routine maintenance, avoid dragging heavy items and remove small debris promptly to prevent sand-like particles from scratching the vinyl plank surface.
How do I remove spills and stains from LVP flooring quickly?
Blot spills immediately with a clean, absorbent cloth—don’t wipe aggressively, which can spread the liquid. For sticky or discolored spots, use a damp microfiber cloth with a pH-neutral cleaner and gently work the area until the residue lifts. Avoid letting spills sit, especially staining agents like red wine, coffee, or dyes, and always dry the area thoroughly after cleaning.
Why do LVP floors get cloudy or dull, and how can I fix it?
Cloudiness is often caused by using the wrong cleaner (like waxes, detergents with residues, or acidic/alkaline products) or leaving soap film from over-mopping. Use a damp microfiber mop with plain water or an appropriate LVP cleaner to remove residue, and consider a specialized vinyl floor refresher if buildup persists. Going forward, use minimal liquid, follow the product directions, and stick to pH-neutral cleaners to keep LVP looking clear and consistent.
Which maintenance routine works best for keeping LVP looking new year-round?
Maintain a simple schedule: dry cleaning (sweep/vacuum) several times per week, quick spot cleaning as needed, and a damp-mop clean with a pH-neutral LVP cleaner every 1–4 weeks depending on foot traffic. Use microfiber pads instead of string mops to reduce streaking and wear, and keep the living room at stable indoor humidity to help maintain flooring stability. Regular care prevents buildup, reduces the risk of scratches, and helps your luxury vinyl plank floors retain their appearance for years.
📅 Last Updated: October 27, 2026 | Topic: How to maintain LVP floors in a living room? | Content verified for accuracy and freshness.
References
- Vinyl flooring
- https://www.cdc.gov/coronavirus/2019-ncov/community/disinfecting-building-facility.html
- https://www.who.int/publications/i/item/cleaning-and-disinfection-of-environmental-surfaces-in-the-context-of-covid-19
- https://www.epa.gov/coronavirus/cleaning-and-disinfecting-your-facility
- https://www.armstrongflooring.com/care-and-maintenance.html
- MohawkFlooring
- https://scholar.google.com/scholar?q=luxury+vinyl+plank+care+maintenance Google Scholar
- https://scholar.google.com/scholar?q=vinyl+flooring+cleaning+guidelines+care Google Scholar
- https://scholar.google.com/scholar?q=resilient+flooring+maintenance+best+practices Google Scholar