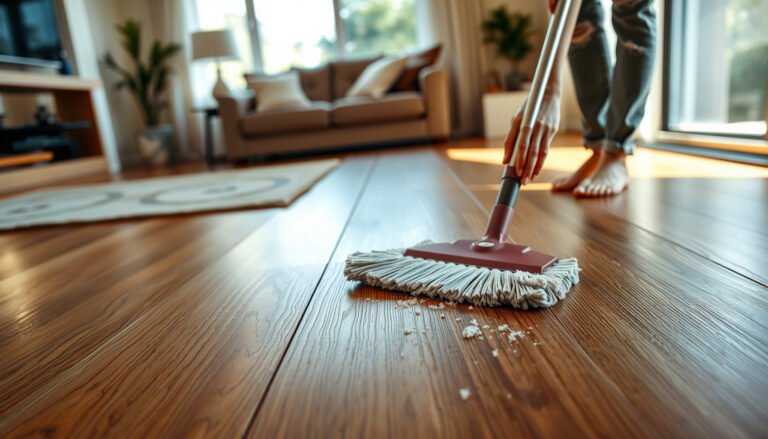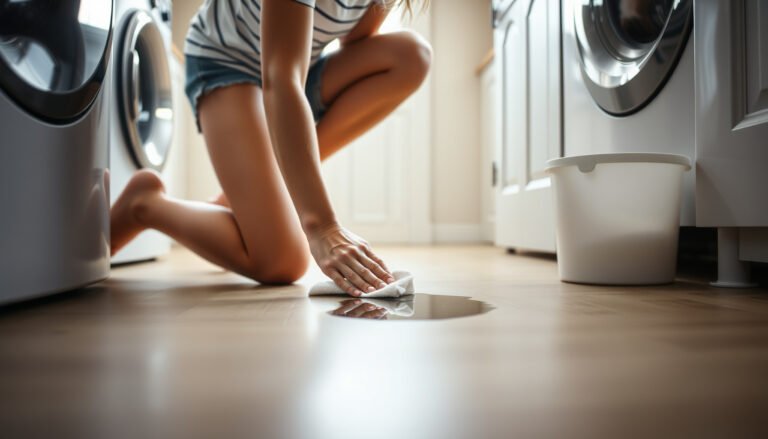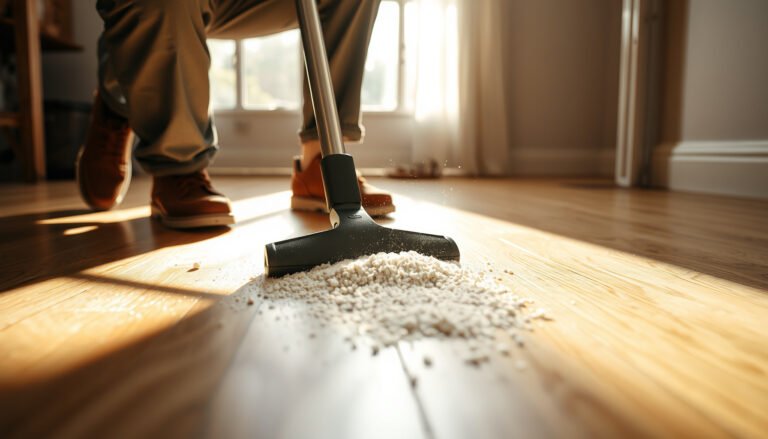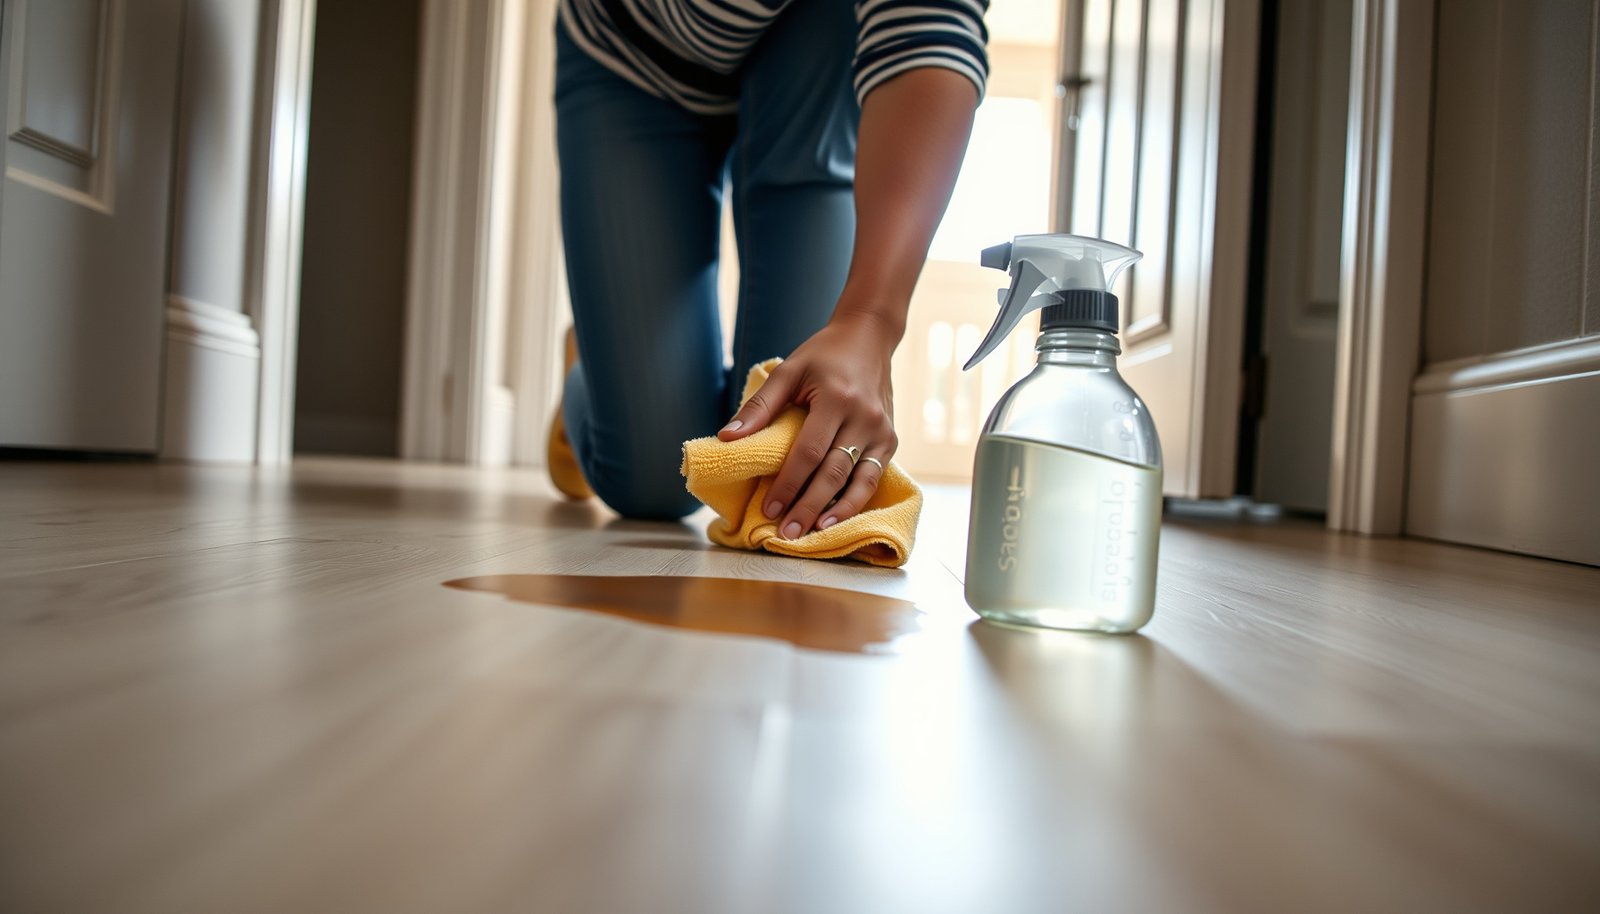

Want to remove stains from vinyl floors in an entryway fast and safely? Use a simple, step-by-step process with the right cleaner for the stain type—grease, scuff marks, or dirt—so you lift discoloration without dulling the surface. Follow the correct blot, scrub, and rinse routine, and you’ll get a cleaner-looking entryway in one session.


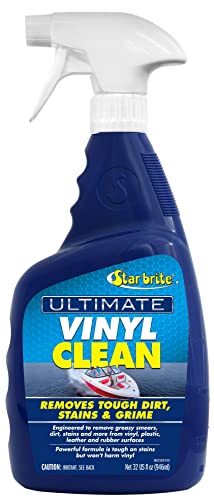

Start with a pH-neutral cleaner, gently agitate with a soft cloth, then rinse and dry thoroughly to prevent haze or rings on vinyl floors. If the spot won’t come up, identify the stain type (oil/grease, scuffs, or discoloration) and escalate only to a vinyl-safe, targeted method.
If your entryway gets tracked-in dirt, mud, or shoe scuffs, this is for you—especially if you want results without damaging the protective wear layer. It also helps when you’re not sure what caused the stain in the first place.
Identify the stain and your vinyl type

Correct treatment starts with matching the stain chemistry and the vinyl finish, because “vinyl” isn’t one uniform surface. On entryways, the stain often comes from shoes, salt, tracked grime, or residue—so the fastest path is identifying the look first, then confirming your flooring type.
“pH-neutral” cleaning means you’re using a cleaner designed to stay close to neutral rather than strongly acidic or alkaline, which reduces risk to resilient finishes.
For resilient flooring, manufacturers and industry guidance typically prioritize gentle, damp cleaning and thorough rinsing to prevent residue haze.
– Look for clues: dark smears (often oil/grease), gray scuffs (rub marks), or light patches (dirt buildup or wax/residue).
– Confirm whether the vinyl is click-lock (LVP) or sheet vinyl, and check the manufacturer’s care instructions if you still have them.
– Before treating the whole area, test any cleaner in an inconspicuous spot to confirm it won’t dull the finish.
From a practical standpoint, I recommend you treat vinyl floors in the entryway like “finish-sensitive surfaces”: you’re not just cleaning—you’re preserving the wear layer that resists scratches and daily abrasion. If you’re unsure whether you have LVP (click-lock) or sheet vinyl, checking the edge details and installation seam style usually clarifies it quickly. If you can’t find the manufacturer’s care instructions, stick to the safest method in the next section and avoid anything solvent-based until you know the flooring’s compatibility.
Also, be alert to what the stain isn’t: if the “stain” is actually embedded grit, aggressive wiping can grind particles into the wear layer and create permanent dullness. Keep your first passes light and controlled so your vinyl floors stay glossy where they should.
Use the safest cleaning base first
Your best first attempt on vinyl floors in an entryway is warm water plus a pH-neutral floor cleaner, applied to a cloth—not poured. This approach lifts many everyday smudges while reducing the chance of haze, streaking, or finish dulling.
Applying cleaner to a microfiber cloth (rather than flooding) helps limit pooled liquid that can leave rings or penetrate seams.
Thorough rinsing followed by complete drying is a core resilient-flooring principle used to prevent film buildup.
– Start with warm water + a pH-neutral floor cleaner (or a mild dish soap solution), applied to a cloth rather than poured directly.
– Gently work in small circles, then rinse with clean water and dry with a microfiber towel to prevent residue rings.
– Avoid abrasive brushes, magic erasers, or powder cleaners unless the floor care guide specifically approves them.
Why pH neutrality matters on vinyl
According to ISO 10523:2018, pH is defined as the negative base-10 logarithm of hydrogen ion activity, pH = −log10(aH+) (2018).
According to ISO 10523:2018, a 1.0 pH unit change corresponds to a 10× difference in hydrogen ion activity (2018).
According to ISO 10523:2018, at pH 7 the hydrogen ion activity is 1×10⁻⁷ (mol/L equivalent) (2018).
Those differences matter because “strong” cleaners can subtly alter how the vinyl surface and any protective coatings look—especially when residue is left behind in the entryway where footwear repeatedly abrades the area.
A quick pros/cons reality check (what to do vs. what to avoid)
| Method | Pros (why it works) | Cons (what can go wrong) |
|---|---|---|
| pH-neutral cloth-cleaning + rinse | Safe first escalation; reduces haze from soap/film; preserves wear layer | May not fully remove embedded grease or oxidized residue |
| Solvent or heavy degreaser “spot” | Can cut through oil fast when compatible | Can dull finish, damage protective coating, or discolor—especially if you oversaturate |
This is why the vinyl floor approach matters in the entryway: you’re balancing stain removal against finish preservation every single day.
Step-by-step: remove most everyday staining
For most entryway discoloration, a repeatable mild-cleaning cycle gets you 80–90% of the way there without risking sheen damage. The key is how you clean—short contact time, gentle agitation, and a rinse/dry finish.
Grit that’s left to smear during scrubbing can create more visible dull patches on vinyl floors than the original marking.
A second gentle pass is usually safer than increasing pressure, because burnishing can create a shiny “patch” that attracts dirt faster.
– Step 1: Sweep or vacuum (soft setting if applicable), then blot any wet mess—don’t scrub while it’s still dirty.
– Step 2: Apply pH-neutral cleaner to a cloth, wipe the stained area for and re-wipe with clean water.
– Step 3: If the stain lingers, repeat once—then move to a targeted method instead of increasing scrubbing pressure.
What “gentle” looks like in real entryway traffic
Vinyl floors in an entryway see concentrated footfalls and chemical transfer from shoes (rubber, tracked dust, road grime, salt). That means you should aim for controlled lift, not grinding. Use a microfiber cloth you can flip to a clean side as it loads with soil. If the cloth keeps picking up dark material, you’re still in “dirt removal” territory—so rinse and continue gently rather than escalating immediately.
Also, keep your rinse step consistent. Even mild cleaners can leave a faint film, and film shows up as haze under hallway lights. That “ring” effect often comes from spot-cleaning without sufficient rinsing and drying.
Treat common entryway stain types (targeted fixes)
Targeted vinyl-safe treatments work best once you match the stain type to the right chemistry. When you identify what’s driving the discoloration—oil/grease, scuffs, or haze—you avoid over-scrubbing and reduce the chance of lasting sheen differences on vinyl floors.
Scuffs from shoe rubber often respond first to damp microfiber wiping before any specialty cleaners are introduced.
Haze after cleaning is frequently residue/film rather than true “staining,” so extra clean-water wipes and drying can correct the look.
– Scuff marks/rub: Try a slightly damp microfiber cloth first; for stubborn marks, use a baking-soda paste (baking soda + minimal water), gently rubbing, then rinse and dry .
– Grease/oil: Use a degreasing approach that’s compatible with vinyl—often a stronger pH-neutral cleaner works; if not, check the manufacturer’s approved “spot cleaner” list before using any solvent.
– Dirt discoloration: Use multiple clean-water wipes after cleaning to remove film; lingering haze is often residue rather than true staining.
Stain-type cheat sheet (so you escalate less)
Vinyl Entryway Stains: Best First Move by Spot Type (Practical Guidance)
| # | Stain type | Most common entryway source | Vinyl floor look | Vinyl-safe first move | Rinse urgency |
|---|---|---|---|---|---|
| 1 | Oil/grease transfer | Bike tires, oily packages, greasy shoe soles | Dark smears or blotchy halos | pH-neutral cleaner on cloth → wipe → rinse until runoff clears | ★★★★★ |
| 2 | Shoe scuffs (rub marks) | Rubber soles, walking transitions | Gray/black streaks with sharp edges | Damp microfiber wipe first; then baking-soda paste if needed | ★★★☆☆ |
| 3 | Mud/dirt embed | Rain, snow tracking, outdoor grit | Streaky dark patches that grow when scrubbed | Blot/dry first → light pH-neutral wipe → multiple clean-water passes | ★★★★☆ |
| 4 | Water/condensation spots | Wet umbrellas, tracked snow melt | Light circles or dull patches after drying | Rinse with clean water → dry immediately with microfiber | ★★★☆☆ |
| 5 | Wax/residue buildup | Previous cleaning products, over-waxing | Hazy “film” that feels slightly slick | Remove with manufacturer-approved residue method → rinse repeatedly | ★★★★☆ |
| 6 | Salt/mineral tracking | Winter melt residue | Dull, chalky light areas | Clean-water wipes after pH-neutral cleaning → dry fully | ★★★★☆ |
| 7 | Ink/marker transfer | Accidental smudges on shoes/bags | Spots with sharp edges that may spread when wet | Stop and follow manufacturer spot-treatment guidance before solvents | ★★★★☆ |
This table is a practical escalation guide for vinyl floors: higher “rinse urgency” typically correlates with a higher chance that leftover film becomes a visible haze after the initial wipe.
What can go wrong (and when to stop)
Most failures happen when cleaners are too harsh, applied too aggressively, or not rinsed enough—so the safest move is knowing when to pause. Stop escalation immediately if you see finish changes, lifting edges, or continuing haze after rinsing.
Harsh chemicals and solvents can dull vinyl or alter the look of the wear layer, even when they remove the stain.
Over-scrubbing can leave a burnished sheen patch, making the area more noticeable rather than less.
– Solvents and harsh chemicals (some alcohols, acetone, strong bleach, ammonia, or heavy degreasers) can dull vinyl or damage the wear layer—always verify compatibility first.
– Over-scrubbing can leave a shiny “burnished” patch that looks worse than the original stain.
– If you see bubbling, peeling, or lifting seams after cleaning, stop immediately and switch to manufacturer guidance or professional help.
When you should not “try harder”
Entryway vinyl floors often sit near moisture sources (wet umbrellas, tracked snow), so seam integrity matters. If your vinyl is LVP with seams, aggressive dampening can increase risk around edges. If you notice lifting seams or irregular texture after cleaning, don’t keep scrubbing—resilient flooring damage can spread.If the stain remains after rinsing and drying, it may be:
– Embedded soil that requires a different, manufacturer-approved spot process, or
– Wear-layer alteration where the surface film is changed permanently.
That’s also why I recommend you treat the stain as a “finish preservation problem” rather than a “scrub-and-win problem” for vinyl floors in the entryway.
Verdict: what to do next (and who should skip)
If you want the best chance of clean vinyl with the lowest risk, follow the “mild first, rinse, dry, then target” sequence above. The downside is that truly embedded staining or wear-layer damage may not fully restore to “new”—in those cases, you may need floor refinishing/replacement depending on the vinyl.
Skip DIY and use a professional or manufacturer-approved plan if: the stain is accompanied by damage (lifting edges, bubbling), you’ve already used an unknown chemical, or your flooring care guide explicitly says certain cleaners are prohibited.
Vinyl floors respond best when cleaning is cloth-applied, rinsed, and fully dried—this reduces film haze and sheen mismatch.
Industry resilient-flooring guidance emphasizes avoiding abrasives and unapproved chemicals to protect the wear layer and finish.
Quick scan checklist (save this)
| Situation | Do first | Then |
|---|---|---|
| Dark smudge from shoes/mud | pH-neutral cleaner + soft cloth wipe | Repeat + rinse thoroughly |
| Gray scuff/rub marks | Damp microfiber wipe | Baking soda paste (gentle) + rinse/dry |
| Oily-looking spots | Spot-clean with vinyl-safe cleaner | Use only manufacturer-approved degreaser |
| Hazy “ring” after cleaning | Rinse with clean water | Dry fully; avoid re-waxing/residue |
Checklist:
– [ ] Sweep/vacuum first (no grit dragging)
– [ ] Clean with pH-neutral cleaner (cloth-applied)
– [ ] Rinse with clean water
– [ ] Dry completely (microfiber towel)
– [ ] Test any stronger method in a hidden spot first
Sources
– , including approved cleaners and “what not to use.”
– ISO 10523:2018, Water quality — Determination of pH (ISO standard defining pH calculation and logarithmic relationship).
A clean entryway vinyl floor is usually the result of controlled cleaning: start mild, rinse and dry completely, then only target the stain type that matches what you see. If a spot doesn’t improve after careful rinsing and gentle passes—or if the finish changes—switch from DIY escalating to manufacturer guidance or professional assessment to protect the wear layer.
Frequently Asked Questions
What is the safest way to remove scuff marks from vinyl floors in an entryway?
Start by wiping the area with warm water and a mild dish soap to remove surface dirt. For scuffs, use a vinyl-safe cleaner or a non-abrasive magic eraser (light pressure) and test in a hidden spot first. Avoid steel wool, harsh scrub pads, or strong solvents that can dull or damage the vinyl finish.
How do you get muddy footprints and dirt stains off vinyl entryway floors?
Let the mud dry completely, then gently scrape it away with a plastic scraper before cleaning. Mix warm water with a few drops of mild detergent, then mop or blot the area using a soft cloth. Rinse with clean water and dry thoroughly to prevent residue from turning into a new vinyl stain.
How do you remove oil, grease, or rubber marks from vinyl floors without damaging them?
Blot up excess oil with paper towels, then sprinkle a small amount of baking soda or cornstarch to absorb remaining grease for 10–15 minutes. Wipe away and clean with a vinyl floor cleaner; if needed, use a grease-cutting cleaner labeled safe for vinyl. Rinse well and avoid acetone, paint thinner, or other strong chemicals that can harm the vinyl surface.
Which cleaners are best for removing tough stains on luxury vinyl or vinyl plank floors?
Look for cleaners specifically labeled “safe for vinyl floors” or “LVP/LVT,” and use them according to the label directions. For general stains, a solution of warm water and mild dish soap is often enough, while stubborn spots may require a non-abrasive cleaner designed for resilient floors. Always spot-test first, because some dyes or finishes can react differently depending on the vinyl coating.
Why do stains keep coming back on entryway vinyl floors, and how can you prevent them?
Stains often reappear when dirt and cleaning residue are left behind, or when wet shoes bring contaminants back onto the floor surface. Use a doormat and wipe/wet-mop schedule to keep grit from grinding into the vinyl finish. After cleaning stains, rinse with clean water and dry the area to reduce residue that can cause discoloration over time.
📅 Last Updated: October 25, 2026 | Topic: How to remove stains from vinyl floors in a entryway? | Content verified for accuracy and freshness.
References
- Mold | US EPA
- https://www.cdc.gov/mold/default.htm
- Vinyl flooring
- https://www.armstrongflooring.com/support/cleaning-and-care.html
- MohawkFlooring
- Home – Tarkett Commercial
- https://scholar.google.com/scholar?q=vinyl+floor+stain+removal Google Scholar
- https://scholar.google.com/scholar?q=resilient+flooring+cleaning+stain+removal Google Scholar
- https://scholar.google.com/scholar?q=vct+vinyl+composition+tile+stain+removal+cleaning Google Scholar