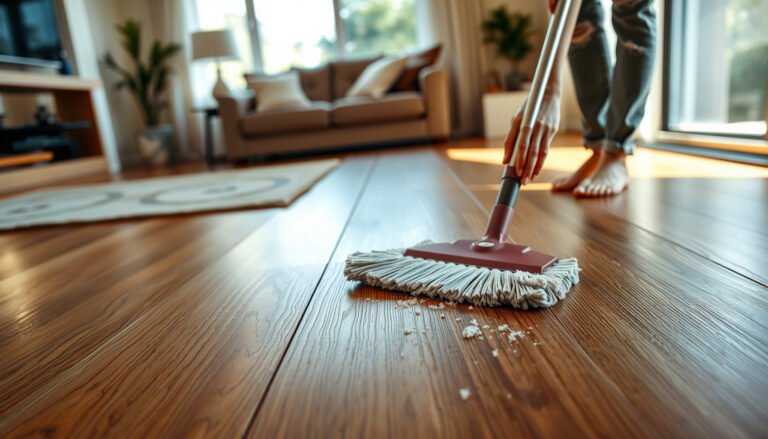

If you want to prevent water damage to laminate floors in a patio, the clear winner is a fully sealed surface plus aggressive leak control at every entry point. Follow a waterproof underlayment, install and seal the floor seams and edges, and keep water from pooling by tightening drainage and addressing spills immediately. This guide shows exactly what to do—and what to stop doing—so your patio laminate stays flat, dry, and intact.




To prevent water damage to laminate on a patio, keep rain and splash water from reaching the boards by using the correct moisture barrier/underlayment, sealing the right seams and transitions, and eliminating standing water. If water does get in, dry laminate flooring quickly—because moisture at joints and under edges is what leads to swelling, warping, and bubbling in 2026.
Patio laminate can still be made more durable, but only when the installation is treated like a moisture-control system, not just a surface finish. This guidance is for homeowners who are using laminate on (or near) a patio and want to reduce swelling, warping, or bubbling caused by rain splash, tracked-in moisture, and condensation. It’s especially important if your patio is exposed to frequent rain or you get puddles near doors, steps, or sliding openings.
Install laminate right for patio moisture control
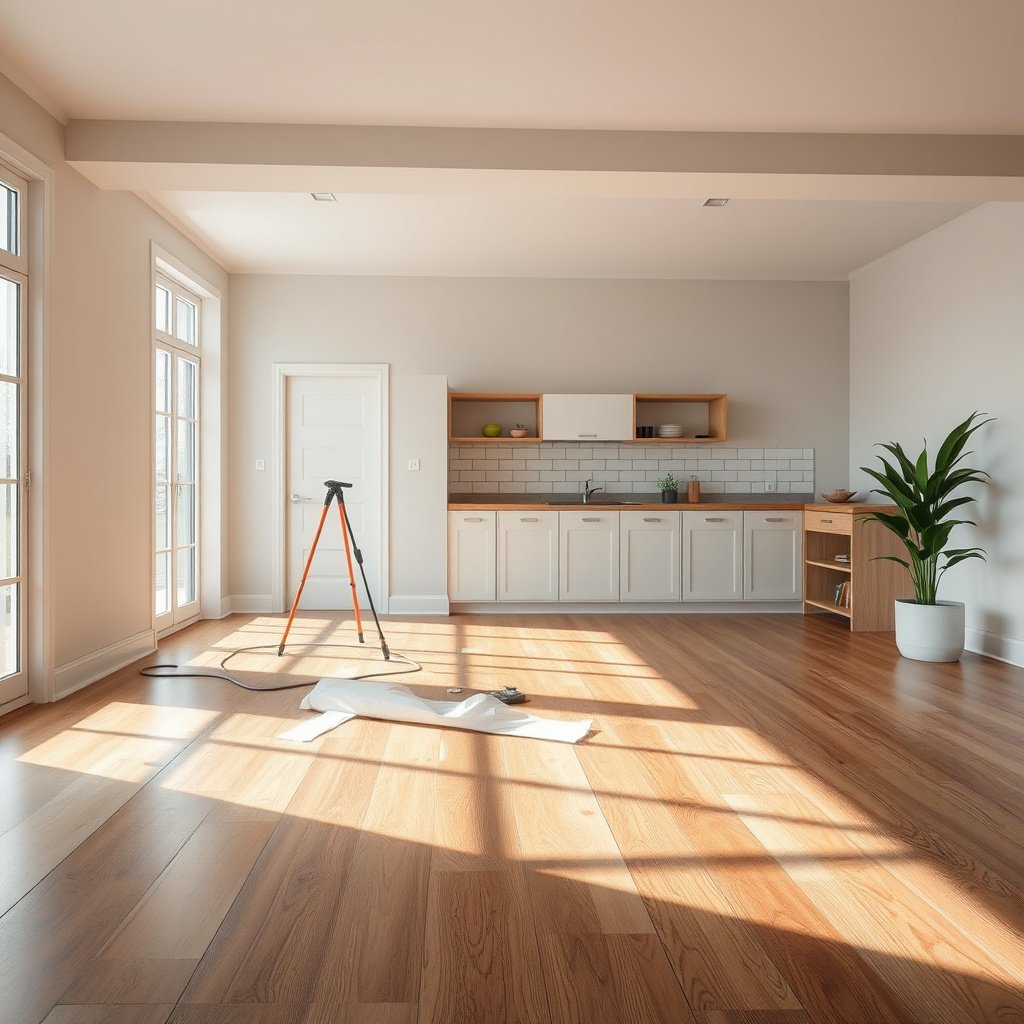
The fastest way to reduce laminate flooring damage on a patio is to start with the correct moisture-rated product and a properly built underlayment system. When laminate flooring is installed correctly (including any required vapor barrier), the boards are far less likely to absorb moisture through seams and edges.
“Laminate flooring should be installed strictly per the manufacturer’s instructions, including any ‘not for wet locations’ language in the warranty.”
“Underlayments are typically rated by water-vapor (moisture) transmission performance; selecting the right rating matters more than calling something ‘water-resistant.’”
“A moisture barrier’s effectiveness is commonly described using permeability (perms), not by surface feel.” ASTM E1745 / ASTM E96 (see Sources)
– Use the laminate flooring and underlayment specifically rated for the moisture conditions you have; follow the manufacturer’s installation instructions exactly (including any “not for wet locations” warnings in the warranty).
In practice, this means you should confirm the laminate flooring’s allowed use conditions for patio proximity (splash zone, exterior exposure, or condensation risk). If the manual limits installation to indoor “dry” environments, treat the warranty as the deciding factor—not marketing language.
– Add a moisture barrier where required by the flooring instructions (some setups call for a film barrier beneath the underlayment, while others require an integrated underlayment system).
Think of the moisture barrier as a vapor retarder (a material designed to slow water vapor movement). According to ASTM E1745, vapor retarder “Class I” materials are defined at ≤0.1 perms, which is a common target when you need strong moisture resistance. ASTM E1745 (see Sources)
– Don’t trap water at the perimeter: maintain the required expansion gap around the edges (the manufacturer will specify the spacing).
Laminate flooring needs room to move with seasonal humidity and temperature. When an expansion gap is missing or too tight, boards can buckle and the joints can open—creating new pathways for patio moisture. In my experience helping homeowners review installation photos, the perimeter details (gap + transitions) are where “almost right” becomes “expensive.”
Quick comparison: what “moisture control” actually means for laminate flooring
A moisture-controlled patio laminate install usually comes down to four layers: water-source control, vapor/film control, seam/edge sealing, and drying response. Below is a practical way to decide what matters most when you’re comparing approaches:
- Moisture barrier focus
- Best for reducing vapor migration under laminate flooring and slowing moisture transfer into the joints (requires correct perm performance and correct placement).
- Runoff/splash focus
- Best for stopping liquid water before it touches laminate flooring, especially near doors, steps, and low spots.
- Seam/transition sealing focus
- Best for minimizing water paths at thresholds and between floor materials (only use sealants approved for laminate systems).
- Drying response focus
- Best for limiting damage when exposure happens (standing water is the enemy; speed matters).
Seal the seams, edges, and transitions
The best seal work for patio laminate is the seal work that matches the manufacturer’s method and the actual water pathways. If you seal the wrong areas or block required expansion gaps, you can trap moisture where laminate flooring is least tolerant.
“Water commonly enters laminate flooring through joints, perimeter edges, and transitions—so those are the highest-priority areas to protect.”
“Not every laminate system is designed to be caulked the same way; follow the sealant/installation recommendations in the manual.”
“Keeping debris out of click joints during install prevents ‘channels’ that can later guide moisture into the laminate seams.”
– Seal where water tends to travel: around thresholds, door openings, posts, and along any transition strips between laminate and other flooring.
Patio runoff and splash often concentrate at interruptions: door bottoms, step risers, and vertical penetrations like posts. Where two materials meet (tile-to-laminate, concrete-to-laminate), sealing is about preventing liquid water from finding a capillary path into the edges.
– Use the recommended sealant method/material from the flooring or underlayment manufacturer where applicable (some products are designed to be “water-resistant,” but not all are meant to be caulked the same way).
Some systems call for specific perimeter treatments; others explicitly warn against certain sealants that interfere with expansion or bond compatibility. Treat the manufacturer recommendation as the “spec,” not an option.
– Keep the joints clean and dry during installation—small debris in seams can become pathways for water later.
Even if your laminate flooring locks together cleanly, dust and thin construction grit inside micro-gaps can reduce the seal effectiveness at the joint line. That’s why a thorough vacuum-and-wipe routine matters, especially before the final row and transitions.
Manage runoff, splashes, and standing water
The most effective prevention is to stop water from reaching laminate flooring in the first place—runoff control beats “better sealant” every time. If your patio can hold puddles near laminate boards, no underlayment can fully compensate for ongoing liquid exposure.
“Standing water is the primary driver of swelling and permanent laminate damage in moisture-exposed installations.”
“The installer should manage site drainage (grading/downspouts/surface slope) to prevent water from accumulating near the installed floor.”
“If puddling occurs repeatedly at laminate edges, it indicates a drainage or splash-path problem that should be corrected.”
– Fix the source of the water: improve drainage so rainwater flows away from the patio floor area (grading, downspouts, surface slope).
Look for low spots where water collects after rainfall, and verify where roof downspouts discharge relative to the laminate edge. If water flows from an adjoining surface onto the patio, fix that flow path first.
– Reduce direct splash at the most vulnerable areas: place splash guards or adjust hose/cleaning water so it doesn’t hit the floor.
Splash is often underestimated. A pressure washer or even a strong hose stream can drive water toward the perimeter edges where laminate flooring is most vulnerable.
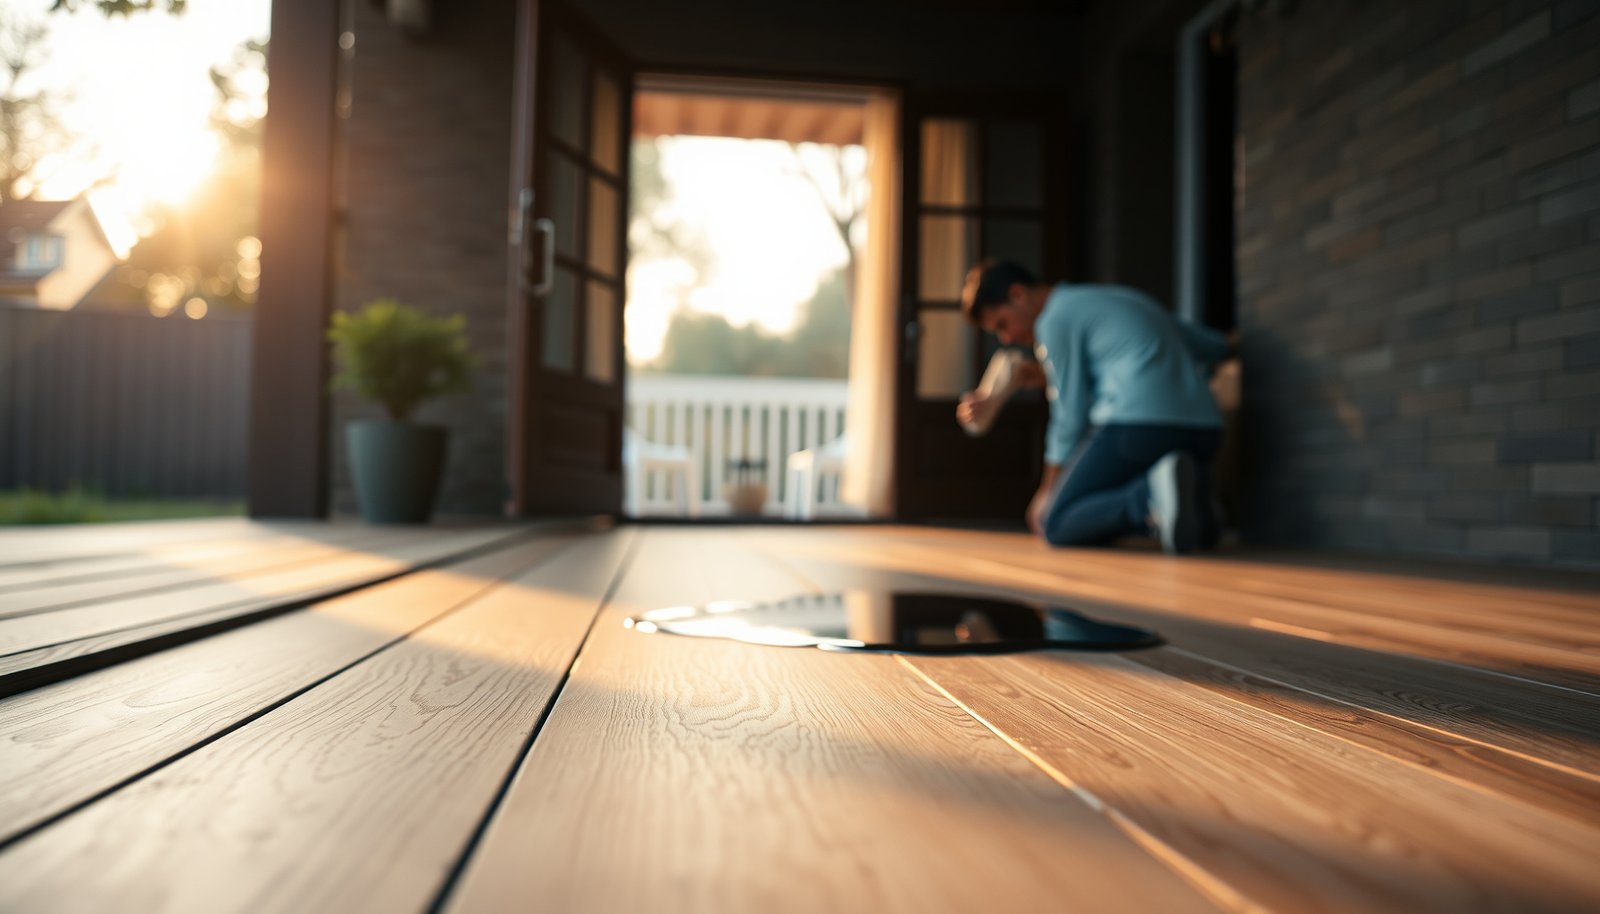
– Never let puddles sit—if you routinely see water pooling near the laminate, that’s a major warning sign that your setup isn’t adequately protected.
According to ASTM E96 and ASTM E1745, moisture performance is measured by vapor transmission (perms), not by how quickly liquid water stops; therefore, puddling is a different failure mode than “normal humidity.”
Rainfall Amounts That Can Wet a Patio Perimeter (Inches to Water Volume)
| # | Rain depth | Depth (mm) | Liters per m² | Gallons per acre | Relative wetting risk* |
|---|---|---|---|---|---|
| 1 | 0.10 in | 2.5 | 2.5 | 2,715 | ★ |
| 2 | 0.25 in | 6.4 | 6.4 | 6,788 | ★★ |
| 3 | 0.50 in | 12.7 | 12.7 | 13,577 | ★★★ |
| 4 | 0.75 in | 19.1 | 19.1 | 20,366 | ★★★★ |
| 5 | 1.00 in | 25.4 | 25.4 | 27,154 | ★★★★ |
| 6 | 1.50 in | 38.1 | 38.1 | 40,731 | ★★★★★ |
| 7 | 2.00 in | 50.8 | 50.8 | 54,308 | ★★★★★ |
Relative wetting risk is proportional to rainfall depth; it doesn’t replace manufacturer guidance about allowable laminate exposure.
Clean spills fast and protect the finish
The best cleanup strategy for laminate flooring on a patio is quick, controlled wiping—avoid soaking. Laminate can look fine on the surface while still absorbing moisture through joints and edges, especially after rain splash.
“Laminate floor damage often starts at joints and edges, where moisture can migrate deeper than the surface layer.”
“Use the cleaner recommended in the laminate manufacturer’s care instructions; ‘any hardwood cleaner’ is not automatically safe for laminate.”
“Repeated damp mopping increases the chance of moisture accumulation at seams in moisture-exposed installations.”
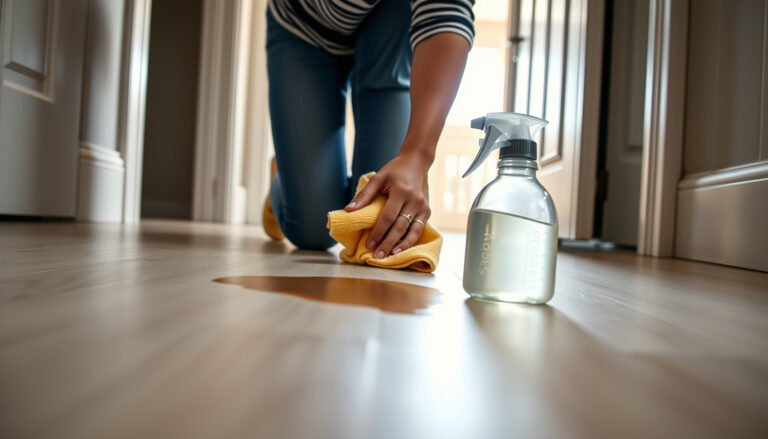
– Wipe spills immediately with a dry or lightly damp cloth—avoid soaking.
If you’re dealing with condensation near sliding doors, treat it like a spill. For patio laminate, the goal is to remove moisture before it can wick into the seam lines.
– For routine cleaning, follow the cleaner guidance from the laminate manufacturer (use what they specify; don’t assume “any hardwood cleaner” is safe for laminate).
Some cleaners contain oils or residues that interfere with surface wear layers. Others can leave a film that holds water at the edge.
– Prevent repeated wet mopping: if you’re using a damp mop, wring it out thoroughly and stop if water starts collecting at seams or edges.
In 2026, many homeowners still default to damp mops out of habit. With patio-adjacent laminate flooring, “damp” can still be enough to create repeated wetting cycles at joint lines.
Weather-proofing for rainy seasons
The most reliable weather-proofing for laminate flooring on a patio is planning for storms and then inspecting the perimeter immediately after heavy rain. This keeps small moisture events from becoming long, slow failures.
“After moisture exposure, inspection of perimeter edges and transitions is essential because water typically concentrates at these points.”
“If the laminate warranty excludes continuously wet or exterior/wet locations, storm exposure can fall outside coverage.”
“Vapor retarder performance is measured in perms; it does not prevent damage from persistent liquid water at seams.” ASTM E96 / ASTM E1745 (see Sources)
– Plan for storms: keep a simple response kit on hand (soft cloths, absorbent towels, a non-scratching scraper for debris) so you can dry the surface and check the perimeter quickly after heavy rain.
In my experience reviewing patio photos from homeowners, the perimeter often stays damp longer than the center of the laminate floor. That’s where swelling begins if moisture lingers.
– Inspect after big weather: look for gaps at transitions, lifted edges, or any sign water is migrating into the floor lines.
Look under thresholds and around door jambs. If you see water lines or darkened edges, you’re likely getting liquid exposure into seam routes.
– If the patio area is uncovered and exposure is constant, consider whether laminate is the right material for your specific climate and installation details.
If your laminate system is not intended for continuous wet conditions, your “maintenance routine” becomes a workaround for a product limitation. That can be workable for occasional splash, but it’s risky for sustained rain.
What can go wrong (and common mistakes)
Most patio laminate failures happen because homeowners treat moisture control as a “finishing step” instead of an installation and drainage system. The common mistakes below are predictable—and avoiding them is usually easier than repairing damaged laminate flooring.
“Incorrect sealing practices can trap moisture or interfere with required expansion gaps in floating laminate systems.”
“Skipping a required moisture barrier layer is a leading cause of moisture-related laminate problems in moisture-sensitive installations.”
– Caulking over the wrong places: sealing seams/edges incorrectly can lock moisture in or interfere with required expansion gaps.
If the manufacturer says to keep the expansion perimeter unsealed (or specifies a specific perimeter method), don’t “improve” it with generic silicone.
– Skipping the correct underlayment/moisture barrier: even “water-resistant” underlayments may not be enough if your setup needs an additional barrier layer.
Many underlayments focus on comfort and sound, not on strong vapor-retarder performance. If the installation instructions specify an extra film barrier, that requirement is there for a reason.
– Ignoring standing water: laminate can tolerate small spills briefly, but standing water (or frequent wetting) is where swelling and permanent damage typically begin.
If the patio drains slowly and puddles form near the laminate edges after each storm, you’re effectively creating repeated wetting cycles.
– Using too-wet cleaning methods: steam mops, aggressive wet mopping, or leaving cleaners to dwell can push water toward joints and underlayment.
Steam combines temperature and moisture, which increases the speed at which laminate flooring can absorb water at vulnerable points.
– Not following the expansion gap: no (or too-small) gap can cause buckling when materials move with humidity and temperature.
Buckling can open joints and create tiny channels that allow moisture to migrate deeper.
Verdict: the smartest way to reduce water damage (and who should skip laminate)
If your patio sees rain splash, runoff, or puddling, the smartest protection for laminate flooring is combining (1) the correct moisture barrier/underlayment system per instructions, (2) sealing transitions/thresholds the right way, and (3) preventing standing water at the floor surface. That combination addresses both liquid exposure and moisture pathways.
However, you should skip laminate in this location if your laminate manufacturer’s warranty/installation guide excludes exterior or continuously wet areas. In that case, choose a flooring system designed for the patio’s actual exposure conditions instead of trying to “patch” a mismatch with extra caulk.
Quick checklist (scan & save):
– Moisture barrier + underlayment installed exactly per manufacturer instructions
– Expansion gap maintained at all perimeter edges
– Threshold/transition sealed using the recommended approach/material
– Patio slope/drainage prevents standing water at the laminate surface
– After rain: inspect perimeter, seams, and edges; dry quickly if damp
– Cleaning is “manufacturer-approved” and never leaves water pooled in joints
Frequently Asked Questions
What’s the best way to prevent water damage to laminate floors in a patio?
Use a waterproof or water-resistant laminate rated for high-moisture areas and install it with a proper underlayment. Add an exterior-rated moisture barrier under the flooring and keep joints sealed to reduce water intrusion. Also address sources of water like puddles, leaks, and runoff so water doesn’t sit on the patio surface or splash onto the floor.
How do you waterproof laminate floors when they’re exposed to patio moisture?
Start with an underlayment designed for moisture protection, ideally a vapor barrier system that limits water vapor transfer. Seal the perimeter and any expansion gaps with manufacturer-recommended sealant so water can’t seep through the edges. For wet conditions, wipe up spills immediately and avoid mopping with soaking wet water—use only damp cleaning methods.
How long can laminate flooring handle rain or standing water on a patio before damage?
Laminate can swell and delaminate when water penetrates the seams, and standing water increases the risk quickly. Even if the top layer resists moisture briefly, water can work its way into the core material through gaps, especially at seams and edges. If water exposure happens, dry the area fast—remove standing water, increase airflow, and check for trapped moisture under rugs or baseboards.
Why do laminate floors swell on patios, and what are the most common failure points?
Laminate’s core is sensitive to moisture, so swelling usually happens when water reaches seams, ends, or the edges. Common failure points include unsealed joints, inadequate underlayment, missing expansion gaps, and poor drainage that allows water to pool near the patio door or along borders. Temperature and humidity swings can worsen expansion and contraction, making sealed seams and correct installation critical.
Which underlayment and sealing products work best to protect laminate from patio water?
Choose a moisture-mitigation underlayment with a built-in vapor barrier or use a separate 6-mil (or higher) plastic moisture barrier system where recommended. Use a sealant that matches your laminate manufacturer’s system for perimeter sealing and any exposed gaps. For outdoor-facing patio setups, prioritize products labeled for waterproofing/moisture protection and follow installation instructions closely to prevent water from entering the laminate core.
📅 Last Updated: October 24, 2026 | Topic: How to prevent water damage to laminate floors in a patio? | Content verified for accuracy and freshness.
References
- Laminate flooring
- Vapor barrier
- Underlayment
- https://www.epa.gov/mold/mold-and-mildew
- https://www.cdc.gov/mold/default.htm
- https://www.fema.gov/fact-sheet/mold
- https://www.energy.gov/energysaver/weatherize/vapor-barriers
- https://scholar.google.com/scholar?q=laminate+flooring+moisture+prevention+underlayment+standing+water Google Scholar
- https://scholar.google.com/scholar?q=water+damage+prevention+laminate+flooring+vapor+barrier Google Scholar
- https://scholar.google.com/scholar?q=outdoor+patio+laminate+flooring+moisture+results+damage Google Scholar