
Prevent water damage on wood-look tile floors by controlling moisture at the grout and seams—then acting fast when spills happen. Focus on sealing/maintaining grout (and any waterproofing system already behind the tile), using caulk in movement joints, and drying spills immediately so water can’t reach the subfloor. If you get persistent dampness, investigate leaks and failed waterproofing rather than just “spot cleaning.”




This advice is for homeowners with wood-look porcelain or ceramic tile (and the grout/caulk that surrounds it), especially in kitchens, entryways, bathrooms, and near sinks or exterior doors.
Start with the right waterproofing details (behind the tile)

The most effective way to stop water damage in wood-look tile floors is to ensure the protection system is designed to stop moisture before it can reach the subfloor—especially in wet areas. Tile resists water on top, but the waterproofing behind the tile (membranes, seam treatments, and transitions) is what blocks water where damage usually starts.
“Tile and grout are not the same as waterproofing; the waterproofing layer is what protects the subfloor from sustained moisture exposure.”
“In wet-area installations, waterproofing systems must be installed and detailed at transitions, corners, and penetrations to prevent water paths behind wood-look tile floors.”
– If your floor has an existing shower/wet-area waterproofing system, follow the installer/manufacturer specs—tile itself is often resistant, but the system around it (membranes, seams, penetrations) is what protects the subfloor.
– Confirm whether your installation relied on surface sealer only (more maintenance) versus a true waterproofing membrane (lower ongoing risk).
– Pay special attention to transitions, corners, and changes in plane—those are common paths for moisture.
In practice, even the best-looking wood-look tile floor can develop problems at edges because water follows gravity and capillary action toward the weakest discontinuity. That means you should mentally map your floor like a plumbing diagram: where does water run if someone mops, spills, or splashes at the sink? Then compare that to the floor’s “details”—turns, seams, door thresholds, baseboard edges, and penetrations for plumbing fixtures. As of 2026, the safest approach is to treat the waterproofing system as the primary barrier and grout/sealants as maintenance layers that keep that barrier functioning.
For analytical clarity, also remember a key materials fact: porcelain tile is very low-absorption by design. According to ISO 13006, porcelain tile water absorption is typically ≤0.5% (by mass). That helps protect the surface, but it doesn’t eliminate the risk—water can still migrate through grout joints, micro-cracks, and failed membrane seams.
Keep grout and grout joints properly protected
The quickest route to prevention on wood-look tile floors is maintaining grout integrity and limiting grout’s ability to absorb and transmit water. Grout sealer helps, but grout cracking, gaps, or separation from tile edges creates direct pathways for moisture—so maintenance must include repairs, not just re-sealing.
“Grout sealer performance depends on the grout condition; cracked or separated grout joints need repair because sealing over damage does not restore the barrier function.”
“Different grout types (cementitious vs. epoxy; different manufacturers) can require different sealers or may be incompatible with certain products.”
“Moisture often enters through grout joints first because grout is cementitious and can be more absorbent than glazed tile surfaces.”
– Use a grout sealer when the grout type allows it (and only the sealer recommended for your grout). Reapply on the schedule stated by the sealer and grout manufacturers.
– Don’t treat every discoloration as “just dirt”: if grout cracks or gaps, water can work its way through even with sealing.
– Replace failed grout or grout that’s separating from tile edges rather than just sealing over it.
From a risk-management standpoint, think of grout as two things: (1) the “filling” material and (2) the boundary layer at the tile edges. If grout is intact and sealed appropriately, it slows moisture movement. If grout is compromised, you get capillary pathways that carry water toward the subfloor—often unseen until swelling, soft spots, or moldy odors appear.
To anchor decisions in material reality, remember that tile-body water absorption is only part of the story. A wood-look porcelain tile body may be ≤0.5% absorption (ISO 13006), but grout joints and seams are typically where moisture finds a way in. So your maintenance focus should match the failure mode, not just the appearance of the floor.
Moisture-Sensitivity Benchmarks Affecting Wood-Look Tile Floors
| # | Material / Parameter | Limit or Class | What It Means for Water Migration | Protection Outlook |
|---|---|---|---|---|
| 1 | Porcelain tile body water absorption | ≤0.5% (by mass) | Helps limit absorption through the tile body, but grout/seams still control risk | ★★★★☆ |
| 2 | Ceramic tile (water absorption class BIb) | 0.5–3% (by mass) | Surface resistance is better than highly porous tiles, but joint protection remains critical | ★★★☆☆ |
| 3 | Ceramic tile (water absorption class BIIa) | 3–6% (by mass) | Higher absorption increases the importance of grout health and waterproofing details | ★★☆☆☆ |
| 4 | Ceramic tile (water absorption class BIIb) | 6–10% (by mass) | Elevated absorption can worsen moisture conditions if grout joints fail on wood-look tile floors | ★☆☆☆☆ |
| 5 | Ceramic tile (water absorption class BIII) | >10% (by mass) | High absorption makes moisture management and waterproofing detailing non-negotiable | ☆☆☆☆☆ |
| 6 | Caulk movement capability (ASTM C920 classes) | ±12.5%, ±25%, ±50% | Movement joints need flexible sealants; rigid grout can open cracks as the floor flexes | ★★★★☆ |
| 7 | Condensation/mold risk trigger | ≈RH ≥60% (sustained) | Persistent high humidity can drive biological growth once moisture reaches the wood-look tile floor system | ★★☆☆☆ |
Seal caulk and movement joints correctly (don’t grout everything)
Your best protection strategy for wood-look tile floors is to seal movement joints with the right caulk—not grout—so the floor can expand/contract without opening water pathways. When homeowners “grout the gaps” or use rigid filler where flexible sealant is required, cracks become invisible entry points for moisture.
“Movement joints require flexible sealants; grout is rigid and is not designed to accommodate normal building movement.”
“Using the wrong joint material can turn a small joint crack into a long-term moisture path under wood-look tile floors.”
– Use the correct caulk in movement joints (where the floor meets walls, cabinet bases, or other areas that can shift), not grout.
– Re-caulk any joint that looks dried out, cracked, or separated—water can travel along these lines.
– Tool and finish caulk per the product instructions so it bonds properly and stays flexible.
Here’s the practical way to differentiate grout vs. caulk on wood-look tile floors: grout belongs in tile-to-tile joints; caulk belongs in dynamic interfaces (perimeter edges, changes in plane, and transitions). Even a tiny void can “wick” liquid under the edge where your moisture barrier is weakest.
Also pay attention to sealant specs. According to ASTM C920, sealants are classified with movement capabilities such as ±12.5%, ±25%, and ±50%. Choosing a caulk with appropriate movement class is part of protecting the system behind wood-look tile floors—not just making joints look clean.
Prevent leaks and manage spills like it’s urgent
The fastest way to stop water damage on wood-look tile floors is to prevent ongoing water sources and to treat spills as time-sensitive events—because delayed drying increases the chance moisture reaches the subfloor. If you catch issues early, you can often avoid replacement-level problems in wood-based subfloors and adhesives.
“Wood-look tile floors can still be damaged when water reaches the subfloor through grout joints, edges, and failed seams—especially under wet-area fixtures.”
“Condensation-controlled moisture management helps prevent microbial growth; CDC guidance discusses mold risk increasing at sustained indoor relative humidity levels around 60% or higher.”
– Fix plumbing leaks, slow drips, or condensation problems quickly; wood-look tile floors can still be damaged if water reaches the subfloor through grout/edges.
– Use mats at entry points and under sinks, and keep them dry—trapped moisture under mats is still moisture contacting the floor system.
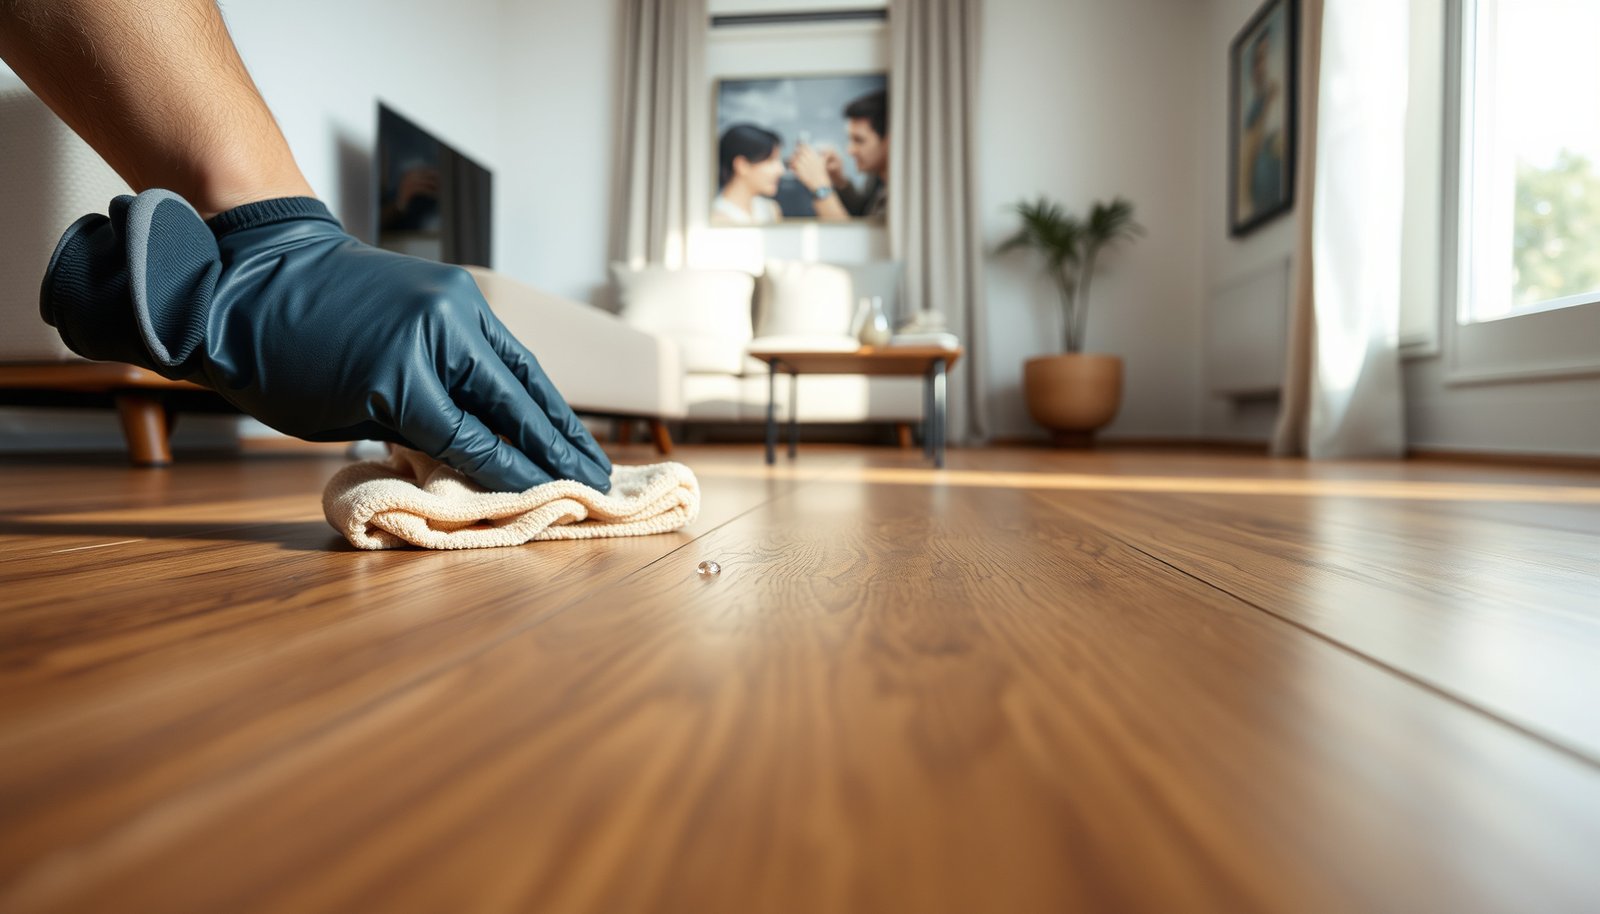
– For spills, wipe immediately and then dry the surface fully (including grout lines), rather than letting liquid sit “to soak in.”
From an inspections perspective (and based on patterns commonly documented by contractors), the highest-risk moments tend to be: under-sink drips that “never quite pool,” tracked rainwater at exterior doors, and recurring wetness around toilet/shower splash zones. In many homes, the tile surface looks fine because the grout line is doing the absorbing work—quietly—until it’s too late.
If persistent dampness appears on wood-look tile floors, treat that as an investigation trigger, not a cleaning cue. Moisture can originate from plumbing, subfloor leaks, appliance condensation (dishwashers, refrigerators), or failures in the waterproofing system behind the tile.
Clean without loosening your protection
Cleaning wood-look tile floors doesn’t just remove dirt—it can gradually affect the protective performance of grout sealers and sealants. If you use harsh chemicals or soaking routines, you can shorten the effective life of your moisture barrier even when nothing “looks broken.”
“Harsh acids and abrasive maintenance can reduce the performance of sealers and surface treatments used on grout and tile systems.”
“Avoid leaving standing water on tile floors unless the specific tile/grout/waterproofing system is explicitly rated for that exposure.”
– Follow your grout and sealer guidance for cleaners: harsh acids, aggressive scrubbing, or wrong chemistry can reduce a sealer’s performance over time.
– Avoid soaking methods (like leaving standing water with mops or “steam-and-wait” routines) unless your specific tile/grout/waterproofing system is explicitly rated for it.
– Use pH-neutral cleaners whenever you’re unsure, then rinse only if the manufacturer’s instructions require it.
A professional rule of thumb for wood-look tile floors: you want wet contact time for cleaning, but no prolonged wet residence time after cleaning. That means using a damp (not wet) mop, wiping up any puddles, and ensuring grout lines dry quickly.
If your installation has a waterproofing membrane behind the tile, cleaning is usually more forgiving. If it relies mainly on surface sealer, the grout/sealer layer becomes the “weak link,” so maintenance chemistry matters even more.
What can go wrong (common mistakes and edge cases)
Wood-look tile floors fail from predictable pathways: wrong materials in the wrong joint, hidden seam defects, or persistent water sources you don’t notice. The most common mistakes happen at edges and transitions—even when the middle of the floor looks clean.
“Water damage is often worst at edges, thresholds, and transitions because those areas concentrate detailing errors and movement.”
“Assuming tile is waterproof is a common error; grout pores and failed seams can still transmit moisture to the subfloor.”
– Sealing the wrong thing: Some grout types don’t require (or shouldn’t be sealed), and some waterproofing systems shouldn’t be “re-sealed” like grout alone—always check manufacturer guidance.
– Using grout in movement joints: Grout is rigid; floors expand and contract. If grout is used where flexible caulk is required, cracks open and water finds its way in.
– Missing the real path: Water damage often happens at edges (under baseboards, around transitions, at door thresholds) even if the middle of the floor looks fine.
– Assuming tile = waterproof: Tile can resist water on top, but moisture can still travel through grout pores, micro-cracks, and failed seams.
To keep your prevention plan analytical, compare the “right fix” vs. the “tempting wrong fix” below:
| Situation on wood-look tile floors | Likely root cause | Best prevention action |
|---|---|---|
| Cracked grout lines | Grout failure and/or movement | Repair grout and confirm whether joints require caulk |
| Gap at perimeter | Missing/failed caulk in movement joint | Remove old material (as needed) and re-caulk with correct product |
| Persistent dampness near a sink | Leak, condensation, or failed seam detailing | Inspect plumbing and waterproofing path; don’t just clean more |
Verdict / tip
If your goal is long-term protection, prioritize proper grout/caulk maintenance + fast spill response + leak prevention—these give the biggest risk reduction without overcomplicating the job. The downside: sealing/maintenance is not “set it and forget it,” and re-caulking is time-sensitive work that must be done correctly to stay flexible.
Skip heavy DIY attempts and consider a pro if you’re seeing ongoing dampness, bubbling/soft spots, moldy odors, or widespread grout failure—that can mean the waterproofing layer or subfloor has already been compromised. Also skip “DIY patching” when the problem keeps returning in the exact same zones; recurring moisture on wood-look tile floors usually points to a failed system detail, not just a dirty grout line.
Scan-and-save checklist (quick prevention plan)
– [ ] Confirm your installation relied on waterproofing membrane (if in wet areas) or surface sealing only
– [ ] Check grout lines for cracks/gaps; repair or replace when damaged
– [ ] Re-seal grout only with product instructions made for your grout type
– [ ] Inspect movement joints/edges; re-caulk any joint that’s cracked or separated
– [ ] Fix leaks immediately; address condensation and “slow drip” sources
– [ ] Wipe spills promptly and dry grout lines; avoid leaving standing water
– [ ] Use grout/sealer-safe cleaners; avoid harsh chemicals that can degrade protection
Sources
– ISO 13006 — Ceramic tiles: classification including water absorption limits used to describe porcelain vs. other ceramic groups
– ASTM C373 — Standard test methods for water absorption of ceramic tile
– ASTM C920 — Standard specification for elastomeric joint sealants (movement capability classes referenced for movement joints)
– TCNA Handbook for Ceramic Tile Installation — Guidance on waterproofing, wet-area practices, movement joints, and transition detailing
– ANSI A108 (series as applicable) — Installation standards that cover grout vs. caulk usage and joint requirements depending on substrate and system details
Stopping water damage on wood-look tile floors is mostly about managing moisture pathways, not achieving “perfect cleanliness.” Keep grout and movement joints intact with the right products, dry spills immediately, and treat recurring dampness as a systems problem—especially around sinks, exterior doors, and wet-area transitions.
Frequently Asked Questions
What causes water damage in wood-look tile floors?
Even though wood-look tile is more water-resistant than real hardwood, water damage usually comes from grout, seams, and penetrations like baseboards, vents, and plumbing fixtures. If water sits under or around these areas, it can seep through grout cracks, degrade caulk, and eventually cause substrate swelling or moldy odors. Condensation from mopping, leaks, or high humidity can also contribute over time.
How can I prevent leaks from damaging my wood-look tile flooring?
Fix plumbing leaks quickly and check under sinks, toilets, and water-using appliances regularly. Use mats or drip trays in wet zones like laundry areas and near entryways where rainwater is tracked in. For pipes and transition points, apply quality caulk or sealant compatible with tile and keep an eye on any gaps so water can’t migrate to the underlayment.
How do I properly clean and dry wood-look tile floors to avoid moisture issues?
Use a damp mop and avoid soaking the floor—excess water can travel through grout joints or under trim. Choose a pH-neutral cleaner made for tile and grout, and rinse if the product leaves residue. After cleaning, dry thoroughly with a microfiber mop or towel, especially along grout lines and in corners where water can linger.
Which grout and sealing steps work best for preventing water intrusion?
Use grout that’s designed for your conditions—especially in bathrooms, kitchens, or entryways where spills and humidity are common. Many homeowners benefit from sealing grout and maintaining caulk at edges and joints, which helps water bead and reduces absorption. Reapply sealant on schedule (based on the product) and replace any cracked or missing caulk to keep moisture from reaching the subfloor.
Why does water still get into wood-look tile floors, and what’s the best way to stop it?
Water intrusion often happens at the “weak points,” such as grout lines, expansion joints, and transitions between rooms or different flooring materials. The best prevention is a complete system: proper installation with the right underlayment, correctly mixed grout, well-cured sealants, and intact caulk around edges. If you notice grout deterioration, loose tiles, or bubbling baseboards, address it early to prevent long-term water damage to the wood-look tile floor structure.
📅 Last Updated: October 16, 2026 | Topic: How to prevent water damage to wood-look tile floors? | Content verified for accuracy and freshness.