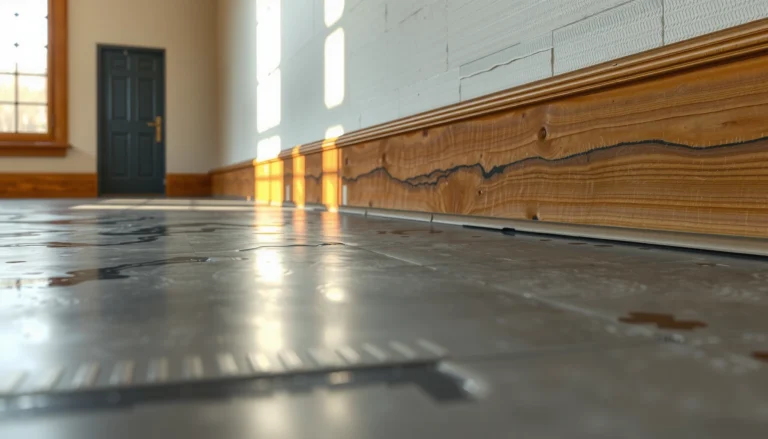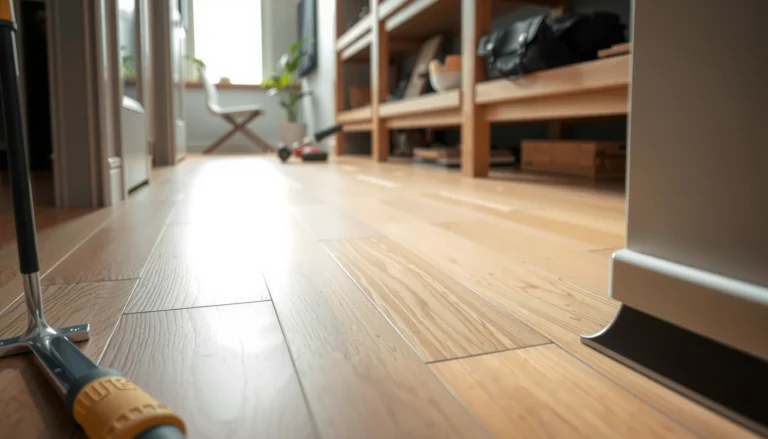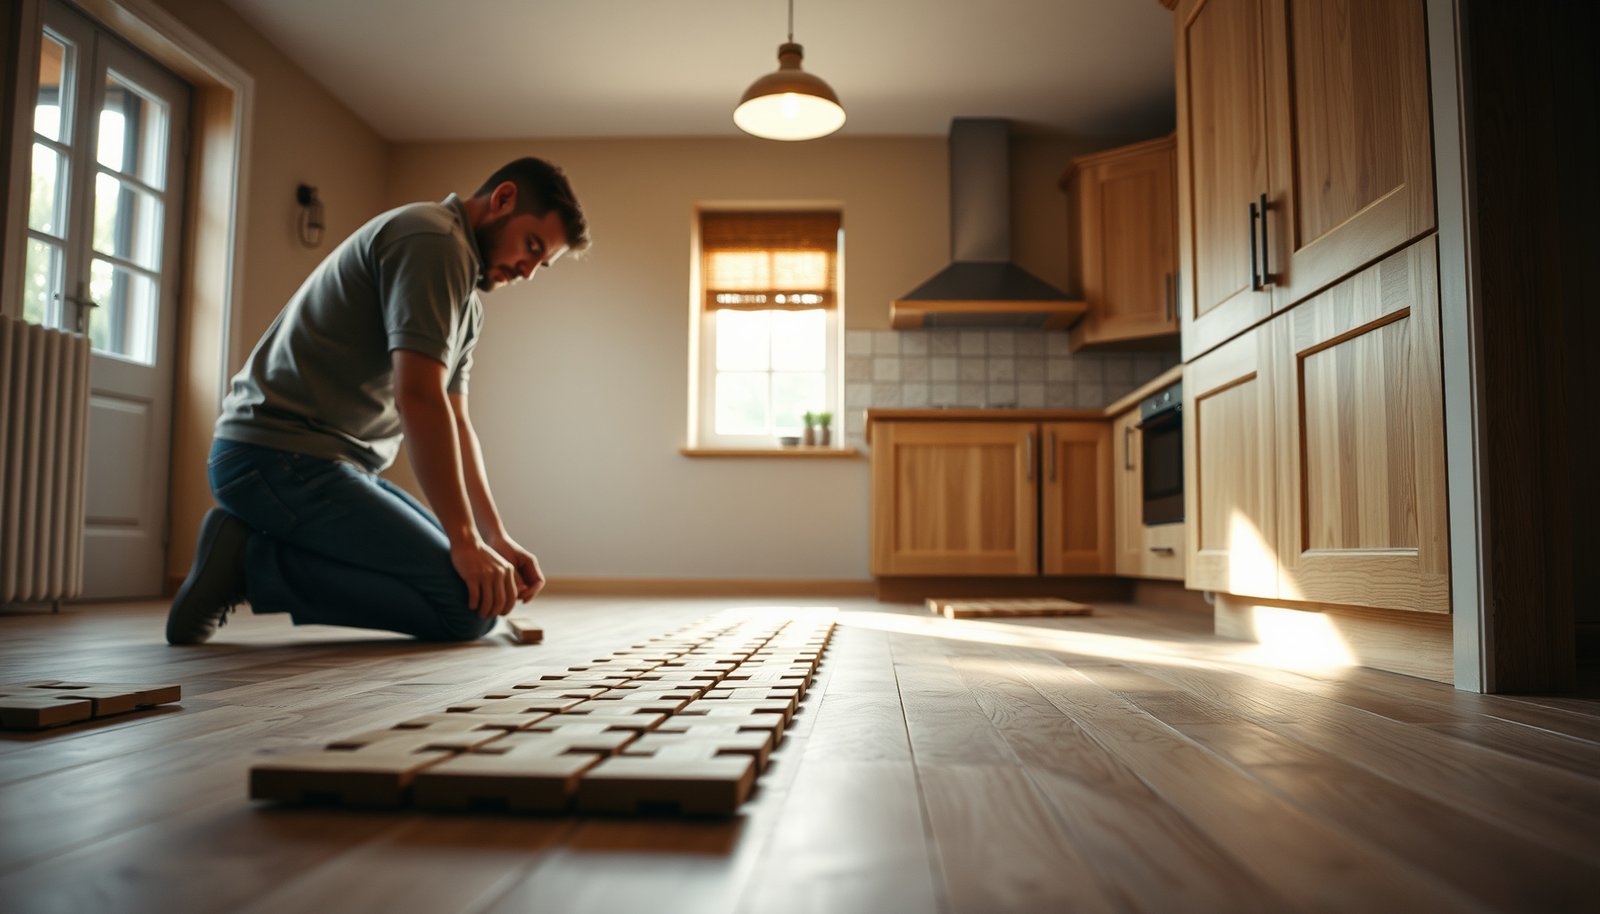

If you’re installing parquet floors in a kitchen, the right method is clear: start with a properly leveled subfloor, choose an installation system that can handle moisture, and seal and finish every plank to protect against spills and daily traffic. This guide answers exactly how to install parquet floors in a kitchen—from prepping the floor and laying the pattern to cutting around cabinets and sealing the job so it holds up. Follow these steps and your parquet will look sharp and stay stable, even in the busiest room in the house.




Installing parquet floors in a kitchen is mostly about getting moisture control and subfloor preparation right—then choosing the correct installation system (glued, nailed, or floating). If the slab/screed/tiles aren’t within the parquet and adhesive system’s moisture/flatness limits, wood movement can show up as cupping, gapping, or lifted edges, even when the parquet itself is high quality.
If you’re installing parquet in a kitchen (especially over concrete, screed, or tiles), this is for you. It’s most relevant when you want a durable result without cupping, gapping, or joint swelling—problems that usually come from moisture and poor subfloor preparation rather than the parquet itself.
Check moisture and kitchen subfloor first
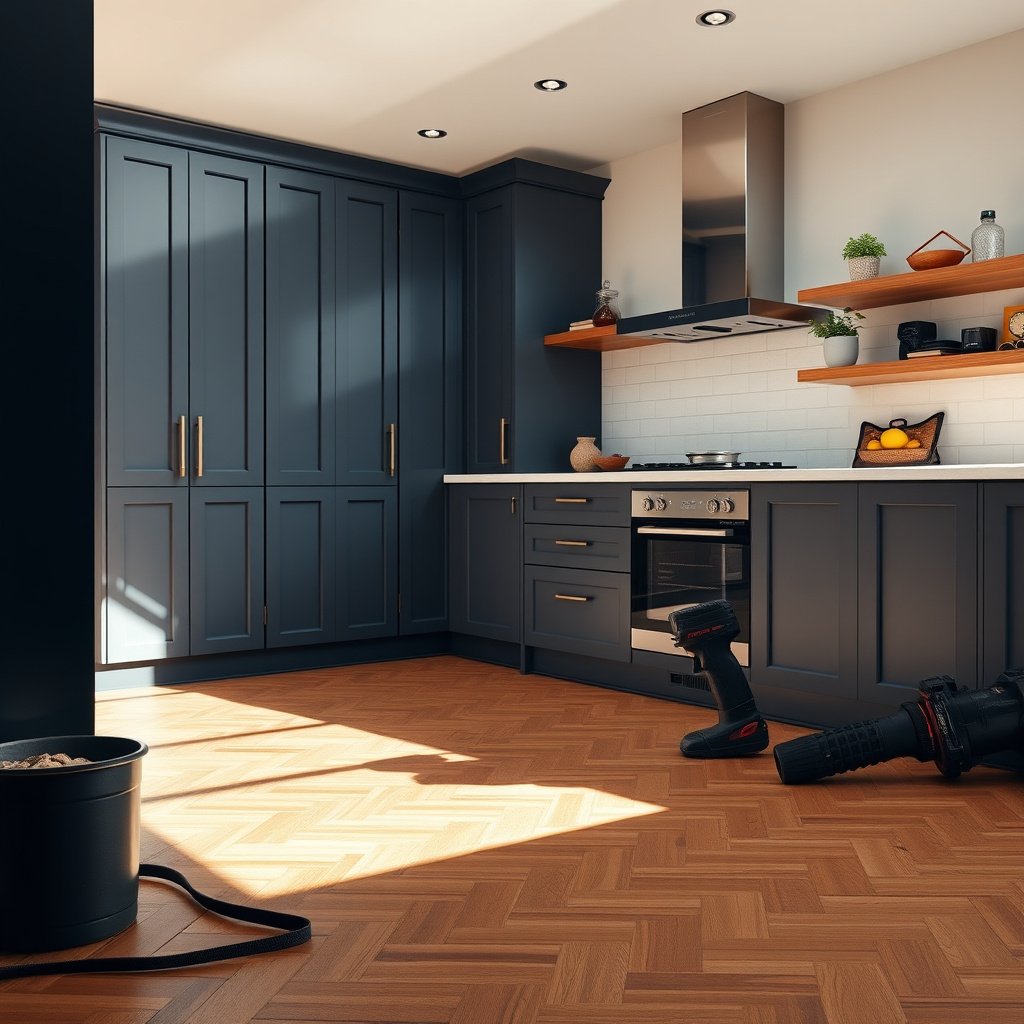
The fastest way to protect a kitchen parquet floor is to verify moisture and flatness before you buy materials—or before any wood touches the subfloor. Kitchens cycle humidity from cooking steam, dishwasher heat, and wet-cleaning habits; wood expands/contracts more aggressively here than in bedrooms, so the “right” installation still fails if the substrate is outside manufacturer limits.
ASTM F2170 in-situ RH probe testing requires probe installation and then an equilibration period (commonly 60–72 hours) before reading results.
According to ASTM F1869, the calcium chloride (MVER) method measures moisture vapor emission rate from slabs by collecting moisture over a timed exposure.
NWFA guidance commonly targets subfloor flatness of about 3/16 inch over 10 feet (≈4.8 mm over 3 m) for many wood flooring installations.
What “good” looks like for kitchen parquet
Start by treating your kitchen parquet like a system, not a product: the parquet, the adhesive (if glued), the primer (if specified), and the subfloor prep all need to be compatible.
1. Verify flatness and structure
– Confirm the subfloor is flat, clean, and structurally sound—unevenness can telegraph through and stress parquet joints.
– For concrete/screed, inspect for spalling, cracks, loose sections, or patchwork that wasn’t feathered correctly.
2. Measure moisture the approved way
– Don’t rely on “feels dry” or “looks clean.” In a kitchen, surface dryness can hide higher internal slab moisture.
– Measure subfloor moisture using a method approved by relevant flooring standards and/or your parquet/adhesive instructions.
– Typical standard routes for wood flooring over concrete include ASTM F2170 (RH probes) and ASTM F1869 (calcium chloride / MVER), chosen based on the manufacturer’s allowable method.
3. Match installation tolerances
– Confirm the parquet product is rated/approved for kitchens (or “high-humidity” areas).
– Use the parquet’s required tolerances for moisture and flatness, and then ensure the adhesive/primer (for glued systems) has matching substrate requirements.
Moisture-test methods you’ll actually encounter (at a glance)
Common Slab Moisture Checks Before Wood/Parquet (ASTM + Widely Used Methods)
| # | Method / Standard | What it indicates | Typical testing window | Kitchen relevance |
|---|---|---|---|---|
| 1 | ASTM F2170 (RH probes) | Slab Relative Humidity (%) | 60–72 hrs equilibration | ★ ★ ★ ★ ★ |
| 2 | ASTM F1869 (CaCl₂ / MVER) | Moisture Vapor Emission Rate | ~60–72 hrs collection | ★ ★ ★ ★ ★ |
| 3 | ASTM D4263 (Plastic sheet) | Condensation / surface wetting evidence | ~24 hrs observation | ★ ★ ★ |
| 4 | Surface RH probes (screening) | Near-surface RH snapshot | ~1–2 hrs acclimation | ★ ★ |
| 5 | Moisture meter (pin-type) | Material moisture content estimate | Minutes per reading | ★ ★ |
| 6 | Moisture meter (pinless) | Near-surface dielectric response | Minutes per reading | ★ ★ |
| 7 | Thermal/spot checks (IR + temp) | Cold spots / wet zones screening | ~10–30 mins per area | ★ ★ |
Pick the right parquet type and installation method
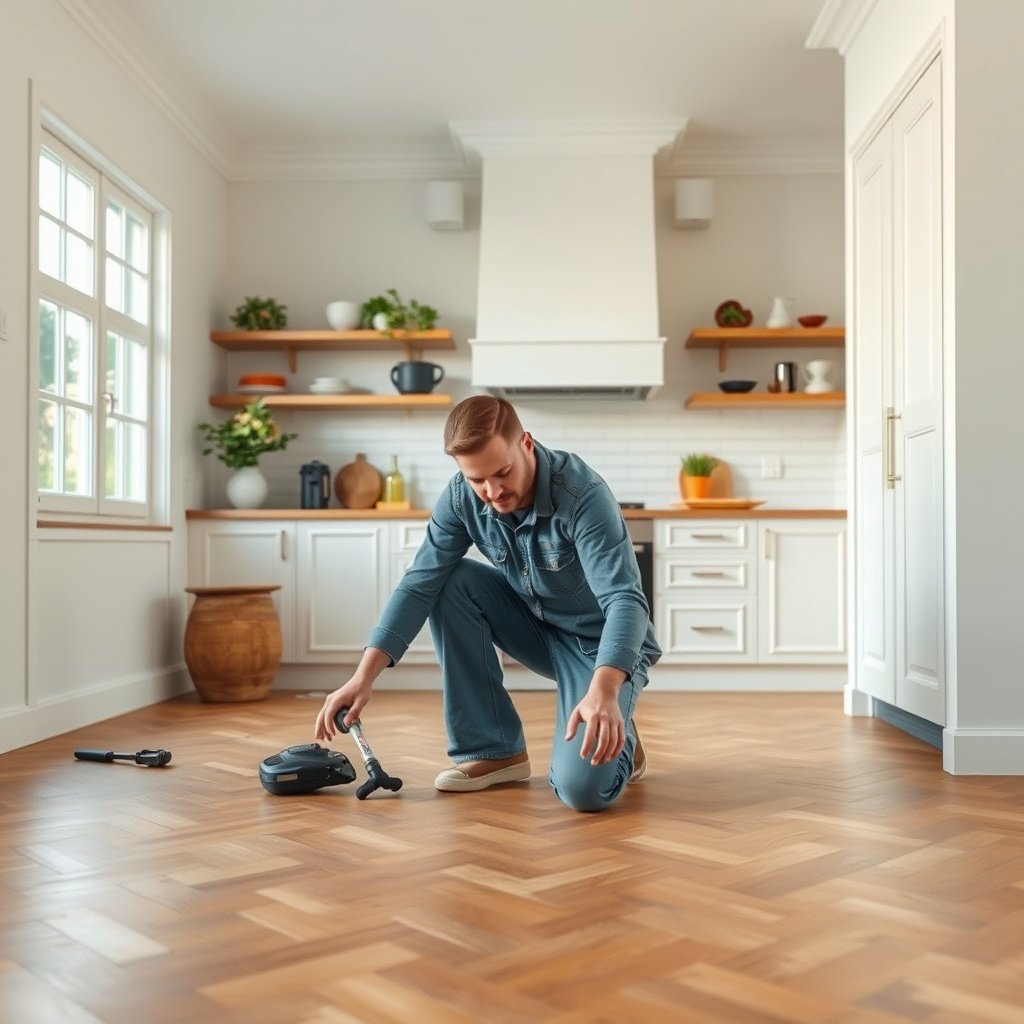
The safest kitchen parquet installations choose the installation method that matches both the parquet system and how moisture moves in your build-up. After moisture testing, your next decision is whether the parquet will be glued-down, nailed, or floating—and which underlayment/vapor barrier is required for floating systems.
For wood/parquet installed over concrete, manufacturers typically restrict installation based on slab moisture results measured using the method(s) they specify (commonly ASTM F2170 or ASTM F1869).
Floating wood floors rely on an underlayment/vapor control layer to manage moisture vapor drive and to reduce noise while keeping expansion behavior predictable.
Glued-down systems are only as reliable as the adhesive/primer compatibility with the substrate and the adhesive “open time” defined in the technical data sheet.
Glued vs nailed vs floating: what changes in a kitchen?
Kitchens are harsher than most rooms—spills, steam, and daily humidity swings can make wood expand and lift if the subfloor isn’t within the limits set by the parquet/adhesive manufacturer.
Here’s a practical comparison of installation methods specifically through the lens of kitchen moisture risk:
| Installation method | Best subfloor fit | Kitchen strengths | Main failure modes in kitchens |
|---|---|---|---|
| Glued-down parquet | Concrete/screed/approved substrates with tested moisture compliance | Stable feel; joints behave predictably when the adhesive system is compatible | Bond failure from moisture out-of-range, incorrect primer, or missing adhesive open/cure windows |
| Nailed parquet | Wood subfloors that can accept fasteners and meet thickness requirements | Mechanical hold reduces dependence on adhesive moisture chemistry | Squeaks, misfastening, or board movement if the structure isn’t rigid and properly prepared |
| Floating parquet | Subfloors that are flat and stable, where the parquet system allows click/lock floating | Tolerates some seasonal movement if expansion gaps and underlayment are correct | Gaps/peaking from poor vapor control, uneven subfloor, or underlayment that doesn’t support joints |
Plan your layout early (kitchen-specific)
Before you cut anything, plan around kitchen realities:
– Doorways and circulation paths: Keep patterns aligned through transitions to reduce visual “patchwork.”
– Appliance clearances: Dishwashers, ranges, and refrigerators can restrict access—verify if you’re installing under fixed cabinets or terminating at them.
– Vent and toe-kick zones: Layout affects whether you end up with narrow slivers near walls.
– Expansion gap placement: Kitchens still need the required gaps around walls and fixed edges (pipes, thresholds) per the parquet system.
Prep tools, materials, and acclimate parquet

The most reliable installation plan starts with correct tools, correct materials, and proper acclimation—because parquet installed too cold or too early can move after you thought it was “set.” In 2026, many kitchen parquet issues still trace back to skipping manufacturer acclimation steps or using an incorrect primer/adhesive trowel size.
Acclimation guidance for wood flooring is typically tied to maintaining indoor temperature and humidity within the manufacturer’s installation range before installation.
For glued-down systems, adhesive technical data sheets define adhesive open time and maximum coverage; spreading more adhesive than you can place within the window increases bond risk.
Premask and protect edges/transitions during finishing because cut edges and joints are often the most vulnerable moisture-exposure points in kitchens.
Tools and materials you should line up first
Get what you actually need so you don’t “pause mid-install”:
– Flooring spacers for expansion gaps
– Saw for straight, clean cuts (often a track saw or table saw)
– Tapping block / pull bar for click/lock systems
– Measuring and layout tools (tape, square, chalk line, straightedge)
– Adhesive and primer exactly as specified (glued-down only)
– Underlayment/vapor barrier as required by the floating system
– Finishing supplies if the parquet is site-finished (primer/sealer/topcoat system, plus masking and transition materials)
Acclimate the parquet (don’t shortcut)
Acclimation matters because wood and engineered components adjust to the home’s temperature and typical indoor humidity. Follow the manufacturer’s instructions for:
– When to acclimate (before laying)
– How to acclimate (often in the installation space, with packaging handled per instructions)
– Target conditions (temperature and typical household humidity range)
Install parquet floors step-by-step in a kitchen
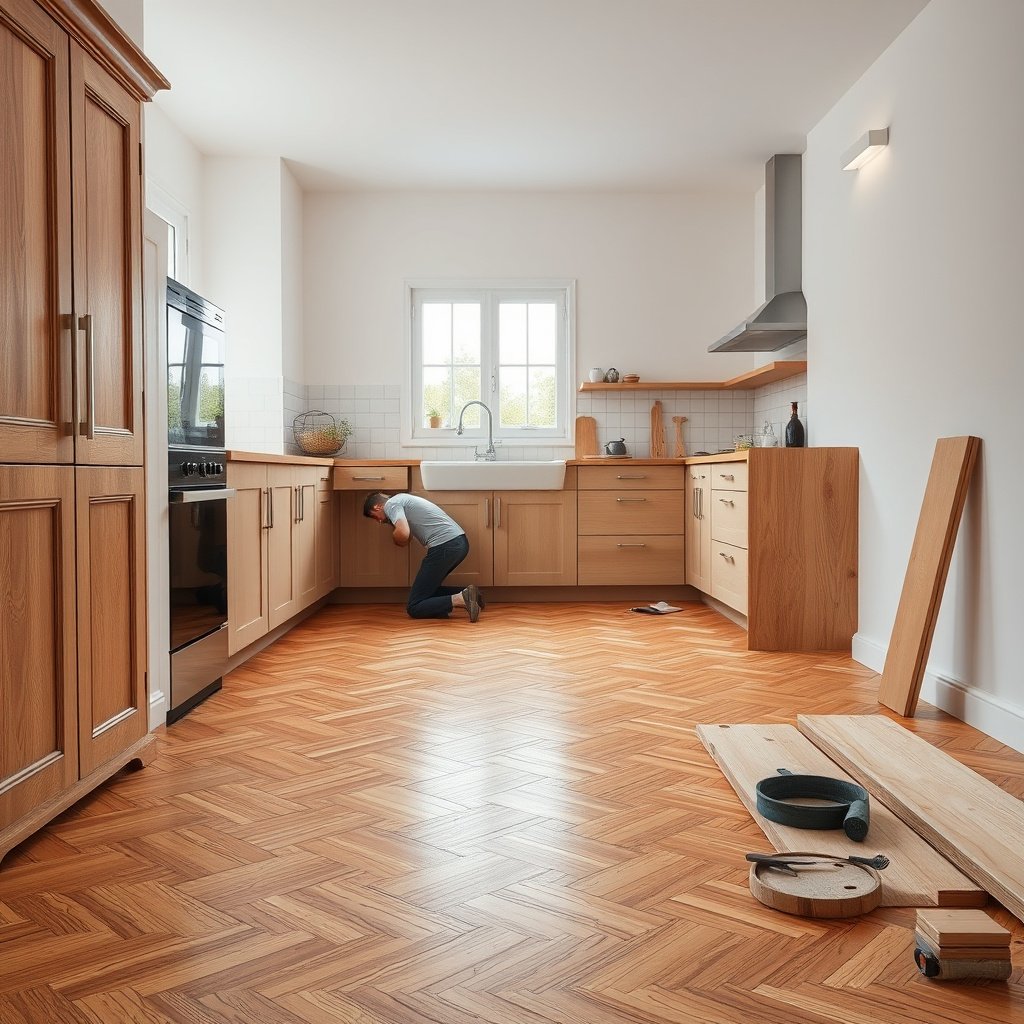
The installation process is straightforward—measure, start square, maintain expansion gaps—but kitchens magnify the consequences of mistakes. Here’s a step-by-step approach that keeps kitchen parquet aligned, flat, and protected against humidity swings.
Expansion gaps around walls and fixed edges are a core requirement for wood/parquet systems because the flooring must be able to move seasonally without buckling.
Floating floors should be installed with the system’s recommended locking method, using a tapping block/pull bar instead of direct striking on tongues/grooves to avoid joint damage.
Glued-down parquet requires controlling adhesive spread rate and respecting open time; exceeding open time can reduce bond strength and lead to localized lifting.
Step 1: Dry-lay, mark rows, and control the first line
– Dry-lay and mark rows so you start straight.
– Leave the required expansion gaps around walls and fixed edges (cabinet bases, pipes, thresholds) per the parquet system.
– In a kitchen, this is especially important because steam and cleaning create faster swings in indoor moisture than many rooms.
Step 2: Choose the installation method and follow its mechanics
Install method by method:
– Floating (click/lock)
– Use the recommended technique for the lock system.
– Keep joints tight and avoid hammering directly on tongues/grooves—use a tapping block.
– Confirm the underlayment/vapor barrier is correct and installed with the required overlaps/seams (as specified by the parquet system).
– Glued-down parquet
– Use the specified adhesive and, if required, the primer.
– Follow open time and spread only what you can cover within the working window.
– Maintain cleanliness—wipe adhesive residue immediately, especially around joints.
– Nailed parquet (only where the system allows)
– Use the fastening method and schedule the manufacturer states for wood thickness and board format.
– Ensure the subfloor/structure is rigid enough to prevent movement around fasteners.
Step 3: Keep the kitchen “tough zones” in mind while you lay
As you progress, treat these areas differently:
– Near sink/dishwasher: Plan cuts so water-exposed seams are minimized at edges.
– Entrances: Protect the floor from tracked moisture by using mats and keeping transitions sealed.
– Long cooking runs: Keep an eye on alignment so the plank pattern doesn’t wander around heat sources.
Finish and protect against spills and humidity
Finishing is where kitchen parquet either becomes durable or becomes vulnerable. Many prefinished products install “as is,” but if your parquet is site-finished or requires a specific coating, kitchen-specific protection is non-negotiable.
For kitchens, coating systems are chosen to provide full coverage at joints and cut edges, where moisture exposure risk is highest.
Even if the parquet is installed correctly, delayed spill cleanup increases the chance of water migrating to joints and swelling seams.
Many wood flooring manufacturers specify whether additional topcoats are allowed and which coating systems are compatible with their finish.
Finish only if your parquet requires it
– Sand/finish only if needed (some parquet is prefinished; others require site finishing).
– Use the recommended coating system for kitchen conditions.
– At minimum, ensure full coverage on joints and cut edges.
Protect wet-exposure zones with behavior + products
Kitchens fail at the seams, not the center. Make a plan for:
– Sink and dishwasher zones: Use protective mats and prompt cleaning.
– Entrances: Mats reduce grit abrasion and moisture carry-in.
– Spill response: Wipe immediately; avoid letting water sit at seams.
What can go wrong (and how to avoid it)
Kitchen parquet problems usually aren’t “mysterious”—they’re repeatable failures driven by moisture imbalance, incorrect installation details, or incompatible materials. If you can spot the failure mode, you can avoid most of it during prep and installation.
Cupping/crowning in wood floors is commonly linked to moisture imbalance between the top surface and the subfloor side.
Gaps shortly after installation typically indicate incorrect expansion gap sizing, inadequate acclimation, or humidity swings beyond what the system is designed to tolerate.
Loose boards on floating floors often trace back to uneven subfloor support, insufficient underlayment, or inadequate expansion gap management at fixed points.
– Cupping/crowning: typically caused by moisture imbalance (subfloor too wet/dry, missing vapor control, or poor acclimation).
– Gaps and joint movement: usually from incorrect expansion gap, rushing acclimation, or not matching the parquet’s humidity targets.
– Loose boards or failed bonding: often from using the wrong adhesive/primer, applying adhesive outside open time, or skipping required cure windows.
– Squeaks on floating floors: usually due to insufficient underlayment, uneven subfloor, or areas where joints aren’t supported (especially around transitions).
Practical limits to respect
Skip “creative substitutions”:
– Don’t use a random primer if the parquet/adhesive system specifies one.
– Don’t switch from glue-down to floating mid-plan unless the parquet system explicitly supports it.
– Don’t install over tiles without confirming the specific build-up is approved and properly prepared.
Verdict / tip
If you want the safest path to a kitchen-parquet result, prioritize subfloor moisture verification and follow the parquet + adhesive system instructions exactly. Downside: meticulous moisture control takes time and may require testing materials/extra labor, and some “quick” installation shortcuts (like skipping vapor barriers or skipping measuring) increase the risk of movement. Skip this DIY approach if your subfloor moisture is unknown/likely high, you can’t verify flatness, or your chosen parquet isn’t approved for kitchen installation—those are the scenarios where problems tend to show up quickly.
Quick checklist (scan/save)
| Step | What to verify | Yes/No |
|---|---|---|
| Moisture | Subfloor moisture meets parquet/adhesive requirements | ☐ |
| Flatness | Subfloor is flat within the flooring system’s tolerance | ☐ |
| Compatibility | Parquet is approved for kitchens/high-use areas | ☐ |
| Expansion gaps | Correct gap around walls/fixed edges | ☐ |
| Underlayment/vapor | Correct system used (especially for floating) | ☐ |
| Correct method | Glued/nail/floating chosen to match product + subfloor | ☐ |
| Installation accuracy | Rows straight; joints tight; cuts planned | ☐ |
| Finishing | Correct coating system and full protection on edges | ☐ |
| Care plan | Mats at entrances + fast spill cleanup | ☐ |
Sources
– ASTM F2170, Standard Test Method for Determining Relative Humidity in Concrete Floor Slabs Using in situ Probes (used for RH probe moisture testing and equilibration procedures).
– ASTM F1869, Standard Test Method for Measuring Moisture Vapor Emission Rate of Concrete Subfloor Using Anhydrous Calcium Chloride (used for MVER moisture testing).
– NWFA (National Wood Flooring Association), Installation Guidelines (commonly referenced guidance for subfloor flatness and installation practices for wood flooring).
– Parquet manufacturer installation instructions (for approved installation method, expansion gap, acclimation requirements, and kitchen/high-humidity suitability) — .
– Adhesive and primer technical data sheets (for trowel size, open time, cure time, and substrate requirements if you’re gluing) — .
When everything lines up—moisture checks, correct installation method, proper expansion gaps, and a kitchen-appropriate finish—you can install parquet that holds up to real daily kitchen life. Start by confirming your product is approved for kitchens and verifying subfloor moisture/flatness, then follow the manufacturer’s installation and finish steps closely. If you share your subfloor type (concrete screed, existing tiles, plywood, etc.) and your parquet type (pre-finished vs site-finished, click vs glue), we can narrow the safest approach and what to double-check before installation begins.
Frequently Asked Questions
What subfloor conditions are required before installing parquet floors in a kitchen?
Before installing parquet flooring, the subfloor must be clean, dry, level, and structurally sound. Check moisture content (especially for concrete slabs) and ensure it meets the parquet manufacturer’s requirements to prevent warping or gaps. If the floor is uneven, use a self-leveling compound or appropriate underlayment thickness so the parquet planks lock correctly. In kitchens, where water exposure is common, addressing subfloor moisture is one of the most important steps for long-term performance.
How do you install parquet flooring in a kitchen—glue-down, click-lock, or nail-down?
The best method depends on your parquet type and your subfloor. Glue-down parquet is often chosen for stability over concrete, while click-lock parquet can be easier for DIY and allows for faster installation, provided the underlayment is compatible. Nail-down parquet may require a wood subfloor and careful acclimation. Always follow the specific installation instructions for your parquet system, including adhesive selection for kitchen environments and the recommended expansion gaps around walls.
How do you handle kitchen moisture and water exposure when installing parquet floors?
Kitchens demand extra moisture management because spills, humidity, and wet mopping are common. Use a high-quality moisture barrier underlayment if recommended for your subfloor and climate, and avoid installing parquet on wet or poorly drying concrete. Maintain indoor humidity levels, wipe spills promptly, and use a protective finish suitable for high-traffic areas. For areas near sinks or dishwashers, consider extra sealing or water-resistant treatments to reduce risk of swelling and cupping.
Which underlayment and moisture barrier are best for parquet floors in a kitchen?
Choose an underlayment designed for parquet and the installation method—look for products compatible with click-lock floating floors or glue-down installations as required. For concrete subfloors, a moisture barrier is usually essential, and the thickness should match what the manufacturer specifies to avoid affecting the locking mechanism or height transitions. Avoid underlayments that are too thick or compressible unless explicitly approved, since that can cause joint failure. Checking the parquet floor guide and pairing it with the correct underlayment is key to preventing squeaks, movement, and premature wear.
What are the best installation practices for a parquet floor in a kitchen to prevent gaps and buckling?
Proper acclimation is critical—allow the parquet to adjust to the kitchen’s temperature and humidity before installation. Leave expansion gaps at edges and around doorways, moldings, and cabinetry, then cover them with trim to keep the gap protected. During installation, ensure boards are firmly fitted and the subfloor is level enough to prevent hollow spots. After installation, use a kitchen-appropriate finishing system (or follow the factory finish care instructions) and avoid excessive water during cleaning to reduce long-term movement.
📅 Last Updated: October 15, 2026 | Topic: How to install in a kitchen parquet floors? | Content verified for accuracy and freshness.
References
- Parquet
- Wood flooring
- https://en.wikipedia.org/wiki/Engineered_wood_flooring
- Floor
- https://www.epa.gov/mold/mold-and-moisture
- DSpace
- https://www.cdc.gov/mold/default.htm
- wood flooring moisture – Search Results – PubMed
- https://scholar.google.com/scholar?q=parquet+floor+installation+moisture+subfloor Google Scholar
- https://scholar.google.com/scholar?q=wood+flooring+acclimation+humidity+installation Google Scholar