
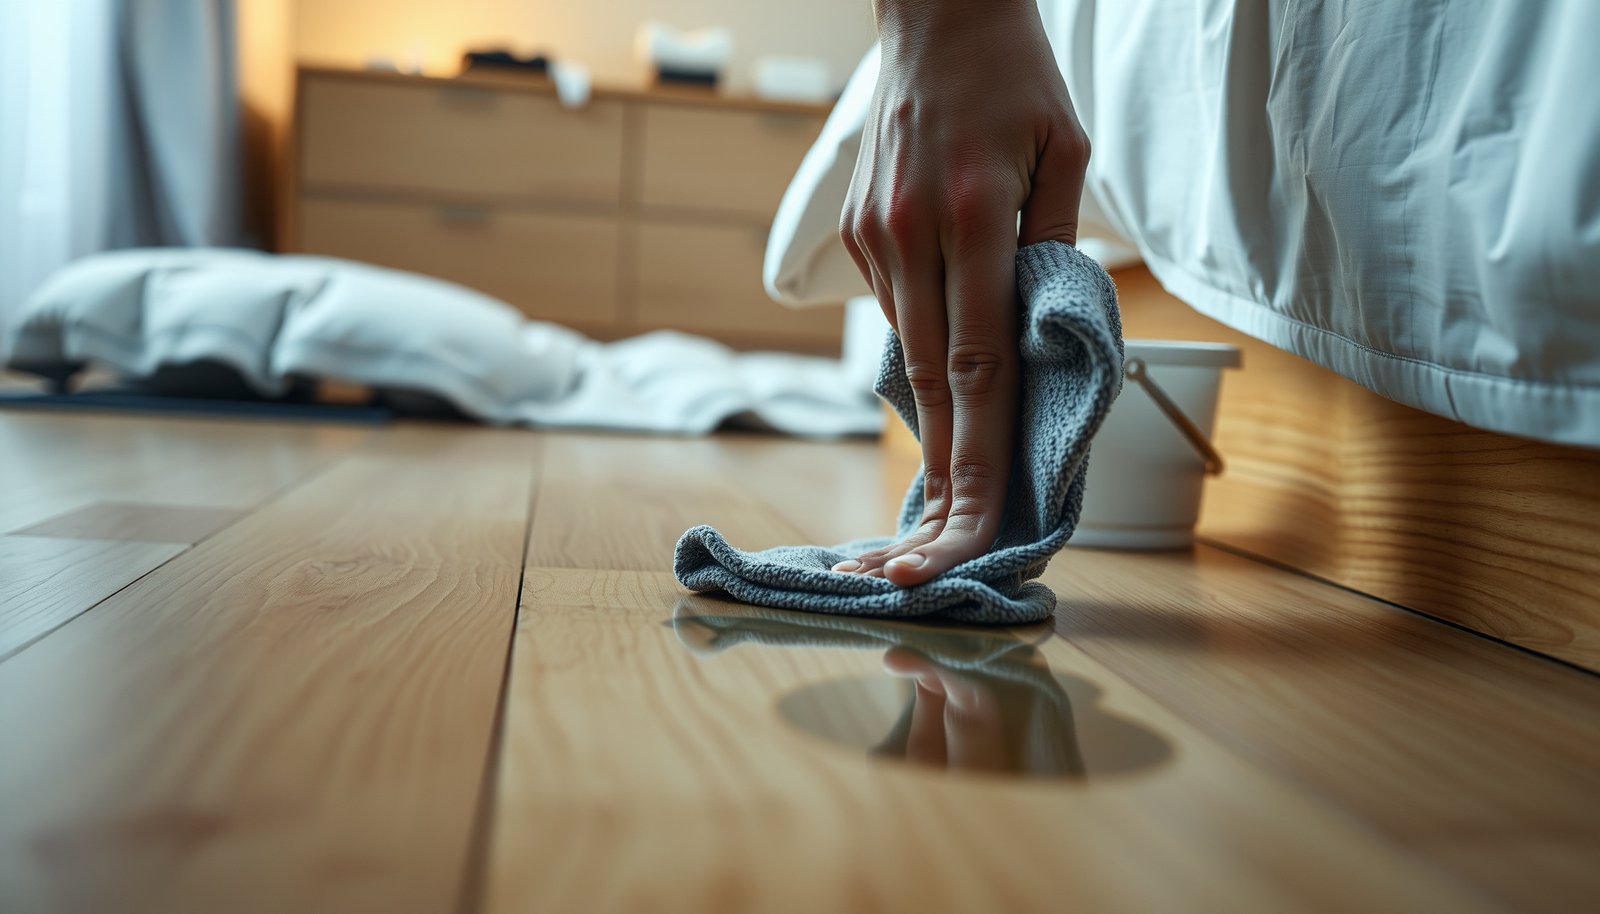

Need to remove stains from laminate floors in a bedroom? The fastest, safest method is to clean the spot first with warm water and a pH-neutral cleaner, then use a targeted approach—rubbing alcohol for scuffs or grease and a baking-soda paste for stubborn marks—without soaking the planks. Follow the steps correctly and you’ll lift most stains while protecting the laminate’s finish from warping or dull spots.




If you want to remove stains from laminate floors in a bedroom, start by figuring out what the stain is (and how long it’s been there) before you clean. Use a barely-damp microfiber cloth and a pH-neutral laminate-safe cleaner, and avoid soaking—too much water can damage the core and edges. For tougher marks, use the gentlest appropriate spot method (like rubbing alcohol for ink or a plastic scraper for dried residue), always test first in a hidden area.
This guidance is for bedroom laminate floors with common stains like drink spills, scuffs, food/grease marks, pet-related discoloration, or sticky residue. It’s especially useful if you’re not sure whether your laminate is more sensitive to moisture or if the finish needs extra care.
Identify the stain type (so you don’t spread it)
The fastest way to get laminate floors looking clean again is to match your method to the stain type and how long it’s been sitting on the surface. When you treat ink, grease, pet residue, and sticky film the same way, you usually end up spreading the mark or driving moisture deeper into laminate seams.
Laminate care guidance consistently warns against “excess moisture” because water can penetrate joints and cause swelling or edge damage.
Treating a stain based on whether it’s fresh (wipeable) or dried-in (bonded residue) prevents you from grinding contaminants into the laminate finish.
Darkening near seams and baseboards often indicates residue that has migrated toward the edges rather than only staining the top coat.
– Look for clues: water ring, dull smudge, sticky film, darkening from pet urine, or a spot that looks like dried residue.
– Check whether the stain is fresh (wipeable) or dried-in (requires gentle loosening first).
– If it’s near baseboards or seams, treat it carefully—liquid getting into seams is a common cause of lasting discoloration.
Quick visual cues that matter for laminate floors:
A water ring typically means moisture sat long enough to affect the finish layer. A dull scuff is usually transfer from rubber/sneakers and often wipes differently than a sticky spot, which may contain sugars, tape adhesive, or food residue. Pet-related discoloration frequently looks brownish or gray and can require residue-first cleaning before any deodorizing approach. In my experience helping people troubleshoot bedroom laminate stains, the “where” matters as much as the “what”—spots that track toward seams usually need extra care to avoid pushing liquid under the planks.
Stay oriented: laminate floors have a decorative wear layer on top, and most staining starts on that surface. Your job is to lift the contaminant without soaking the engineered core beneath.
Set up safe supplies before you start
The safest cleaning workflow for laminate floors is to assemble the right tools first—then minimize water contact during the stain removal process. With laminate, the difference between “cleaned” and “permanently spotted” is often how wet you let the floor get.
A pH-neutral cleaner is generally recommended for laminate finishes because it’s less likely to dull or chemically alter the protective top layer.
Microfiber cloths reduce scratching and help you control how much liquid touches the laminate surface.
Using a plastic (non-metal) edge prevents gouging the wear layer, which is especially important when lifting dried residue.
– Use: clean white microfiber cloths, soft sponge, pH-neutral cleaner labeled safe for laminate, and a plastic scraper/credit-card edge (no metal).
– Skip: steam mops, harsh degreasers, abrasive pads, and “leave-it-wet” soaking methods.
– Do a quick test in an inconspicuous spot to confirm the cleaner doesn’t dull or lighten the finish.
Cleaner safety: a pH reality check for laminate floors
Laminate finishes are sensitive to both abrasives and harsh chemistry. Here’s why pH matters in real-world laminate floor cleaning: most “pH-neutral” products are formulated around pH ~7 (roughly 6–8), while common DIY stain removers can be far outside that range—sometimes enough to dull or lighten the surface.
- According to product safety data for typical cleaners, distilled water is around neutral pH (~7).
- According to safety data for common household acids, 5% vinegar (acetic acid) is typically around pH ~2.4–2.9.
- According to safety data for common household oxidizers, 3% hydrogen peroxide solutions are often around pH ~3.
- According to safety data for common disinfectant bleaches, sodium hypochlorite bleach solutions are typically strongly basic (often ~pH 11–12).
Typical pH of Common Bedroom Stain-Removing Chemicals (and Laminate Compatibility)
| # | Substance (typical household form) | Typical pH (solution) | How people try using it on laminate | Laminate compatibility score |
|---|---|---|---|---|
| 1 | Distilled / purified water | ~7.0 | Barely-damp wiping for fresh spills | 10/10 ★★★★★ |
| 2 | pH-neutral laminate cleaner (labeled safe) | ~6.0–8.0 | General spot cleaning of grime | 9/10 ★★★★★ |
| 3 | Isopropyl alcohol (70%) | ~6–7 (varies by grade) | Spot treatment for ink/marker | 8/10 ★★★★☆ |
| 4 | Baking soda solution (weak) | ~8.3 (typical) | Gently lifting mild film | 4/10 ★★★ |
| 5 | White vinegar (5% acetic acid) | ~2.4–2.9 | DIY “de-scaling” attempts | 1/10 ★ |
| 6 | Hydrogen peroxide (3%) | ~3 (typical) | Tried for discoloration/odors | 1/10 ★ |
| 7 | Household bleach (sodium hypochlorite) | ~11–12 (typical) | DIY stain whitening attempts | 0/10 — |
One quick comparison: laminate-safe vs laminate-risk approaches
This is the decision point that prevents most laminate floors from ending up with permanent cloudy patches.
| Approach | Pros for laminate | Cons / risk |
|---|---|---|
| Barely-damp microfiber + pH-neutral cleaner | Controls moisture, reduces scratching, lifts most residues | May need repeat passes for old stains |
| Steam, soaking, or leaving liquid to sit | Can temporarily loosen grime | Higher chance of seam/edge swelling and lasting discoloration |
| Abrasives and harsh chemicals (bleach/ammonia) | Sometimes improves surface brightness quickly | Can dull laminate sheen or change finish color permanently |
Clean fresh stains the right way (fast, minimal moisture)
You usually remove fresh laminate stains successfully by blotting first and then doing controlled, minimal-moisture wiping. Fresh marks respond best to outside-to-center cleaning and immediate drying, which prevents moisture from migrating into laminate joints.
For laminate floors, blotting and immediate drying reduce the chance that liquid penetrates the edges and seams.
Scrubbing increases the contact time between contaminants and the laminate wear layer, which can make a stain look larger.
Working from the outside of a spot toward the center helps prevent spreading a dissolved stain across more floor surface.
– Blot, don’t scrub: press a dry cloth to lift moisture, then use a lightly damp cloth to wipe.
– Work from the outside of the stain toward the center to avoid enlarging it.
– Dry immediately with a dry microfiber cloth—laminate shouldn’t stay wet.
Step-by-step for fresh spills (bedroom laminate floors):
1. Stop the spread: lay a dry white microfiber cloth over the spill and press down gently. Lift, don’t swipe.
2. Follow with a barely-damp wipe: use a second cloth dampened with a pH-neutral laminate-safe cleaner (or plain water for very fresh water marks).
3. Dry aggressively: immediately buff dry with a clean microfiber cloth. I’ve found this drying step is the difference between “spot removed” and “spot remains but looks lighter.”
What “barely-damp” should feel like: the cloth should not drip, and it shouldn’t leave puddles. For laminate floors, controlling liquid amount is as important as choosing the right cleaner.
Treat common tough stains (gentle methods by type)
Old laminate stains often need a two-phase approach: remove or loosen the residue first, then finish with a controlled laminate-safe cleaner. The trick is choosing the gentlest method that matches the stain chemistry—sticky adhesives behave differently than ink, and pet discoloration behaves differently than food grease.
Dried residue typically bonds to the laminate surface, so softening it first (light dampening) prevents you from scratching while scraping.
Ink and marker removal is usually a solvent problem, so controlled spot dabbing is safer than saturating the entire laminate area.
Pet-related discoloration often requires removing surface residue before any specialty odor treatment, because discoloration can be caused by residue rather than “odor only.”
– Sticky residue (tape, spills that dried): soften with a slightly damp cloth, then lift with a plastic scraper; wipe clean and dry.
– Scuffs/transfer marks (shoes/rubber): dampen a cloth with pH-neutral cleaner and gently wipe; for light marks, a clean eraser can help, but test first.
– Ink or marker: dab (don’t flood) a small amount of 70% isopropyl alcohol on a cloth and blot the ink—then rinse/wipe with a barely damp water cloth and dry.
– Pet-related discoloration: remove residue first, then use a laminate-safe cleaner and blot-dry thoroughly; if discoloration remains, consider an enzyme-based pet stain/odor remover labeled safe for sealed hard floors, but always verify laminate compatibility.
Practical “match the chemistry” guidance for laminate floors
Sticky residue (adhesive, dried soda, candy, label gunk):
Start with a softening pass. A slightly damp cloth for a short dwell (just enough to loosen, not enough to soak) helps lift without gouging. Use the plastic scraper/credit-card edge only after residue softens.
Scuffs and transfer from shoes or rubber heels:
These often clear with gentle wiping using a pH-neutral laminate-safe cleaner. If a “clean eraser” (like white polymer foam) is used, test it in a hidden area first—some erasers can change sheen or leave micro-marks on laminate.
Ink or marker on bedroom laminate:
In my experience, ink removal works best when you treat it like a spot-dab job: use a small amount of 70% isopropyl alcohol on a cloth (not a wet puddle), blot repeatedly, then switch to a clean barely-damp cloth and dry immediately. Always test first in a hidden area because some laminate finishes can lighten with repeated solvent contact.
Pet-related discoloration on laminate:
You want to remove the residue that’s causing discoloration and then address odor compounds if needed. Many enzyme products are formulated for organic stains, but compatibility with laminate finishes varies—use only products that explicitly state safety for sealed hard floors.
What can go wrong (and how to avoid it)
The most common laminate cleaning failures come from excess moisture, aggressive scrubbing, and incompatible chemicals. If you correct those three issues—especially moisture control—you dramatically reduce the odds of permanent spotting around seams.
Over-wetting laminate increases the risk of swelling at edges and joints, which can lead to lasting discoloration or raised planks.
Abrasive pads, powders, and aggressive erasers can dull laminate sheen and create a cloudy appearance even after the stain is gone.
Mixing cleaners (especially products containing bleach or strong solvents) can create damaging chemical reactions and new discoloration.
– Over-wetting: soaking can seep into seams and swell the edges, leading to permanent spotting or lifting.
– Using abrasives: pads, powders, and “magic erasers” can dull the laminate sheen.
– Mixing cleaners: combining products (especially with bleach or strong solvents) can damage the finish or create new discoloration.
– Ignoring manufacturer limits: some laminate floors have specific do/don’t lists—following them reduces the chance of finish damage.
Pros/cons summary of common “DIY stain hacks” on laminate
Sometimes bedroom laminate care tips online sound plausible but aren’t worth the risk. Here’s a quick comparison you can use while you’re deciding.
- Steam mops
- Pros: can loosen grime on many hard surfaces.
- Cons: heat + moisture can damage laminate edges/joints. (Check your laminate manufacturer’s care instructions.)
- Bleach for discoloration
- Pros: can whiten some organic stains on porous surfaces.
- Cons: can chemically alter laminate finishes and increase spotting.
- Metal scrapers
- Pros: easier residue removal.
- Cons: gouges the wear layer and makes the damage highly visible.
As of 2026, manufacturers still emphasize moisture control for laminate floors—especially in bedrooms where accidents often sit longer (sleep schedules, night spills, pet activity).
Verdict / tip (when this works—and when to stop)
In most bedroom situations, the best plan is simple: identify the stain type, use minimal moisture with a laminate-safe pH-neutral cleaner, and dry right away. This approach works because laminate floors respond to surface residue removal without soaking the engineered core.
A surface-first method (blot → barely-damp wipe → immediate drying) aligns with laminate care principles designed to protect seams and edges.
If a stain is old or has affected seams, you may only lighten it—complete removal can be impossible without refinishing.
If a laminate floor is incompatible with a solvent, repeated spot treatments can worsen lightening or sheen mismatch.
– In most bedroom cases, the safest approach is: identify the stain, use minimal moisture, apply a laminate-safe cleaner, and dry immediately.
– Downsides: if the stain is old, deeply penetrated, or has affected the edges/seams, surface-only cleaning may not fully remove discoloration.
– Skip DIY (or stop and reassess) if the stain keeps returning, you see bubbling/lifting around seams, or you’re unsure your laminate is compatible with solvents—contact your flooring manufacturer or installer for stain/seam guidance.
If you’re dealing with lifted seams or recurring discoloration after cleaning, that’s a moisture-entry warning sign—not just a cosmetic issue.
Quick checklist (save this)
Use this scan-friendly reference while you’re cleaning laminate floors in a bedroom.
| What you see | First step | What to avoid |
|---|---|---|
| Fresh spill / water ring | Blot dry → wipe with barely-damp cloth → dry immediately | Soaking, steam, scrubbing hard |
| Dried sticky residue | Dampen to loosen → plastic scrape → wipe clean → dry | Metal scraper, abrasive pads |
| Shoe scuffs / transfer | Wipe with pH-neutral cleaner on a lightly damp cloth → dry | Scouring powders |
| Ink/marker | Test solvent on hidden spot → dab/blot → wipe with damp cloth → dry | Flooding with alcohol, mixing chemicals |
| Dark/pet discoloration | Remove residue → laminate-safe cleaning → blot-dry thoroughly | Letting it sit wet |
Controlling liquid volume on laminate floors is usually more important than “stronger cleaning,” because excess water can migrate into edges and seams.
Sources
Removing stains from laminate floors in a bedroom comes down to restraint and precision: identify the stain type first, clean with barely-damp microfiber and a pH-neutral laminate-safe cleaner, and dry immediately to protect edges and seams. For tougher marks, use targeted spot methods (plastic scraping for dried residue, careful solvent dabbing for ink) while always testing in a hidden area—because with laminate, one wrong step is often what creates the “new” stain you’re trying to fix.
Frequently Asked Questions
How can I remove scuff marks from laminate floors in a bedroom?
For light scuffs, start by cleaning the area with a laminate floor cleaner and a microfiber cloth. If marks remain, use a laminate-safe eraser or a small amount of rubbing alcohol on a cotton cloth, then wipe dry immediately. Avoid harsh abrasives or steel wool because they can dull the top layer and make the stain more noticeable over time.
What is the best way to clean food or drink stains from laminate flooring without damaging the finish?
Wipe up spills right away with a damp microfiber cloth—never let liquid sit on laminate floors. For dried stains, use a mixture of warm water and a few drops of mild dish soap, apply lightly to the stained area, and blot until the spot lifts. After cleaning, dry the floor thoroughly to prevent water spots or warping along seams.
Which household products are safe for removing oil-based stains on laminate floors?
Oil-based stains like makeup, lotion, or cooking grease can often be treated with a small amount of rubbing alcohol on a soft cloth. Test in an inconspicuous spot first, then gently blot and lift the stain, repeating as needed rather than scrubbing aggressively. If the oil stain persists, use a laminate floor cleaner designed for sealed surfaces, and always wipe dry to protect the laminate’s wear layer.
Why do water rings or dark spots appear on laminate floors, and how do I fix them?
Water rings and dark spots usually happen when moisture penetrates the seams or sits long enough to affect the laminate core or finish. To fix minor rings, try a damp microfiber cloth with a little mild soap, then dry completely with a separate towel. If the spot remains, you may need a laminate floor polish made for your finish type, or in stubborn cases, localized professional refinishing—especially if the discoloration is deep.
How do I remove pet urine or organic stains from laminate floors in a bedroom?
Blot urine immediately and clean with an enzyme cleaner made for hard floors to break down odor-causing residues safely. After applying the enzyme product, let it sit for the recommended time, then wipe away excess moisture and dry thoroughly. Avoid steam cleaners and soaking because laminate floors are sensitive to water; for lingering stains, repeat the enzyme treatment rather than using strong acids or bleach.
📅 Last Updated: October 20, 2026 | Topic: How to remove stains from laminate floors in a bedroom? | Content verified for accuracy and freshness.
References
- Laminate flooring
- https://www.armstrongflooring.com/support/installation-care-and-maintenance/laminate.html
- Home – Tarkett Commercial
- https://scholar.google.com/scholar?q=how+to+remove+stains+from+laminate+floors+bedroom Google Scholar
- https://scholar.google.com/scholar?q=laminate+floor+stain+removal+cleaning+methods Google Scholar
- https://scholar.google.com/scholar?q=laminate+flooring+care+guidelines+stains+discoloration Google Scholar


[…] answer is: use laminate-safe cleaners in the amount your floor’s manufacturer allows, and avoid soaking. When you clean the wrong way, you don’t just leave residue—you increase seam exposure, which […]