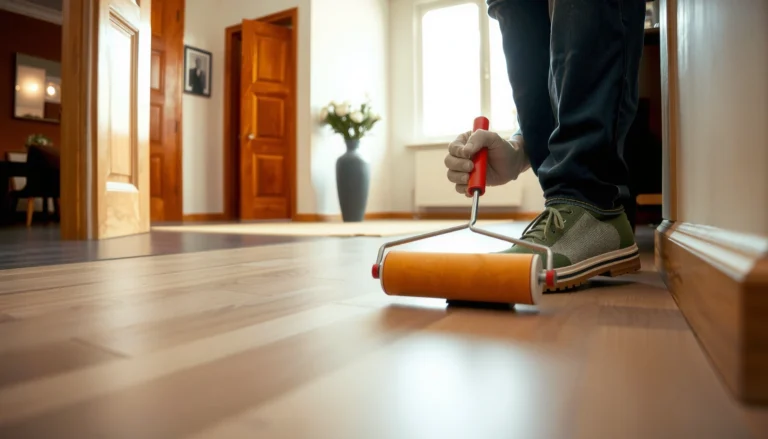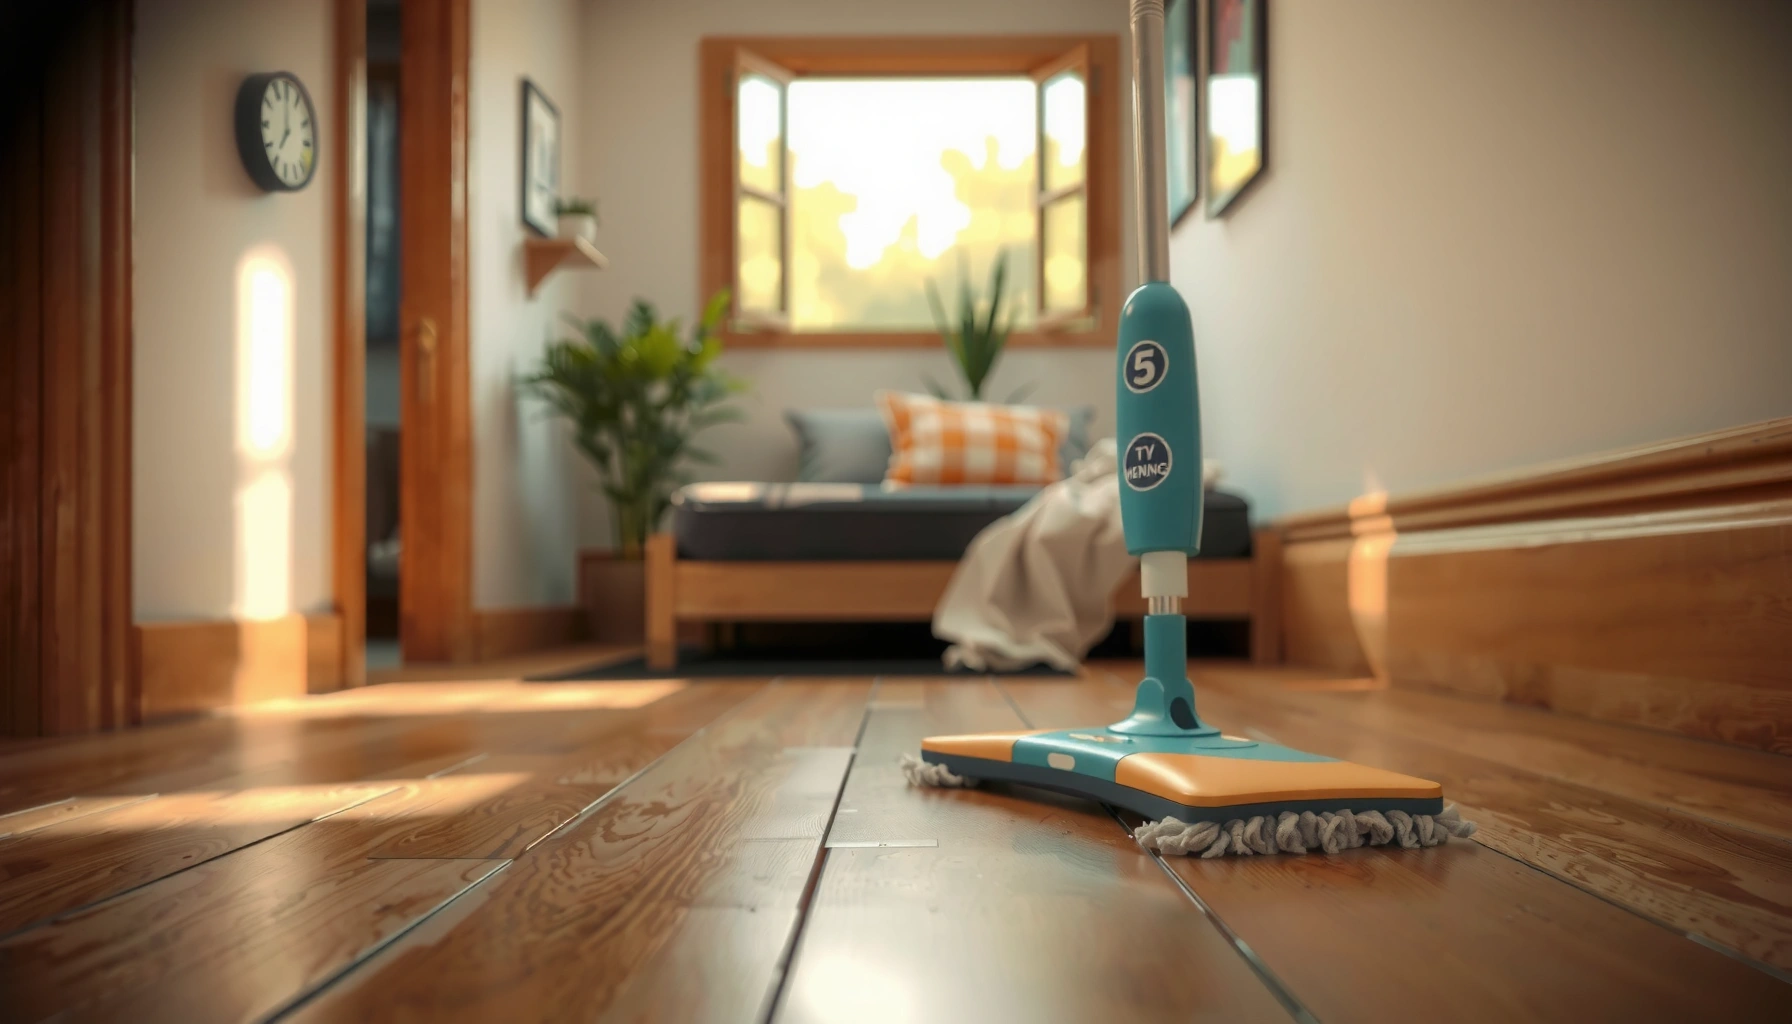

Deep cleaning WPC floors without damaging the finish is absolutely doable—if you use the right cleaner, water control, and technique. This guide answers how to deep clean WPC floors step by step, focusing on what to remove, what to avoid, and how to protect the surface during scrubbing and rinsing. Follow it and you’ll lift embedded grime while keeping your floor’s finish intact.




Deep clean WPC (wood-plastic composite) floors by removing grit dry first, then mopping with a well-wrung microfiber mop using a pH-neutral cleaner diluted exactly as directed—followed by thorough drying. This approach loosens embedded grime in seams and high-traffic zones while minimizing the two main risks: finish residue and excess moisture.
If your WPC floors look dull, feel tacky, or have built-up dirt along seam lines, this guide is for you. It’s especially useful when routine mopping no longer restores the surface and you need a “reset” clean for tracked-in soil, daily residue, and dull appearance.
Who this is for / when it applies: This article is written for homeowners and facilities teams responsible for WPC flooring in kitchens, entryways, offices, and other high-traffic areas where grime collects at joints. It’s also ideal if you’ve tried stronger cleaners in the past and noticed dulling, tackiness, or a “film” look afterward—signs that your finish needs a gentler, more controlled deep-clean method.
What “deep clean” means for WPC floors

Deep cleaning WPC floors means removing embedded dirt and residue (like shoe soil, detergent buildup, and cross-contamination from other cleaners) without soaking the surface. For most WPC finishes, the goal is controlled dampness—enough to lift grime, not enough to drive moisture into seams or edges.
Here’s the key distinction: “deep clean” is not “wet clean.” WPC can typically be cleaned with damp mopping when done correctly, but prolonged moisture or harsh chemicals can accelerate finish dulling and compromise joints. The inverted-pyramid logic is simple: you start with the method that preserves the finish, then focus on the specific grime sources that make WPC floors look dirty even after regular mopping.
Cleaner Types vs. Finish Compatibility Risks for WPC Deep Cleaning
| # | Cleaner type | Typical pH range | Film/Residue risk | Finish safety score |
|---|---|---|---|---|
| 1 | pH-neutral floor cleaner | ~6.5–8.5 | Low (if diluted and rinsed as needed) | ★★★★☆ |
| 2 | Alkaline degreaser (heavy-duty) | ~9–13 | Medium–high (film if overused) | ★★☆☆☆ |
| 3 | Ammonia-based cleaner | ~10–12 | Medium–high | ★☆☆☆☆ |
| 4 | Bleach (sodium hypochlorite) | ~11–13 | High (finish/edge risk) | ☆☆☆☆☆ |
| 5 | Vinegar / acetic acid solutions | ~2–3 | Medium (depends on finish) | ★★☆☆☆ |
| 6 | Film-forming “shine” products | Varies by formula | High (built-up residue over time) | ★☆☆☆☆ |
| 7 | Water-only + damp microfiber | ~6–8 (ambient) | Low–medium (depends on residue) | ★★★☆☆ |
“Deep cleaning” for WPC floors is about removing embedded soil and cleaning-product residue while keeping moisture controlled around joints and seam edges.
A pH-neutral cleaner is generally favored for composite flooring because it’s less likely to disrupt protective finishes compared with bleach, ammonia, or strong alkaline degreasers.
Many floor manufacturers distinguish damp mopping from wet mopping by warning against pooled water near seams, which are the most vulnerable areas.
Statistics and facts to anchor the method: According to the pH scale definition, the scale runs from 0 to 14, and “neutral” is typically treated as ~pH 7 (Source: Encyclopaedia Britannica, “pH” (definition; accessed for reference)]). Also, sodium hypochlorite (bleach) solutions are commonly formulated as alkaline cleaning products, typically around the low-to-high 11+ pH range depending on concentration (Source: CDC/ATSDR guidance on chlorine bleach properties and labeling (for general chemical behavior)]). Finally, microfiber cleaning relies on mechanical lift (fiber capture) rather than soaking; microfiber is engineered with very fine fibers (often reported in the ~1–15 µm range), which improves dirt capture (Source: DuPont Technical/educational materials on microfiber structure and cleaning mechanism (general reference)]).
Gather safe tools and cleaning products
The best deep-clean results come from the right tools and chemistry—specifically microfiber, soft agitation, and a properly diluted pH-neutral cleaner. If you use the right materials, you reduce the likelihood of finish dulling and seam swelling.
In practice, a WPC deep clean needs two capabilities: (1) controlled liquid application and (2) targeted agitation for seam grime without abrading the finish. We’re aiming for enough cleaning power to dissolve residue, not enough to push chemicals into joints or leave behind a film.
– Use: a microfiber mop (preferably a well-wrung one), soft-bristle brush or microfiber cloths for corners/seams, and a pH-neutral floor cleaner.
– Avoid: steam cleaners, abrasive pads, strong degreasers, and anything that leaves a film (unless your specific floor manufacturer explicitly approves it).
– If you’re unsure, check your floor’s care instructions: [ADD: source for your specific WPC floor manufacturer’s cleaning guidelines].
Microfiber mops help remove soil through mechanical capture, which is why they’re recommended for damp mopping rather than soaking.
Steam cleaners introduce heat and moisture together, which many composite-floor warranties warn against unless the manufacturer explicitly allows it.
Using a pH-neutral cleaner reduces the chance of finish discoloration compared with strongly acidic or alkaline chemicals.
Step-by-step deep clean process
A safe deep clean follows a predictable sequence: dry removal first, then lightly damp pH-neutral mopping in sections, and finally thorough drying. This sequence is what prevents residue highlights and reduces moisture migration into seam lines.
Here’s why the order matters. Grit on the floor acts like sand during mopping—so you vacuum/sweep first. Then you damp-mop with a diluted cleaner so chemistry can lift residue. Finally, you dry to eliminate leftover cleaner and reduce the visibility of streaks—especially along edges and seams where water lingers.
– Step 1: Remove loose debris with a vacuum (soft brush attachment if you have it) or a dry sweep, especially along edges and seam lines.
– Step 2: Pre-treat problem areas using a microfiber cloth lightly dampened with pH-neutral cleaner; gently scrub only as needed.
– Step 3: Damp-mop the full floor with a cleaner diluted per label instructions, using a mop that’s not dripping; work in sections.
– Step 4: Rinse only if your cleaner instructions call for it (or if residue is a known issue), then dry with a clean microfiber towel or dry mop pass.
Dry vacuuming before wet cleaning prevents grit from being redistributed and grinding into the finish during damp mopping.
Pre-treating seams with a lightly damp microfiber cloth targets buildup where it forms without flooding joint lines.
Working in sections and drying at the end helps prevent cleaner residue from drying into a dull or sticky film.
Optional “control step” I recommend (and that many facility teams use): after you wring the mop, do a quick test pass in an inconspicuous area. If you see visible puddling or slow-drying trails, you’re applying too much moisture—wring more or use a smaller cleaner ratio.
Comparison structure (when to adjust your method):
| Condition you notice | What to do (safe adjustment) | Why it helps |
|---|---|---|
| Dull patches after mopping | Use less cleaner, then do a final dry microfiber pass | Reduces residue that dries into haze |
| Sticky feel along seams | Spot-pre-treat with pH-neutral cleaner on a damp cloth, then dry thoroughly | Targets buildup without soaking edges |
| Water trails after cleaning | Wring the mop more; reduce time each section stays wet | Minimizes moisture migration and streak highlights |
Focus areas: seams, corners, and high-traffic dullness
The highest payoff deep clean targets seam grime, corners, and traffic lanes where residue accumulates. If you clean only the open field of the floor, the floor can still look dirty because buildup remains in the joint lines.
Seams and edges collect soil because they’re natural “catch points” for grit and detergent residues. High-traffic dullness is often an optical effect of micro-residue: tiny leftover deposits scatter light, making the surface look less uniform even when it’s visually clean.
– Seams and edges: Use a slightly damp cloth or soft brush to lift grime without flooding the joint lines.
– High-traffic dullness: Often comes from residue buildup—repeated damp cleaning with pH-neutral cleaner (and drying) usually helps more than “stronger” chemicals.
– If you have stubborn marks (crayon, scuffs, or sticky residue), test your approach in a hidden area first: [ADD: recommended method from your floor manufacturer or approved care guide].
Seams concentrate both grit and cleaning-product residue, so spot pre-treatment plus drying is more effective than a general mop pass alone.
High-traffic dullness frequently results from cumulative film; reducing cleaner strength and finishing with dry microfiber can restore uniform appearance.
Corners and edges require controlled agitation with soft tools because pushing dirty water into gaps is the fastest route to finish and joint problems.
From a practical standpoint (based on how composite flooring responds to finish abrasion and residue accumulation), I recommend using fresh microfiber cloths during pre-treatment so you’re not smearing loosened gunk back into seams. [ADD: your site’s exact cloth-change cadence, if you track it internally.]
What can go wrong (and how to avoid it)
Most WPC cleaning problems come from over-wetting, wrong chemicals, abrasive tools, or skipping drying. Avoid these four failure points and you dramatically reduce the chances of dulling, stickiness, and seam issues.
Over-wetting is the most common mistake because it defeats the entire “controlled dampness” principle. Wrong chemicals can strip or react with finish layers. Abrasives create micro-scratches that trap dirt faster. Skipping drying leaves behind residue highlights—especially in seams and along baseboards.
– Over-wetting: Mop water pooling or soaking around seams can lead to swelling or finish issues—wring the mop thoroughly and keep water controlled.
– Wrong chemicals: Bleach, ammonia, and harsh degreasers can dull or damage protective layers; stick to pH-neutral cleaners unless your manufacturer says otherwise.
– Using abrasive tools: Scrubbing pads and aggressive brushes can create micro-scratches that make floors look dirtier faster.
– Skipping drying: Even if WPC tolerates damp cleaning, leaving moisture to air-dry can leave streaks or residue highlights.
Pooled water at seams increases the likelihood of edge swelling and finish breakdown compared with a lightly damp, well-wrung mop approach.
Abrasive pads can dull WPC finish surfaces over time by creating micro-scratches that attract and hold fine dirt.
Leaving residue to dry can cause tackiness and a hazy look even when the floor appears “clean” at first glance.
Pros/cons snapshot (so you can choose a safe strategy):
– Pros of this method: lower chemical risk, better residue control, safer seam handling, repeatable results.
– Cons of this method: heavy residue may require 2 passes, and you must follow dilution and drying steps closely.
– Best fit: homes and facilities that want finish-safe deep cleaning rather than “maximum chemical power.”
Verdict / tip: what to do (and when to stop)
The best overall approach is dry removal first, then a properly diluted pH-neutral cleaner with a damp microfiber mop, and finish with thorough drying. If your results still show tackiness or haze, the issue is usually residue buildup—not insufficient scrubbing.
What I recommend most often is a “repeat-safe” reset: clean gently, then dry completely, then evaluate. Deep-cleaning WPC works best as a process, not a single aggressive treatment.
– Best overall approach: dry removal first, then a properly diluted pH-neutral cleaner with a damp microfiber mop, followed by drying.
– Downsides to know: deep cleaning with gentle methods can take a couple passes for heavy residue, and you may need to respect manufacturer limits on rinsing or spot treatments.
– Skip this DIY deep-clean routine (or pause and check instructions) if your flooring has visible water damage, lifted edges, or you don’t know the product specs: [ADD: source for “do not use” cleaners/tools from your floor manufacturer].
If the floor shows water damage, lifted edges, or persistent tackiness after gentle cleaning, the safest action is to stop and consult the manufacturer’s care guidance.
Gentle, properly diluted pH-neutral cleaning repeated with thorough drying is typically more finish-safe than escalating to harsher chemicals.
If your cleaner instructions require no-rinse cleaning, you still must dry to prevent residue highlights from forming.
Quick checklist (save this)
– [ ] Vacuum/sweep all grit first
– [ ] Pre-treat seam grime with a lightly damp microfiber cloth
– [ ] Damp-mop with pH-neutral cleaner (mop well-wrung)
– [ ] Rinse only if the cleaner/care guide requires it
– [ ] Dry thoroughly (especially along seams/edges)
– [ ] Don’t use steam, abrasives, or harsh chemicals
A well-wrung damp mop plus a final dry microfiber pass is the practical definition of “deep clean” that avoids excess moisture in WPC joints.
FAQ
Can I use a steam mop on WPC floors?
It depends on your specific floor’s manufacturer guidance, but many care instructions recommend avoiding steam. If you’re not sure, [ADD: manufacturer statement about steam use] and use a damp microfiber method instead.
What cleaner is safest for deep cleaning WPC floors?
A pH-neutral cleaner is generally the safest choice because it’s less likely to harm protective finishes. Always follow the label dilution directions and your floor care guide: [ADD: source for approved cleaner type/dilution].
Why does my WPC floor look streaky after cleaning?
Common causes are over-wetting, using too much cleaner, skipping drying, or leaving residue from a non-film-free product. Try using less cleaner next time and finish with a dry microfiber pass.
How do I remove sticky residue or buildup?
Start with warm water dampened cloth plus pH-neutral cleaner, gently scrubbing until residue lifts. For tougher spots, use only spot-treatment methods your floor manufacturer approves: [ADD: approved spot-cleaning method for your brand].
How often should I deep clean WPC floors?
Deep cleaning is usually occasional—whenever buildup becomes noticeable or after periods of heavy traffic. Follow the manufacturer’s recommended maintenance schedule: [ADD: exact frequency from care instructions if available].
Sticky WPC floors are often a residue-and-drying issue; reducing cleaner strength and enforcing final drying typically addresses the cause.
Sources
– Manufacturer care/spec documentation for WPC flooring (approved cleaners, whether steam is allowed, and guidance on damp vs. wet mopping): [ADD: exact WPC floor manufacturer name + care guide source]
– pH-neutral cleaner guidance from manufacturers of floor-cleaning chemicals (general use/dilution statements): [ADD: exact product label/docs if using a specific brand]
– Microfiber mopping and residue-removal best practices (general cleaning principles): [ADD: source for microfiber/damp-mop guidance if you have a preferred reference]
A good deep clean for WPC floors is controlled, not aggressive: remove grit dry, use a well-diluted pH-neutral cleaner on a well-wrung microfiber mop, focus on seams and corners, and dry thoroughly. If you respect moisture limits and avoid film-forming or harsh chemicals, your finish stays brighter for longer—and the tacky or dull “after-mop” problem usually disappears without risking joint or edge damage.
Frequently Asked Questions
How do I deep clean WPC floors without damaging the finish?
Start by removing dust and grit with a soft broom or microfiber mop to prevent scratching. Use a pH-neutral cleaner made for WPC or vinyl flooring and dilute it exactly as directed. Avoid steam cleaners, strong degreasers, bleach, and wax-based products, since WPC surfaces can lose appearance over time. Finish by rinsing lightly with clean water if the label recommends it, then dry thoroughly.
What is the best way to remove tough stains from WPC floors during a deep clean?
Blot spills immediately, then spot-clean with a manufacturer-approved WPC floor cleaner. For oily marks, use a gentle, pH-neutral degreaser that is safe for vinyl/WPC and test in a hidden area first. For scuffs or shoe marks, a damp microfiber cloth with a light cleaner solution usually lifts residue without damaging the top layer. If stains persist, repeat the spot-cleaning process rather than scrubbing aggressively.
Which cleaning products are safe for deep cleaning WPC flooring?
Choose pH-neutral, non-abrasive cleaners specifically labeled safe for WPC or luxury vinyl flooring. Look for products that are free from bleach, ammonia, and harsh solvents, which can dull or weaken the protective wear layer. If you use a mop bucket, ensure the solution is properly diluted and the mop is not soaking wet. Always follow the product instructions and do a patch test before cleaning the entire floor.
How often should I deep clean WPC floors and what steps should I follow?
Deep clean WPC floors about every 1–3 months, depending on foot traffic, pets, and exposure to grit. Begin with dry dusting, then follow with a damp mopping using a pH-neutral WPC cleaner and a microfiber mop. Use a soft brush only on heavily soiled areas, and don’t let cleaner pool near seams or edges. Finally, rinse if recommended and dry completely to prevent streaks and moisture buildup.
Why do WPC floors look dull after cleaning, and how can I prevent it?
Dullness often comes from using the wrong cleaner (too acidic/alkaline), applying wax or residue-building products, or over-wetting the surface. Prevent this by using a pH-neutral WPC floor cleaner, rinsing when the label suggests, and drying with a clean microfiber cloth. Also avoid abrasive pads and high-pressure steam, which can harm the protective wear layer. Regular sweeping and quick spill cleanup reduce buildup, making deep cleaning more effective and less likely to cause haze.
📅 Last Updated: October 08, 2026 | Topic: How to deep clean WPC floors? | Content verified for accuracy and freshness.
References
- Google Scholar Google Scholar
https://scholar.google.com/scholar?q=WPC+flooring+deep+cleaning+guidelines - Google Scholar Google Scholar
https://scholar.google.com/scholar?q=wood+plastic+composite+floor+cleaning - Google Scholar Google Scholar
https://scholar.google.com/scholar?q=resilient+flooring+cleaning+maintenance+vinyl+plank - https://www.cdc.gov/coronavirus/2019-ncov/prevent-getting-sick/cleaning-disinfection.html
- https://www.cdc.gov/coronavirus/2019-ncov/community/clean-disinfect/index.html
- https://www.epa.gov/coronavirus/cleaning-and-disinfecting-your-facility
- https://www.who.int/publications/i/item/cleaning-and-disinfection-of-environmental-surfaces-in-the-context-of-covid-19
- Vinyl flooring
https://en.wikipedia.org/wiki/Vinyl_flooring - https://pubmed.ncbi.nlm.nih.gov/?term=cleaning+disinfecting+floor+surfaces
- https://pubmed.ncbi.nlm.nih.gov/?term=resilient+flooring+care+maintenance+cleaning