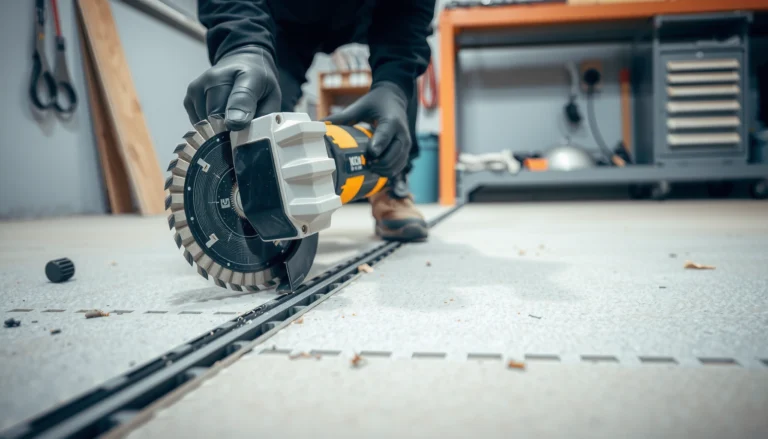
Want to install over concrete granite floors? This step-by-step guide shows the exact prep, materials, and installation sequence that make it work without cracking, lifting, or uneven tiles. Follow these instructions and you’ll get a stable, level finish that holds up for the long haul.




Installing over concrete “granite floors” comes down to two things: verify the substrate (flatness + moisture + how the top surface behaves) and then match the right primer/adhesive or underlayment system to that substrate. Once those checks are correct, installation becomes straightforward—layout, bonding, and cure/spacing discipline are what prevent lifting, cracking, and uneven results.
If you’re working on an interior space and the “granite floors” you mean are either granite stone floors or a granite-like surface over concrete, this guide will walk you through what to verify first and which installation steps matter most to avoid lifting, cracking, or uneven results.
If you’re planning a DIY install or managing a crew, note that “granite over concrete” can describe multiple real-world conditions—natural granite tile/stone set on concrete, polished granite-like coatings, or decorative stone/grout systems that may be sealed. The steps below help you evaluate the specific condition you have and select installation methods that align with how those systems bond.
Assess the concrete + granite surface first
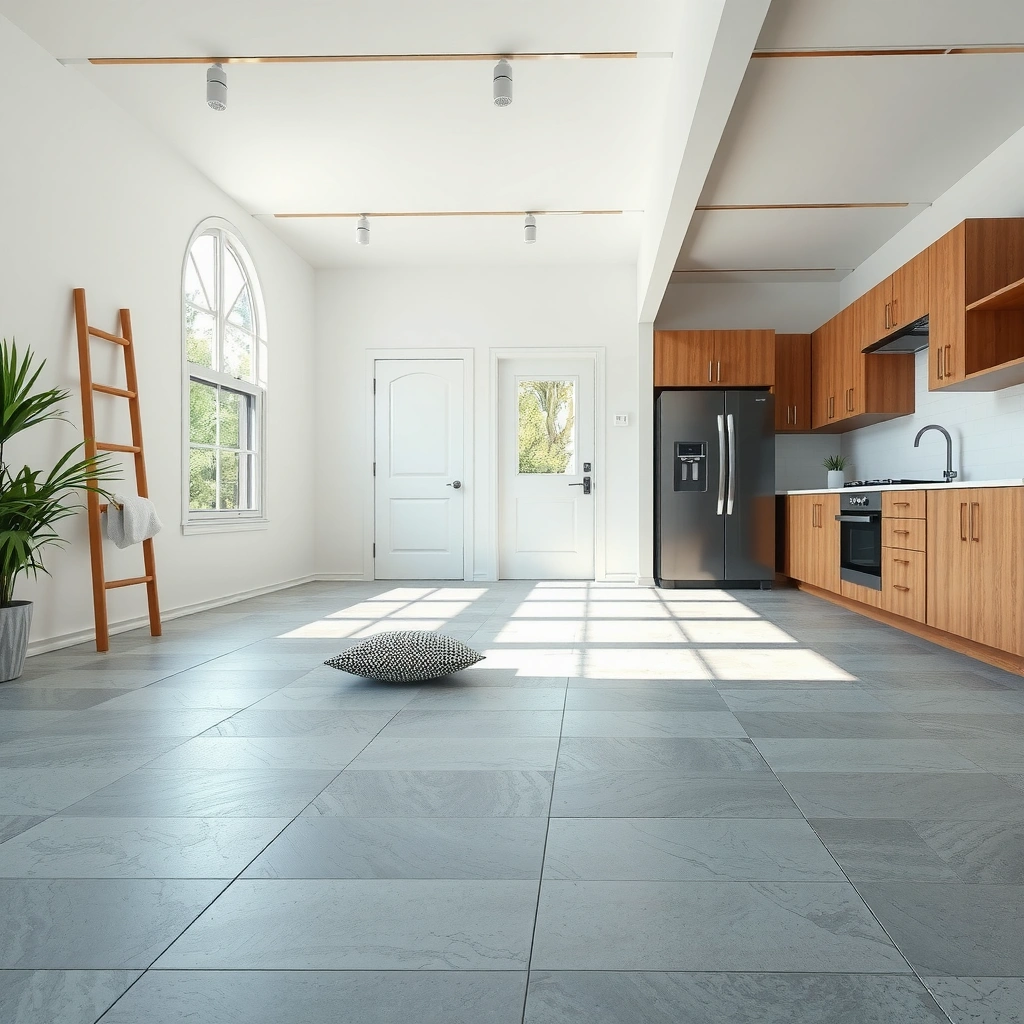
You can’t pick an underlayment or adhesive confidently until you verify what you actually have on top of the concrete slab. Flatness, moisture movement, and whether the granite top layer is solid or porous determine whether your bond will hold long-term.
Before you touch a tool, take a systematic pass using a straightedge, moisture testing method (or at least a risk assessment), and a surface integrity check. In my experience working with stone and concrete transitions, the biggest “surprises” are (1) slabs that look smooth but fail flatness tolerances and (2) sealed or polished granite-like surfaces that refuse to bond without proper profiling and chemistry. Since you can’t rely on appearance alone, treat this as an inspection, not a shortcut.
“ASTM F1869” results are reported as pounds of moisture per 1,000 square feet per 24 hours (lb/1,000 sq. ft./24 hr), which is why the test method matters when planning a moisture strategy.
“ASTM F2170” measures in-situ concrete relative humidity (RH) using probes, giving a direct way to assess vapor risk before you bond or lock down flooring.
Concrete flatness is commonly evaluated with straightedges (e.g., 10 ft) per standard test methods, because tile and flooring are sensitive to high/low spots.
What “granite floors” means (and why it changes everything)
Granite floors can be:
– Natural granite stone (tile/finish) installed over concrete, often set with thinset/stone mortar and grouted.
– Granite-like coating (epoxy, urethane, decorative overlay) over concrete that *looks* stone-polished but may be non-porous or chemically sealed.
– Granite chip / aggregate surfaces that can be porous in spots yet coated elsewhere.
Each one changes whether you can do a direct-bond install (tile/mortar/adhesive) or you need a mechanically prepared surface and/or a decoupling/leveling system.
Flatness: check before you plan anything
Most install failures over concrete are substrate-driven. For tile and rigid installations, you’re trying to avoid:
– cracked tile,
– stressed grout joints,
– hollow spots behind the mortar bed,
– and “click-lock” separation in floating systems.
Use a long straightedge (commonly 6–10 ft) and map highs/lows. If you see consistent waves or ridges, plan leveling or skim work early—trying to “fix flatness” by overpacking mortar later usually backfires.
Moisture risk: design around the slab, not the finish
Concrete is porous (even when it’s polished or covered), and water vapor can move through it. If your flooring type is moisture-sensitive (many wood-based products), or if your adhesive needs a predictable substrate, moisture management becomes a prerequisite—not an afterthought.
Because moisture limits vary by adhesive and flooring manufacturer, your job is to:
1) identify the moisture test method required/accepted,
2) follow the test standard, and
3) use the moisture mitigation system rated for that test outcome.
Surface integrity: solid vs. porous vs. sealed
Do a quick surface behavior check:
– If the surface is sealed/polished and won’t accept water (beads), you likely need approved abrasion and/or a primer designed for slick stone/coatings.
– If you see crumbling, delamination, or powdering, treat it as a bond-prep failure, not a finish problem.
– If it’s porous stone, you still need to consider that primers can change absorption—affecting set and bond.
Prep: clean, degloss, and repair the substrate
Surface prep is where you win or lose the install—adhesion starts at the first clean contact point, not at the mortar bead. Your goal is a substrate that is dust-free, structurally sound, and compatible with your chosen primer/adhesive.
Start by removing everything that prevents wetting and mechanical contact: dust, paint overspray, sealers, curing compounds, adhesive residue, and any film that reduces bonding. Then repair cracks, chips, and dips using products rated for concrete/stone substrates. If the granite-like surface is sealed or glazed, you must follow manufacturer guidance for approved abrasion or priming—guessing creates voids and bond failure.
Porous-to-nonporous changes are a common cause of bond failures: primers and adhesives specify substrate porosity ranges and cleaning steps, so “looks clean” isn’t enough.
Cementitious patch/leveler products are designed for specific thickness ranges and curing conditions, so using the wrong product can leave soft spots that telegraph through tile or fracture under loads.
Grind/polish and bonding chemistry must match: sealed stone surfaces often require approved profiling or primers before thinset/adhesives can form a reliable mechanical/chemical bond.
Clean thoroughly (and only as allowed)
A credible prep sequence usually includes:
– mechanical removal of loose material (vacuum + scraping/grinding as needed),
– appropriate cleaner for concrete/stone (not harsh chemicals that leave residue),
– final vacuuming with a tool that removes fine dust from pores.
Avoid generic “degreasers” unless the adhesive manufacturer explicitly approves them, because residues can act like bond breakers.
Degloss and re-profile if the surface is too smooth
If the surface is polished or sealed, you’ll need:
– a manufacturer-approved primer for that substrate type, and/or
– mechanical abrasion sufficient to create a profile thinsets/adhesives can engage.
This is one of the most important reasons to read the adhesive/thinset datasheet before you begin: the “same” adhesive label often has different requirements for smooth stone, coatings, and concrete.
Repair cracks, spalls, and dips—then let it cure
Cracks and spalls must be stabilized. For low areas:
– use an approved cementitious patch/leveler rated for concrete,
– respect thickness and feathering limits,
– and wait for full cure before priming or setting.
For tile work, even small dips can cause hollow spots and stress concentration. For floating floors, they can trigger joint failure over time.
Primer/skim-coat strategy
Priming is not just “making it sticky.” Primers can:
– control absorption,
– improve adhesion of patch/leveler systems,
– and create a consistent surface energy for bonding.
If you’re bonding through a primer layer, confirm the primer is part of the same system (primer + adhesive + substrate) or explicitly allowed by the adhesive manufacturer.
Compatibility Scorecard for Common “Granite over Concrete” Substrate Conditions
| # | Substrate condition you may see | Prep focus | Typical system fit | Adhesion risk |
|---|---|---|---|---|
| 1 | Granite tile bonded to concrete (solid, not rocking) | Clean + lightly profile | Direct-bond tile systems | ★★★★☆ |
| 2 | Polished granite or honed stone (sealed/slick) | Approved degloss + primer | Primed direct-bond systems | ★★★☆☆ |
| 3 | Granite-like epoxy/urethane overlay | Mechanical profile + compatible primer | System-bonded assemblies | ★☆☆☆☆ |
| 4 | Granite topping with localized spalls | Patch/level + feather edges | Direct-bond or self-leveling transitions | ★★★★☆ |
| 5 | Cracked concrete under/adjacent to granite surface | Stabilize + evaluate movement | Decoupling/leveling first | ★★☆☆☆ |
| 6 | Porous granite (unsealed) with dusting/sanding residue | Vacuum + primer suited to absorption | Direct-bond with controlling primer | ★★★★☆ |
| 7 | Moisture evidence (efflorescence, recurring dampness) | Test + moisture mitigation | Not suitable until corrected | ★☆☆☆☆ |
> Note: This scorecard is a practical planning guide based on typical bonding behavior. Always defer to the specific flooring and adhesive/thinset manufacturer’s substrate allowances.
Level and prime (or use underlayment) based on your flooring type
Different flooring systems demand different “correct” surfaces, even when they sit on the same concrete. Your next decision is whether you’re doing a direct-bond installation (tile/rigid floors set with mortar or adhesive) or a floating installation (LVP/laminate click-lock with an underlayment plan).
In short: tile and rigid set floors are about flatness + mortar bond compatibility, while floating floors are about flatness + vapor control + joint movement. If you change the system without re-planning the surface, you often trade one failure mode for another (bond failure vs. joint separation).
Floating floors typically require a consistent expansion gap at perimeter edges to allow movement, especially when temperature and humidity change.
Direct-bond tile work depends on correct primer and mortar pairing, because substrate porosity affects how thinset hydrates and locks in.
Underlayment thickness and compressibility limits directly influence click-lock performance and can accelerate joint failure if the system is out of spec.
If you’re installing tile or direct-bond flooring
Use:
– a primer (if required) that the adhesive/thinset system allows for stone/concrete surfaces,
– a thinset/mortar specified for the substrate type (concrete + the granite/stone surface condition).
Key principle: bond and curing chemistry must match the surface. A primer that controls absorption may be essential for polished granite or sealed overlays.
Also plan your trowel size and coverage. Tile fails when mortar coverage is inconsistent or when the thinset skins over before installation.
If you’re installing LVP/laminate (floating systems)
For floating floors:
– plan your underlayment and vapor barrier strategy per the flooring system requirements,
– keep expansion gaps consistent around all fixed surfaces (walls, columns, cabinets),
– respect any required overlap/edge sealing instructions for vapor barriers.
If moisture is a known risk, a floating strategy can fail even if it’s “installed right,” because vapor pressure can undermine adhesives at transitions or drive swelling in layered materials.
A practical primer/underlayment selection mindset
Use a simple compatibility checklist before you buy:
– Does the manufacturer explicitly allow installation over stone surfaces and over concrete?
– Does it require a vapor barrier (and which type/thickness)?
– Does it limit underlayment compressibility?
If you can’t find those allowances in the installation guide, that’s your cue to pause and choose a different installation method or get a professional recommendation.
Install: follow the right bonding/fastening method
Installation success depends on following the specific bonding or fastening method that matches your surface prep and your flooring type. This is where “almost right” quickly becomes “not right.”
Start with layout (dry-fit and snap lines), then execute in controlled steps with cure time discipline. The most repeatable professional outcome comes from controlling three variables: alignment, mortar/adhesive working time, and cure conditions.
Adhesives and thinsets have defined “working time” and “open time” windows; rushing beyond those windows increases the chance of weak bond and tile debonding.
Layout and dry-fitting reduce the risk of creating extremely narrow cuts at walls, which are more prone to gapping, cracking, and fit issues.
Expansion gaps are not decorative—they manage material movement; ignoring them is a common cause of buckling and edge separation in floating floors.
Layout first: reduce edge stress and pattern drift
Even in small rooms, start with:
– measuring the room and marking a reference line,
– dry-fitting rows to verify pattern alignment,
– planning for cuts and avoiding awkward slivers at the perimeter.
For tile, confirm your layout keeps key lines centered and reduces partial cuts that are difficult to set with consistent coverage.
Direct-bond installation workflow (tile / rigid floors)
A typical sequence:
1. Apply primer if required by the system.
2. Mix thinset/adhesive per label instructions (correct water ratio, correct mixing time).
3. Spread with the specified trowel, then comb to ensure consistent ridges.
4. Set units, maintaining alignment and coverage.
5. Allow proper cure before grouting, traffic, or removal of spacers.
Floating installation workflow (LVP / laminate)
A typical sequence:
1. Verify the slab is flat within the flooring system’s requirements.
2. Install underlayment/vapor barrier per the system manual (seams taped only if allowed).
3. Maintain perimeter expansion spacing throughout.
4. Install click-lock planks with staggered joints and avoid forcing joints.
Comparison: Direct-bond vs. Floating over granite/stone-like concrete
| Method | Best for | Main requirement over concrete + granite surface | Common downside when misplanned |
|---|---|---|---|
| Direct-bond (thinset/adhesive) | Tile and some rigid systems | Surface prep + correct primer/mortar pairing | Debonding if the top layer is sealed/polished without approved profiling |
| Floating (click-lock) | Many LVP/laminate installs | Flatness + vapor barrier + expansion gaps | Joint separation if underlayment is too soft or slab isn’t flat enough |
What can go wrong (and how to prevent it)
Most problems over concrete granite surfaces follow predictable root causes. If you prevent those causes early, you avoid costly tear-out.
The big categories are adhesion failure, unevenness, and moisture-driven movement. Treat these as “diagnosis targets” during inspection and mid-project checks.
Adhesion failure is often caused by mismatched chemistry: a cleaner, primer, or adhesive not approved for the specific substrate condition can prevent proper bonding.
Uneven substrate flatness can produce hollow spots behind tile or stressed grout joints, which increases cracking risk under normal loads.
Moisture vapor can undermine both bonded and floating systems by breaking adhesive performance and driving swelling in moisture-sensitive materials.
Adhesion failure: chemistry + cleanliness
Common triggers:
– sealers left behind (even when the surface looks clean),
– dust not removed (especially fine stone dust),
– primer/adhesive pair not approved for “polished granite” or “granite-like overlays.”
Prevention:
– follow the adhesive/thinset datasheet for required primers and prep methods,
– use mechanical abrasion when the manual calls for it,
– vacuum thoroughly.
Uneven floors: measure flatness, then correct it
Symptoms:
– tile cracks or grout line separation,
– lippage and uneven transitions,
– floating floor joint stress and separation.
Prevention:
– map high/low spots before you start,
– patch and level to the required tolerance for your flooring type,
– don’t assume that “thinset will fill everything.”
Moisture problems: plan mitigation before bonding
Symptoms:
– persistent damp odor,
– efflorescence,
– adhesive softening or bond failure,
– warping for moisture-sensitive installations.
Prevention:
– test moisture using accepted methods (ASTM F1869 for calcium chloride and ASTM F2170 for RH probe testing),
– select a moisture mitigation approach that matches both test results and the flooring/adhesive requirements.
> [ADD: source for your flooring system’s moisture limits and which test method it requires—many LVP/adhesive systems specify different thresholds.]
Verdict / tip: do this only if your substrate checks out
Proceed only when the concrete/granite surface is structurally sound, adequately flat, properly cleaned, and you can confirm moisture risk and system compatibility for your exact flooring type. If you find extensive cracking, widespread surface delamination/sealer issues, or active moisture, skip a DIY direct-bond solution and consider professional assessment or a different installation system designed for that condition.
This approach isn’t just “safer”—it’s usually more cost-effective. Under-spec prep is what creates repeat work.
Quick checklist (save this)
– Verify flatness; repair high/low spots before installing
– Confirm what “granite floors” means (stone surface type + condition)
– Clean thoroughly; remove sealers/contaminants only as allowed
– Use only substrate-approved primer/adhesive or the correct underlayment/vapor barrier
– Follow cure times and expansion gap requirements exactly
FAQ
Do I need to remove a sealer from granite over concrete?
It depends on your bonding method and the adhesive/thinset instructions. If the product requires a bond to the substrate, you may need approved surface prep—[ADD: source for your specific adhesive/thinset requirements].
Can I install tile directly over granite on concrete?
Sometimes, but only if the granite surface is suitable for bonding and the tile/mortar system is rated for stone/that substrate type. Check the mortar and tile-setting product specs first—[ADD: source for the mortar’s substrate requirements].
What’s the biggest reason installs fail over concrete?
Most issues come from moisture vapor, incompatible primers/adhesives, or poor flatness prep. Measure and prep early to avoid rework.
Do floating floors always work over granite floors?
Floating floors can work when the system allows it and you follow thickness/vapor-barrier guidance. If moisture is a concern or the surface isn’t stable, a direct-bond or different prep strategy may be needed—[ADD: source for your flooring system’s installation conditions].
Sources
– ASTM F1869 — Standard Test Method for Measuring Moisture Vapor Emission Rate of Concrete Subfloor Surfaces Using Anhydrous Calcium Chloride.
– ASTM F2170 — Standard Test Method for Determining Relative Humidity in Concrete Floor Slabs Using in situ Probes.
– ASTM E1155 — Standard Test Method for Determining FF Floor Flatness and FL Floor Levelness Numbers.
– [ADD: Manufacturer installation instructions for the specific flooring/adhesive/thinset system you plan to use]
– [ADD: Manufacturer guidance for moisture/vapor barrier requirements for the flooring type]
– [ADD: Concrete/masonry surface preparation guidance from the relevant patch/leveler product datasheet]
Final takeaway: installing over concrete granite floors is mostly a substrate compatibility project. If you verify flatness, control moisture risk, and use an adhesive/primer or underlayment system that’s explicitly approved for your exact granite/stone-over-concrete condition, you’ll avoid the most common failure modes and get a finish that stays level and secure for the long haul.
Frequently Asked Questions
What’s the best way to prepare granite or polished concrete floors before installing new flooring?
Start by thoroughly cleaning the surface to remove dust, oils, sealers, and any adhesive residue. If the concrete or granite is polished and slick, lightly abrade it to improve bonding, then vacuum well. Test for moisture and check for flatness; fill low spots with a suitable patch/leveling compound so the floor remains stable for installation.
How do you install laminate or vinyl over concrete/granite without moisture or lifting issues?
Use the correct underlayment and install a moisture barrier when the concrete is prone to dampness; follow the flooring manufacturer’s specific RH/moisture guidelines. Ensure the slab is dry and flat—low or uneven areas can cause clicking-lock joints to separate or vinyl to lift. Leave required expansion gaps and acclimate planks/tiles to the room temperature and humidity before you start.
Which type of adhesive or underlayment is safest for installing over granite or concrete floors?
For glue-down installations, use an adhesive approved for concrete and the specific flooring material (such as LVP, tile, or engineered wood), and verify it’s compatible with any existing sealers or coatings. For floating floors (laminate/LVP), choose a manufacturer-recommended underlayment designed for concrete subfloors, often with vapor protection. Avoid “generic” products because incorrect adhesives or underlayments can cause poor bond, bubbling, or mold risk.
How do you level concrete or granite floors if there are high spots, cracks, or uneven areas?
Measure the floor’s flatness with a straightedge and mark problem areas; high spots may need grinding, while dips should be filled with a concrete patch or self-leveling underlayment. Repair cracks using appropriate patching compounds rated for concrete floors, and allow all leveling materials to cure fully before installing. Skipping leveling is one of the most common reasons floors fail, develop noise, or separate at seams.
Why do floors fail when installed over concrete/granite, and how can you prevent it?
The most common causes are moisture trapped under the flooring, inadequate surface preparation, and poor flatness—especially on polished granite-like surfaces. Always test moisture, clean and mechanically prepare the surface, and follow the flooring manufacturer’s requirements for primer, adhesive, underlayment, and curing times. Taking these steps reduces lifting, buckling, and adhesive breakdown, resulting in a durable installation over concrete granite floors.
📅 Last Updated: October 09, 2026 | Topic: How to install over concrete granite floors? | Content verified for accuracy and freshness.
References
- Thinset
https://en.wikipedia.org/wiki/Thinset_mortar - Cement board
https://en.wikipedia.org/wiki/Cement_board - https://en.wikipedia.org/wiki/Cementitious_backer_unit
- Concrete slab
https://en.wikipedia.org/wiki/Concrete_slab - Flooring
https://en.wikipedia.org/wiki/Flooring - Mold | US EPA
https://www.epa.gov/mold - https://www.cdc.gov/mold/default.htm
- Google Scholar Google Scholar
https://scholar.google.com/scholar?q=installing+tile+over+concrete+slab+surface+preparation+moisture - Google Scholar Google Scholar
https://scholar.google.com/scholar?q=granite+tile+floor+installation+over+concrete+substrate+adhesive+thinset - Google Scholar Google Scholar
https://scholar.google.com/scholar?q=flooring+installation+concrete+moisture+vapor+barrier+underlayment