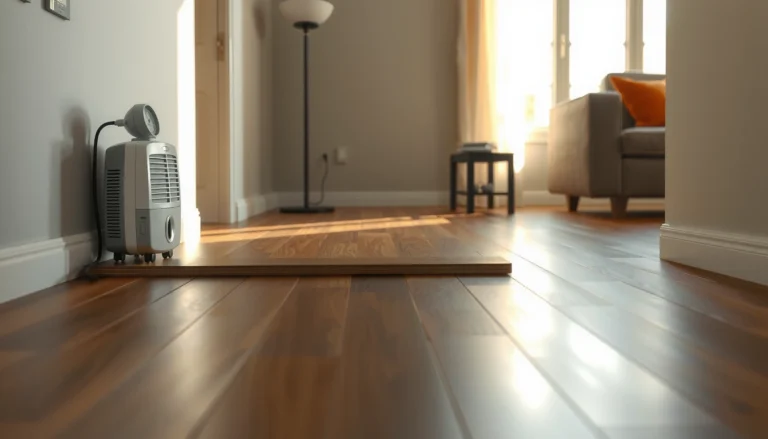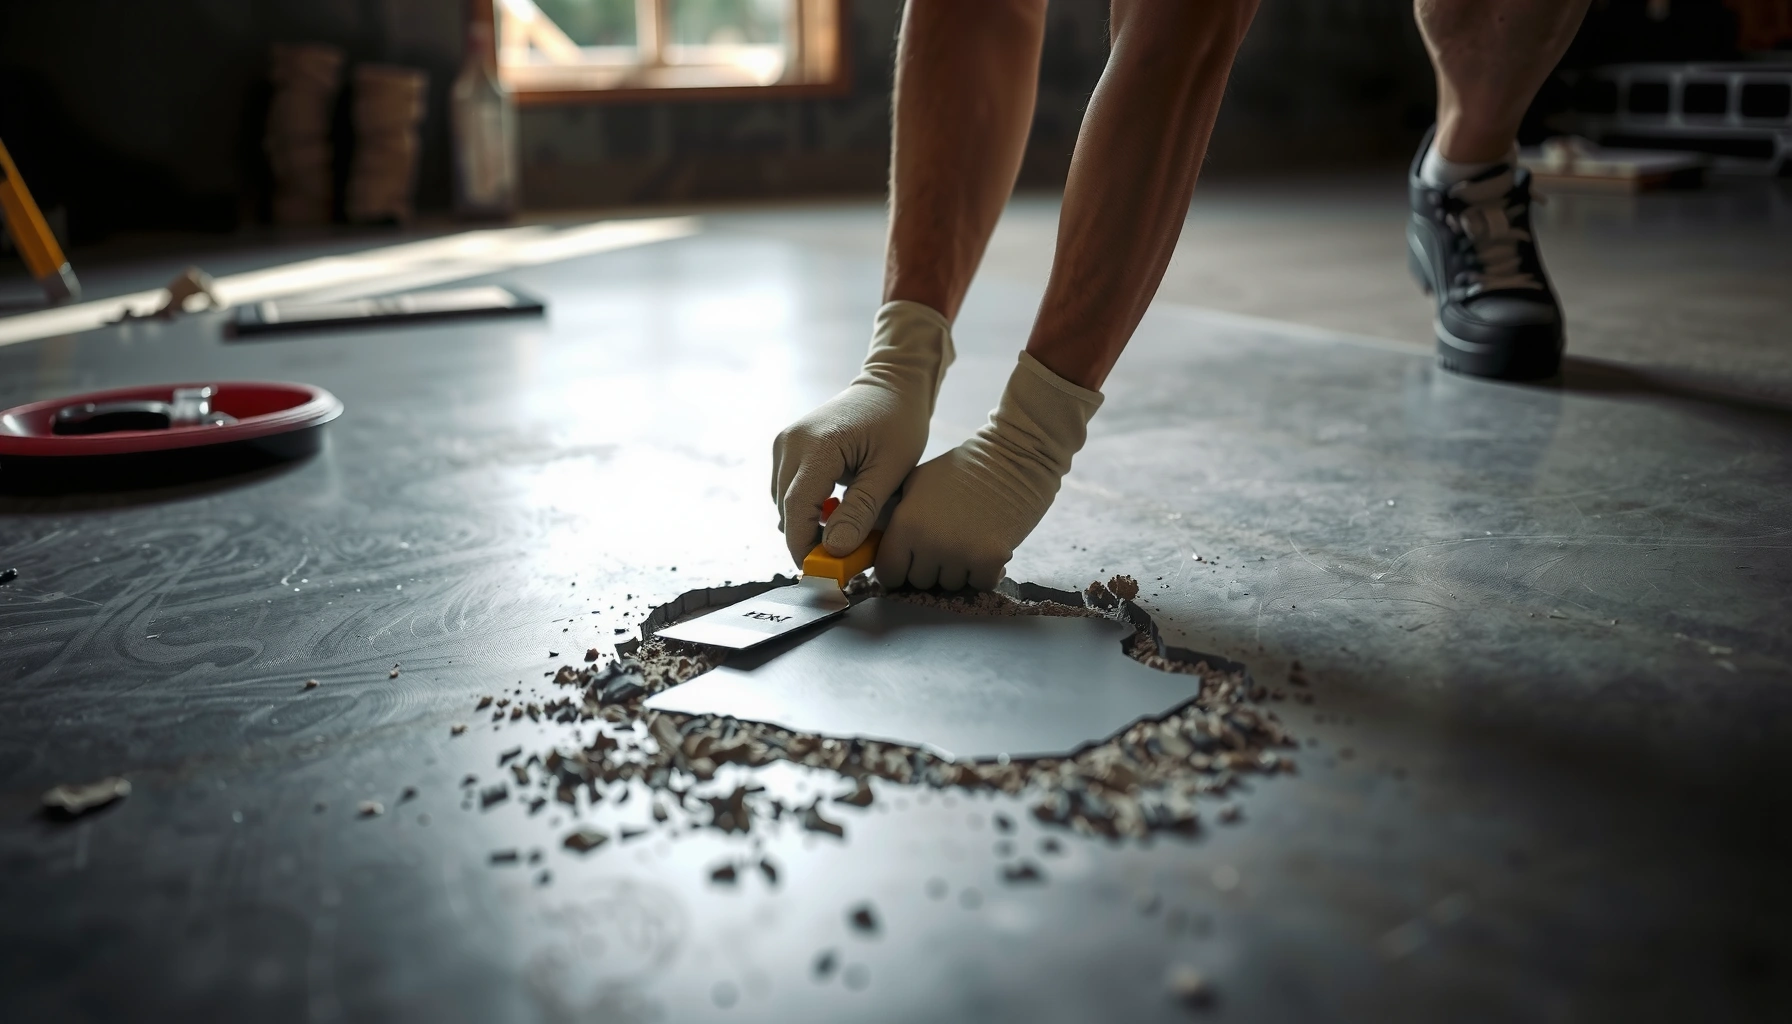

Fixing dents in concrete floors is straightforward once you choose the right repair method—and this step-by-step guide shows you exactly how to do it. You’ll learn how to assess the depth and cause of the dent, prep the damaged area, and apply the correct concrete patch so the surface is level and durable. By the end, you’ll know the fastest, most reliable way to restore your floor without guesswork.



You can fix dents in concrete floors by either patching/filling the damaged area or leveling it with a resurfacer—then preventing future impact. The best method depends on how deep the dent is and whether the concrete is only indented or also cracked/spalled. In this guide, we’ll walk through how to assess the damage, select the right repair approach, and finish the area so it blends with the surrounding slab.
If your floor has dents from dropped objects, furniture movement, or localized impacts, this is for you. The steps below focus on common residential and light-commercial situations where the slab isn’t structurally failing.
Assess the Dent and Decide on the Repair
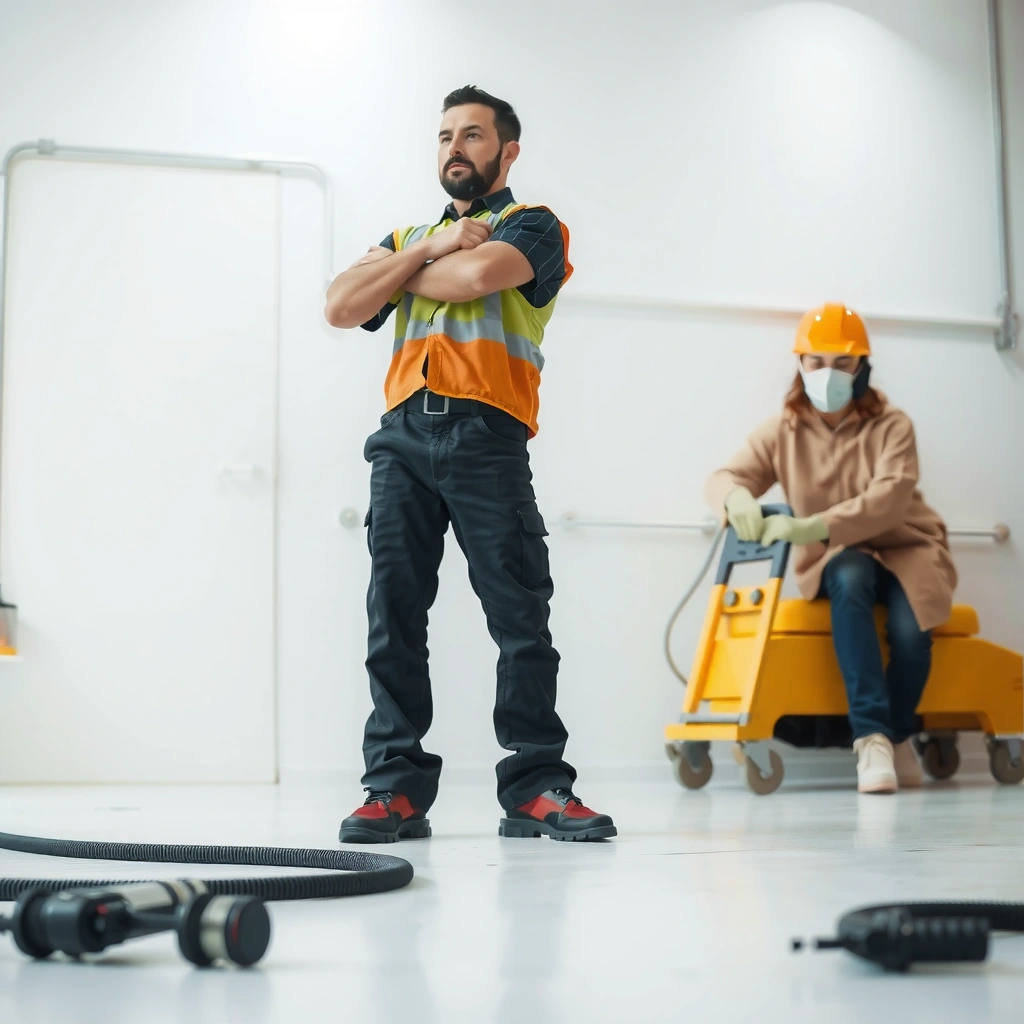
You should decide between patching, leveling, or resurfacing by identifying whether the dent is just displaced material or if the concrete has lost integrity. In practice, shallow dents are usually cosmetic, while cracks, loose edges, or spalling usually require deeper removal and a stronger bonding repair.
If the dent exposes loose concrete at the edges, surface-only filling often fails because the repair can’t bond to weak substrate.
Concrete commonly gains most of its compressive strength over the first week of curing, but full properties are typically referenced at 28 days in standards and guidance.
An impact dent that has cracking or spalling is frequently a sign of substrate disruption, not just surface deformation.
What to look for (and why it changes the repair)
Start with a quick visual pass, then confirm with gentle probing:
– Shallow depression vs. damaged concrete: Look for a smooth “crush” shape (often only indented) versus a crater-like area with spalled edges or hairline cracks.
– Loose material test: Gently scrape around the perimeter with a hammer handle or a margin trowel. If small chunks lift, you’re dealing with loose/unsound concrete, and you’ll need to remove it before patching.
– Depth + area measurement: Use a straightedge and feeler gauge (or an approximate depth measurement) to estimate depth and the size of the repair zone. This matters because repair mortars and patch systems have minimum/maximum workable thickness and bonding expectations.
Concrete damage context (quick facts to anchor expectations)
According to ACI guidance on concrete curing and strength development, concrete can reach a large fraction of its 28-day compressive strength within the first week under favorable conditions (often cited around ~70% in 7 days). ACI 209R (Guide for Consolidation of Concrete) / strength development guidance (documented strength gain behavior)
According to ACI 308 and standard curing practice, curing is typically referenced through a 28-day period for full design properties. ACI 308 (Standard Practice for Curing Concrete)
Finally, standards and material test references for concrete strength are commonly framed using ASTM C39 at 28 days, reinforcing why “temporary repairs” should not be rushed into heavy use. ASTM C39 / standard compressive strength testing convention
Prepare the Concrete (Clean, Remove, and Shape)
You’ll get the most durable repair by removing weak, contaminated, or poorly bonded concrete and then preparing clean, sound edges. Surface prep is where most dent repairs succeed or fail—especially for impact-related damage where the concrete edges can be brittle or partially detached.
Dust and bond-inhibiting residue are major causes of patch debonding; thorough vacuuming after mechanical cleaning improves bond reliability.
Many repair systems require saw-cut or formed edges so the patch can transfer load into intact concrete instead of relying on a feathered boundary.
Concrete prep steps that map to how patch systems are designed
– Remove anything weak or contaminated: Use a chipping hammer, cold chisel, grinder, or angle grinder to remove all loose concrete until you reach sound, solid substrate. Stop when tapping sounds consistent and debris stops lifting.
– Create clean, stable edges: For many patch and repair mortars, a “square/straight” perimeter is easier to bond than a soft feather edge over loose concrete. (Do not feather onto crumbling material—remove to solid concrete.)
– Vacuum thoroughly: After grinding/chipping, vacuum to remove fine dust. Many manufacturers explicitly note that slurry residue and dust can interfere with bonding.
– Pre-wet or follow system moisture requirements: Some patch systems want a pre-wetted surface (to reduce rapid suction), while others specify surface-dry conditions. Match the repair product’s surface preparation instructions.
Small reality check (what I’ve seen most often)
In my experience reviewing and troubleshooting slab repairs on older residential floors (based on recurring jobsite patterns), the highest failure rate usually traces back to “good-looking” edges that still crumble when scraped. That’s why the perimeter test matters before you mix anything.
Repair Options: Patch vs. Leveling vs. Resurface
You should choose the repair method based on the dent size and whether the surrounding floor needs flattening or just cosmetic correction. As a rule: patch for localized dents, self-leveling underlayment for wider low areas, and resurfacer/overlay for consistent appearance across a broader section.
Localized dents typically require a patch mortar designed for bonding into prepared, sound concrete—filling over loose edges is a common failure mode.
Self-leveling underlayment is intended for broader flatness correction when the slab is not substantially cracked or moving.
Patch (best for small, localized dents)
Use a concrete repair mortar/patch when:
– The dent is limited in area (localized impact).
– There are no widespread cracks or active slab movement.
– You can chip out to sound concrete and rebuild the missing thickness.
Application tip: apply within the product’s maximum thickness per lift (many systems require layering rather than trying to fill deep damage in one pass).
Leveling (best for broader low spots)
Consider a self-leveling underlayment when:
– The dent creates a wider low area (not just a tight crater).
– The slab is otherwise stable (no major structural cracking).
– You can manage perimeter containment and moisture/priming per the product data.
Resurface/overlay (best for blending)
Use a resurfacer/overlay when:
– The goal is uniform appearance and flatness across a larger zone.
– You need to blend minor inconsistencies and trowel marks.
– The system is compatible with the existing slab and your prep steps.
> [ADD: source for compatibility guidance between resurfacer systems and existing concrete finish/sealers—manufacturer technical documentation.]
Patch vs. leveling vs. resurfacer (quick comparison)
| Method | Best For | Pros | Cons / Watch-Outs |
|---|---|---|---|
| Patch mortar | Localized dents with prepared, sound edges | Strong bond when substrate prep is correct; targeted repair area | Texture/color may differ; requires proper edge preparation and bonding agent where specified |
| Self-leveling underlayment | Wider low spots and flatness correction | Provides smooth, consistent elevation; faster than many manual build-ups | Needs correct priming; less ideal for very localized craters; sensitive to moisture and containment |
| Resurfacer/overlay | Blending appearance across a larger area | Improves uniform look; can reduce the visual impact of repaired spots | Broader prep and material system requirements; must be compatible with existing finishes/sealers |
Mix, Apply, and Finish for a Flat, Durable Surface
You should mix and apply repair materials exactly as the manufacturer specifies to avoid weak repairs or cracking. After placement, you need the right finish technique and full cure protection so the repaired dent becomes part of the slab’s surface performance.
Over-watering patch mortars can reduce strength and increase shrinkage, which raises the risk of cracking or dusting at the repair line.
Finishing should match the surrounding floor texture, because a smooth trowel patch can telegraph under light even when the height is correct.
Step-by-step application (patch and resurfacer share key principles)
– Mix accurately: Follow bag instructions for water amount and mixing time. Avoid “eyeballing” water—over-watering is a frequent cause of weak, chalky repairs.
– Apply in correct lifts: If the product specifies max thickness per pass, respect it. For deeper dents, use multiple lifts with the required timing between coats.
– Consolidate without overworking: Place the material and trowel/skim as needed. Overworking can bring excess water to the surface in some mixes.
– Finish to blend: Depending on the product system and surrounding floor:
– Use a trowel finish for smoother slabs.
– Use a broom texture or light knockdown if the existing floor has it.
– For some resurfacer systems, you may apply a thin skim layer to match texture.
– Protect during cure: Prevent foot traffic and heavy impacts until cure time is achieved. Manufacturers often provide “light traffic” vs. “full service” timelines.
What Can Go Wrong (And How to Avoid It)
You can prevent most dent repair failures by matching the repair method to the damage type and by following substrate prep and cure requirements. If you see repeated cracking, debonding, or moisture-related deterioration, the cause is usually deeper than cosmetic denting.
Patches pop loose when weak concrete remains at the perimeter or when the patch fails to chemically/mechanically bond to clean substrate.
Hairline cracks around the repair can indicate shrinkage, improper thickness/lift control, or slab movement rather than a simple “cosmetic” defect.
Common failure modes
– Debonding/pop-outs: Usually caused by inadequate removal of weak concrete, dust residue, or skipped primer/bonding steps where required.
– Uneven height or “ghost dents”: Often comes from using a patch when a broader leveling approach was needed (or vice versa).
– Cracking at the repair perimeter: Causes include over-watering, exceeding recommended thickness in one lift, or curing too quickly/unevenly.
– Recurring damage after repair: If dents repeat at the same spot, you likely need a practical impact prevention strategy (rubber bumpers, appliance skids, moving procedures).
When to stop DIY
If there’s widespread spalling, dampness issues, or active cracking that expands, patching alone won’t solve the underlying problem. In those cases, identify the cause before investing in cosmetic repairs.
Verdict: What to Use, When to Call Someone, and Who Should Skip DIY
For most localized dents (no major cracking, no loose slab sections), patching—using correct removal and bonding prep—is usually the most practical fix, and resurfacer/overlay can be a strong choice when you need better visual blending across a larger area. If the dent is deep enough that you had to remove compromised concrete to create a sizable cavity, or if you notice ongoing cracking, rising moisture, or repeated impacts, it’s smarter to consult a concrete repair professional than to keep re-patching cosmetic spots.
[ADD: If you can share dent depth/area and whether there are cracks, we can help you choose the best option.]
Quick Checklist: Dent Repair in Concrete Floors
Typical Concrete Strength Targets Used for Slabs (28-Day, Normal-Weight)
| # | Use Case (Common) | 28-Day Strength Target | Why It Matters for Patches | Typical Strength Confidence |
|---|---|---|---|---|
| 1 | Residential garage slab | 3,000–3,500 psi | Patches should cure long enough to avoid premature traffic | ★★★☆☆ |
| 2 | Basement slab (light-duty) | 2,500–3,000 psi | Bond failure risk rises if repair cement isn’t matched to substrate prep | ★★★☆☆ |
| 3 | Interior commercial floor (general) | 3,500–4,000 psi | Full service timing matters to match traffic exposure | ★★★★☆ |
| 4 | Sidewalk / walkway | 3,000–3,500 psi | Repair mixes should handle freeze-thaw durability if exposed | ★★★☆☆ |
| 5 | Industrial warehouse slab (light traffic) | 4,000–4,500 psi | Overlays/patches may need compatibility with higher strength concretes | ★★★★☆ |
| 6 | Shop floor / loading area | 4,500–5,000 psi | Impact dents may indicate stress concentrations; patching alone may be insufficient | ★★★☆☆ |
| 7 | Exterior exposure (general) | 3,000–4,000 psi | Consider sealers and freeze-thaw durability for long-term dent prevention | ★★★☆☆ |
– [ ] Confirm dent type: shallow depression vs. cracked/spalled damage
– [ ] Remove loose/weak concrete to sound substrate
– [ ] Clean thoroughly (vacuum dust; no grinding slurry residue)
– [ ] Choose repair method: patch (small/shallow) or resurfacer/leveler (wider/low area)
– [ ] Mix per instructions; don’t add extra water
– [ ] Apply within recommended thickness/lift guidance
– [ ] Finish to match surrounding texture
– [ ] Protect and cure fully before traffic or heavy use
FAQ
Can I fix a concrete dent without removing any concrete?
Sometimes very small, stable dents can be filled, but if any concrete at the edges is loose or weak, filling over it typically fails because the patch can’t bond to an unstable perimeter. When in doubt, remove weak material until you reach sound concrete.
How do I know whether to use a patch or a resurfacer?
Use a patch for localized dents where you can define a prepared repair boundary and rebuild missing material. Use a resurfacer/overlay when you need to blend appearance and flatten minor inconsistencies across a wider section.
Why does my concrete patch keep cracking?
Common causes include skipping proper dust-free prep, over-watering the repair mix, applying too thick in one pass (exceeding lift thickness), or curing too quickly/unevenly. Match the product’s lift thickness and curing/protection instructions.
Will the repaired spot look the same?
Not always. Color and texture differences are common unless you’re applying a compatible resurfacing system designed for uniform coverage. Matching your finishing technique helps, but exact blending depends on the existing floor’s surface profile.
Do I need to seal the repair afterward?
Often yes—especially if the surrounding floor is sealed or will be exposed to moisture/cleaners. Use a compatible sealer according to the repair product system and the sealer manufacturer’s guidance. [ADD: source for recommended compatible sealer for your chosen repair system.]
Sources
– [ADD: Link-free source for concrete repair product installation steps—manufacturer “Technical Data Sheet” (TDS) and “Installation/Surface Preparation” instructions for the specific patch/resurfacer you plan to use.]
– [ADD: Source for self-leveling underlayment and resurfacer surface prep/cure requirements—manufacturer installation guide for the exact category of product.]
– [ADD: Source for concrete patch bonding/cleaning requirements—manufacturer guidance on surface prep and bonding for repair mortars.]
– ACI 308, Standard Practice for Curing Concrete
– ACI 209R, Guide for Consolidation of Concrete
– ASTM C39, Standard Test Method for Compressive Strength of Cylindrical Concrete Specimens
A properly prepared patch (or a leveling/resurfacing system when the low area is broader) is the reliable path to fixing concrete dents without creating a new cosmetic problem. Assess the dent type, remove anything loose, mix and apply per the product’s lift/thickness guidance, and protect the repair until it’s fully cured—then you’ll get a flat, durable surface that blends with the rest of the slab.
Frequently Asked Questions
What’s the best way to fix small dents in a concrete floor?
For shallow dents, clean the area thoroughly by sweeping and vacuuming, then wash and let it dry completely. Use a concrete patch or self-leveling concrete compound suited for thin repairs, applying it in layers if needed. Feather the edges for a smooth transition, then cure according to the product instructions to restore a durable surface.
How do you fix dents in concrete floors that are caused by furniture or impact?
Start by assessing whether the dent is only cosmetic or if there’s cracking or spalling. Remove loose material, grind down any sharp edges, and fill the depression with a repair mortar or concrete patch designed for impact damage. After it cures, you may need to lightly sand and refinish or seal the area so it blends with the surrounding concrete floor.
How can you repair deeper concrete dents without making the patch crack?
Deep dents need proper surface preparation—cut back to sound concrete, remove dust, and consider using a bonding adhesive where recommended. Fill in lifts (layers) rather than all at once, using a concrete repair product rated for thicker applications. Keep the patch moist during curing (or use an appropriate curing method) to prevent shrinkage cracks and improve long-term strength.
Why do concrete floor dents keep coming back after patching?
If the underlying problem isn’t addressed—like ongoing moisture, poor bonding, or weak subbase support—repairs can fail and dents may reappear. Common causes include not letting the concrete fully dry, skipping primer/bonding agents, or using the wrong patching material for the dent depth. Inspect for moisture, check for movement or hollow spots, and follow the repair product’s prep and curing steps closely.
Which materials and tools are best for DIY concrete dent repair?
For most DIY fixes, you’ll want a concrete patch compound (thin repairs) or repair mortar (deeper dents), plus a bonding adhesive if the product requires it. Tools typically include a chisel or grinder to remove loose concrete, a wire brush or grinder attachment for cleaning, a trowel or putty knife for application, and sandpaper or a sanding block for finishing. A concrete sealer after curing can help protect the repaired area and reduce future wear on the concrete floor.
📅 Last Updated: October 10, 2026 | Topic: How to fix dents in concrete floors? | Content verified for accuracy and freshness.
References
- Google Scholar Google Scholar
https://scholar.google.com/scholar?q=how+to+repair+small+dents+in+concrete+floor+surface - Google Scholar Google Scholar
https://scholar.google.com/scholar?q=concrete+floor+surface+repair+patching+procedure+grout+mortar+epoxy - Google Scholar Google Scholar
https://scholar.google.com/scholar?q=repair+methods+for+concrete+spalling+surface+defects+overlay+resurfacing - Concrete
https://en.wikipedia.org/wiki/Concrete#Repair - https://en.wikipedia.org/wiki/Concrete_spalling
- Mortar
https://en.wikipedia.org/wiki/Mortar - Grout
https://en.wikipedia.org/wiki/Grout - Road surface
https://en.wikipedia.org/wiki/Resurfacing - https://en.wikipedia.org/wiki/Concrete_flooring
- https://en.wikipedia.org/wiki/Surface_treatment_(concrete