
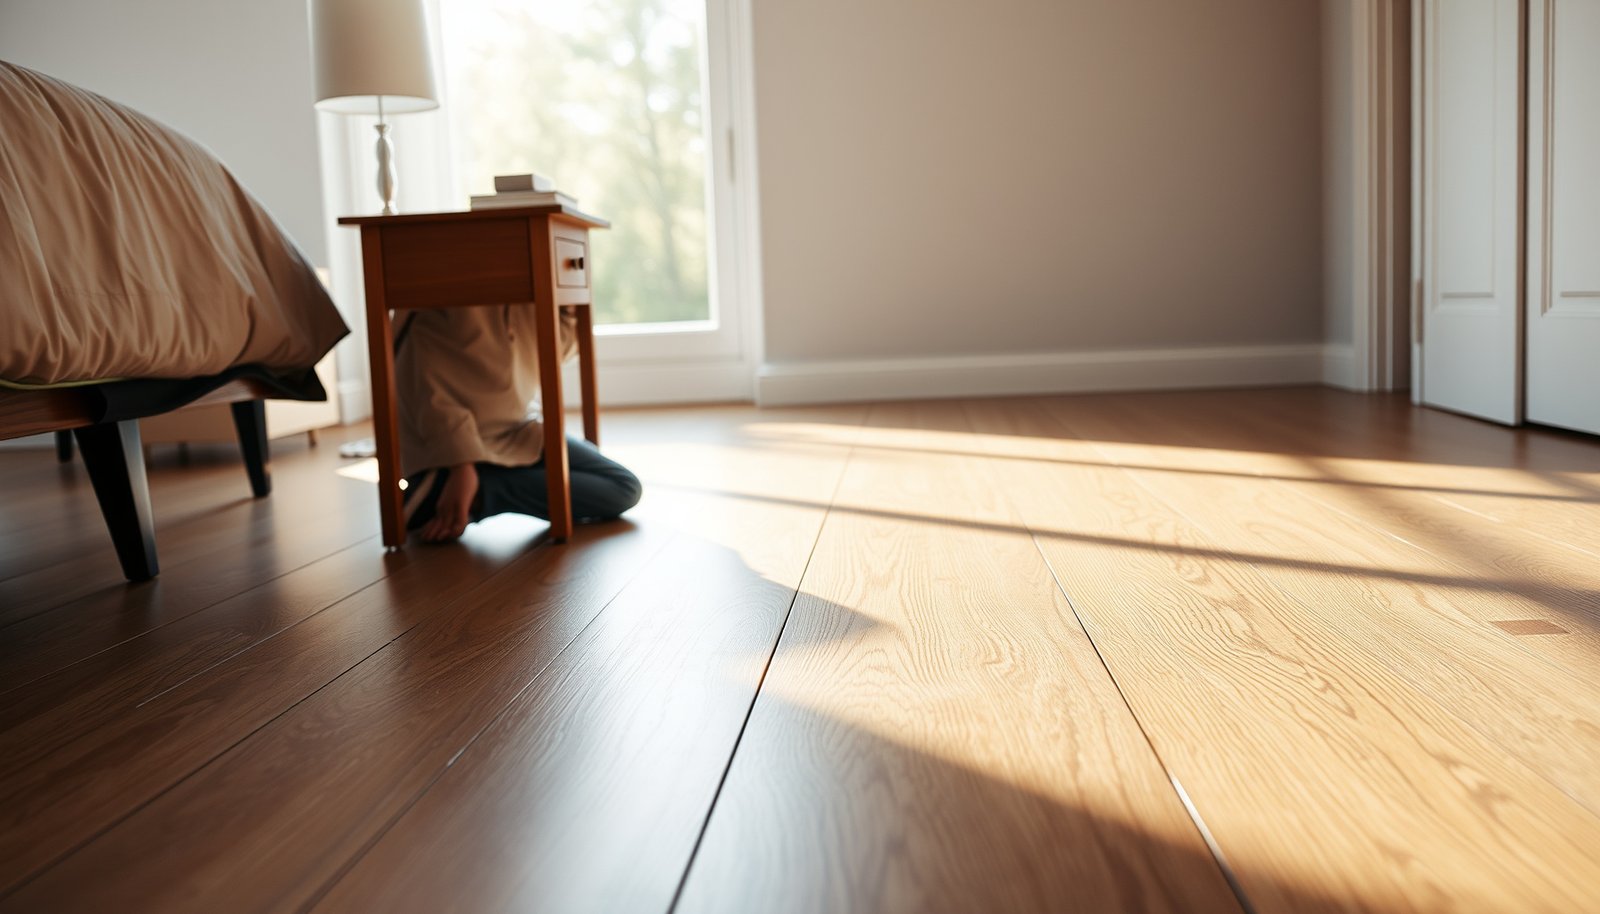

You can prevent scratches on LVP floors in a bedroom by using the right floor protection and movement habits—not by hoping the finish holds up. In most bedrooms, the fastest, most reliable results come from felt pads on every furniture leg and a routine entry mat program to stop grit before it grinds into the planks. Get the specific steps that keep everyday foot traffic, chairs, and sliding furniture from leaving marks.
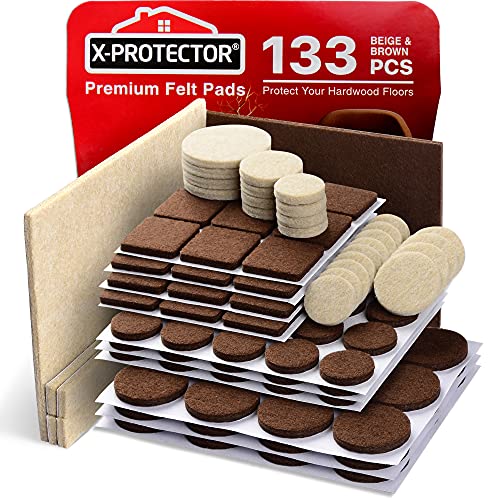



Put felt pads on chair and bed legs, and use a protective mat/area rug in the highest-traffic paths. For deeper prevention, keep grit off the floor with a doormat and clean debris with a soft-bristle broom or microfiber mop. These two habits usually stop most everyday LVP scratches before they start.
If you have LVP in a bedroom—especially near a bed, dresser, or desk—this is for you. It applies whether the scratches are happening from moving furniture, daily shoe traffic, or pet activity.
Start with the “felt + clean” basics

Felt pads plus regular grit removal is the fastest way to stop the vast majority of bedroom scratches on luxury vinyl plank (LVP). When sand-like particles get ground into the finish, even light foot traffic can turn tiny debris into visible scuffs.
Felt pads reduce sliding friction between furniture legs and LVP, which lowers scuffing from routine contact.
Keeping grit off LVP matters because hard particles (especially sand-like mineral dust) behave like microscopic sandpaper.
Dry-sweeping or dry-dusting first prevents abrasive debris from turning into “grit paste” during wet mopping.
– Add felt pads (or furniture sliders) to every hard-contact point: bed frame, nightstands, dressers, and rolling chairs.
– Keep grit off the planks: use a quality entry mat and a no-shoes-at-home rule in the bedroom.
– Sweep and dry-dust regularly with a soft broom or microfiber tools to remove sand-like particles that act like sandpaper.
Why this works on LVP (and why it’s different from “general cleaning”)
LVP’s scratch resistance is largely about what’s happening at the surface—specifically, whether abrasive particles are being trapped under shoes, rug edges, or furniture legs. A felt pad creates a compliant barrier that spreads contact pressure and reduces the chance that a sharp edge (or worn pad) will “cut” into the surface.
In real bedrooms, the most common pattern we see is repeat scuffing in a narrow path: the area from the closet/entry to the bed, or the route from the bed to the bathroom. That’s grit, not “cleaning wear,” and LVP scratches respond better to prevention than to aggressive scrubbing.
Key abrasion anchor: According to the Mohs hardness scale (1812), quartz is about 7 (hard enough to scratch many floor finishes). Mohs hardness scale (1812)
According to the Mohs hardness scale (1812), aluminum oxide is about 9, which is why “abrasive” cleaners and rough pads can be so damaging to LVP finishes. Mohs hardness scale (1812)
According to the Mohs hardness scale (1812), the scale ranges from 1 (softest) to 10 (diamond), explaining why soft debris usually won’t scratch like mineral grit does. Mohs hardness scale (1812)
What “felt pads” should cover on LVP
Make felt pads a full-coverage habit, not a one-time fix. Add them to:
– Bed frame: all points where the frame meets the floor (including any center support feet).
– Nightstands and dressers: every leg, not just the front corners.
– Rolling chairs: chair wheel areas need the right protectant, but the primary contact points (feet/casters) still benefit from LVP-appropriate glides.
If any pad edge is exposed metal or plastic, that contact edge can become a scratch starter—especially when furniture shifts.
Protect the highest-scratch zones (bed, dresser, door path)
The easiest way to protect LVP is to treat the bedroom like a “traffic map” and shield the lanes where grit is most likely to be driven across the floor. If you only protect one area, protect the bed walkways and the path leading to the door—because that’s where repeated friction wins.
Rugs placed over LVP can reduce abrasion, but only if they don’t shift and only if the rug pad is compatible with vinyl floors.
A rug pad prevents friction between the rug backing and the LVP surface, which helps stop micro-scratches over time.
Lifting items (rather than dragging) prevents edge loading—the main trigger for gouges on LVP.
– Place an area rug (or runner) where you walk most and where feet repeatedly cross the same rows.
– Use a rug pad designed for LVP/vinyl floors to prevent shifting and friction from the rug’s backing.
– Avoid dragging items across the floor—lift first, even when moving short distances in the bedroom.
How to choose rug placement for LVP
Look at your bedroom habits, not the room’s layout. For most people, the highest-scratch zones are:
– A runner or rug between the door/closet and the bed
– In front of dressers and wardrobes (repeated stand-and-turn movements)
– Around a desk (wheelchairs and chairs are movement accelerators)
When you place a rug, pay attention to the leading edge where people step on and off. That edge sees the most mechanical load, and it’s where rug shifting starts.
Rug pad compatibility is not optional for LVP
A rug pad that grips too aggressively (or that uses the wrong backing materials) can create a different kind of abrasion: friction between the pad and LVP, plus grit trapping underneath. Aim for a rug pad explicitly intended for vinyl/LVP floors and periodically check that it hasn’t accumulated debris beneath it.
Movement rules that prevent scratches in the first place
Dragging is a scratch multiplier because it applies force at edges and corners. On LVP, small edge contact can:
1) scrape the finish,
2) expose a more vulnerable layer,
3) make the scuff more visible as the surface wears.
For moving items within a bedroom (lamp bases, small stools, folding chairs), lift and carry at a slight angle rather than sliding.
Use the right pads, glides, and movement habits
Correct glides and pad thickness are the difference between “minor scuffs” and “repeat damage in the same spots” on LVP. If you pick the wrong material—or let it wear out—scratches will show up exactly where you’ve already protected.
Thin felt can wear through faster, turning a protective layer into a near-zero barrier for LVP scuffing.
Furniture sliders reduce sliding contact forces and are a practical solution for repeated moving of dressers and heavy bed frames on LVP.
Replacing curled or detached glides matters because exposed hard edges can restart abrasion instantly.
– Choose felt that’s thick enough to reduce sliding contact (thin felt can wear quickly).
– If legs are smooth plastic or metal, consider replacing pads when they thin out or curl.
– For moving heavy items (dresser/bed), use furniture sliders or a temporary moving blanket rather than pulling across the LVP.
Felt thickness and contact area: why it affects LVP scratches
The goal of a felt pad is to keep a “buffer” between the hard leg and the LVP surface. In practice, pads fail in two ways:
– Wear-through: the felt thins until a harder substrate contacts the floor.
– Detachment or curl: the edge lifts, and friction concentrates at the pad’s perimeter.
When either happens, scratches appear in the same high-traffic furniture footprints because that contact pattern doesn’t change—your room keeps producing the same friction geometry.
Felt pads vs. other glides (quick comparison)
Below is a practical comparison for LVP bedroom setups—especially desk chairs, nightstands, and bed legs.
| Option for LVP | Pros | Cons to watch |
|---|---|---|
| Felt pads | Best friction reduction for many bed/dresser legs; easy to replace. | May wear through or detach; needs periodic checks on LVP. |
| Furniture sliders | Great for one-time or occasional moves without dragging. | Not a long-term “leave it forever” solution for all setups. |
| Rubber/plastic glides | Often durable; can help for certain furniture shapes. | If the glide is hard or worn, it can still scuff LVP. |
A movement rule that prevents scratches even when you’re busy
When you move items inside a bedroom—especially across the dresser-to-bed lane—use a “lift-and-set” approach. Even a few seconds of effort prevents:
– edge gouging,
– finish dulling,
– and the “shadow scratches” that appear as the light angle changes.
If your room has a rolling chair, consider the chair’s wheels too; worn casters can grind debris into LVP.
Clean without causing micro-scratches
You prevent LVP scratches faster by cleaning correctly than by cleaning more often. The win is removing grit with soft tools first, then using the manufacturer-approved cleaner in a controlled way.
On LVP, you should remove loose grit before wet mopping to avoid grinding abrasive particles across the wear layer.
Many vinyl/LVP manufacturers recommend pH-neutral cleaners to avoid dulling or damaging the finish.
Abrasive scrub pads and rough sponges increase the risk of micro-scratches on LVP surfaces.
– Follow the manufacturer’s cleaning guidance for your LVP (use the recommended cleaner type—typically pH-neutral products for vinyl/LVP).
– Remove grit before wet mopping: dry-dust or sweep first, then mop lightly.
– Avoid abrasive tools (scrub pads, rough sponges) and avoid “spot polishing” with harsh chemicals that can dull the finish.
The correct order: dry removal, then damp cleaning for LVP
Most “mysterious” LVP scratches happen during cleaning because abrasive debris is still present. A safe routine is:
1) Dry sweep / microfiber dusting to remove grit.
2) Light damp mop with a cleaner that your LVP manufacturer approves.
3) Avoid pooling water and don’t let cleaning residue sit.
Microfiber helps because it captures fine particles rather than redistributing them. If you notice that your mop pads smell gritty or feel gritty, that’s a sign debris isn’t being removed—it’s being smeared.
What to avoid (common “damage in disguise”)
– Scrub pads / steel wool: too aggressive for most LVP finishes.
– Harsh solvents or strong degreasers: can haze or dull surfaces, making scratches more visible.
– Spot polishing repeatedly: repeated mechanical action can build uneven wear.
If a spill happens (coffee, pet accidents, cleaning drips), treat the spill with your approved approach first—then clean the whole area gently to maintain a consistent finish.
What can go wrong (and why scratches still happen)
Even with felt pads and rugs, LVP scratches can still appear because abrasion sources move with you. If grit keeps getting tracked in, pads wear out, or rugs shift, the damage pattern continues—sometimes in new locations.
Felt pads wear down over time; once they thin or detach, scuffing can restart quickly on LVP.
A rug without a proper rug pad can shift and create persistent friction against LVP.
Tracked-in sand under rugs or from the doorway can keep scratching LVP even when furniture is protected.
Scratch resistance varies by LVP product finish and wear layer, so prevention effectiveness can differ across brands.
– Felt pads don’t last forever—once they wear through or detach, you’ll get immediate scuffing where you didn’t before.
– Rugs without proper padding can grind or shift, creating abrasion over time.
– Sand and dust under rugs (or tracked in from a doorway) can still scratch even if you’re careful with furniture.
– Some LVP is more scratch-prone depending on its wear layer and finish; the best prevention approach may vary by product—.
Edge cases worth planning for
– Bedroom rugs with thick fibers: they can trap grit and then release it when you walk.
– Direct sun and finish changes: uneven finish can make tiny scuffs more visible.
– Pets: claws aren’t the only issue—pet activity can also distribute grit by walking through litter, grass, or mud.
Also, if you’re already seeing widespread damage, prevention alone may not restore appearance. LVP can often hide minor scuffs with correct maintenance, but deeper abrasion usually requires product-specific repair/refinishing steps.
Verdict: a simple prevention routine that’s worth doing
Felt pads on furniture plus a rug/mat where people walk is the most practical combo for bedroom scratches on LVP. It’s usually enough because it blocks the two biggest drivers: abrasive grit and metal/hard-edge friction.
The most effective LVP scratch prevention targets both friction points (furniture legs) and abrasive entry paths (doorways and walk lanes).
Prevention works best when you maintain it—replacing worn pads and keeping rugs clean prevents scratch “cycles” on LVP.
That said, it won’t fully prevent scratching if grit keeps getting tracked in or if pads/rug positions aren’t maintained—so skip this approach only if you’re unwilling to regularly replace worn pads or keep floors free of debris. If you’re dealing with lots of visible damage already, you may also need to address deeper abrasion beyond basic prevention—.
Quick checklist (scan/save)
– [ ] Felt pads on all bed/dresser/nightstand legs and any chair feet
– [ ] Furniture sliders for moving heavy items (lift when possible)
– [ ] Entry mat + no-shoes rule (reduce grit)
– [ ] Rug/runner in bed walkways + rug pad for LVP
– [ ] Dry sweep/dust first, then damp mop with manufacturer-approved cleaner
– [ ] Replace worn/detached pads right away
Sources
– Mohs hardness scale (1812)
With a disciplined “felt + clean + protect the walk lanes” routine, you can dramatically reduce the chances that everyday bedroom life turns into visible LVP scratches—while also keeping your floor looking consistent as the year moves forward in 2026.
Frequently Asked Questions
What are the best ways to prevent scratches on LVP floors in a bedroom?
Start with felt or rubber floor protectors under every piece of furniture, including bed frames and nightstands, and replace them if they wear down. Use a high-quality entry doormat (even inside the bedroom) to reduce grit that acts like sandpaper. Regularly sweep or vacuum with a soft brush attachment, and avoid dragging items across LVP—lift and carry instead.
How do you stop beds and furniture from scratching LVP flooring?
Attach felt pads (or silicone/plastic glides) to the legs of the bed, dressers, and chairs, and ensure they fully cover sharp edges. For rolling items like rolling carts, use wide, non-marking wheels or add protective mats. When rearranging furniture, lift rather than slide, and consider using a moving blanket or cardboard to reduce friction.
Why do LVP floors get scratched in bedrooms even with routine cleaning?
The most common cause is abrasive debris—sand, dust, and small particles tracked in from shoes or even from pet paws—scratching the surface with foot traffic. High-traffic areas near doors and walkways often show scratches sooner. Another frequent culprit is rough cleaning tools (stiff bristles, abrasive pads) and pets’ nails without nail trims.
Which cleaning tools and products are safest for scratch prevention on LVP?
Use a vacuum with a soft roller or a brush attachment, and sweep with a microfiber broom or a dust mop designed for hard floors. When mopping, choose an LVP-safe cleaner and a microfiber mop pad that won’t shed abrasive grit. Avoid steam mops, harsh scrubbing pads, and cleaning products that can degrade the protective wear layer, making scratches more likely.
What protective accessories should you use for LVP in a bedroom?
Place area rugs or a breathable rug pad in heavy-walk zones—like the path from the bed to the closet—to reduce direct contact wear. Use non-slip rug grippers that are specifically compatible with LVP to prevent grit from collecting underneath. Consider a clear protective mat for chair placement or desk areas, but make sure it’s compatible with vinyl flooring and doesn’t trap debris.
📅 Last Updated: October 27, 2026 | Topic: How to prevent scratches on LVP floors in a bedroom? | Content verified for accuracy and freshness.
References
- RFCI – Resilient Flooring Covering Institute
- https://www.armstrongflooring.com/support/care-and-maintenance.html
- MohawkFlooring
- https://www.usfloors.com/support/care-instructions/
- https://scholar.google.com/scholar?q=prevent+scratches+luxury+vinyl+plank+LVP Google Scholar
- https://scholar.google.com/scholar?q=vinyl+flooring+maintenance+felt+pads+doormat+scratch+prevention Google Scholar
- https://scholar.google.com/scholar?q=resilient+flooring+care+abrasives+scratch+resistance Google Scholar


