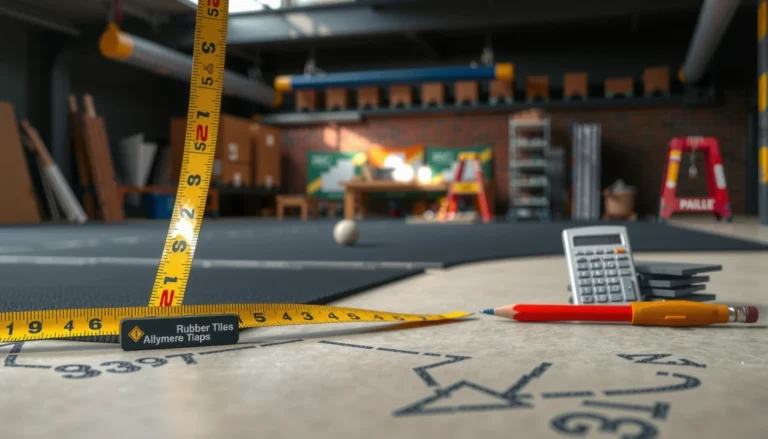
How to level laminate floors before installing a closet properly comes down to one clear task: create a flat, consistent subfloor surface within the manufacturer’s tolerance. This guide walks you through the fastest way to check for high and low spots, correct them with the right leveling method, and verify flatness before the closet goes in. If you want a closet that doesn’t rock, gap, or bind doors, start here and get the floor level the first time.




Level your laminate floor before the closet by measuring subfloor flatness with a long straightedge, then correcting low spots with an approved patch/leveler and shaving down high spots. After it’s flat enough for your laminate’s specs, install the laminate as a floating floor with the required expansion gap around the closet area—so you avoid rocking, gaps, and stressed “click” joints. In 2026, this “measure, correct, recheck, then float” sequence is still the most reliable way to make closets feel solid instead of hollow.
This is for anyone installing laminate in a room where a closet will be placed (or already is) and wants to prevent rocking, gaps, and “click” joint stress. You’ll also learn what to do differently around fixed closet walls/trim so the floating floor can move safely.
Check subfloor flatness first (don’t guess)
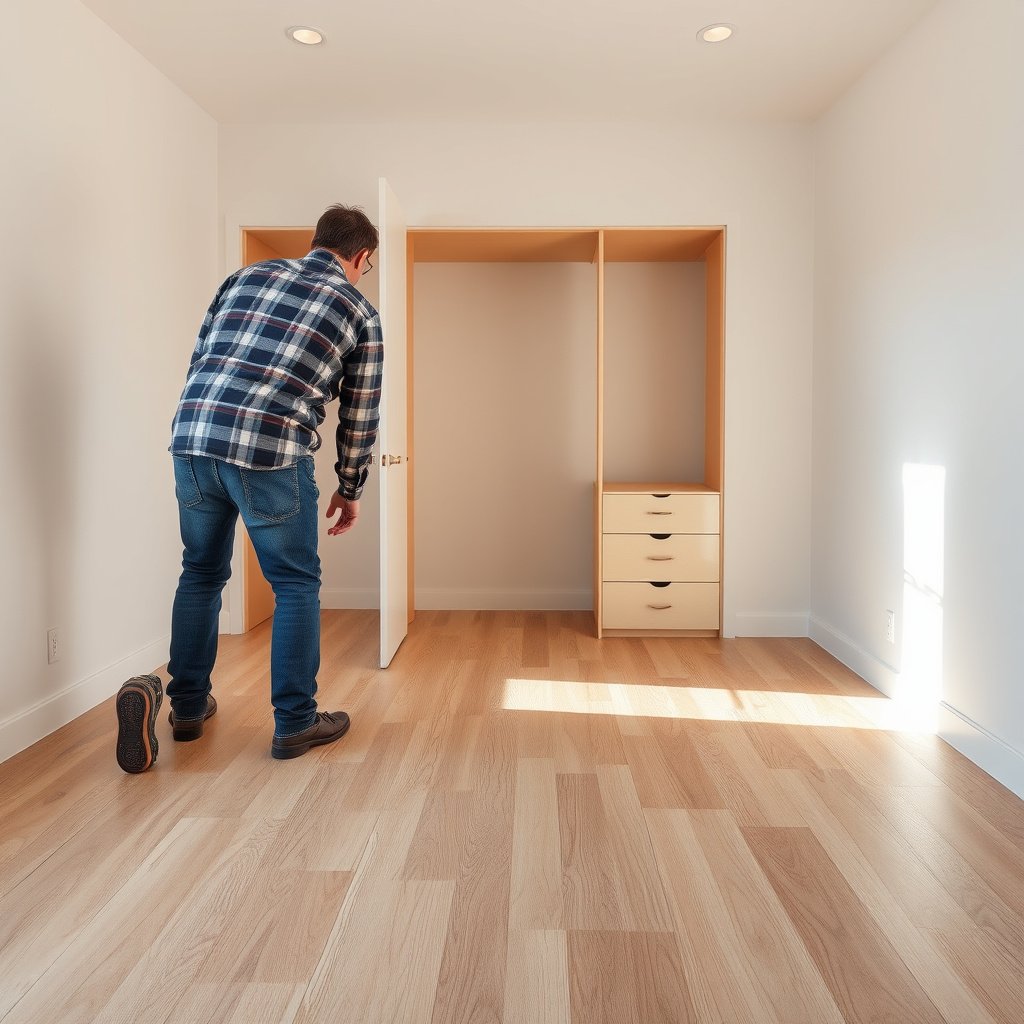
If you want laminate planks to click together without stress, you need to confirm the subfloor is flat—not just “smooth.” A long straightedge shows how much the laminate support varies across the closet footprint, which directly affects joint stability and whether the floor can stay quiet after it’s installed.
Start by checking the closet zone using a 6-ft or 10-ft straightedge/level, then repeat in multiple directions (at minimum lengthwise and widthwise). Mark every low and high spot you find so your leveling work targets the real problem areas, not the areas that feel uneven underfoot. For the laminate floor system, your flatness target must match the manufacturer’s installation instructions (this is not one-size-fits-all).
A long straightedge test is the fastest way to detect localized high ridges and low dips that can cause laminate joints to flex and separate.
Laminate manufacturers specify subfloor flatness tolerances because floating floors amplify support errors into visible gaps and clicking under load.
What to measure (practical method):
– Place a 6-ft or 10-ft straightedge across the closet footprint and note the largest gap between the straightedge and the subfloor.
– Measure across the closet area in multiple directions (e.g., lengthwise and widthwise), because a “flat” reading in one direction can still hide a ridge in another.
– Target the flatness tolerance listed in your laminate manufacturer’s installation instructions (it varies by brand/product).
Common data points you’ll actually use in the field:
– Use a 6-ft (≈1.83 m) or 10-ft (≈3.05 m) straightedge span to check flatness.
– Measure across the closet in at least 2 directions (lengthwise + widthwise) to avoid “false flat” results.
– Apply the manufacturer’s tolerance before underlayment and laminate are installed, because laminate floating systems don’t correct structural unevenness.
Gather the right tools and materials
To level laminate for a closet correctly, gather the tools that let you measure precisely and correct only what’s needed. The right tools also prevent common failures like incomplete cleaning, wrong primer use, or uneven patch feathering.
For the laminate floor workflow, you’ll typically need a long straightedge/level, pencil/chalk for marking, a vacuum, and mixing tools for leveling products. An oscillating multi-tool is useful for trimming, and feeler gauges (or careful gap measurement) help you quantify low/high conditions. Then match your patch/leveler and primer to your subfloor type: wood/plywood, OSB, or concrete.
Correct primer use is essential when leveling compounds are installed over concrete or dusty subfloors—skipping it can reduce bond strength.
Using an oscillating multi-tool to undercut trim helps the laminate floor slide under without trapping movement that floating floors require.
Subfloor-type matching (what to verify before you buy)
– Only use patch/leveler and primer rated for your subfloor type (wood, plywood, concrete, etc.) and within the required thickness range.
– Confirm whether your laminate system requires a specific underlayment thickness, moisture barrier, or seam rules. (This matters after you level.)
Laminate Closet Flatness Check Plan (6-ft and 10-ft Straights)
| # | Check location | Straightedge span | Measured directions | Decision rule |
|---|---|---|---|---|
| 1 | Along closet length, near the back wall | 10 ft | Lengthwise | Gap within laminate spec |
| 2 | Along closet length, midpoint support zone | 6 ft | Lengthwise | No ridge you can feel with a ruler |
| 3 | Across closet width, near each side wall | 10 ft | Widthwise | Correct only marked lows/highs |
| 4 | Diagonal sweep to catch “bowed” subfloor | 6 ft | Diagonal | Ridges detected → grind/sand |
| 5 | Threshold/transition zone (doorway or hall edge) | 10 ft | Across transition | Smooth transitions avoid flexing joints |
| 6 | Where the closet base/long cabinets will sit | 6 ft | Lengthwise + widthwise | Fix lows so planks don’t “rock” under load |
| 7 | A little beyond the closet footprint (movement buffer) | 6 ft | Lengthwise | Stop “click stress” at the edges |
Fix low spots with patch or self-leveling compound
Low spots are what create rocking and joint stress for laminate floors in closets, because floating planks span across unsupported dips. Your goal is to bring the surface back into the laminate’s flatness tolerance before you ever install underlayment.
First, clean thoroughly—dust is a common bond breaker for patch/leveler. Then mix and apply exactly per product instructions, including water ratio (for cementitious products) and mixing time. Use patch/feather finish for small dips and self-leveling underlayment (SLU) for broader low areas—only when the SLU is approved for your floor type and thickness range. After cure, re-skim or sand/flatten until the straightedge shows you’re within tolerance.
In laminate floor prep, bond failure usually comes from dirty surfaces or wrong primer—not from the leveling compound itself.
Feather-edge patch products help you correct localized lows without creating a new ridge that can stress laminate joints.
Patch vs. self-leveling (quick comparison)
Here’s how to choose without overbuilding unevenness:
| Option | Best for | Main constraint | When it backfires |
|---|---|---|---|
| Cementitious patch / feather finish | Small dips and localized low spots | Feathering limits and skim thickness range | You try to span a wide area and end up with ridges |
| Self-leveling underlayment (SLU) | Wider low areas across the closet footprint | Must be approved for your subfloor type and thickness limits | You apply outside depth range, leading to cracking or poor cure |
Recheck after leveling
Once the leveling product cures (per its stated cure time), measure again with the straightedge and mark any remaining high/low. For laminate floor stability, this “measure after cure” step is non-negotiable—because uncured compounds and uneven patch edges can fool a quick visual inspection.
Handle high spots by grinding/sanding (not “building up” randomly)
High spots cause different problems than lows: they can lift laminate planks, create a “springy” feel, and stress click joints where boards meet. Correcting highs is usually faster and safer than trying to “balance” them with extra underlayment or random compound build-up.
For ridges and humps, use grinding/sanding to bring the high areas down. Vacuum thoroughly after grinding so dust doesn’t interfere with primer/adhesion. Then test flatness again with the straightedge. If your closet zone includes transitions—doorways, hall runs, or tile edges—plan smooth transitions so the laminate doesn’t bow at the change in elevation.
Grinding high ridges before laminate installation prevents isolated “hinge points” where click joints take repeated load.
After sanding/grinding, vacuum and re-measure; dust and minor ridges are common causes of persistent flatness failures.
How I plan transitions (without guessing):
– Identify where the laminate boards will land relative to the closet’s fixed walls/trim.
– Make sure any elevation change across transitions is gradual and stays within your laminate’s tolerance.
– Avoid creating a “step” that concentrates movement at a single seam.
Prepare the closet area so the laminate can still “float”
The laminate floor must remain able to move, even inside a closet, because expansion/contraction is a property of the floating system. If you trap the floor tightly against fixed closet walls or trim, it can buckle or create gaps as conditions change.
Maintain the laminate’s required expansion gap where the floor meets closet walls/trim, according to the manufacturer’s installation instructions. Don’t mechanically lock laminate permanently to fixed structures. If the closet has a baseboard or trim, consider undercutting so the laminate can slide under while preserving the required gap strategy. If the closet is installed after the laminate, plan where closet bases sit so you don’t create point-load conditions on unsupported laminate spans that should have continuous support.
Also remember: as of 2026, most laminate warranties still hinge on following their expansion-gap and floating-floor rules exactly.
Floating laminate floors rely on perimeter expansion gaps; trapping the perimeter near walls/trim is a common path to buckling.
Undercutting baseboard/trim (instead of nailing through laminate) helps the laminate float while keeping a clean closure at the edges.
Layout note to include (custom to your project):
– If the closet will be installed after the laminate,
– Always keep expansion gap compliance near fixed closet walls/trim:
Recheck, then install laminate on the corrected surface
Before clicking boards together, do a final straightedge pass over the entire closet footprint plus a little beyond it. This catches “almost flat” areas that can become more noticeable once the laminate boards are assembled into a connected floating surface.
Install the underlayment exactly as your laminate system specifies—some underlayments have thickness and placement rules and aren’t compatible with every subfloor type. During installation, keep expansion gaps consistent and avoid nailing/screwing the laminate (most laminate floors are designed to float). Because closet areas often have less visual inspection, meticulous installation is what keeps the floor from developing joint stress after months of foot traffic.
A final flatness check before underlayment prevents “hidden” high/low areas from being locked into the floating laminate assembly.
Most laminate warranties assume the floor is installed as a floating system with no fastening through the boards.
Step-by-step installation discipline (closet zone)
– Re-measure the corrected surface with the straightedge; confirm it meets .
– Install underlayment per laminate system instructions (overlap seams, allowed placement, and any moisture-barrier requirements).
– Maintain expansion gaps at closet walls/trim using spacers or consistent spacers method.
– If trimming is required near trim/trim edges, cut carefully and leave the required perimeter gap.
What can go wrong (and how to avoid it)
Even when the laminate floor is installed “carefully,” a few recurring issues—mostly tolerance mismatches and trapped perimeter movement—lead to failure. The good news is that most of these problems are preventable by using the laminate’s specified flatness and expansion rules.
Below are the most common failure modes and how to address them before the closet area becomes a permanent problem.
The most expensive laminate failures come from missing the manufacturer’s flatness tolerance, even when the floor feels “pretty level.”
Primer and moisture compatibility are prerequisites for leveling and underlayment systems; using the wrong product can silently reduce performance.
– Wrong tolerance: If you meet your “feel” test but miss the laminate’s specified flatness, you can get joint gaps, clicking underfoot, or board separation later. Fix: use and remeasure with a long straightedge.
– Skipping primer or using the wrong product: Many leveling compounds require a specific primer for bonding, especially on concrete or dusty surfaces. Fix: follow the leveling product’s technical data sheet.
– Overbuilding low areas: Filling deep lows with skim-only products can crack or debond. Fix: use the correct product for the depth/thickness range (or address the underlying cause).
– Pinching expansion near the closet: If the laminate is trapped against trim/walls without the required gap, it can buckle with humidity/temperature changes. Fix: verify the expansion gap instructions before cutting boards tight.
– Ignoring moisture issues: Laminate can be sensitive to moisture conditions and subfloor type. Fix: confirm your laminate system’s moisture requirements.
Verdict / tip
If your subfloor is only slightly uneven in the closet footprint, leveling before installing laminate is usually the cleanest fix—measure flatness, correct lows/highs with the right products, and recheck before installation. The downsides are that leveling compounds take time to cure, and the job gets more complex if the subfloor has widespread dips, moisture problems, or structural movement.
Skip DIY leveling (and consider a flooring contractor or licensed pro) if you find:
– major subfloor deflection/sagging or repeated unevenness across the whole room,
– active moisture concerns (visible dampness, persistent odor, or known wet slabs),
– missing/failed subfloor layers (soft spots, rot, or separation),
– or you can’t realistically meet the laminate’s flatness tolerance.
Quick scan checklist (before laminate + before closet)
– ☐ Measure flatness with a long straightedge across the closet area (multiple directions)
– ☐ Mark low spots and high spots
– ☐ Clean thoroughly; prime if the leveler requires it
– ☐ Fill low spots with the right patch/leveler (correct depth/thickness)
– ☐ Grind/sand high spots down (then vacuum)
– ☐ Recheck flatness meets laminate manufacturer spec
– ☐ Install laminate as floating floor with required expansion gap around closet trim/walls
– ☐ Undercut trim if needed so laminate slides under without trapping movement
Sources
– ASTM E1155, Standard Test Method for Determining Floor Flatness and Floor Levelness Using the F-Number system (used as a reference method for measuring flatness)
Leveling laminate before you commit to a closet is one of the few steps that reliably prevents long-term “click stress” and visible gaps. Measure with a long straightedge, correct lows and highs using the right primers/compounds for your subfloor type, and then install the laminate as a properly floating system with the required expansion gap—so your closet area stays solid, quiet, and warranty-compliant.
Frequently Asked Questions
What’s the best way to check if the subfloor is level before installing laminate flooring in a closet?
Start by cleaning the area and removing any base trim or old flooring so you can measure the subfloor directly. Use a 6–10 ft level or a straightedge to check for dips and high spots, marking problem areas with pencil. As a rule of thumb for laminate, keep the floor within about 1/8 in over 6 ft (or follow your manufacturer’s tolerance) to prevent joint separation and squeaking. If the closet is on a slab, also check for moisture issues before you level, since leveling compound won’t solve wet subfloors.
How do I level a laminate floor in a closet with low spots or dips?
For shallow dips, you can use a feather-edge leveling compound that self-levels and blends smoothly as it cures. For deeper or more uneven areas, you may need a patching compound or build-up approach in layers, letting each coat dry fully before the next. Apply the compound according to the product instructions, scrape for a smooth surface, and allow adequate dry time so the laminate won’t be installed over uncured material. After leveling, sand any high ridges and re-check flatness with a straightedge.
Why is it important to level the floor specifically before installing laminate closet flooring?
Laminate relies on a flat, stable surface to lock together properly, and even small unevenness can create stress at the seams. When the subfloor is out of level, you can end up with gaps between planks, clicking noise, uneven transitions, and early wear. In a closet where floors may be walked on frequently and loaded by shelves or storage, those issues become more noticeable. Proper leveling helps ensure a tight laminate floor installation that stays solid over time.
Which leveling method should I use—self-leveling compound, floor patch, or plywood underlayment—before laminate?
Self-leveling compound is usually best for broad low areas because it flows to create a smooth, even surface. Floor patch or patching compound works well for localized low spots, cracks, or small irregularities where you don’t want to pour across the entire closet. Plywood underlayment can be an option when you need to correct a more significant height difference, but it must be installed flat and securely fastened to avoid bounce and movement. Choose based on how far out the floor is and whether you’re correcting small dips versus larger unevenness.
How much thickness can I add when leveling the subfloor before installing laminate closet floors?
The maximum buildup depends on the leveling product and your laminate manufacturer’s installation requirements, so always follow the compound’s thickness limits per layer. Many self-leveling compounds are designed for specific thickness ranges and may require multiple pours to reach greater corrections without cracking. If the needed correction is too large for one compound layer, plan staged leveling with full cure times between applications. Before installing laminate, confirm flatness again and remove any ridges or edges so your laminate closet floor stays flat and the locking joints perform correctly.
📅 Last Updated: October 22, 2026 | Topic: How to level a laminate floors before installing closet? | Content verified for accuracy and freshness.
References
- Laminate flooring
- Floor
- Underlayment
- https://en.wikipedia.org/wiki/Floor_screed
- Self-leveling concrete
- Vapor barrier
- Expansion joint
- https://scholar.google.com/scholar?q=laminate+flooring+subfloor+flatness+requirements Google Scholar
- https://scholar.google.com/scholar?q=self-leveling+underlayment+subfloor+preparation+technique Google Scholar
- https://scholar.google.com/scholar?q=laminate+floor+installation+expansion+gap+moisture+barrier+underlayment Google Scholar