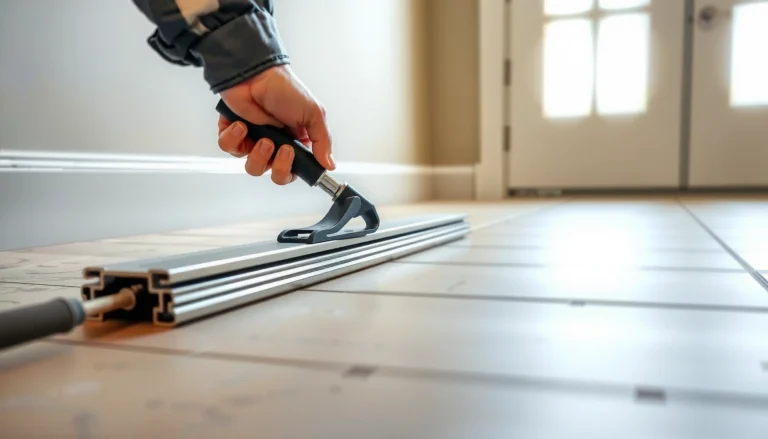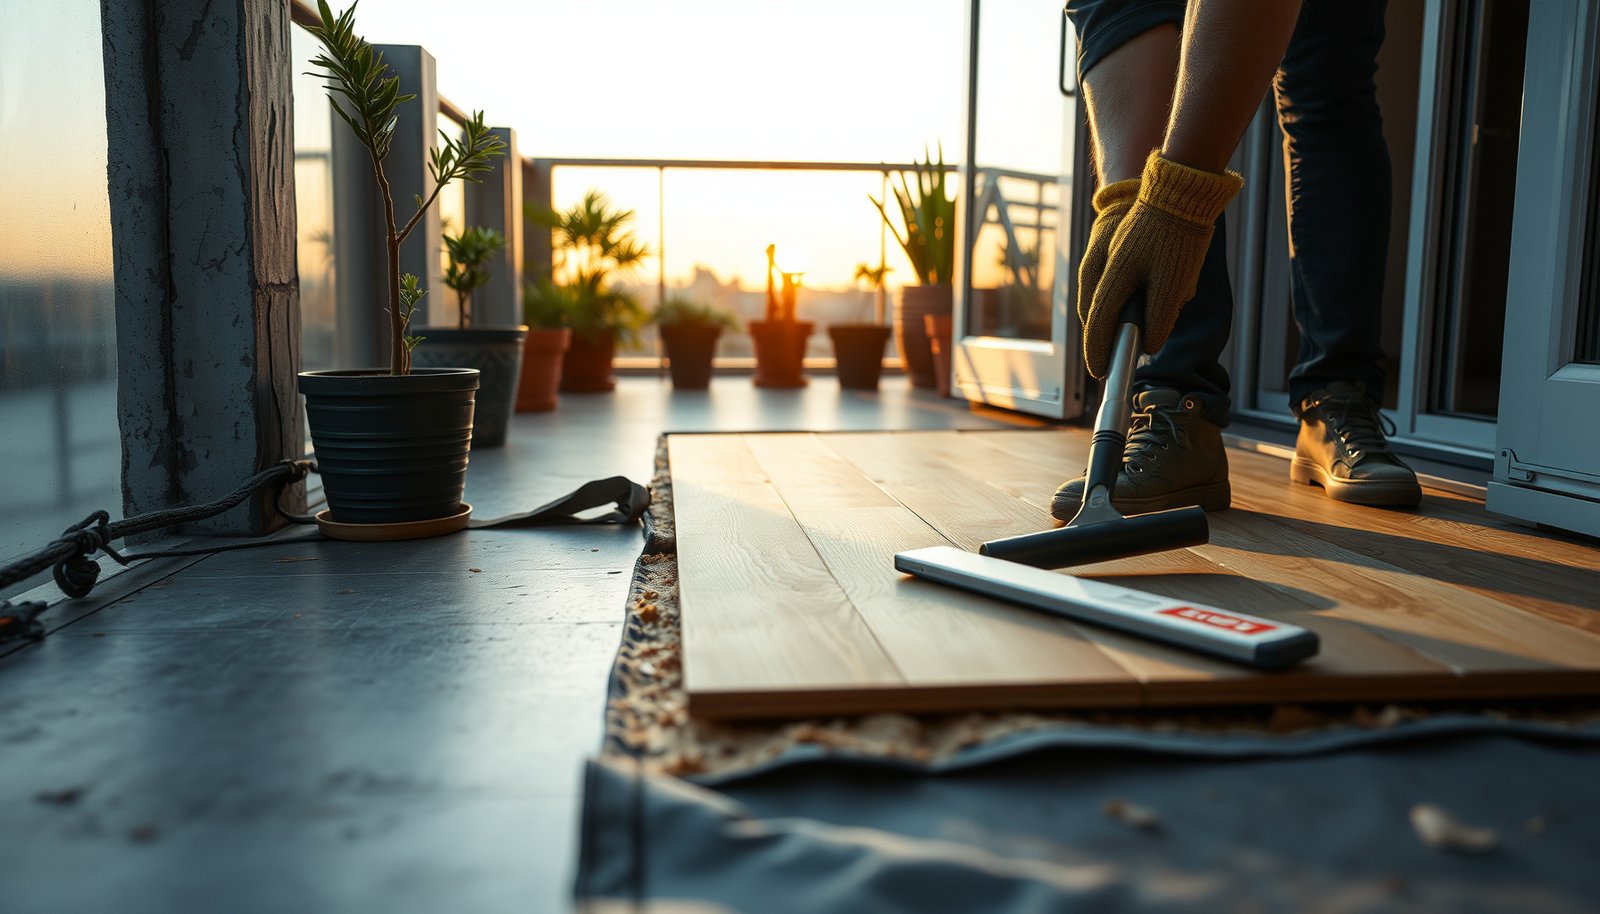

Removing laminate floors from a balcony is a manageable job when you follow the right sequence—start with the trim, break the locking seams, then lift and dispose of boards without damaging the balcony surface. This step-by-step guide tells you exactly what to do, what tools to use, and how to handle common complications like stubborn underlayment and exterior moisture exposure. By the end, you’ll know the fastest, safest way to get your laminate up cleanly.




Remove laminate flooring from a balcony by working from the outer edges inward—pry up the first boards, then detach the rest row-by-row while protecting the subfloor. Whether your balcony laminate is click-lock (floating) or glued determines how easily boards lift; click-lock sections often come up in larger pieces, while glued laminate usually requires seam-cutting, scraping, and cleanup before you can waterproof or install anything new.
This guide walks you through what to check first, the safest way to pull boards, and how to handle common balcony-specific issues like moisture.
Who this is for / when it applies:
This is for homeowners or DIYers removing laminate flooring on a balcony—especially where boards are click-lock or partially attached over a slab/overlayment. Use it when you want the most flooring salvage possible, or when you’re prepping the surface for new flooring, repairs, or waterproofing upgrades.
Pre-checks: Identify how the laminate is attached
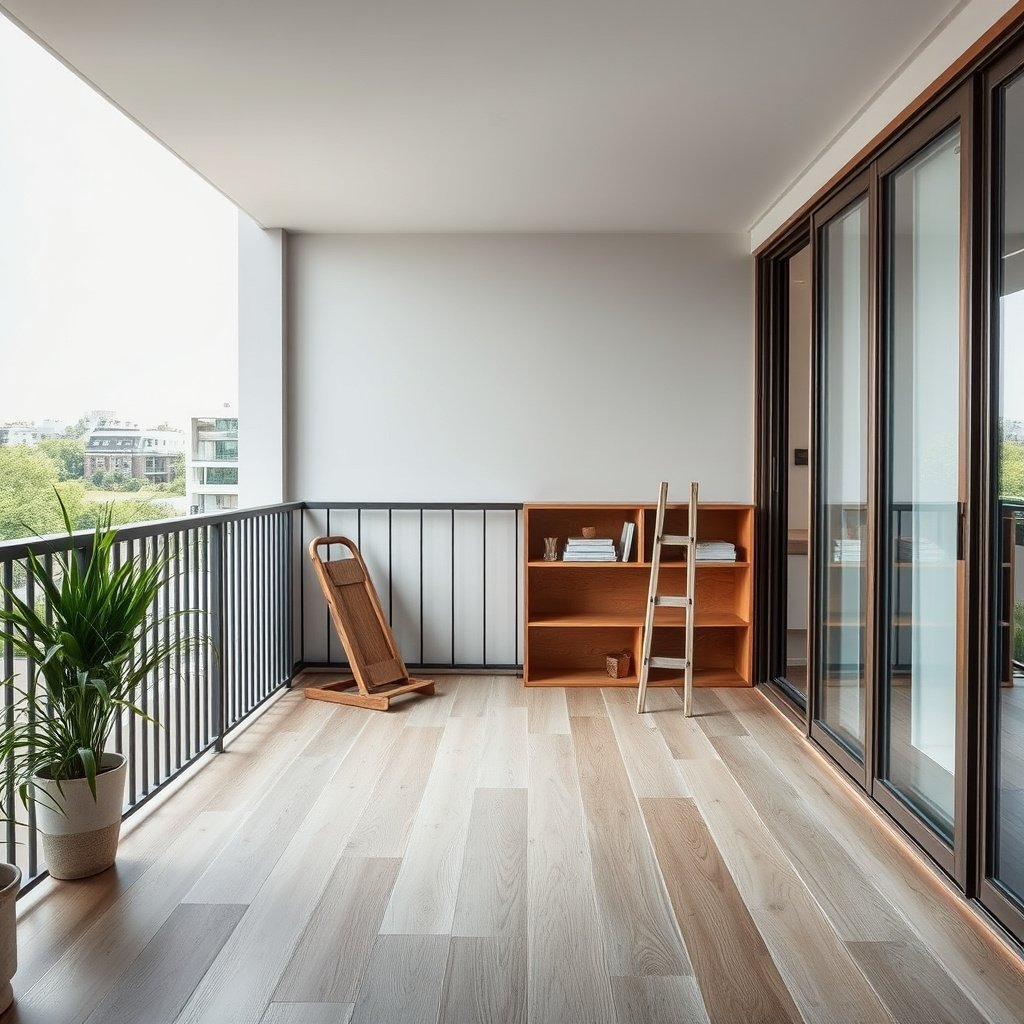
Start by confirming whether your balcony laminate is floating/click-lock or glued down, because that single fact determines your removal method and how much cleanup you’ll face. Here’s why: click-lock laminate typically releases at the locking joints, while glue-down laminate resists lifting and needs seam cutting to avoid gouging the subfloor.
If laminate flooring is installed as a “floating” floor (often click-lock), it is typically designed to be mechanically locked and not adhered to the subfloor.
For glue-down installations, seams and edges are commonly bonded with adhesive, so removal usually requires controlled cutting and adhesive scraping.
What to look for before you pry
– Look for signs of a floating/click-lock install versus glue-down. Floating/click-lock installs often show small edge gaps, and rows may lift as a connected sheet once the perimeter is freed. Glue-down laminate usually feels “rigid as one piece,” and seams may feel fully bonded when you probe along the joint line.
– Inspect the perimeter and transitions first. Balcony doors, corners, edges, and transitions to other flooring are where installers reveal their fastening strategy (trim held with nails/screws, boards tucked under thresholds, or adhesive at seams).
– Confirm the subfloor condition (moisture is the real “hidden demo”). If you smell mildew, see swelling, or spot soft spots, you’re not just removing laminate—you’re uncovering a moisture pathway that may need repair before any balcony flooring replacement. According to OSHA’s crystalline silica standard, dry scraping/grinding can generate hazardous dust during removal ([OSHA 29 CFR 1910.1053](https://www.osha.gov/laws-regs/regulations/standardnumber/1910/1910.1053)), so checking moisture early also affects your dust control plan.
A few balcony-specific checks that save time
– Check where water likely collects (low spots, door thresholds, expansion-joint areas, and edges near floor drains). Balcony laminate often fails from moisture intrusion at edges, not at the center.
– Look for underlayment behavior. Torn, damp, or compacted underlayment can indicate recurring moisture—even if the laminate surface looks “mostly fine.”
Gather tools and protect the balcony area
Start by assembling the right tools for your laminate type—click-lock floors generally need a pry bar/pull bar plus a tapping block, while glued laminate needs utility-knife seam cuts and a scraper for adhesive. Then protect the balcony surfaces and manage dust so you don’t create extra damage or hazards during balcony laminate removal.
Using a flooring pull bar or pry bar with controlled leverage reduces the chance of gouging thin balcony subfloors compared with aggressive chiseling.
Cutting adhesive seams with a sharp utility knife can reduce bonded contact area before scraping, which helps preserve the subfloor.
Tools that actually match laminate removal
– For click-lock laminate (floating):
– Pry bar or flooring pull bar (for controlled lift)
– Tapping block and/or rubber mallet (to persuade a locking joint without brute force)
– Utility knife (to cut perimeter foam/shims or stubborn trim caulk)
– For glued laminate:
– Utility knife with fresh blades (for seam cutting)
– Scraper (for adhesive residue)
– Optional: a heat gun/adhesive solvent only if your flooring/removal instructions allow it (many waterproofing systems don’t tolerate certain solvents—verify before use)
Protection and safety (don’t skip this outdoors)
– Contain debris and protect nearby surfaces. Use drop cloths and tape off door tracks or drains so debris doesn’t clog outlets or scratch thresholds.
– Wear PPE. Gloves and eye protection are a must. If you’ll be scraping or cutting adhesive, use a proper dust mask/respirator; removal dust can be hazardous depending on what you’re disturbing.
– Dust hazard anchor (real measurements): Crystalline silica—common when cutting/sanding certain masonry or cementitious surfaces—has a permissible exposure limit of 50 µg/m³ (8-hour TWA) under OSHA’s standard ([OSHA 29 CFR 1910.1053](https://www.osha.gov/laws-regs/regulations/standardnumber/1910/1910.1053)). If your balcony includes concrete/overlayment work during removal, plan your respirator and dust control accordingly.
Remove laminate boards from the edges inward
Start at the outer edges and thresholds, then work inward row-by-row to keep leverage on the laminate rather than the subfloor. For click-lock laminate, you can often lift larger sections by separating locking joints; for glued laminate, you’ll typically need seam cuts and slower prying to avoid damaging the balcony substrate.
When laminate is click-locked, separating boards usually succeeds when you lift at the free edge and release the locking joint rather than pulling flat.
For glue-down laminate, adhesive often holds along seam lines, so seam cutting before prying can prevent subfloor gouging.
Step-by-step removal workflow (use the method that matches your install)
– Start at an outer edge or near a wall/threshold where boards are most accessible; remove trim/shoe molding first so boards aren’t pinned.
– For click-lock laminate:
– Lift the free edge slightly to engage the “release” behavior of the locking profile.
– Remove boards in sequence, separating locking joints cleanly.
– Avoid forcing pieces that won’t release—resistance usually means hidden adhesive, trim nails, or a transition area that was bonded.
– For glued laminate:
– Cut seams with a utility knife where possible so adhesive bonding is reduced before prying.
– Use controlled prying—think “peel and lift,” not “pry and snap.”
– Scrape remaining adhesive slowly, and stop if you see you’re approaching/softening the subfloor surface.
Practical leverage tips for balconies
– Work in small sections. Balcony subfloors and overbuilds are often less forgiving than interior floors, and damage costs more because you may also need to restore waterproofing.
– Keep a removal pattern. Outer-edge inward is the lowest-risk strategy because it prevents you from prying against board areas that are still bonded or mechanically locked.
Detach underlayment, trim, and lingering fasteners
Start with the underlayment and perimeter hardware after the laminate boards are out, because leftover underlayment and fasteners can telegraph through and compromise waterproofing or new floor installs. Then finish with thorough scraping and vacuuming so the balcony subfloor is flat, clean, and ready for whatever comes next.
Underlayment that is damp, torn, or contaminated often needs replacement because it can trap moisture under new waterproofing or flooring layers.
Removing nails, screws, and staples flush reduces future punctures and helps keep leveling or waterproofing materials from failing prematurely.
Underlayment and fastener removal
– Pull up the underlayment carefully. If it’s damp, torn, or moldy, plan to replace it rather than reuse it.
– Remove nails/screws/staples (if present). Some balcony installs use perimeter fasteners even when the main floor “floats.”
– Scrape down high spots and remove debris. After laminated boards are removed, leftover adhesive ridges and fragments can prevent proper leveling or cause new flooring to not lock.
Clean-up matters more outdoors
– Vacuum thoroughly. Balcony debris often migrates into drains and tracks.
– Inspect for moisture-related damage. Swelling, dark staining, or soft spots are a warning sign that balcony laminate removal alone won’t fix the cause.
Common Dusts During Flooring Removal—OSHA Limits (U.S.)
| # | Removal dust/contaminant | OSHA limit (8-hr TWA) | Standard | Control urgency |
|---|---|---|---|---|
| 1 | Crystalline silica (respirable) | 0.05 mg/m³ | 29 CFR 1910.1053 | ★★★★★ |
| 2 | Lead (airborne) | 50 µg/m³ | 29 CFR 1910.1025 | ★★★★☆ |
| 3 | Asbestos (fibers) | 0.1 f/cc | 29 CFR 1910.1001 | ★★★★★ |
| 4 | Wood dust (respirable) | 5 mg/m³ | 29 CFR 1910.1052 | ★★★☆☆ |
| 5 | Nuisance dust (respirable) | 5 mg/m³ | 29 CFR 1910.1000 | ★★★☆☆ |
| 6 | Nuisance dust (total) | 15 mg/m³ | 29 CFR 1910.1000 | ★★☆☆☆ |
| 7 | Lead (action level threshold context) | 30 µg/m³ | 29 CFR 1910.1025 | ★★★☆☆ |
What can go wrong (and how to avoid it)
Start by expecting two common failure points: (1) you discover the laminate is glued when you planned for click-lock, and (2) you damage the balcony subfloor while trying to force boards up. Avoid both by testing gently at the perimeter, cutting seams when needed, and removing slowly in small sections.
Trying to pry glue-down laminate with a click-lock technique can permanently damage edges and increase the time needed for cleanup.
Moisture damage is often worst near balcony door thresholds and perimeter edges, so inspecting subfloor swelling at those points is critical.
Common problems during balcony laminate removal
– Boards won’t lift. That usually indicates glue-down installation or perimeter bonding. Don’t brute-force the click-lock method—switch to seam cutting and careful scraping.
– Subfloor damage from prying. Balconies often have thinner tolerance than interior floors and can include mortar beds, membranes, or overbuild layers. Pry closer to the board edges and work in small, controlled sections.
– Moisture problems hiding underneath. Dark staining, swelling, or soft spots mean the job isn’t just flooring removal. You’ll need to resolve moisture pathways before new flooring or waterproofing.
– Uneven slab/threshold gaps. If you leave adhesive ridges, old foam, or debris, the new laminate may not lock properly (or new underlayment won’t sit flat).
Quick “if you see X, do Y” guide
– If you see torn foam underlayment at the perimeter → remove it fully and plan replacement.
– If laminate bends or delaminates during lifting → switch to seam cutting (glued laminate) and slow down.
– If you smell mildew before you’re fully removed → stop and assess moisture intrusion rather than continuing demolition.
Verdict / tip: Best approach depends on your laminate type
The best way to remove balcony laminate is the one that matches the installation method: lift and release locking joints for click-lock, and cut seams plus scrape for glued laminate. Here’s the honest tradeoff: click-lock usually offers better salvage, while glued laminate typically costs more time (and often more underlayment replacement) due to cleanup and subfloor preparation.
Click-lock laminate removal is usually faster when you release the locking joint at the lift edge rather than prying the board flat.
Glue-down laminate removal typically requires seam cutting to reduce adhesive bond area before scraping to protect the subfloor.
Practical recommendations
– If it’s click-lock (floating):
– Start from accessible edges and remove boards in sequence.
– Salvage is realistic if you keep joints intact and avoid twisting boards hard.
– If it’s glued:
– Plan extra labor for seam cutting and adhesive scraping.
– Expect underlayment replacement if it’s damp, damaged, or contaminated.
– Skip DIY and consider a professional if you see significant water damage, suspect active rot, or find evidence of structural moisture issues behind the balcony laminate.
Downsides to be aware of (so you’re not surprised)
– Even with click-lock, balconies sometimes have perimeter adhesive, transition fasteners, or shimming that complicates lifting.
– Scraping adhesive can increase dust exposure, especially if you later need to grind leveling compound—so plan PPE and dust control based on what you disturb.
Quick checklist (scan/save)
– [ ] Confirm click-lock vs glue-down (try lifting an edge section gently first)
– [ ] Remove trim/shoe molding at perimeter/thresholds
– [ ] Start prying/lifting from an accessible edge; work row-by-row
– [ ] Cut seams before prying if glued laminate is suspected
– [ ] Remove underlayment and all remaining adhesive/debris
– [ ] Inspect subfloor for swelling/mold; address moisture issues before new install
Sources
– OSHA, 29 CFR 1910.1053 – Crystalline silica requirements (permissible exposure limit and exposure control framework). (OSHA)
– OSHA, 29 CFR 1910.1025 – Lead exposure in general industry (8-hour TWA and action level context). (OSHA)
– OSHA, 29 CFR 1910.1001 – Asbestos in general industry (fiber exposure limits). (OSHA)
– OSHA, 29 CFR 1910.1052 – Occupational exposure to wood dust. (OSHA)
– OSHA, 29 CFR 1910.1000 – Air contaminants (general dust limits for nuisance particulates). (OSHA)
– ASTM International, ASTM F710 (Standard Practice for Preparing Concrete Floors to Receive Resilient Flooring, for preparation principles when relevant).
If you tell me whether your balcony laminate is click-lock or glued (and what your balcony subfloor is—concrete slab, mortar bed, or over a waterproof membrane), I can tighten this into a more precise removal plan and help you anticipate the toughest perimeter points.
Frequently Asked Questions
What tools do I need to remove laminate flooring from a balcony?
To remove laminate flooring safely, you’ll typically need a pry bar or floor scraper, a utility knife, a rubber mallet, a hammer, and a stud finder or crowbar for stubborn boards. For balconies, it’s also smart to have gloves, eye protection, and a dust mask since laminate can chip and create debris. If the laminate is glued down, a heat gun or oscillating multi-tool can help loosen adhesive, but use caution around balcony door tracks and trim.
How do I remove laminate floor planks from a balcony without damaging the subfloor?
Start by removing skirting boards, trim, and any transition strips so you can access the first row of laminate planks. If your laminate is click-lock (floating), carefully pry from the edges at the seam angle to avoid tearing the tongue-and-groove; work row-by-row rather than forcing individual boards. If the laminate is glued, score along the edges with a utility knife and use a scraper to lift pieces gradually, keeping the blade flat to reduce subfloor gouging.
Why does balcony laminate flooring lift or fail, and how does removal help?
Balcony laminate floors often fail due to moisture exposure, temperature swings, and incomplete ventilation under the flooring. When laminate starts to buckle, cup, or separate at the seams, it can trap moisture and accelerate damage to the underlayment or subfloor. Removing the old planks allows you to inspect for water issues, replace damaged underlayment, and install balcony-appropriate flooring that can handle outdoor conditions.
Which is the best way to deal with underlayment and adhesive when removing balcony laminate?
First, pull up the planks and then remove the underlayment while keeping an eye out for moisture stains, mold, or soft spots. For adhesive residue, use a floor scraper and, if needed, a suitable adhesive remover recommended for your surface type (concrete, plywood, or existing tile). Avoid soaking the area on a balcony—use controlled heat or mechanical removal instead, and scrape in sections to prevent damaging the balcony substrate.
How do I prepare the balcony surface after removing laminate flooring for the next installation?
After laminate removal, thoroughly clean the balcony subfloor, removing staples, nails, adhesive residue, and all debris. Check for leveling issues by using a straightedge, and repair any cracks or low spots with an appropriate filler or patch compound designed for your subfloor material. Finally, confirm the subfloor is fully dry and install a balcony-rated underlayment or moisture barrier before laying new flooring to prevent repeat buckling and seam separation.
📅 Last Updated: October 24, 2026 | Topic: How to remove laminate floors from a balcony? | Content verified for accuracy and freshness.
References
- Laminate flooring
- Floating floor
- Deck
- Mold | Mold | CDC
- Asbestos | US EPA
- Silica, Crystalline – Overview | Occupational Safety and Health Administration
- https://www.epa.gov/lead/renovation-repair-and-painting-program-rrp
- https://scholar.google.com/scholar?q=how+to+remove+laminate+flooring+disassembly+click+lock Google Scholar
- https://scholar.google.com/scholar?q=laminate+flooring+outdoor+balcony+moisture+failure Google Scholar
- https://scholar.google.com/scholar?q=best+practices+for+demolition+and+removal+of+flooring+materials+dust+control Google Scholar