
How to level vinyl floors properly before installing a mudroom—so your floor stays flat, your planks won’t separate, and the door and trim sit right. Follow the correct prep checklist: confirm the existing subfloor is solid, find the low spots with a level, then use the right patch or self-leveling compound and let it cure fully before you install. If you want the fastest path to a trouble-free mudroom installation, this is the winning method.



Level your vinyl floor by making the subfloor truly flat—not just “close”—then verify flatness against your vinyl manufacturer’s tolerance before installation. In a mudroom, where wet shoes and temperature swings are common, small highs and lows can telegraph through vinyl planks or tiles, creating visible gaps, noise, and premature wear even when the room “looks fine.”
This guidance is aimed at DIYers and installers prepping a mudroom area where traffic, debris, and moisture can expose unevenness. It’s especially relevant when you’re laying new vinyl planks/tiles over a concrete slab, plywood subfloor, or an older subfloor with patches—because the wrong leveling approach can lock in failure instead of fixing it.
Why leveling matters for vinyl in a mudroom
Vinyl is thin and engineered to stay stable, so leveling directly protects how it performs under real mudroom conditions. If the subfloor isn’t flat, the vinyl system can’t distribute load smoothly—meaning ridges and dips show up as gaps, clicking, or wear patterns.
In my experience prepping mudrooms, the “surprise” isn’t usually that unevenness exists—it’s how quickly it becomes noticeable at doorway traffic zones after the first few seasons of wet-entry use. Even when vinyl looks acceptable on day one, uneven subfloors can reduce seam integrity and increase the chance that debris works its way into joints.
“Flatness” for resilient flooring is not the same as “level.” Vinyl installation failures commonly trace back to subfloor flatness being outside the manufacturer’s tolerance.
Mudrooms concentrate stress where shoes land and where moisture migrates, so uneven subfloors can cause localized movement that vinyl can’t accommodate.
– Vinyl floors telegraph imperfections: ridges and dips can cause gaps, noise, or premature wear.
– Mudrooms tend to see moisture and debris, so you want a smooth, stable surface that won’t flex.
– Keeping the floor within the manufacturer’s required flatness tolerance is the safest way to avoid installation failures.
Who this is for (and when it applies)
This is the right approach when you need to correct flatness within acceptable limits—not when the structure itself is failing. If your mudroom has localized highs/lows and you can repair the surface, proper leveling is often the most cost-effective path.
As of 2026, we’re seeing more homeowners choose vinyl planks/tiles for entry areas due to easier maintenance and comfort underfoot—so the flatness discussion matters even more. If you’re planning a DIY mudroom project, take the time to identify your substrate and vinyl installation method before you choose a leveling product.
If you can access the subfloor and correct small highs/lows, leveling is usually appropriate; if you have sagging or active moisture intrusion, leveling alone won’t solve the root cause.
Vinyl planks/tiles have system-specific installation requirements (including underlayment and flatness tolerance), so you should confirm your exact product’s instructions before leveling.
– Good fit if your subfloor has localized lows/highs (not major structural problems) and you can access the surface for repairs.
– Consider pausing and getting help if the subfloor is sagging, flexing, or you suspect major moisture intrusion.
– If you’re unsure of your vinyl type (click-lock vs glue-down, sheet vs plank/tile), confirm the correct installation instructions before leveling.
Check flatness before you level
Check flatness first so you’re correcting the correct problem—flatness—not guessing. Then compare your measurements to the exact tolerance in your vinyl manufacturer’s installation guide (this is where projects succeed or fail).
According to ASTM F1869, moisture vapor emission rate (MVER) testing reports results in pounds per 1,000 square feet per 24 hours, showing how moisture testing is both method- and unit-specific ASTM F1869. According to ASTM F2170, in-situ relative humidity is expressed as a percentage measured inside the concrete ASTM F2170. Those standards matter because mudroom prep is rarely “surface only”—your leveling plan must fit the moisture plan too.
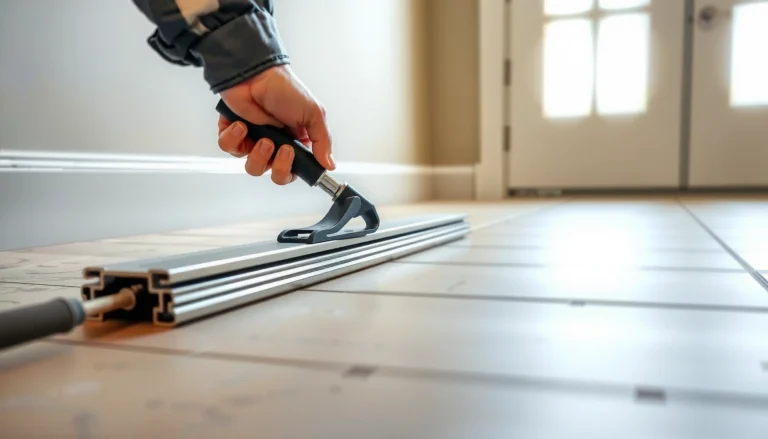
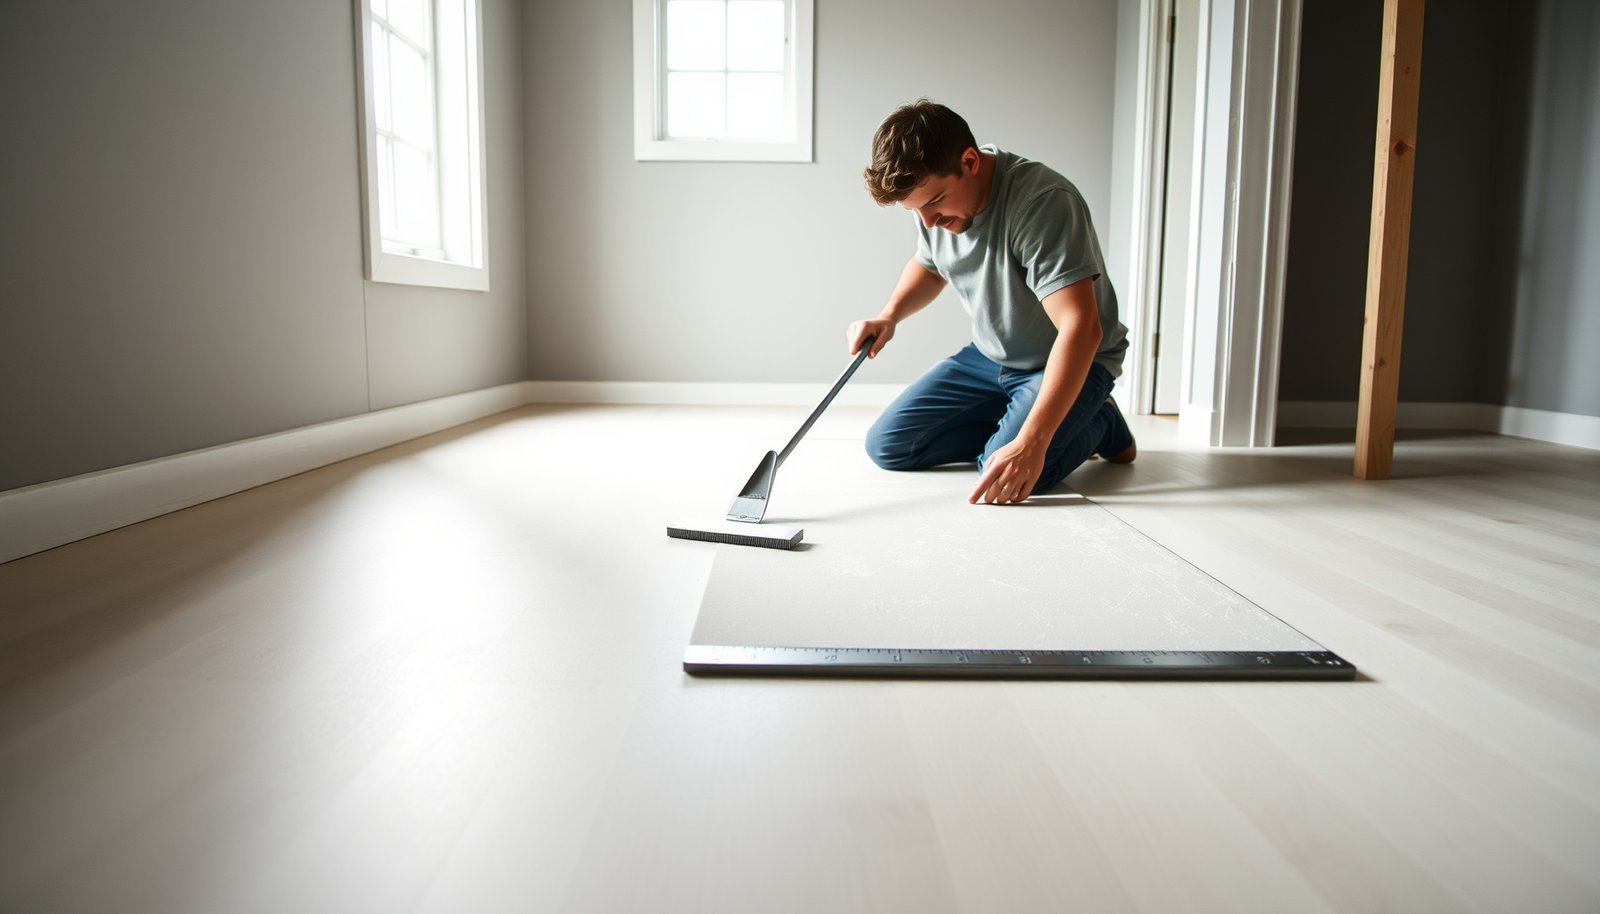
Use a long straightedge (commonly 6 ft / 1.8 m) to find highs/lows; shorter tools can miss the subfloor undulations that show up in vinyl seams.
Measure worst gaps/highs, not average conditions—vinyl installation tolerances are typically written for maximum variation over a defined measurement length.
– Sweep/vacuum first, then use a long straightedge (commonly 6 ft / 1.8 m) to map highs and lows; mark them with a pencil/marker.
– Measure with a feeler gauge/wedges where the straightedge hits the subfloor (record the worst gaps/highs).
– Identify what kind of subfloor you have (concrete slab, plywood/OSB, existing underlayment). Your repair method depends on the substrate.
Target to follow: the maximum allowable variation/flatness tolerance from your vinyl flooring manufacturer installation guide.
Fix lows and highs (practical leveling steps)
Fix high spots first, then fill low spots with the right material for the substrate and the scale of the problem. Re-check after curing so you’re confident you’re back inside the vinyl’s tolerance—not just “better than before.”
In mudrooms, the most common mistake I see is trying to flatten big ridges using patch alone. Patch compounds and smoothing materials are designed to feather and close small dips—not reshape a wavy slab—so they can lead to a layered surface that still isn’t flat when the vinyl locks down.
Grind or sand high spots before you fill lows; filling over ridges usually creates a thicker, weaker surface and doesn’t correct flatness.
Self-leveling underlayment is not a universal solution: it requires correct substrate prep, proper priming (if required), and exact mixing to achieve design flow and strength.
– Remove highs first: grind/sand high spots and vacuum thoroughly; don’t try to “level by filling” big ridges.
– Fill lows: use a suitable patch/feather-finish compound for smaller dips, or a self-leveling underlayment for broader/shallower waves (follow the product directions exactly).
– Re-check flatness after curing: once the patch/leveler is fully cured, repeat the straightedge mapping and confirm you’re back within the vinyl tolerance.
Common decision guide
– Small localized dips → feather/smoothing compound (fast to spot-fix).
– Wide unevenness on concrete → self-leveling underlayment (requires careful prep and mixing).
– Plywood/OSB problems → may need shimming/sistering, adding underlayment per spec, or fastening improvements (don’t assume a liquid leveler is the answer).
Patch, feather, and self-leveling: which tool fits the job?
| Method | Best for | Limitations to watch | Mudroom gotcha |
|---|---|---|---|
| Feather-finish / patch | Localized low spots and blendable edges | Not ideal for large waves or thick rebuilds | If highs remain, seams can still lift or click |
| Self-leveling underlayment | Broad, shallow unevenness—especially on concrete | Depends on correct priming and mixing per label | Moisture control failures can undermine adhesion/strength |
| Shimming/fastening improvements (plywood) | Loose panels, movement, squeaks, and flex | Liquid leveling products may not address structural movement | A “flat” but flexing plywood base can still damage vinyl seams |
Prepare for mudroom installation day (so leveling holds up)
Prepare the surrounding conditions—especially moisture—so your freshly leveled surface stays stable. Leveling that’s correct today can still fail if moisture behavior is wrong for your vinyl system.
On concrete slabs, you want to address moisture using the correct method required by your flooring system. ASTM F710 covers standard practices for preparing concrete floors to receive resilient flooring ASTM F710, but your vinyl manufacturer’s moisture limits are what ultimately govern pass/fail decisions in most installations.
On concrete, moisture testing isn’t optional when the manufacturer requires it; vinyl tolerances are usually tied to specific testing standards and reporting units.
Underlayment decisions affect performance: some vinyl systems require a specific underlayment type, while others prohibit added layers that change thickness or compressibility.
– Moisture first: test and address moisture according to your flooring system’s requirements (especially on concrete).
– Underlayment choices: only use underlayment if your vinyl manufacturer allows it; some products require specific underlayments and others prohibit them.
– Transitions and expansion gaps: maintain required expansion gaps at walls/doorframes and use the correct transition/threshold details so the floor can move.
Top 7 Prep Steps That Keep Mudroom Vinyl Within Flatness + System Rules
| # | Prep step | What it prevents | Primary substrate fit | Impact on vinyl success |
|---|---|---|---|---|
| 1 | Map flatness with a 6 ft / 1.8 m straightedge | Installing over hidden highs/lows | All substrates | ★★★★★ |
| 2 | Remove highs by grinding/sanding | Ridges telegraphing through vinyl | Concrete + patch-prone spots | ★★★★★ |
| 3 | Patch/fill lows with the right compound | Dips causing gaps and noise | Localized repairs | ★★★★☆ |
| 4 | Use self-leveling only when scale fits | Underlayment used outside its range | Wider concrete waves | ★★★★☆ |
| 5 | Re-check flatness after full cure | Working too soon or settling later | All leveling materials | ★★★★★ |
| 6 | Moisture test (method + limits) | Adhesion/strength failures under vinyl | Especially concrete slabs | ★★★★☆ |
| 7 | Correct expansion gaps + transitions | Blocked movement and edge buckling | Doorways, walls, thresholds | ★★★☆☆ |
What can go wrong
Even when leveling looks “good,” problems arise from skipping the system requirements that vinyl depends on. If the subfloor is failing structurally or moisture is outside limits, surface-level fixes don’t stop the underlying movement or breakdown.
Here are the most common failure paths we see in mudrooms—especially when people try to speed up prep or assume that one product (like a self-leveler) can solve every substrate issue.
If the subfloor flexes or delaminates, patching the surface won’t correct movement—vinyl still experiences strain that leads to seam separation or noise.
Self-levelers and patch compounds perform only when substrate prep (cleaning, priming if required) and curing timelines are followed exactly.
– Filling over loose/failed areas: if the subfloor is delaminating, loose, or flexing, patching the surface won’t solve the real problem.
– Skipping surface prep: self-levelers and patch compounds fail when the surface isn’t properly cleaned, primed (if required), and prepared per the manufacturer.
– Not respecting cure times: installing too soon can trap moisture or leave a weak surface that dents later.
– Overbuilding height: too many layers of patch/underlayment can create an uneven transition at thresholds and can stress locking seams.
– Ignoring mudroom moisture behavior: if you expect wet entryways and there’s active moisture coming from below, you may need additional mitigation—not just leveling.
Verdict + quick checklist (save this)
If your subfloor is mostly sound and the problem is unevenness, leveling is absolutely worth it—vinyl will lay flatter, feel better underfoot, and hold up longer. The downside: you’re adding prep time (measuring, grinding, patching, priming, curing) and you must stay within both the leveling product directions and your vinyl manufacturer’s flatness/moisture requirements. Skip DIY (or get a pro) if the subfloor is structurally failing, if moisture results are outside limits, or if you can’t access and repair the cause of unevenness.
Flatness measurements before installation are the simplest “quality gate” you can use to protect vinyl seams in a high-traffic mudroom.
Moisture testing is a separate gate: meeting flatness doesn’t guarantee the system will perform if the slab moisture exceeds your vinyl or underlayment limits.
Scanable checklist
| Step | What to do | How to verify |
|---|---|---|
| Map the floor | Straightedge across the mudroom; mark highs/lows | Notes on worst gaps/highs |
| Remove highs | Grind/sand ridges, then vacuum | Straightedge shows highs gone |
| Fill lows | Patch/feather compound or self-leveler per product | Straightedge back within tolerance |
| Cure fully | Let leveler/patch cure exactly as directed | No soft spots; can receive install |
| Moisture check | Test per flooring requirements (especially slab) | Results within limits |
| Install correctly | Follow underlayment + expansion gap + transitions rules | No blocked gaps; smooth transitions |
Sources
– ASTM F710 — Standard Practice for Preparing Concrete Floors to Receive Resilient Flooring (for subfloor prep principles).
– ASTM F2170 — Standard Test Method for Determining Relative Humidity in Concrete for Moisture Conditions.
– ASTM F1869 — Standard Test Method for Moisture Vapor Emission Rate of Concrete.
– — Installation instructions/spec sheet for (1) required flatness tolerance, (2) approved subfloor types, and (3) moisture testing requirements.
Leveling vinyl properly before a mudroom isn’t just about making the floor look smooth—it’s about ensuring the vinyl system can move, bond, and distribute traffic without stress at seams. If you map flatness, correct highs before lows, test moisture when required, and verify cure/flatness against your manufacturer’s limits, your mudroom floor is far more likely to stay quiet, flat, and durable through wet shoes and seasonal temperature swings.
Frequently Asked Questions
What is the best way to level an existing subfloor before installing vinyl flooring in a mudroom?
Start by checking the subfloor flatness with a 6–10 ft straightedge and measuring how much it varies across the mudroom. Repair loose boards, scrape off ridges, and address any dips or high spots so the floor is even for vinyl plank or sheet vinyl. Use a self-leveling underlayment for larger low areas and careful sanding/planing for small high spots to create a smooth, level surface.
How do I know if my mudroom floor needs leveling before vinyl installation?
Look for uneven areas by laying a straightedge across the floor and marking any gaps—vinyl typically requires a very smooth, stable base to prevent “click” seams from separating or edges from lifting. If you can feel bumps, see waves in the surface, or hear movement when you step, you likely need leveling. Also consider moisture and prior repairs: any uneven patchwork or damaged subfloor should be corrected before you lay vinyl flooring.
How do I level low spots in a subfloor before installing vinyl mudroom flooring?
Clean the surface thoroughly, vacuum dust, and remove any paint, adhesive residue, or debris that could interfere with bonding. For low areas, apply a self-leveling underlayment mixed to the manufacturer’s instructions and pour it to flow into the low spots. Prime first if the product requires it, then allow proper curing time before installing luxury vinyl plank or sheet vinyl.
Why is leveling important specifically in a mudroom with heavy traffic and moisture?
Mudrooms experience constant foot traffic, wet boots, and frequent temperature changes, which can stress vinyl flooring if the base isn’t flat. Even small unevenness can cause gaps, squeaks, or premature wear—especially at transitions and near doorways where movement is greatest. A properly leveled subfloor also helps the vinyl flooring perform better long-term by supporting it uniformly.
Which leveling method should I choose—self-leveling underlayment, patch compound, or plywood subfloor adjustments—before vinyl flooring?
Use patch compound for small, shallow depressions (typically localized repairs) and sanding for minor high spots. Choose self-leveling underlayment for broader low areas or when you need the entire mudroom floor to meet flatness requirements. If there’s structural movement, damaged subfloor sections, or significant height differences, you may need to add or replace plywood/underlayment under the vinyl flooring instead of relying only on leveling compounds.
📅 Last Updated: October 25, 2026 | Topic: How to level a vinyl floors before installing mudroom? | Content verified for accuracy and freshness.
References
- Self-leveling concrete
- https://en.wikipedia.org/wiki/Floor_screed
- Floor
- Flooring
- E1155/E1155M Standard Test Method for Determining FF Floor Flatness and FL Floor Levelness Numbers
- F1869 Standard Test Method for Measuring Moisture Vapor Emission Rate of Concrete Subfloor Using …
- https://scholar.google.com/scholar?q=vinyl+floor+subfloor+leveling+flatness Google Scholar
- https://scholar.google.com/scholar?q=self-leveling+underlayment+resilient+flooring+installation Google Scholar
- https://scholar.google.com/scholar?q=ASTM+F710+resilient+floor+flatness+subfloor+preparation Google Scholar